Using veneer

The Homebrew Forum

Help Support The Homebrew Forum:

This site may earn a commission from merchant affiliate links, including eBay, Amazon, and others.

BIGJIM72

Landlord.
Joined
Mar 25, 2012
Messages
848
Reaction score
13
Location
Sunny South East London
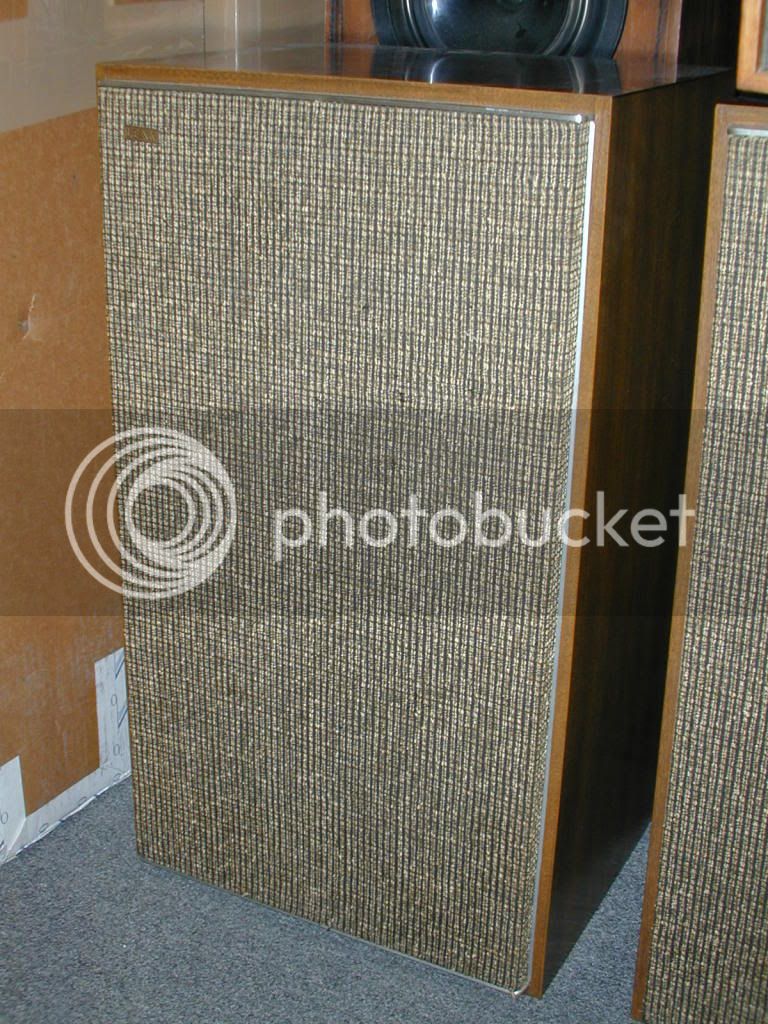
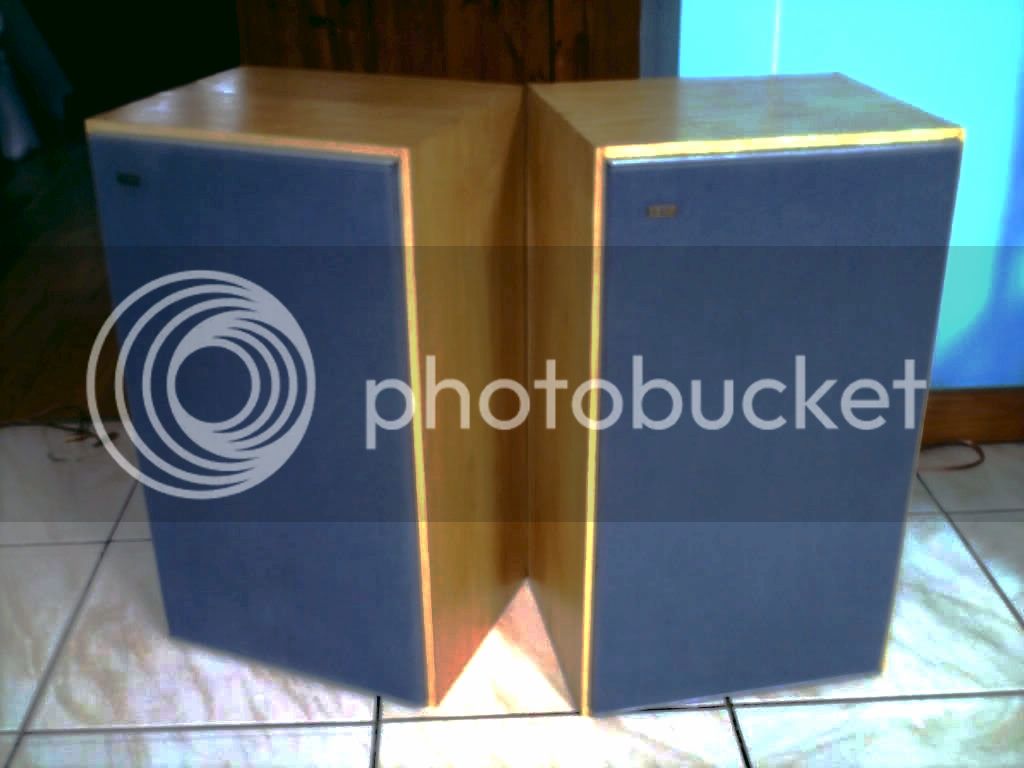
Anyone got any handy hints about using paper backed veneer? Planning to tart up some old leak speakers & any advice would be gratefully received.
 
My old man was an old style cabinet maker, veneers/french polish, all sorts in our house when I was kid.

The only thing I can really recall him on about was make sure the surfaces have been well prepared, sanded down properly and cleaned with a cloth soaked in meths just before glueing/polishing :thumb: sorry thats about all I can remember was about half a centuary ago :roll: needless to say he's long gone now.
 
Hi Big Jim, i have used contact cement in the past with great success, the hardest part is to let the glue dry properly before you bring the 2 pieces together and you can sand the edges straight away, plan the job first so the least amount of edge grain is showing as possible, good luck Dave NE
 
if longer veneer used that surface area best way to trim it is when its on and sorted use a file but only file inwards and do it at 45 degree and slightly up hill too otherwise you will crack or splinter veneer etc
 
Been a while but things I remember...

- Best way to finish edges is with the flat side of a half-round metal file, cuts the excess and finishes the edge in one go - strokes always go downwards with the finished face up of course!
- Contact adhesive was what we used too. Make sure everything is meticulously clean and dust free. Apply contact adhesive with a bendy plastic spreader to both sides.
- Working bubbles out is possible but tricky, best to try to make the contact without trapping them in the first place. If you get some though you just have to try to work them to an edge.

My big bro used to do the whole marquetry thing, amazing when you see it done right...
 
This is what I am restoring for anyone interested:

http://www.canuckaudiomart.com/view_ima ... id=1938221

That's a 13 inch base driver.Replaced all of the old 60's wiring with some nice new copper,new poles & replaced the front covers + redone all of the solder joints.Would love to update the crossovers as well for something a bit more up to date,but thats beyond me.Sound great as they are though.
 
Before:

leak_sandwich.jpg


After:

040.jpg
 
Back
Top