So, the Fermzilla.
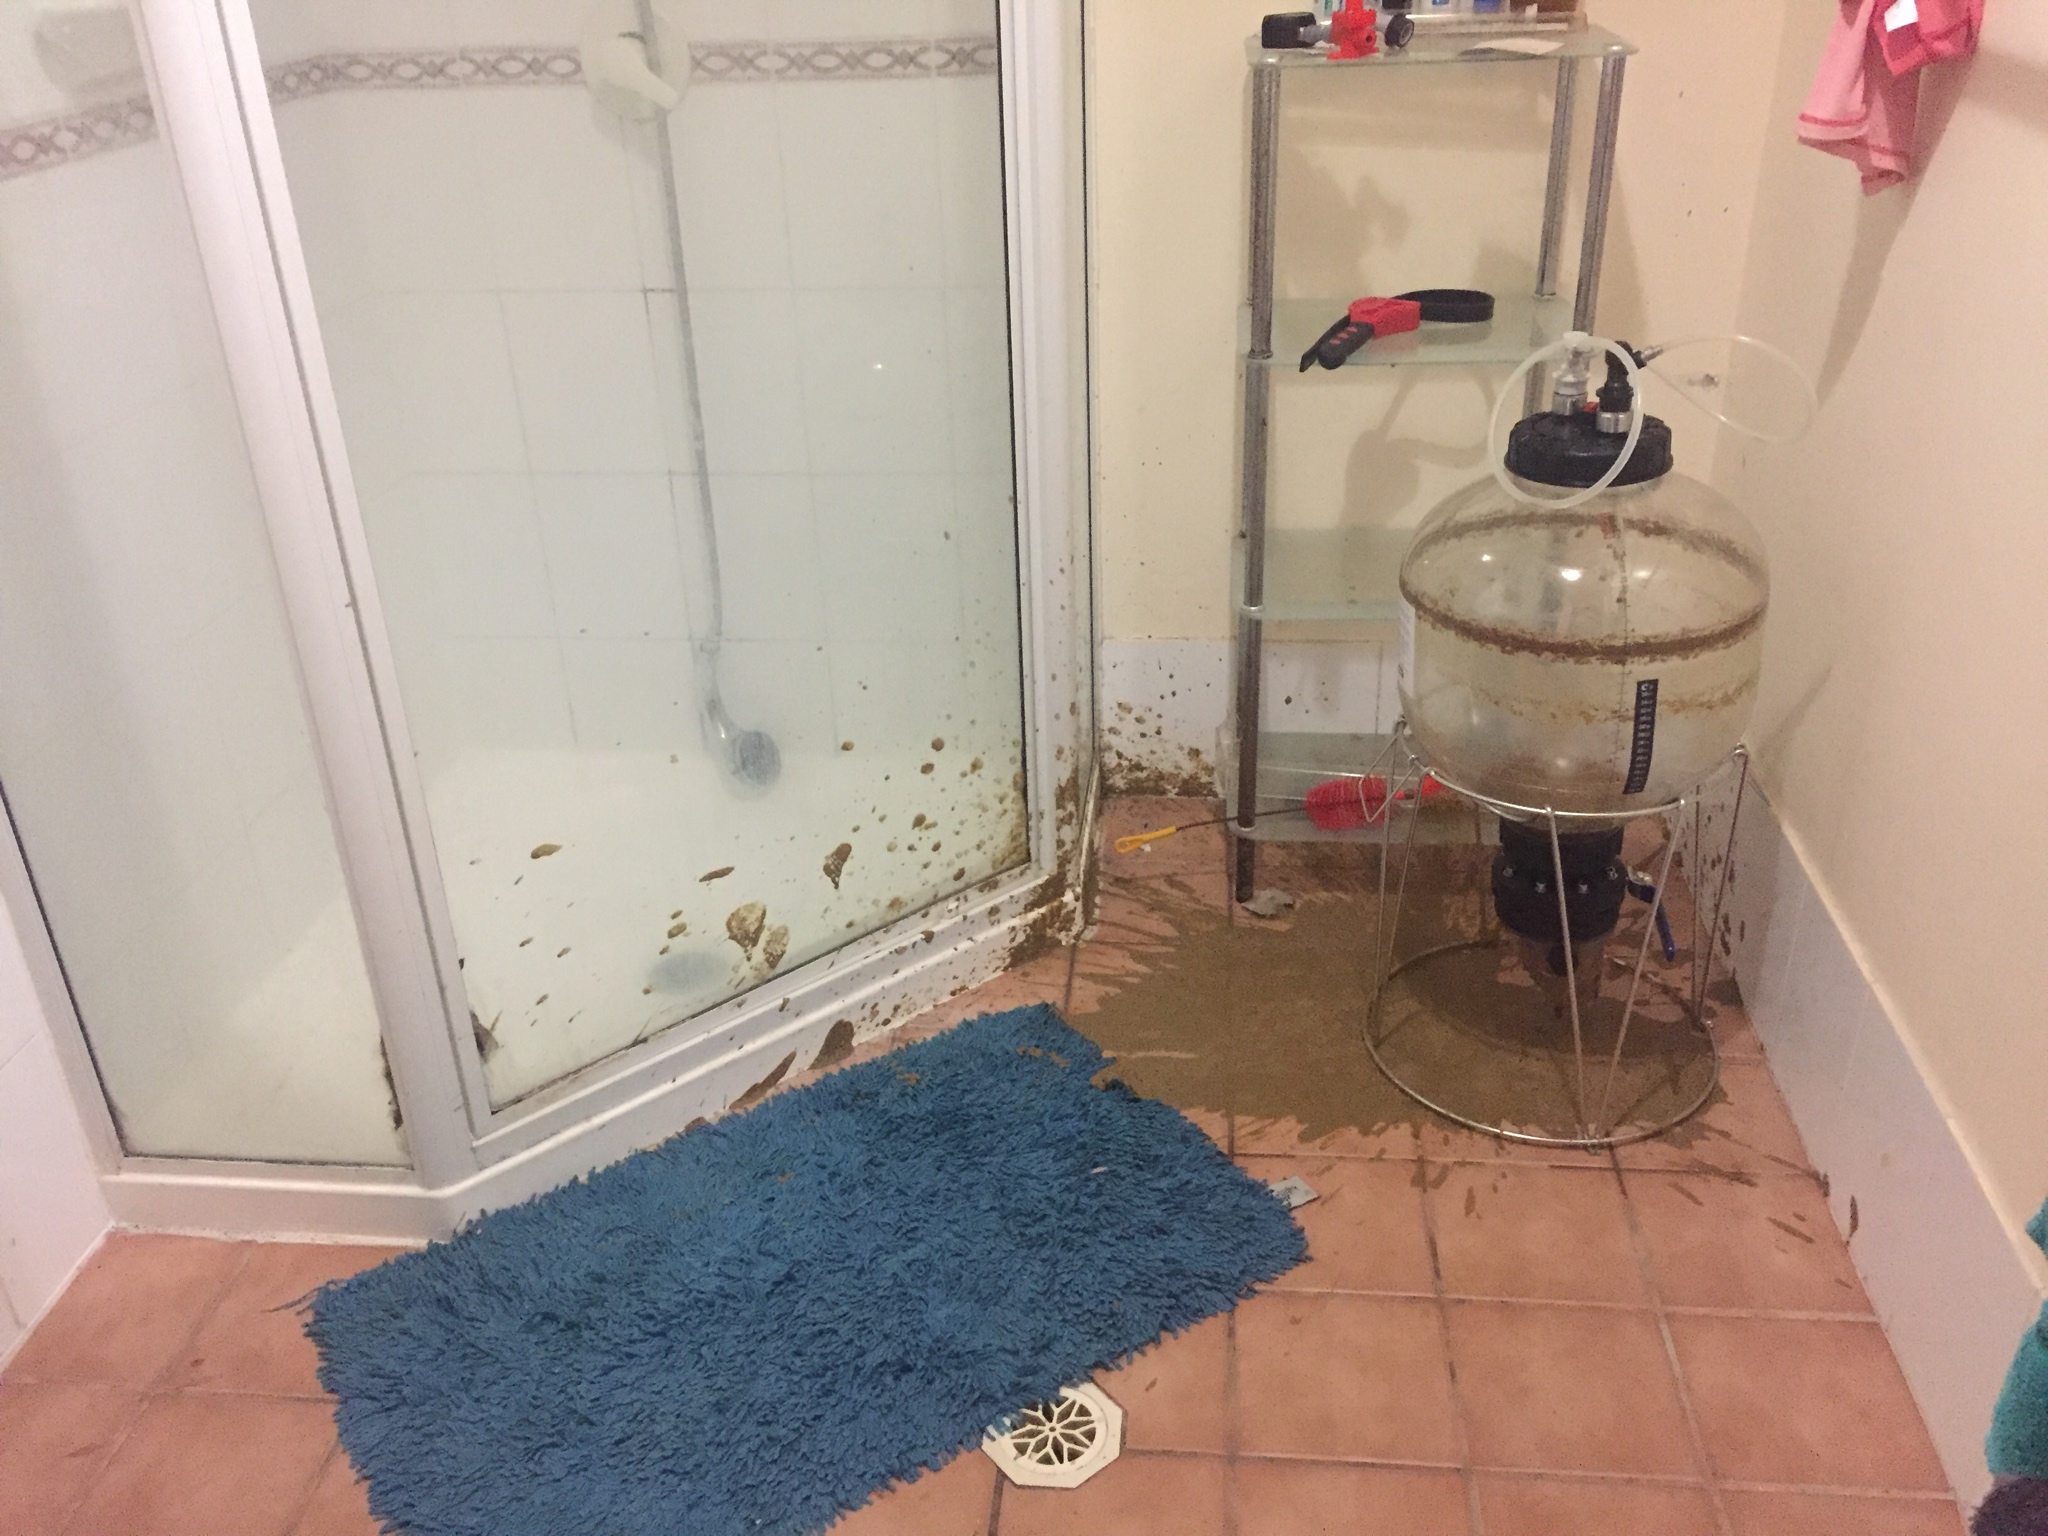
I'm a science nerd, it's who I am, what I'm paid to do and also what I'm studying. So when I saw the Fermzilla I naturally got excited, especially as I still consider myself a newbie when it comes to homebrewing, even more so as I'm still on the extract kits. Apart from the sci-fi appearance, the 2 main reasons I wanted to buy it was because I could watch the brew doing it's thing and secondly, I seemed to be useless at removing and separating sediment from my brew, so the idea of a conical fermenter with such a large dump valve appealed to me massively.
When the Fermzilla arrived, I couldn't have been more surprised by it. The reinforced stainless steel stand with handles was light, sturdy and looked good. The 27L tank was slick, weighed next to nothing and again, was easy on the eye. Once I had assembled it all, which literally took 2 minutes, I was desperate to brew because I was encouraged by an urge of confidence... And I like beer.
The christening brew would be an American IPA from a Muntons kit with some additions of Mosaic, Simcoe and Amarillo hops plus some Light Spray Malt and Lactose. As this was a kit brew, this may be irrelevant to some, if not most of you, so my apologies in advance, but bear with me.
First of all, I ballsed it up from the start. I chucked in all the necessaries with the exception of the yeast without open the butterfly value, numpty. But enough about my brew, let's talk about using the Fermzilla.
So I didn't use the pressure kit, so any of my thoughts on that would be unfounded. The reason I didn't use it is simply because I don't have a clue about it, right now I don't have the time to read up about it and lastly, because I wanted to ease myself into the fermenter and see what it's capable of first.
27L Tank: This was sturdy without anything in, but feels really strong when it has 23L of brew inside. It holds it's shape well and you can watch the fermentation process with ease and there is no reason what so ever to open your fermentation lid. The tank comes with 2 stickers, one temperature gauge and one measurement gauge which I thought was a nice touch, both being stick on meant you could then choose where you wanted them visible.
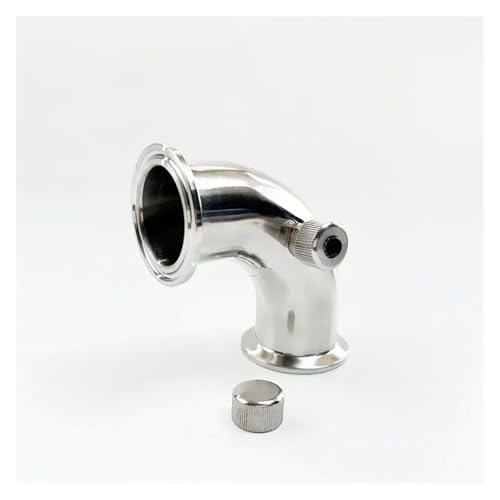
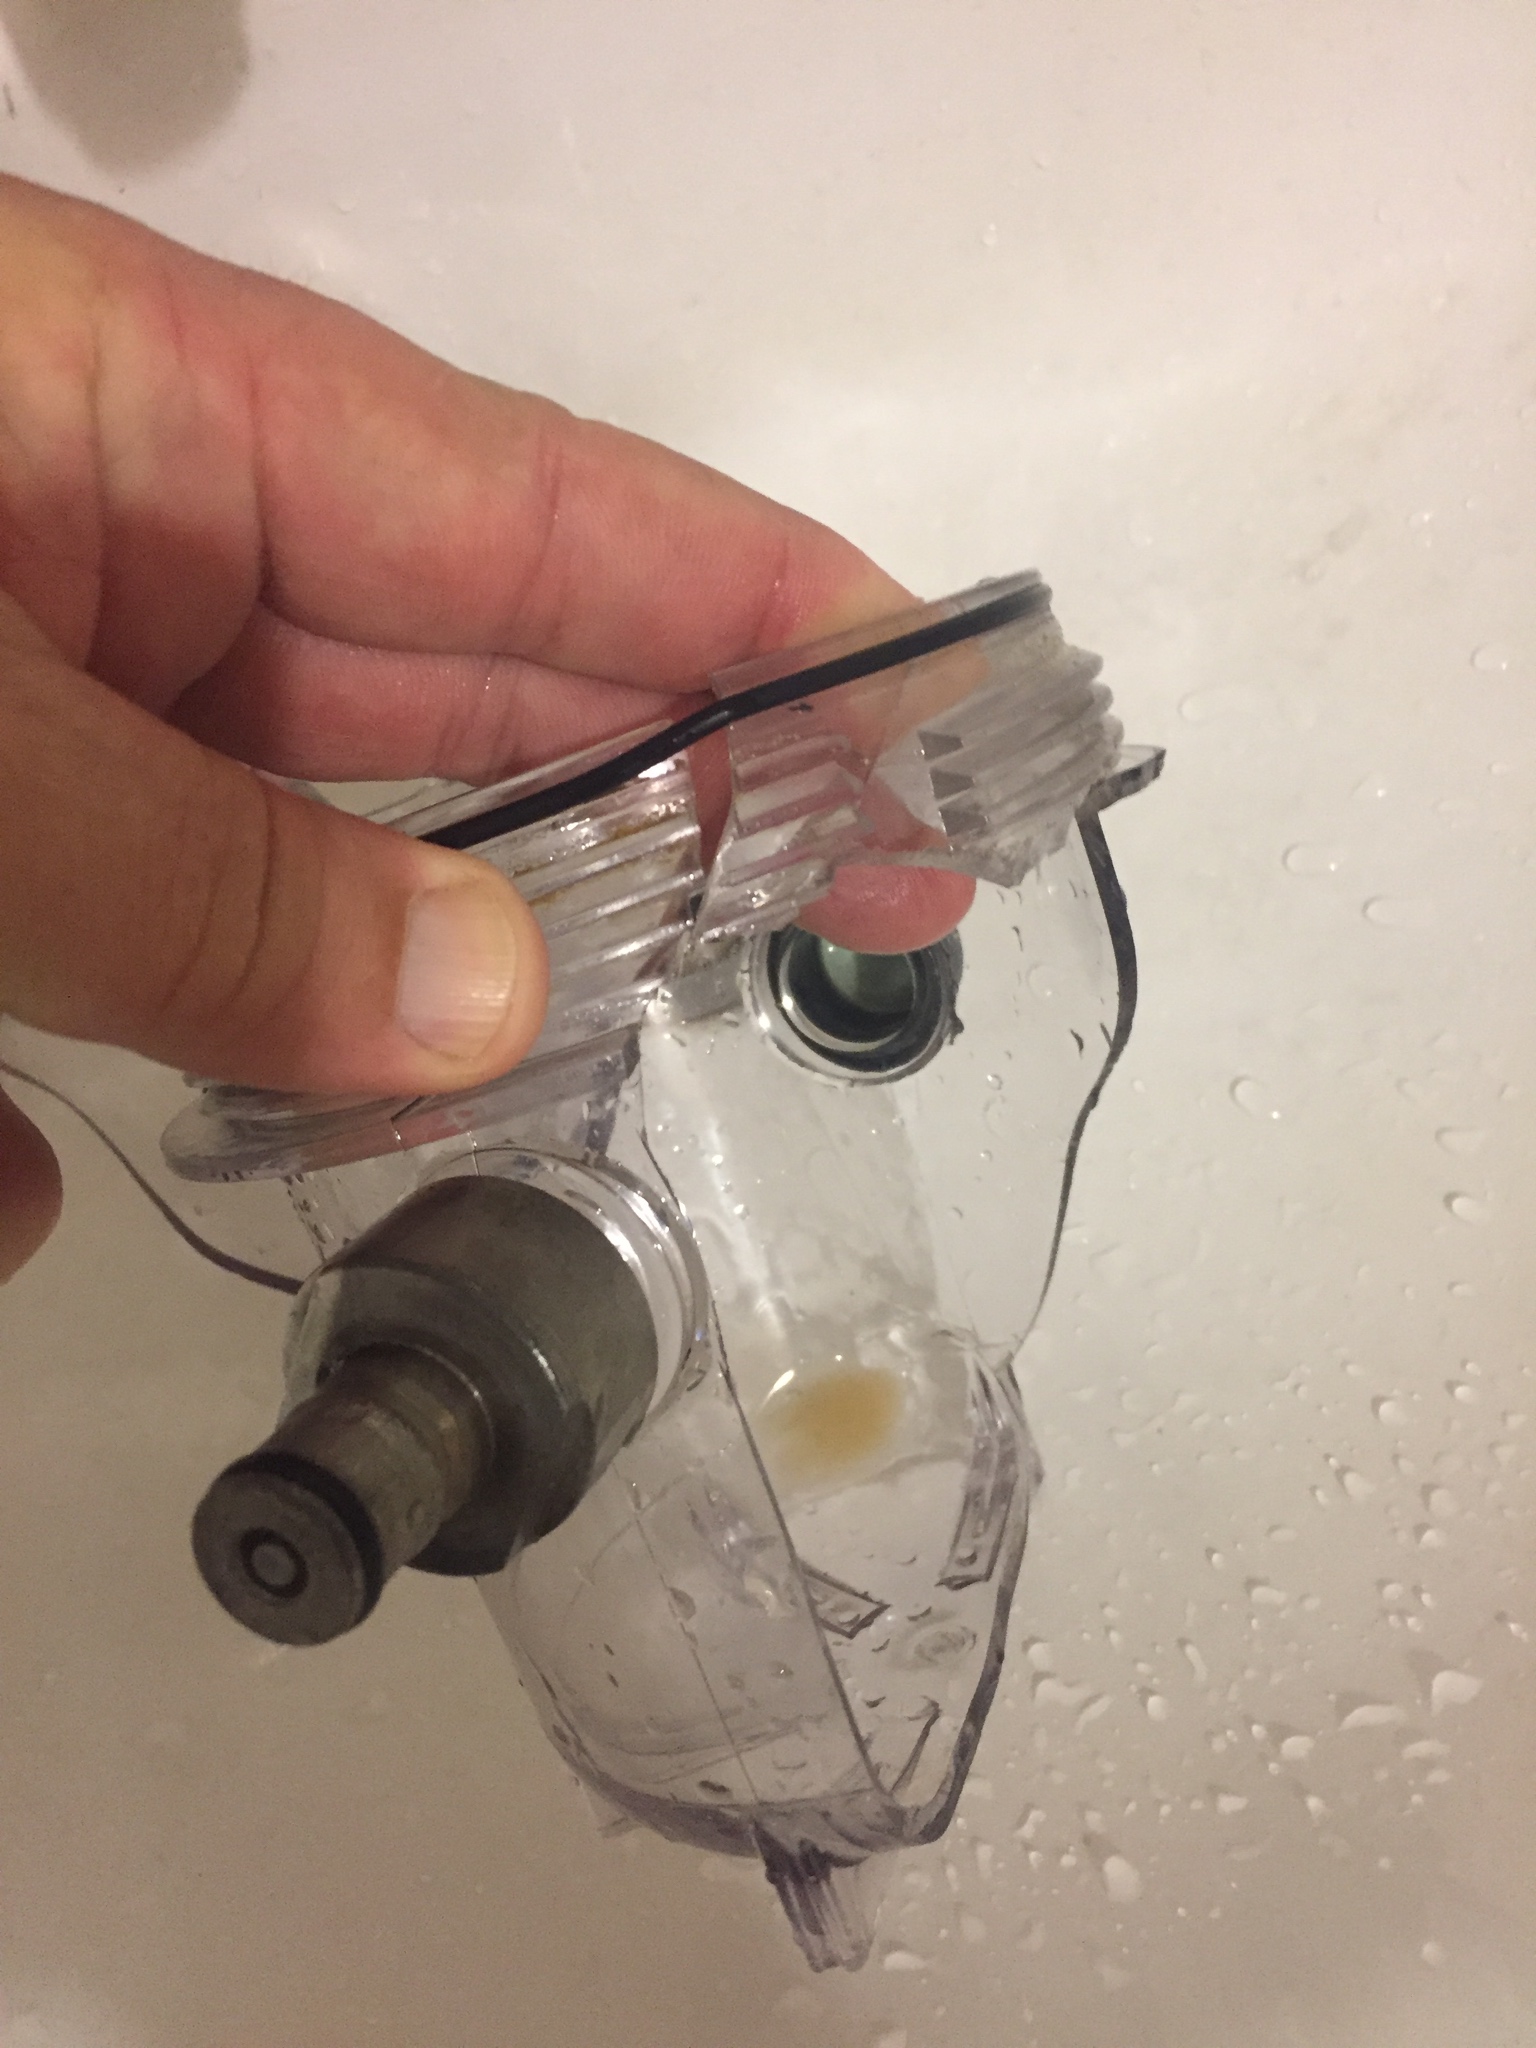
Butterfly Valve: It's huge. For collecting sediment, it's fantastic. Especially when you can see the difference of the sediment and dreg ends of the beer just sat at the bottom. Now, disposing of it... This was one of a couple of challenges. Removing the dump valve was stupidly difficult to disconnect in order to remove the collective crap at the bottom. Once the valve handle has been switch to closed and you've opened one of the side screw caps to release the naturally occurring pressure, the seal itself is still firm. You are provided with a rubber strip with handle tool to assist if necessary which is great, except the stainless steel stand is in the way and with the tank only sat in the stand and not locked into place, it means that when you try to unscrew the dump valve, the tank moves with it. I ended up recruiting my wife to hold the tank whilst I tried to get a good grip and position to unscrew the seal of the dump valve. And it's not like you can take the stand away as well, it just won't work balancing 23L of brew and fermenter on the dump valve you're trying to move.
Tank Thermo Jacket: Amazing. It looks fantastic, it fits over the whole unit including the stand, it zips easily and has a draw string at the bottom. And most importantly, it kept the temperature the same... And I checked it daily for 3 weeks.
When it came to moving the fermenter along with brew from the kitchen to my airing cupboard, it was simple. The stand comes with stainless steel handles and that made it easy to move about.
The top lid of the Fermzilla has all your pre drilled holes for numerous additions, such as pressure kits, airlock etc. But what was also useful were the caps provided for the holes that you didn't use, which meant I could open a small hole to get a good smell of the added hops. It's also worth adding that the top lid and caps are the only external thing to show if you're using the thermo jacket which means you don't need to keep taking the jacket off if you're adding things to the brew etc.
Bottling was another story. As this fermenter doesn't have a bottling wand, I knew I was going to transfer the brew from the Fermzilla to my old fermenter which has a bottling wand. Transferring using our good friend gravity was made more difficult because the Fermzilla sits proudly higher than most fermenting buckets, so required some chairs, books etc to get the height I needed for my rubber tubing to reach the secondary bucket. From there, it was easy.
This is a small review of the Fermzilla, if I've left anything out, please let me know and feel free to ask me any questions... As long as they're not pressure related!
All in all, so far, I'd give the Fermzilla a decent 7/10. I'm dropping marks for the dump value seal being such a bitch to take off whilst it's in it's stand and I can't mark the pressure capabilities as I haven't used them.


![BREWING THERMOMETER STICKERS ACCURATELY MONITOR FERMENTING BEER & WINE LIQUID TEMPERATURES 5PCS HOME BREW SPIRITS WINE LCD ADHESIVE [US]](https://m.media-amazon.com/images/I/311DDjo2X3L._SL500_.jpg)


