Yet Another Brewery Build

The Homebrew Forum

Help Support The Homebrew Forum:

This site may earn a commission from merchant affiliate links, including eBay, Amazon, and others.

MacKiwi

Regular.
Joined
Oct 1, 2012
Messages
461
Reaction score
0
Location
Fife
Ok, all of you guys have seen this countless times before, but I'm led to believe you enjoy photos. So here goes...

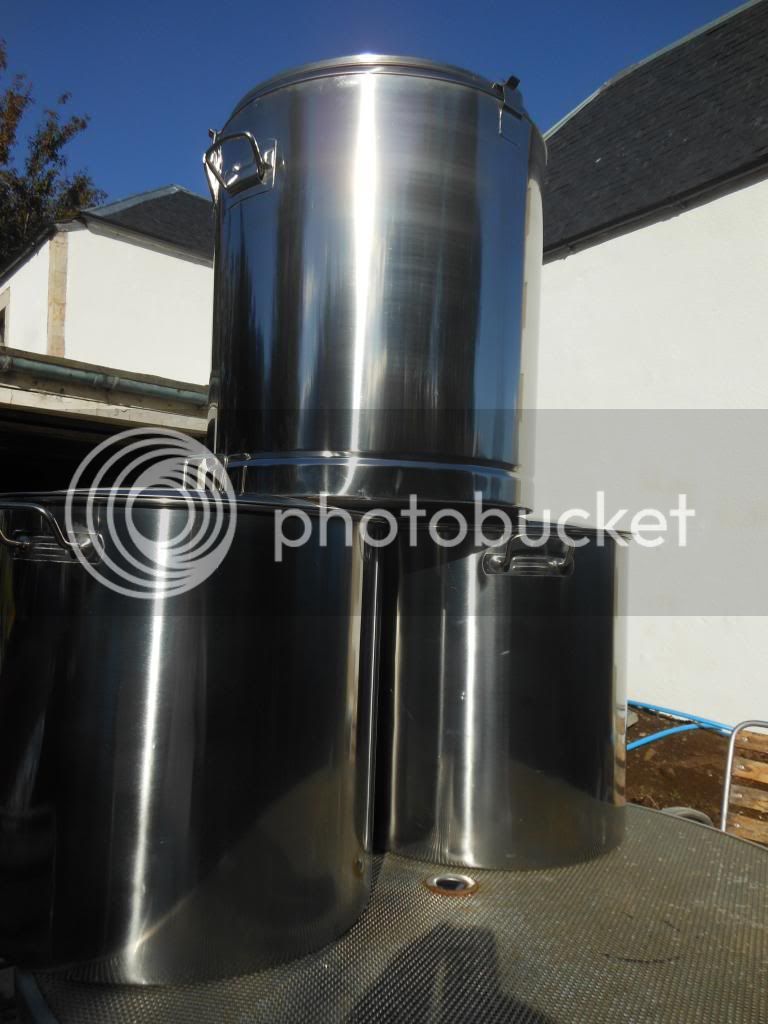
Shipment of Shiney has arrived...
DSCN0471.jpg


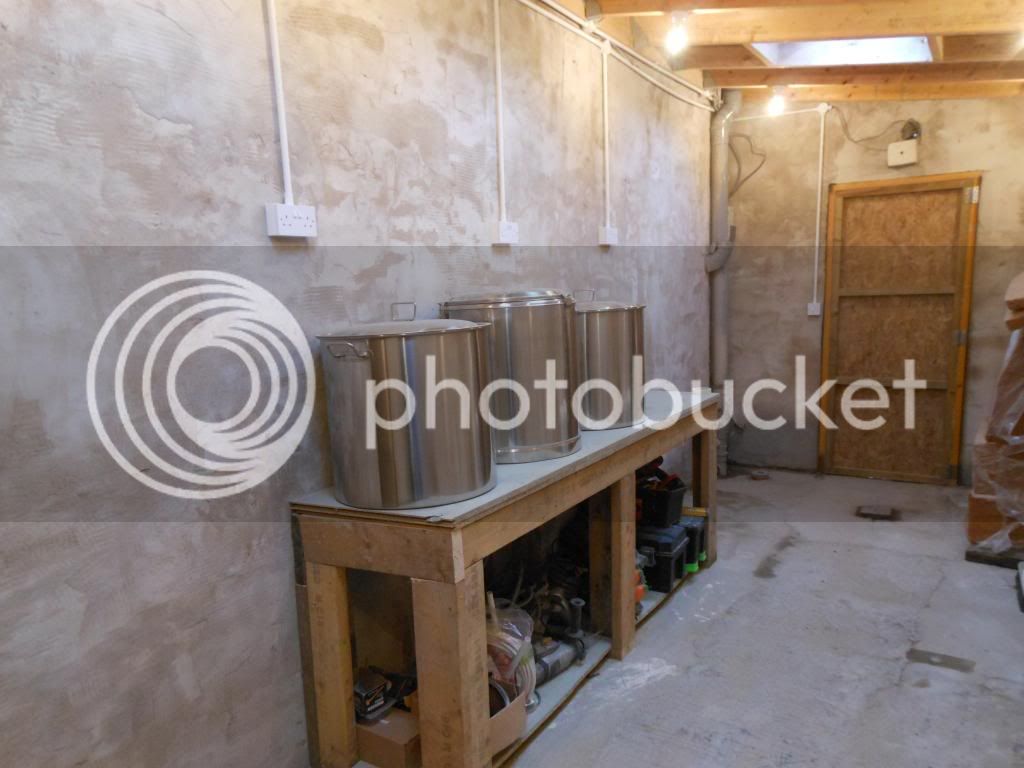
In the brew cave. It has taken a lot of working getting the shed to this point (it was totally derilict to start with), so I'm hoping building the brewery will be easy in comparison
DSCN0475.jpg


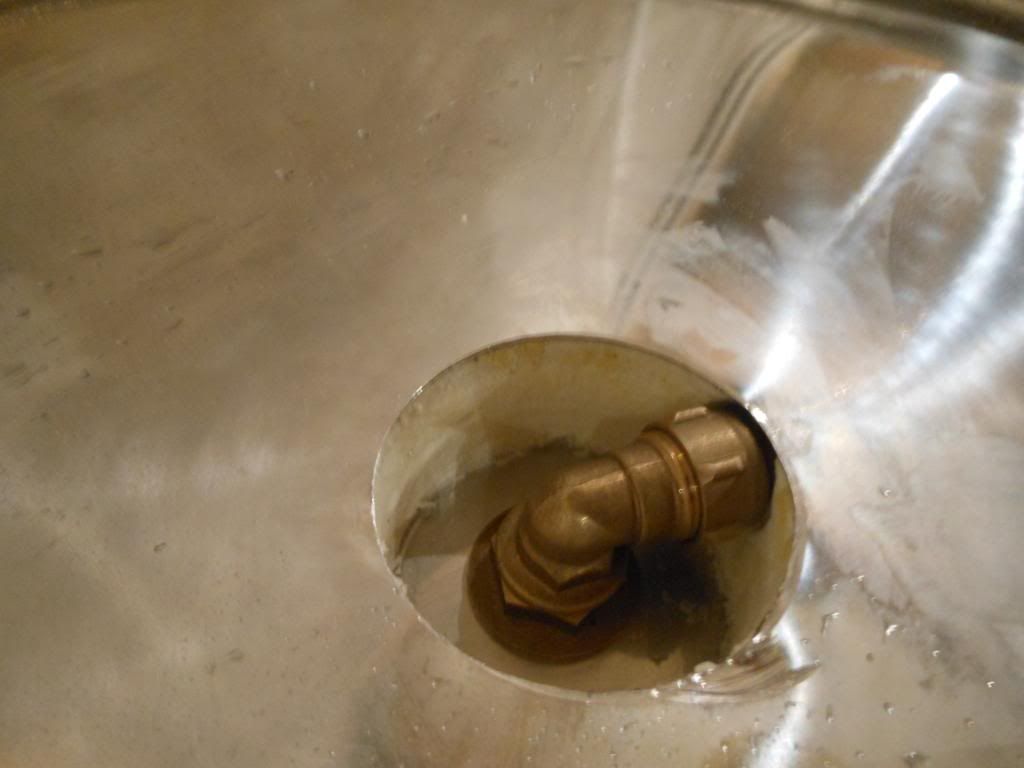
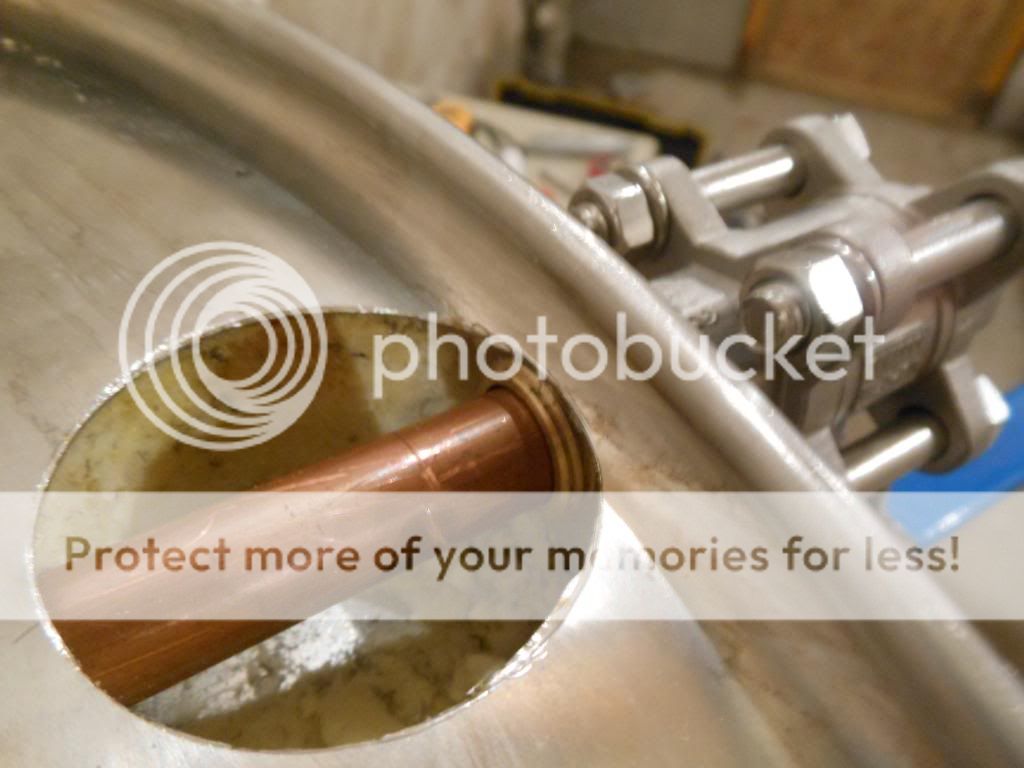
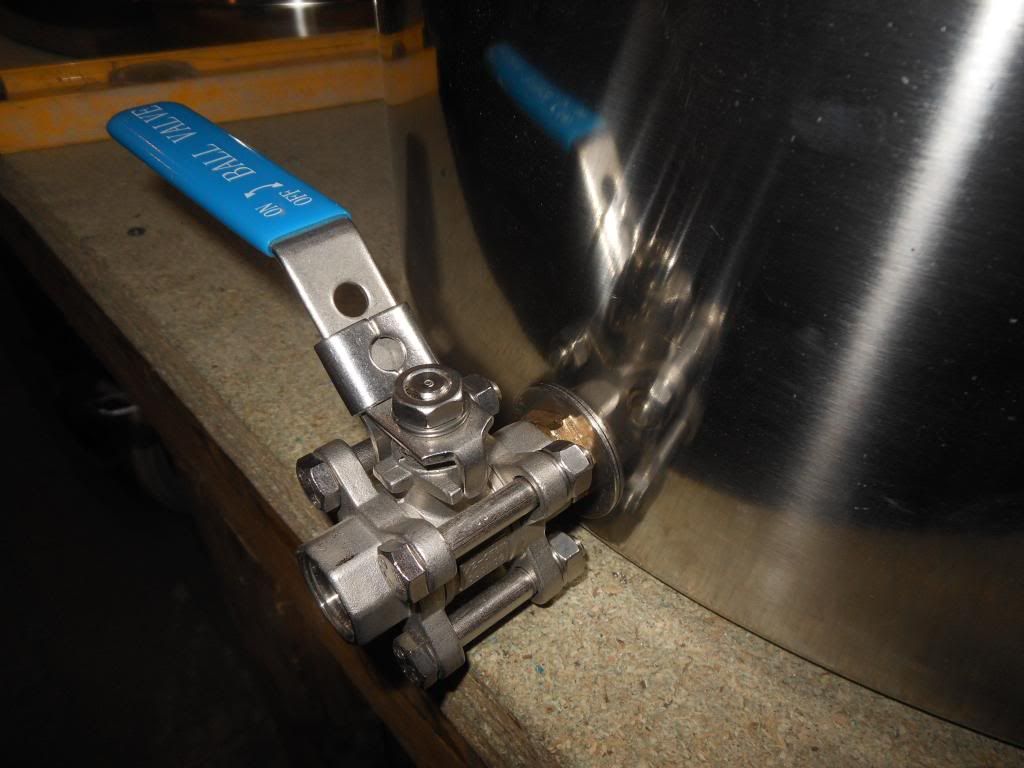
Here's my plan for attaching the ball valve. The washer I crudly cut from a sheet of baking silicon
DSCN0486.jpg


Yep, that worked out ok...
DSCN0488.jpg


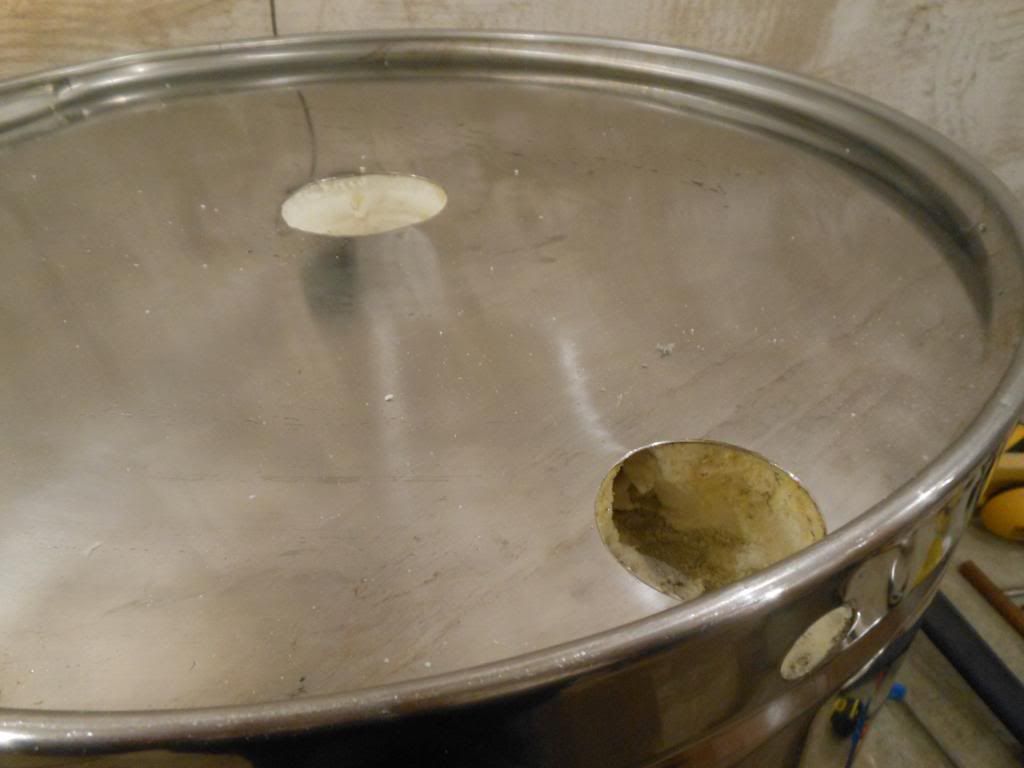
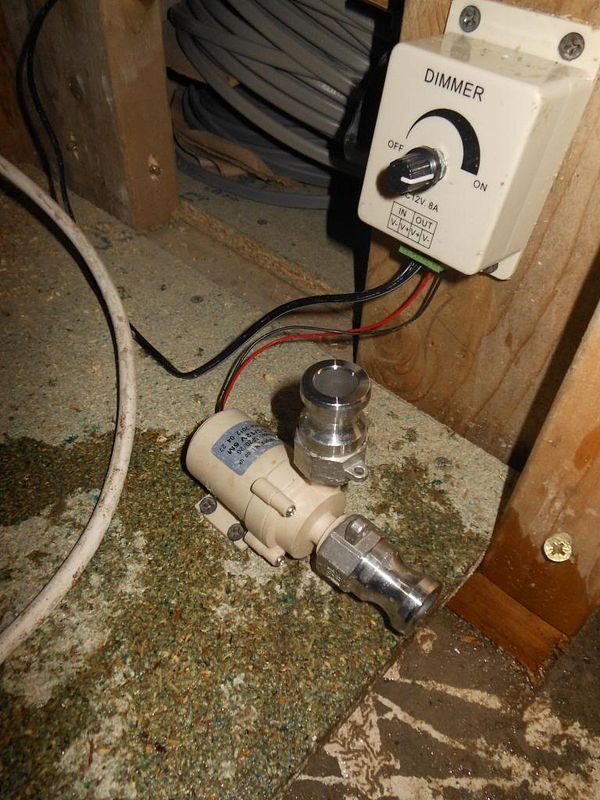
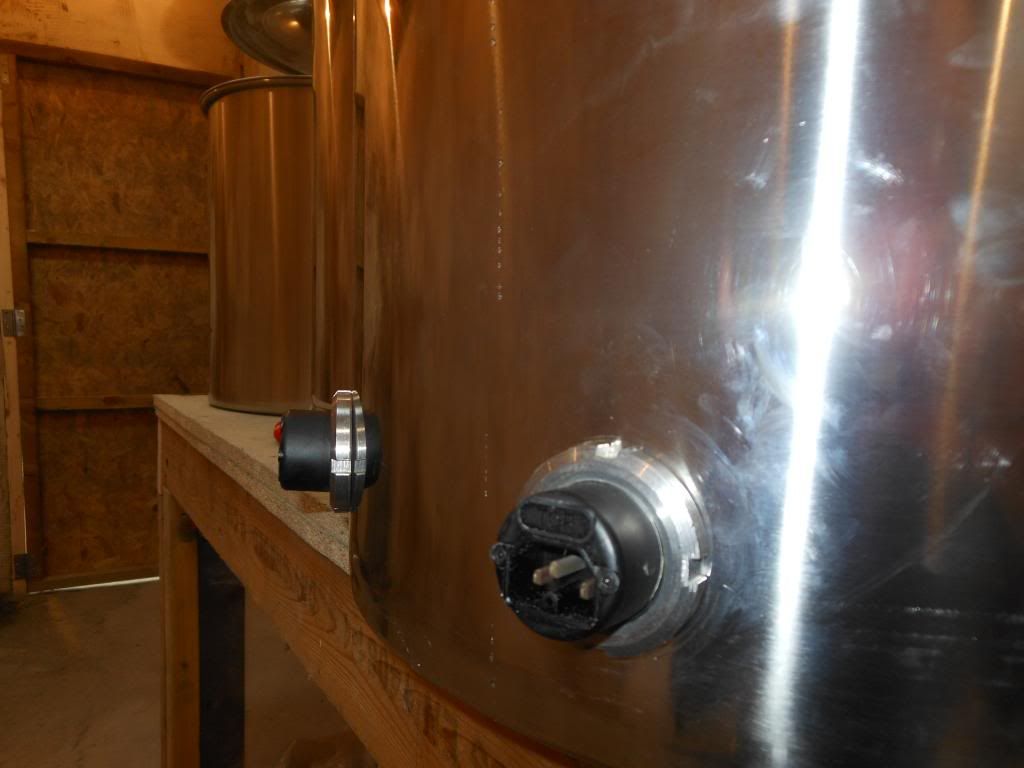
Fitted the elements. I'm not 100% happy with the lock-nuts, but they seem to holding.
DSCN0493.jpg


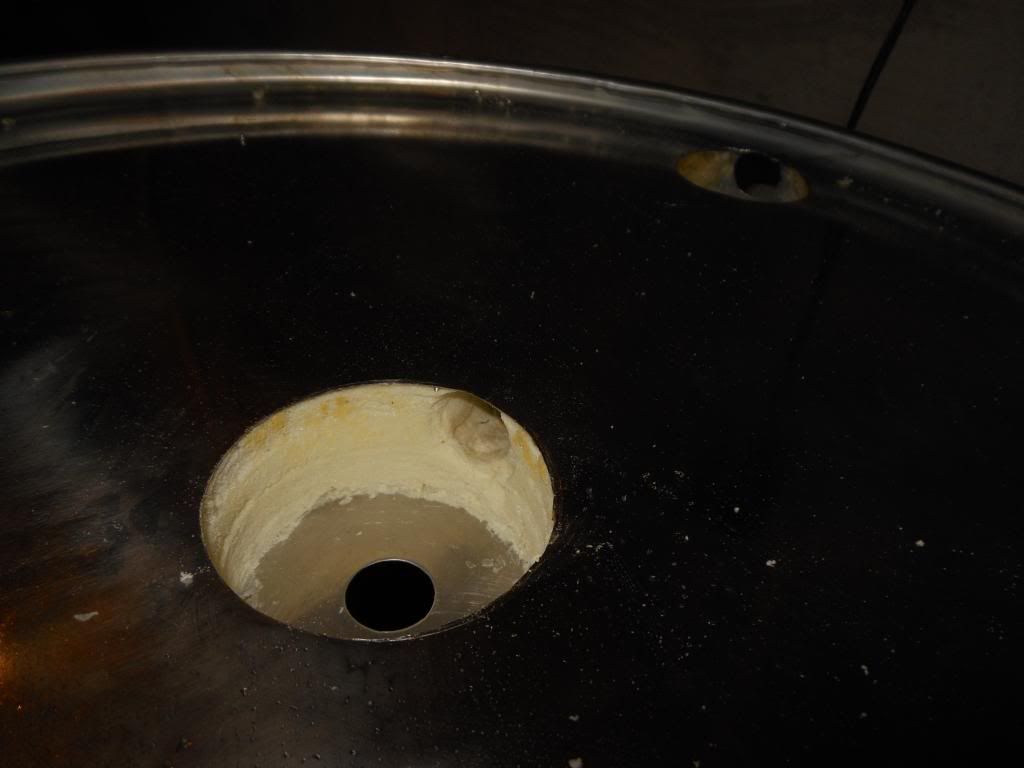
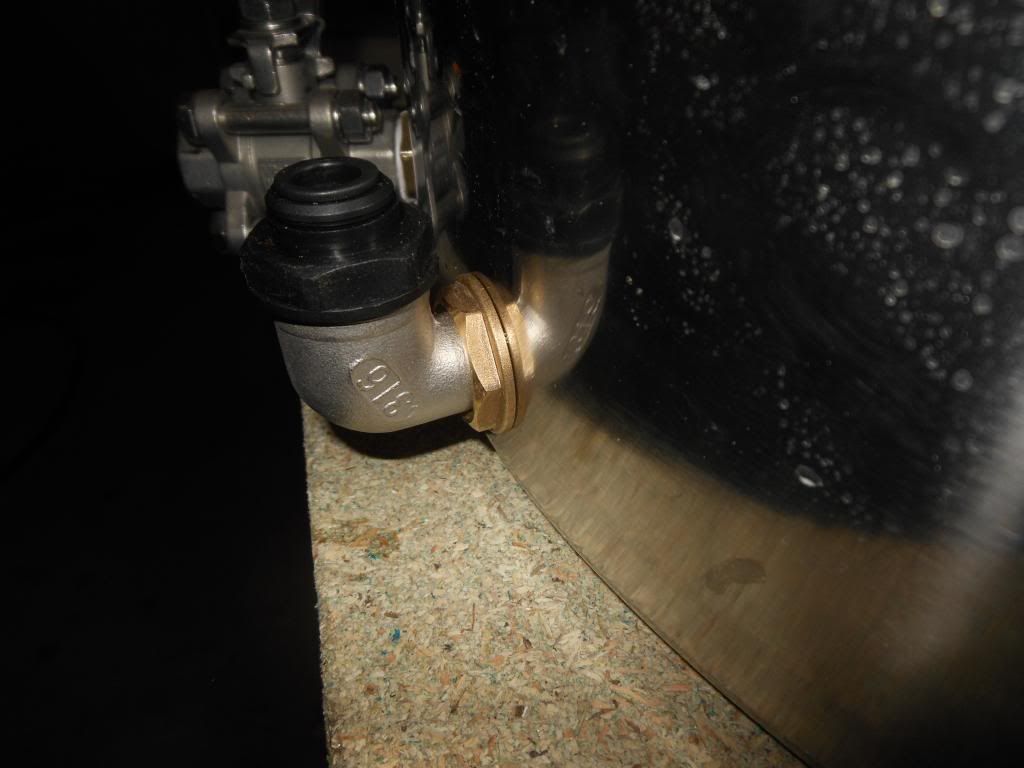
Fittings for the sight-tubes (I don't have the plastic tube yet)
DSCN0495.jpg


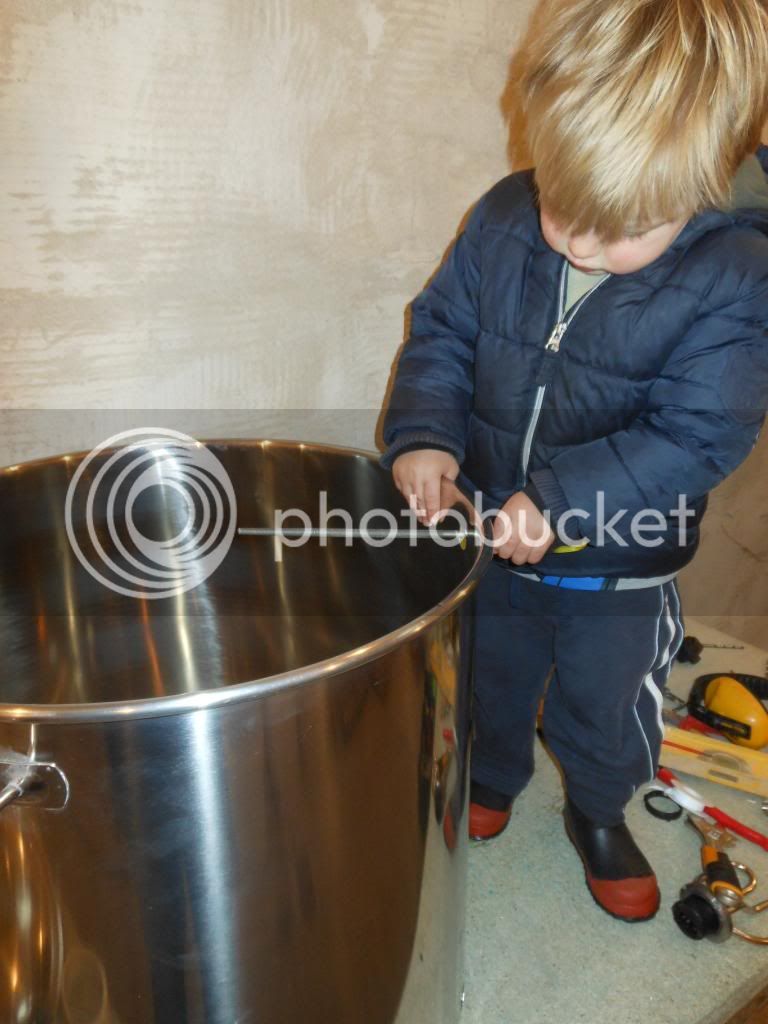
Getting some help filing the holes...
DSCN0498.jpg


The bench and doors are all made from left-over material from an earlier renovation project. Hence they are a bit rough (that and my joinery skills are rubbish)

That's all so far. More to follow...
 
Ooooh look at the first picture...............


Look at that blue sky................... :D


and the shinny things of course.
 
Keep the pics coming.

Every build is different.

Have to say I'm a bit jealous of your brew shed & blue skies.

Cheers

RD
 
Hi Baldbrewer - the two stock pots are 100 litre, and the "thermo" pot (for the mash tun) is 80 litre.

I found it is best to email the company to order - the address is [email protected] (I found the info on this forum somewere). I can recommend them, the service is very good. The specific details are...

Référence: 10221
2 x 100L MARMITE COCOTTE CASSEROLE + COUVERCLE
-----------------
Référence: 10230
1 x MARMITE THERMOS CAPACITE DE 80 LITRES ACIER SPECIAL
-----------------

The cost, including shipping, was a little under £200. I guess this will vary with the exchange rate.


Baldbrewer said:
Lovely stuff ! What size are the pots?
May I aske how much and where from?
Chrimbo ideas! Will beat dodgy jumpers and socks! ;)
 
piddledribble said:
Ooooh look at the first picture...............

Look at that blue sky................... :D

I live in Scotland, I have no idea how I managed to get blue sky in the photo!!!
 
Vossy1 said:
Nice work MK :clap: :cool: ...don't be worried about those KM8's they're going no where :grin:

Quite right, I'd recommend them to anyone using these elements. The element itself is reasonably robust, but comes with a tiny plastic lock nut. It's only a few more quid to add the KM8 lock-nuts, which are extremely solid.

I think I've figured out my problem. My q-max cutter is a shade too small, and I was too lazy to file away enough of the hole. The element wasn't sitting flush, and the KM8s are quite a loose fit on the threads, so I was having trouble getting a seal. So having filed the hole a bit more, and adding PTFE tape to the threads (thanks for the suggestion Mark1964), everything is now rock solid.
 
I've run out of some of the plumbing odds and ends I need, so while waiting for fresh supplies to arrive, I attacked the mash tun.

It turned out to be easier than I was expecting...

Firstly, I turned the mash tun upside down and used a hole saw that I had laying around to cut out the centre and remove the insulation. Then a 20mm qmax cutter to make a hole to the inside...

DSCN0499.jpg


Then at the edge I repeated this with a smaller hole saw, and this time the qmax cutter hole was made out the side...

DSCN0502.jpg


I pushed a length old 15mm pipe through the insulation so that there was a little tunnel linking the two holes.

The plan is to use this 15mm to 1/2" BSP elbow with a large flange nut fitted to the end sitting flush on the bottom of the tun, and use small bolts to hold it tight (ala Vossy's how-to, but I hope to use a silicon washer instead of JB Weld).

DSCN0506.jpg


And then that just feeds into a 15mm copper pipe which goes out the side of the tun.

DSCN0509.jpg


This is just a mock-up, as I don't have all the bits I need yet. But it seems to be coming together ok...

Then I spent the rest of the evening making up 4 leads for the kettle elements. zzzzzz
 
Getting ready for a trial brew this weekend...

The mash tun's bottom drain is working, complete with camlock fittings on the ball valve and Vossy's silicon hose...

DSCN0520.jpg


I have a single solar pump with camlock fittings so I can change hoses and use it for a variety of purposes. The pump is even smaller than I expected, but it does the trick (shifts around 10L/min). The PWM Led controller does work to control the speed, but has a very narrow operating range (you move the dial a few degress and it ramps from fully off to fully on), so I'm looking for a better solution. It only cost a few quid so I can't complain...

DSCN0518.jpg


All lined up and ready to go!

DSCN0516.jpg
 
Back
Top