Tonight / Tomorrow will mostly be spent making a fermentation fridge!

The Homebrew Forum

Help Support The Homebrew Forum:

This site may earn a commission from merchant affiliate links, including eBay, Amazon, and others.

Tim1975

Active Member
Joined
Oct 4, 2016
Messages
99
Reaction score
30
Location
Romsey, Hampshire
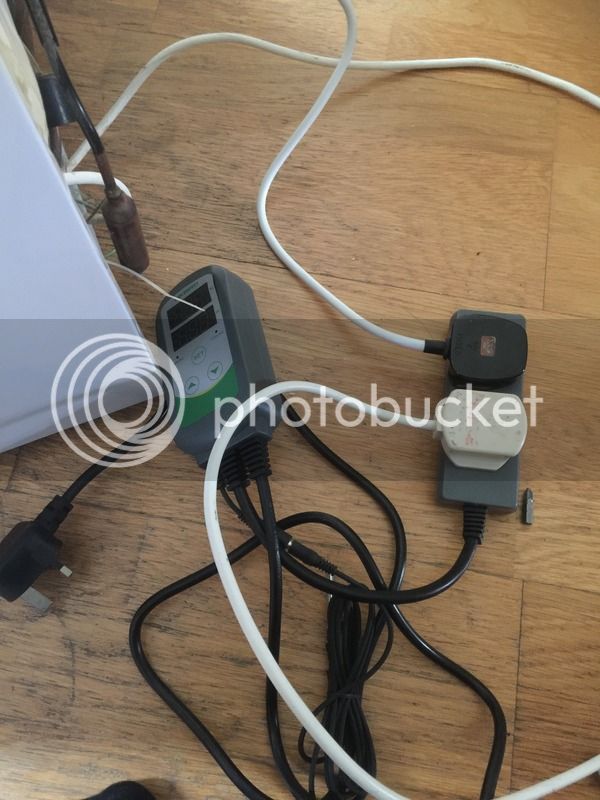
I want to make a proper lager with proper lager yeast so have been slowly amassing the bits for the fridge, tonight I pick up the final piece of the jigsaw the actual fridge! So armed with a tube heater, an Inkbird my trusty screwdriver and dremel I will be making the fridge up, wish me luck :mrgreen:

Tomorrow will mostly be spent getting a brew on and filling the fridge :thumb:
 
Nice one, hope it all goes well. It's probably the best thing I've done to improve my brewing. No more worrying about room temperature etc.
 
Take some piccies as you go along! I really enjoyed making mine and all the forum browsing that went beforehand. No more worrying about fermentation temperatures!
 
It took about an hour, was super easy and I would reckon the whole thing cost ��£60, I can't fire it up yet because the fridge was transported home on its back but I can fire her up tomorrow. As requested some pics:

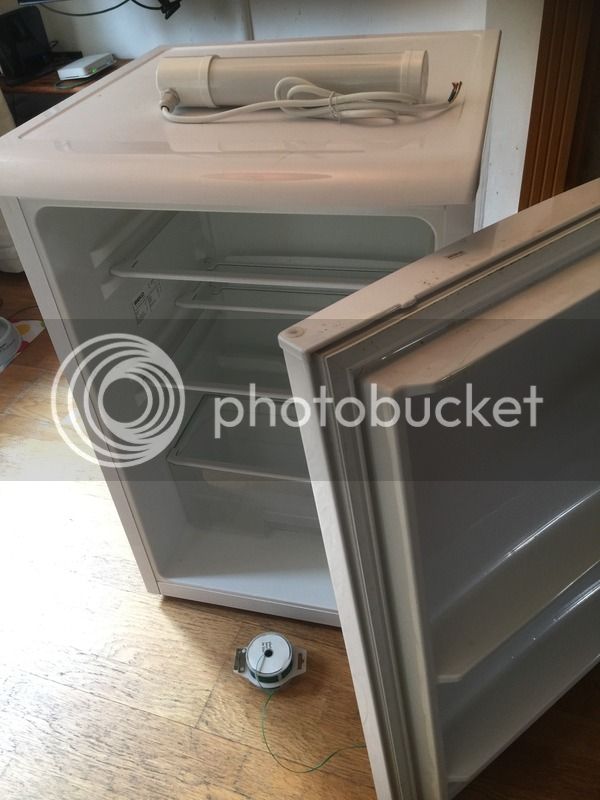
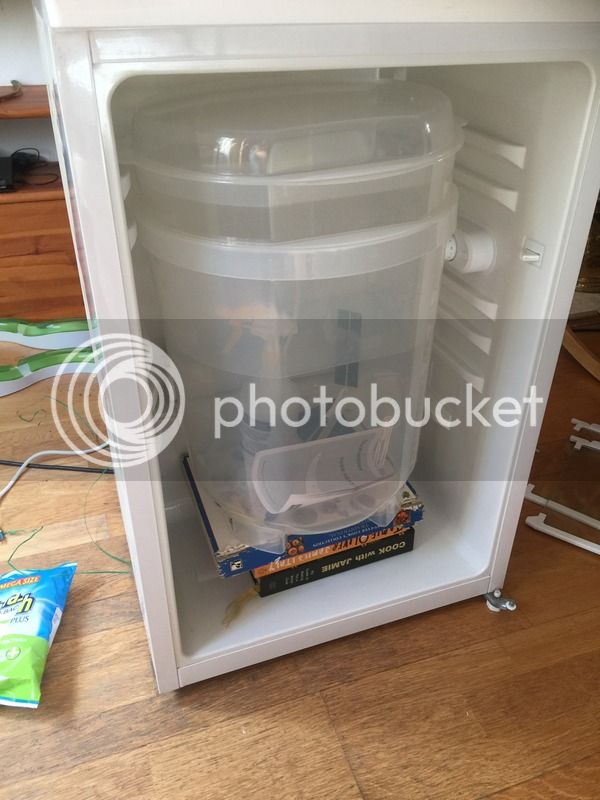
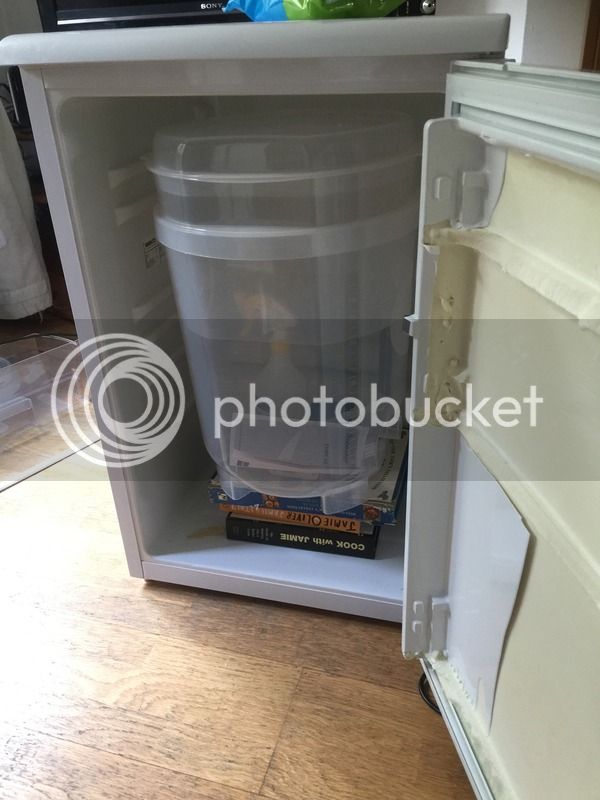
First Things First - Blow them bloody door(s) off :mrgreen:


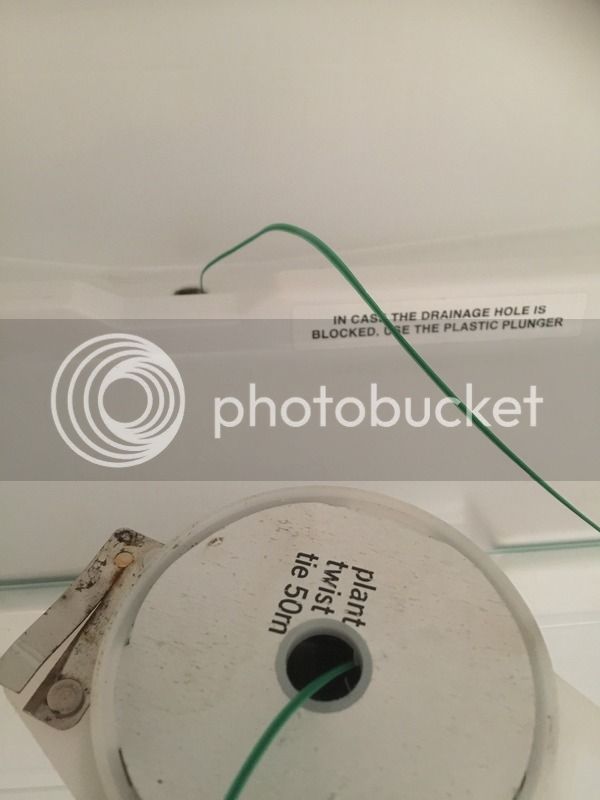
Next thing is how to get the wire from the heater to the outside without drilling through any gas pipes! Use the drainage hole of course, bit of garden wire, attach to the wire and pull through :thumb:


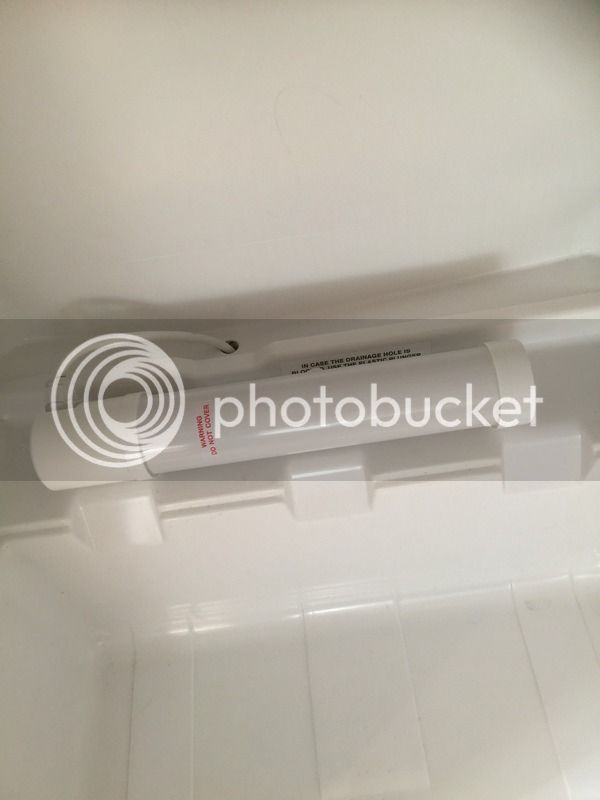
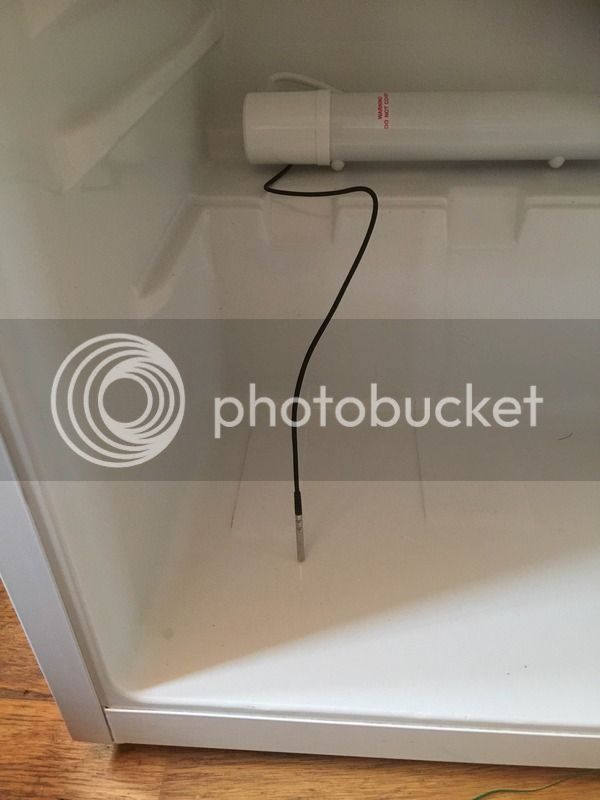
Test fit the 1ft heater and attach the bracket:


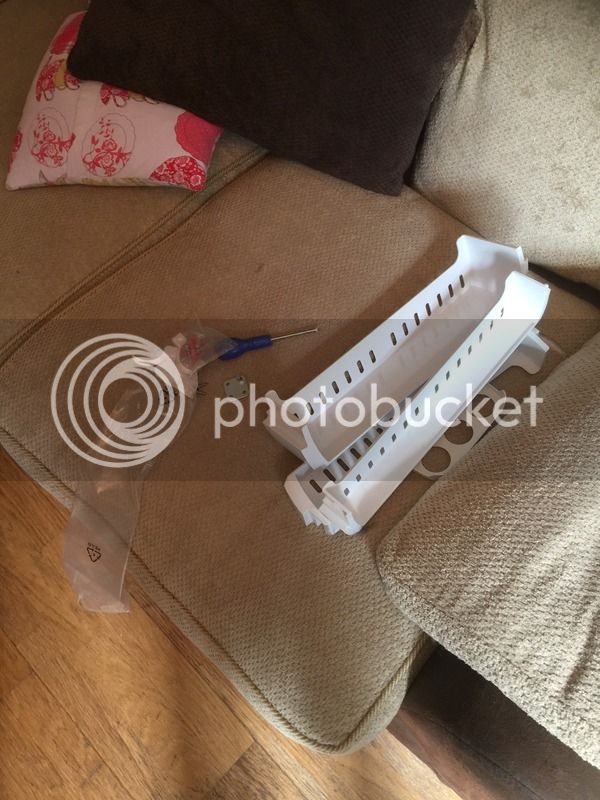
Don't need any of that door furniture, rip all that out


Test fit the FV, I will be getting another one but this will do for the moment, need to replace those Jamie Oliver books with some wood :lol::


Plugged in but no power until later on due to fridge settling:


:thumb: Bob's your uncle, Fermentation fridge :thumb:
 
Nearly forgot something!!! The temp probe, used the same wire method but in reverse and used the drainage hole again, needed some persuading but it went through in the end:


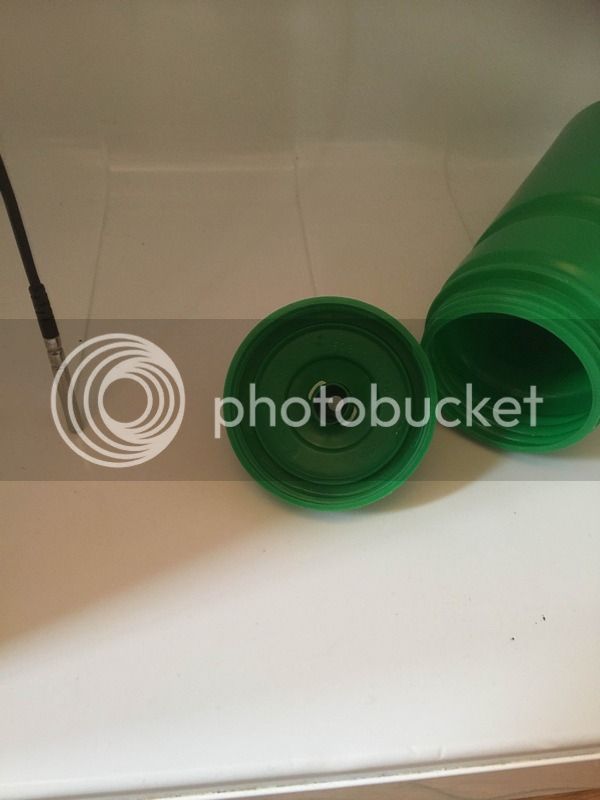
Next thing was a separate container for some Star San for the probe to sit in, I found an old water bottle, gutted the top mechanism:


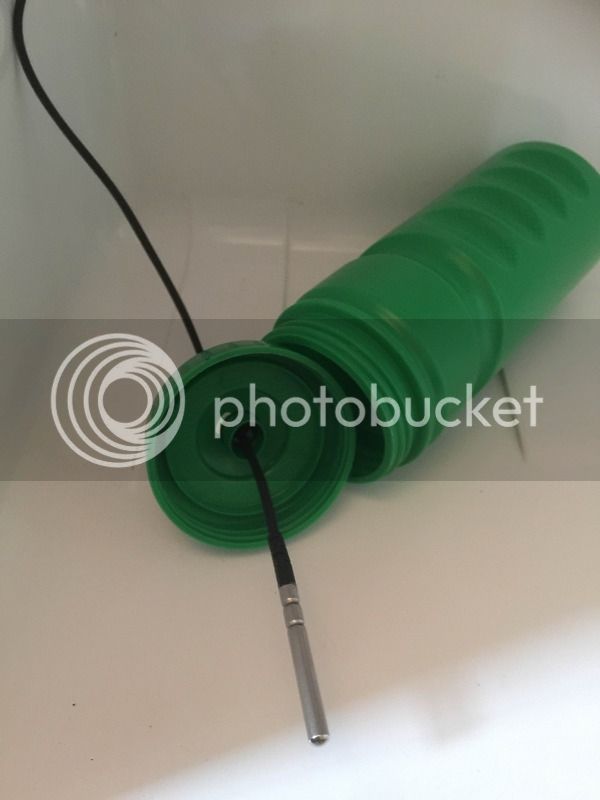
Put the probe through the top:


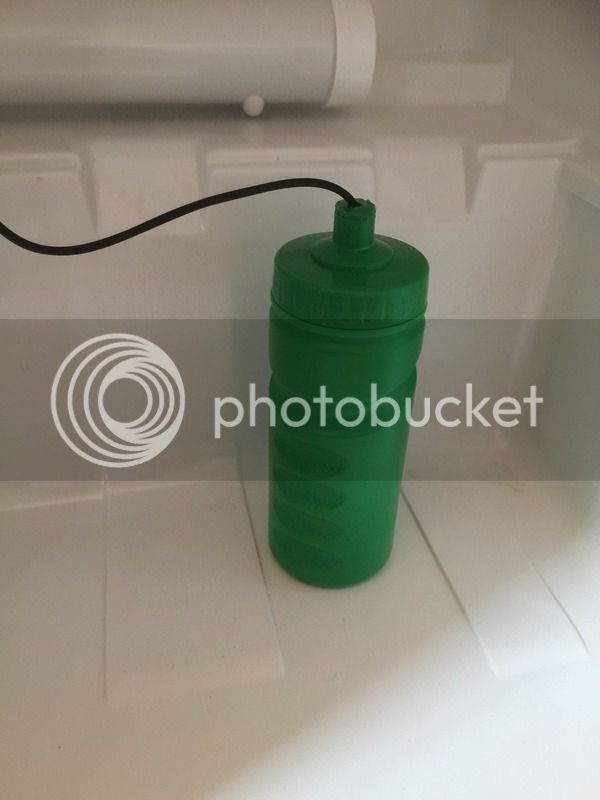
And screwed the lid up, I will attach this to the wall of the fridge when I get a moment:


An additional 10 mins work for the temp probe :thumb:
 
Nice little project, is the idea of the probe sitting in starsan so that it can be moved to measure the actual fermenting temperature or is staying in the drinks bottle to measure the ambient fridge temperature?
 
Great job.
A bit tidier than mine.
I just used blu tac stuck to the side of my FV for the temp probe.
 
the bottle will be the same temp as the fv, it saves putting the probe directly in to the fv,all so the if the probe is left in the fridge air, the temp will fluctuate rapidly,from heating to cooling, the heater and fridge fight each other a little. this prevents it happening.
 
the bottle will be the same temp as the fv, it saves putting the probe directly in to the fv,all so the if the probe is left in the fridge air, the temp will fluctuate rapidly,from heating to cooling, the heater and fridge fight each other a little. this prevents it happening.

The reason I asked is the fermentation generates heat perhaps one of two degrees initially, less as fermentation slows down so the probe in the bottle will be measuring ambient temperature surely, not the same as temp as the fv?

I would of thought it would be better to stick the probe to the outside of the fv then place insulation around it so that the controller is measuring the actual brew temperature and without the infection risk of placing the probe in the vessel. Just my suggestion, I think that would work better.

I see your point here, my thoughts are that the yeast requires the liquid in the FV to be xx temp so the most accurate way of doing that is using a liquid to simulate that. A probe on the outside will measure the temp of the plastic which will always heat up and cool much quicker than the liquid.

I may be wrong but those were my thoughts
 
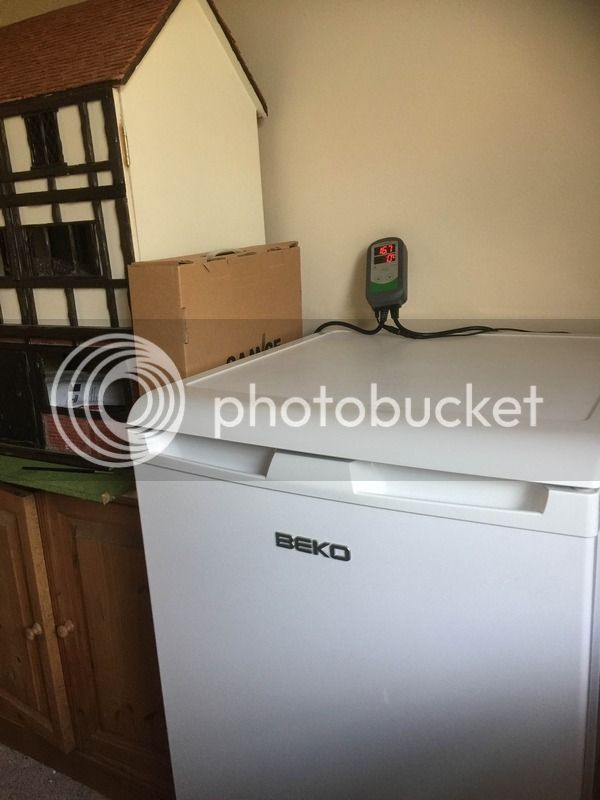
One last pic of it all up and running, the Inkbird makes it so flipping easy to get it all right, done a heat test and now doing a cool test with some liquid in a container, the bottom value actually says 12.0 but the iPhone didn't pick it up. Excuse the house to the left, this is the missus and her doll's house she has been building :mrgreen:

 
Back
Top