The Camel Toe Brewery - Ongoing - From the Start

The Homebrew Forum

Help Support The Homebrew Forum:

This site may earn a commission from merchant affiliate links, including eBay, Amazon, and others.
That duck tape is very waterproof. Amazing stuff really, Mythbusters did a thing on it once where they built a boat out of a wire frame and duck tape, then took it sailing.
 
I did some basic temperature tests earlier and this is what I came up with


Half filled the tun (about four gallons) with water at 76 degrees. Left it for ninety minutes and then had a reading of 69 degrees. This was quite a big drop but then realised that I hadn't warmed the tun before :oops: .

Left it another ninety minutes and it only dropped 3.5 degrees. I'm thinking that if I had warmed the tun previously and had more water in it the initial drop of 7 degrees would have been much less.

The lid of the tun was a little too warm for me so I will be insulating the lid with more shiny camping mat.

Based on these figures, is there much difference with your own holding temperatures. Also what strike temperature should I be looking at.

Cheers Neil
 
aneray said:
Thanks for that CB, a little more reassured now :thumb: .

When i did the hot water test on mine 1 lost 4 degrees over 90 minutes, when i did my first brew it was 0.5 degrees. When i did my 3rd brew it gained 1oc over 90 minutes, but on that one i wraped a quilt cover around it.
 
Just wondering how the mash could increase in temperature. Is it the reaction of starches turning to sugars :wha: .

Now the tun is complete I will be starting the boiler tomorrow. A friend has given me a virtually brand new 8 ( or could be nine ) gallon aluminium stockpot. The pot is 4mm thick and I am wondering if I could just drill a 15mm hole in it for the ball valve and strainer, or whether I would have to use a Q max cutter.

I know these questions are a little basic, but I really can't afford to bugger up a new stockpot. Also, how far up the pot should I drill the hole.

Cheers Neil
 
mashing is exothermic but not massively.

you can use a drill on alumimium as it doesn't surface harden. and at 4mm thick probably easier then a cutter if they can cut that thickness
 
Thanks for that Prolix. A little tired now seeing as though I was up until the early hours reading up on exothermia !!.

This brewing game is really getting to me at the moment, I think I need to go into rehab. This morning I dragged the kids to the local carboot/market. After devouring eight really hot sickly sweet doughnuts between us I found this one


PIC_0645.jpg


Another cooler box ready for a conversion. It holds 60 pints with a few inches spare and cost two quid. He wanted three but I do love to barter. It will have to be stripped down and insulated again because its one of those with sheet polystyrene inside. This one should be ideal for my stronger brews.
 
Due to slipping two discs for the second time its been a while since my last post regarding my build. Today I finished my boiler but I seem to be a little concerned about the massive 4 litre deadspace left over at the bottom of the boiler.

The obvious main reason is that the tap is a little too high. As a strainer I have used one of those flexi tap fittings with the centre rubber tube removed, but I am now thinking this might have been a bad idea.

When I had a large deadspace problem with my mashtun another forum member suggested filling the bottom of the tun with marbles and I am now wondering if the same problem could be solved with my boiler.

I have recently advertised on freecycle for some marbles and the offers keep coming so there is no problem with how many I need.

Anyway guys, here are a few picks of my boiler and I hope your expertise can help once again.


PIC_0709.jpg


PIC_0710.jpg


PIC_0711.jpg


Cheers Neil :thumb:
 
loose the dead space with the siphon principle, get a few copper fitting inside to take it to the bottom then attach the mesh and it will drain all the way, well Hero thought so.

Oh and I hope your back is better or you'll be needing pumps so as not to shift heavy vessels.
 
Hi Neil, nice to see you posting again and hope the backs on the mend.

Similar to what prolix wrote

DSCF4090.jpg


Just add a short bent length of 15mm copper to reach the bottom
 
Thanks for the advice Prolix and Sean, appreciated. I have just tried both ways of reducing the deadspace but it is still really high.

I'm going to bite the bullet and change the setup of the strainer tomorrow.

The tap connected to the stockpot is 2 inches from the bottom. I will pop down to B & Q and buy enough quarried pebbles to make a layer just underneath the tap on the inside with enough space left to be able to snugly fit in a perforated false bottom. From there I will attatch a straight compression joint onto the tap and the other end will have a piece of 15mm copper pipe with small holes drilled into it and cap the other end off.

My thinking is that the copper pipe will be resting on the false bottom leaving all the trub and slop under the false bottom giving me more clearer wort. Cleaning will be easier because the length of copper pipe with holes will only really need to be handtight and the endcap will just be pushed on.
 
Post some pics of how you get on, my dead space isn't the best, probably leave 2litres behind
 
I think its really about time I gave an update on my brewery build :oops: .

Even though I have been a regular on the forum for the last thirteen months, there has been no update to my brewery build in this time. The only reason I have for that is the continued problems with my back and been in and out of hospital trying to get it sorted.

As far back as last Summer I started collecting free wood from around the area with a view to building a decent size brewing shed in my garden. A lot of it came from a local skip hire company who was only too pleased to give it away, and if I wanted to stock up on firewood, they have offered to drop a skips outside my home for free. The main covering for the frame are old shed/coalhouse doors which I picked up late last year on a housing estate a few miles away. I wanted to do this as cheap as possible, but after spending money on a 16 x 8 concrete base, the new double gates and fencing at the bottom of the garden and the feather edging and roofing felt, the bill was still pretty high.

A lot of credit for this build goes to my very good friend Mick, who 'did all the heavy work' including mixing the concrete base by hand with only a spade, wheelbarrow and lots of hard graft.

I have a few pictures of the build from the start to give you a good idea how I used the free wood to make it and what stage it is at.

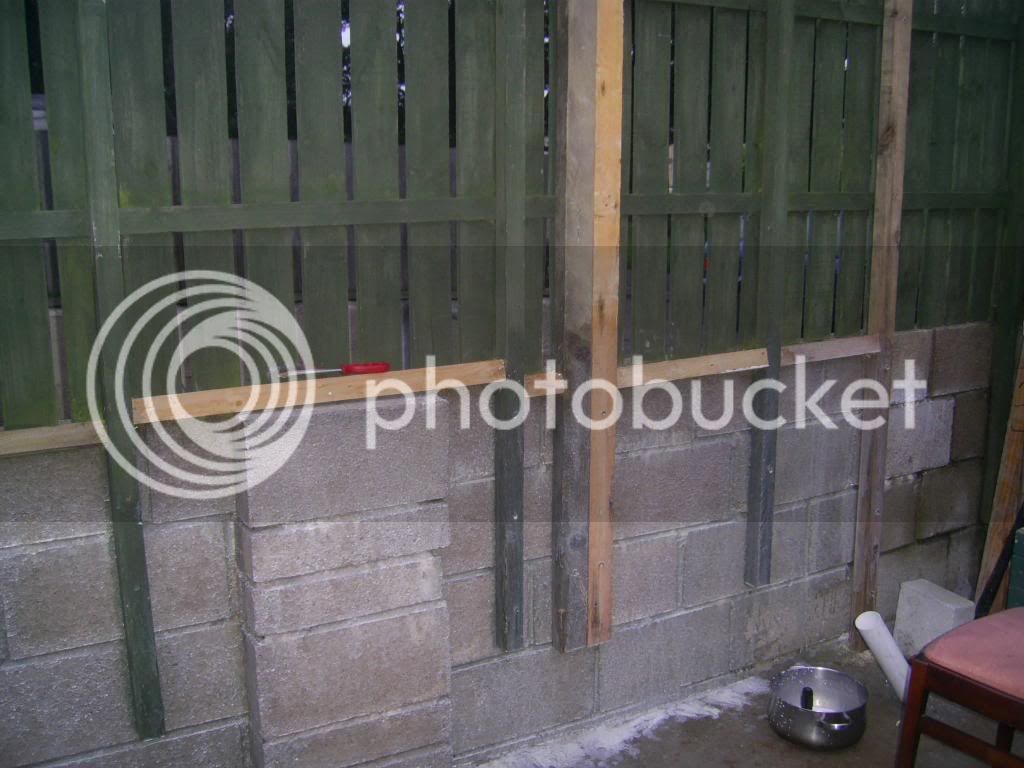
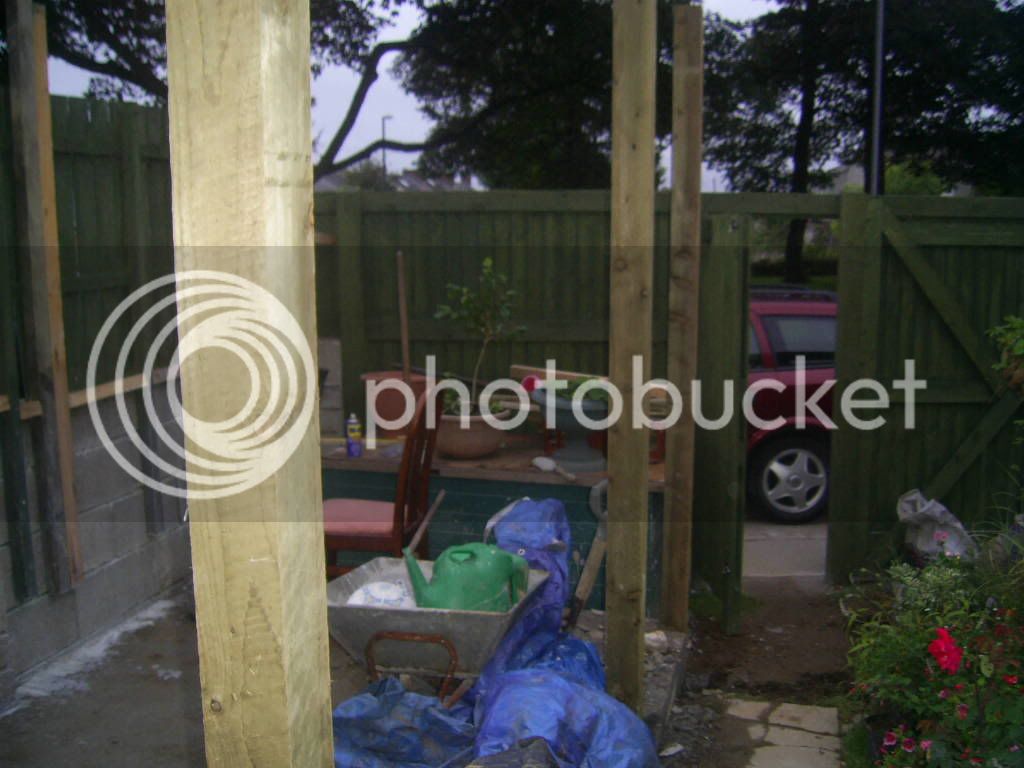
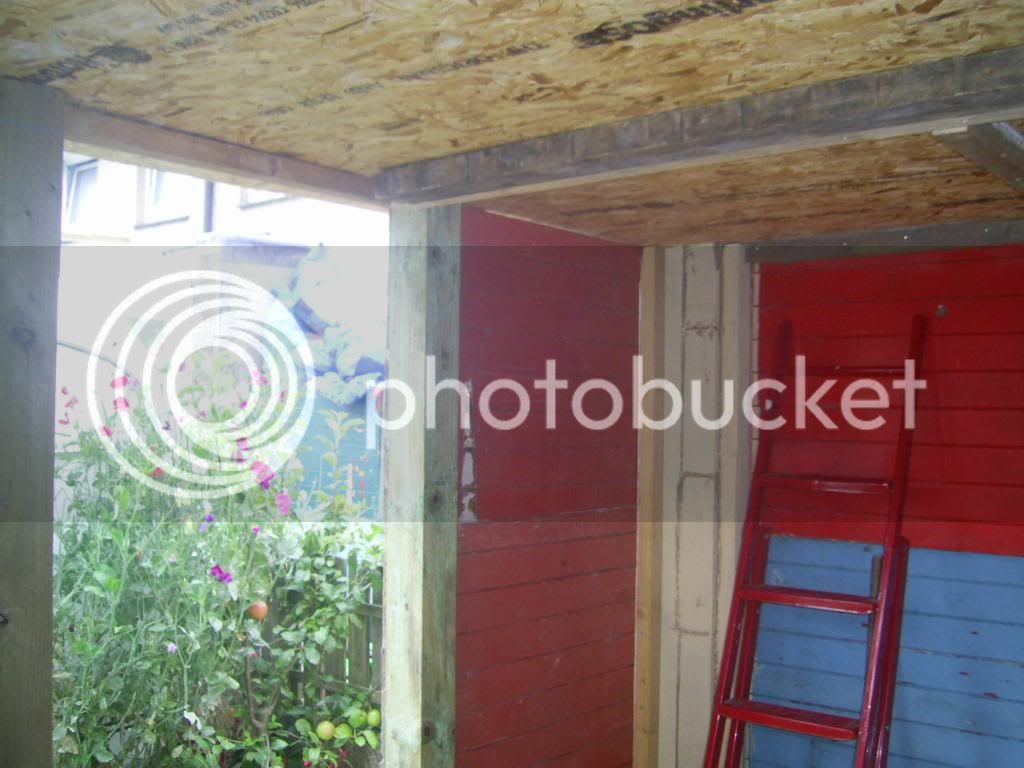
We started off using the timber to construct a frame which would be secured at the back to the main garden wall and fence.

brewingshed003-1.jpg


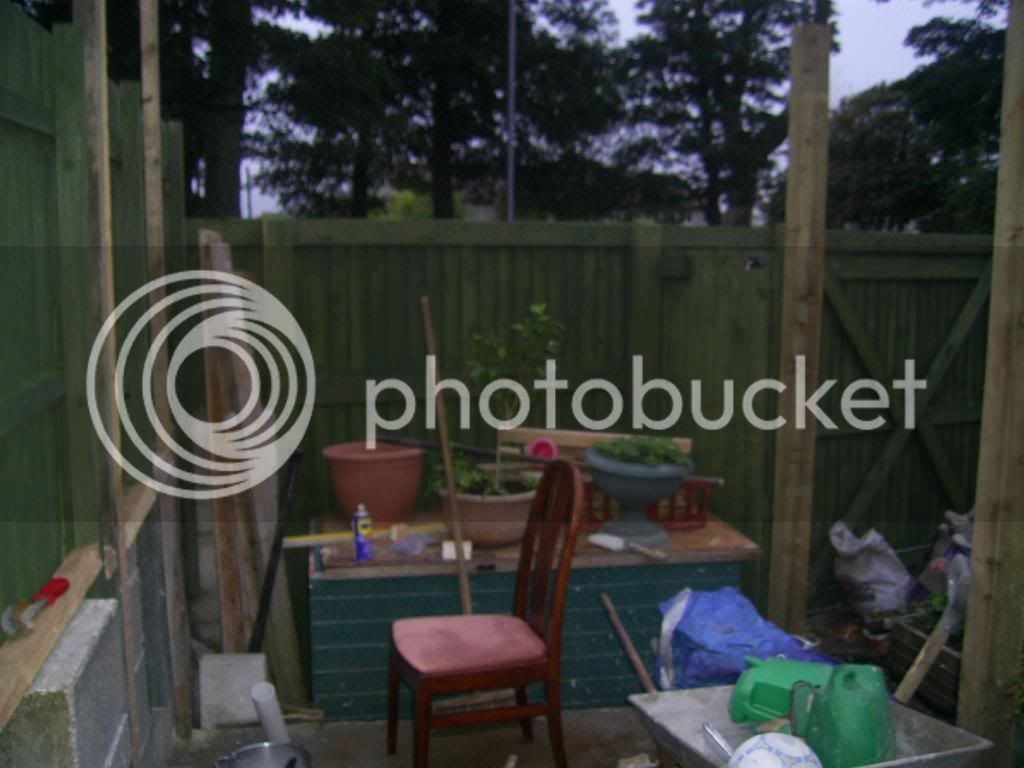
While the frame was being made, 4 x 4 posts were set in so we could build to them.

brewingshed004.jpg


brewingshed002.jpg


brewingshed001.jpg


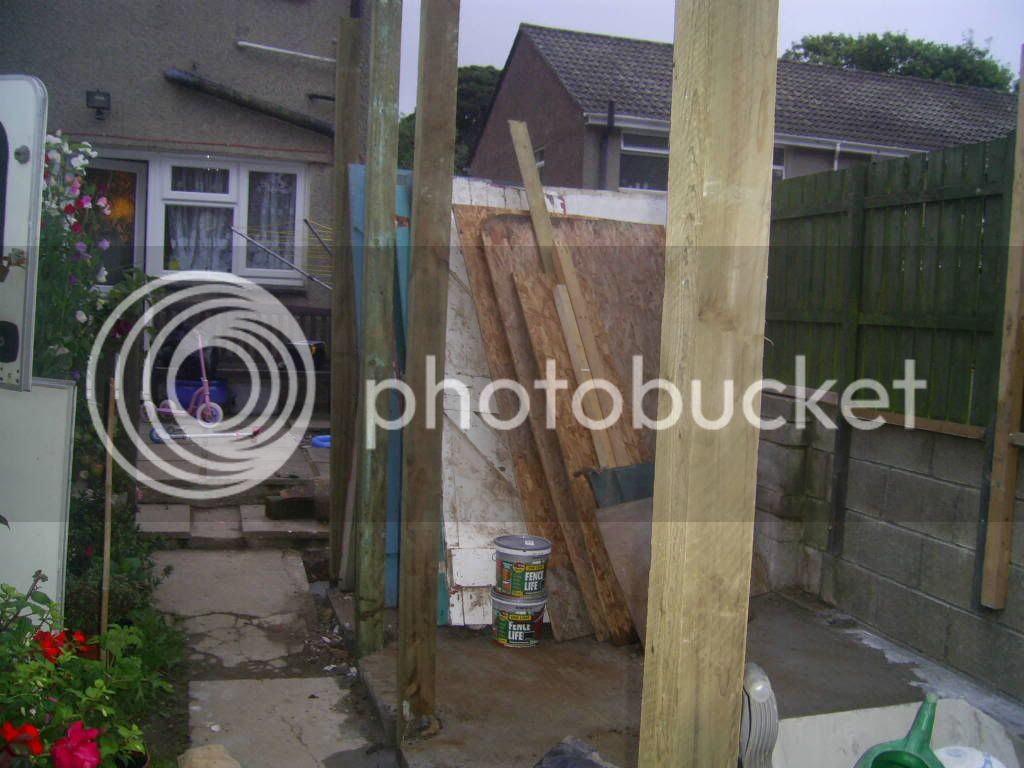
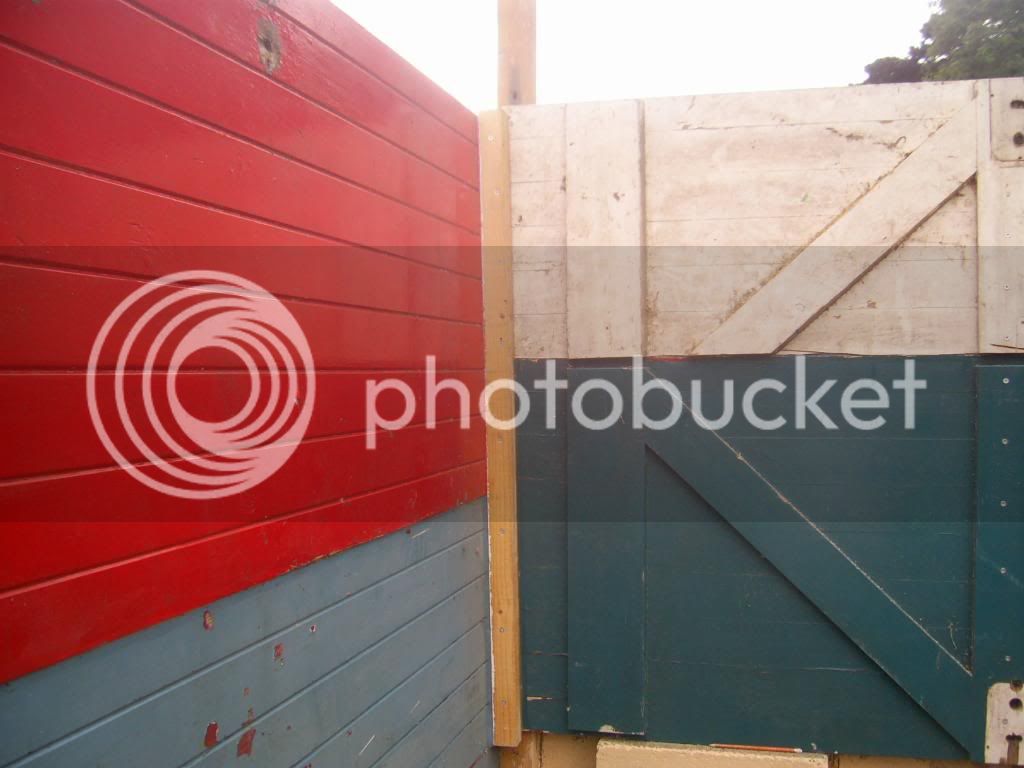
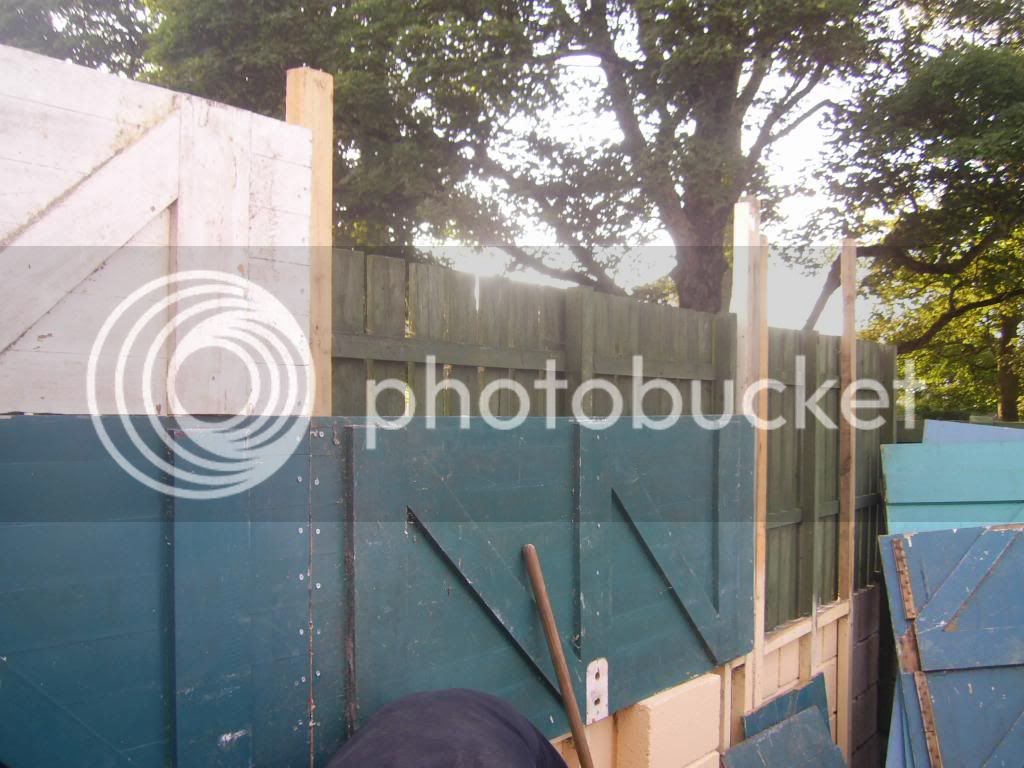
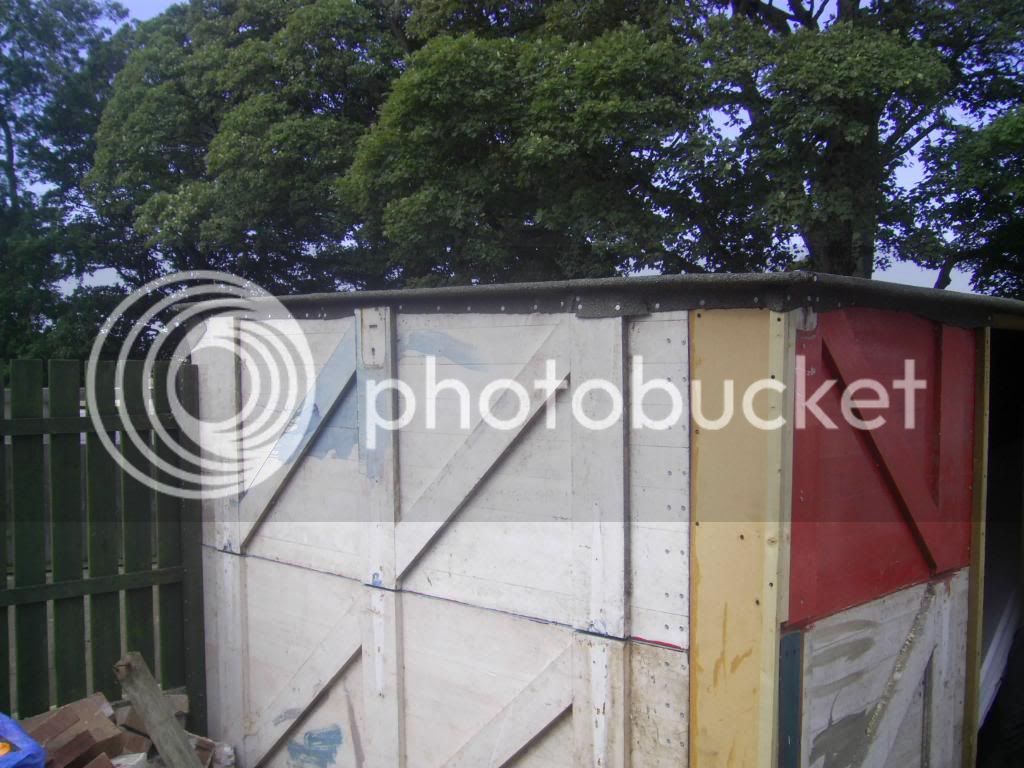
The doors were then used to build the covering. Each door is 6' 6'' tall, so you can imagine the length of it.

brewingshed008.jpg


brewingshed006.jpg


brewingshed007.jpg


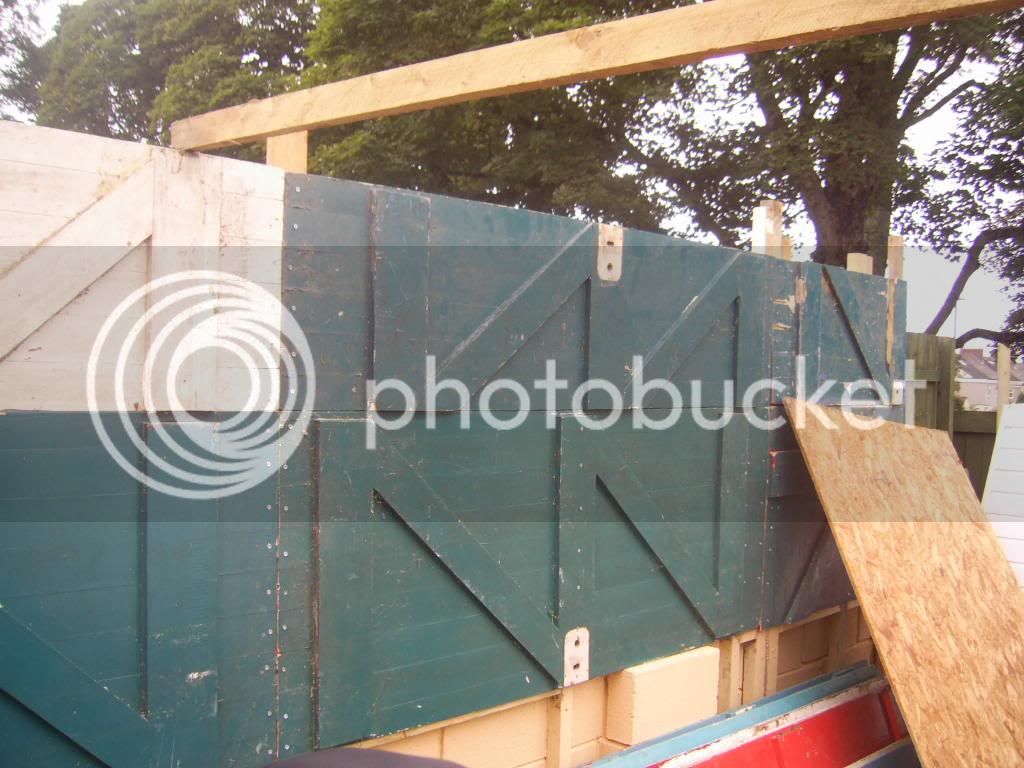
Once the doors were up Sterling Board sheets were used to cover the roof. Once again, these were given to me by a neighbour who is a Glazier. They were left over from a job and he knew I was looking for some ;) .

brewingshed009.jpg


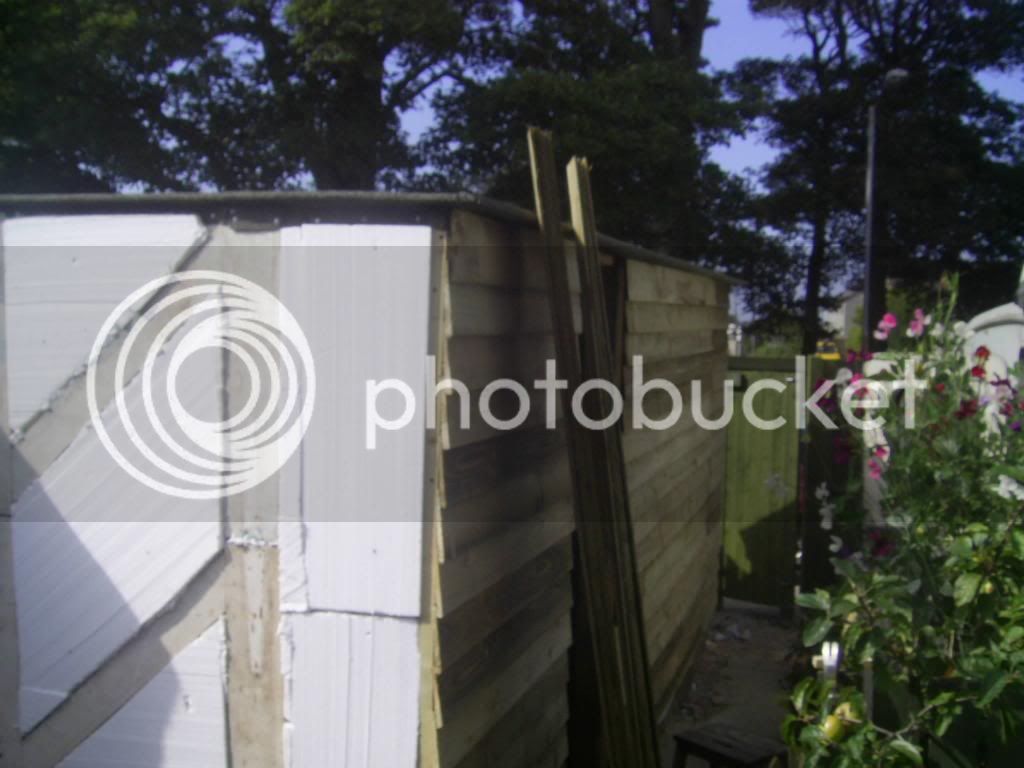
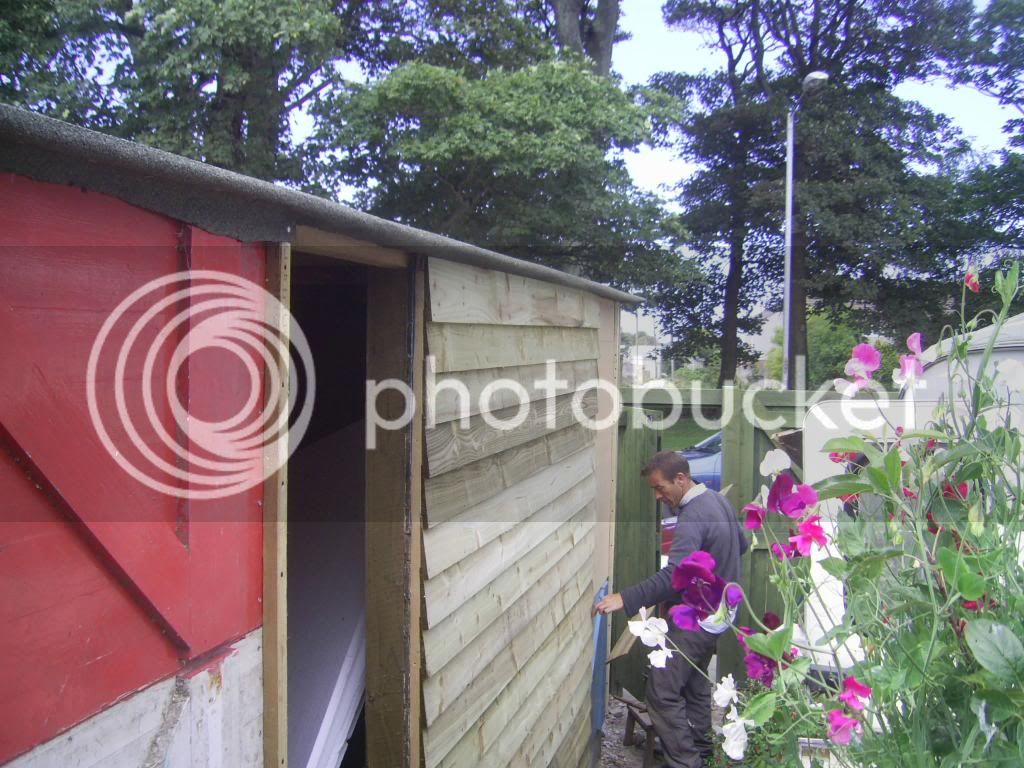
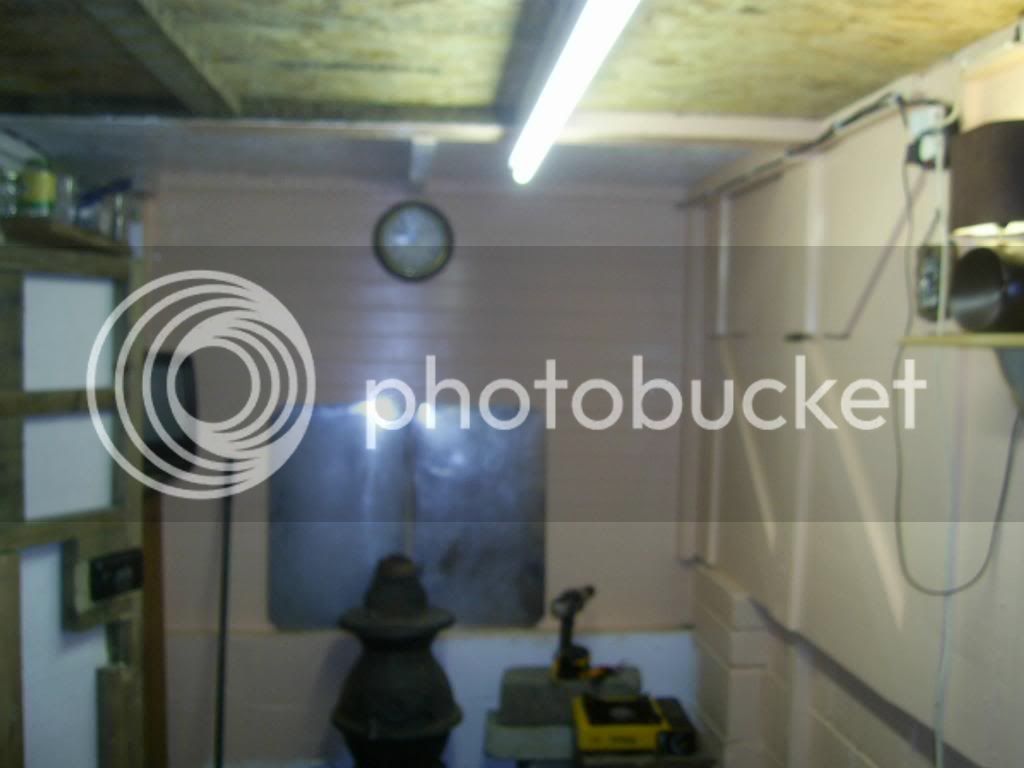
Now built, the roof was covered and 25mm polystyrene sheets used to insulate around before finishing with 6'' feather edging.

brewingshed011.jpg


brewingshed013.jpg


brewingshed012.jpg


brewingshed014.jpg


That was my friend Mick on one of the pictures hard at work !!.

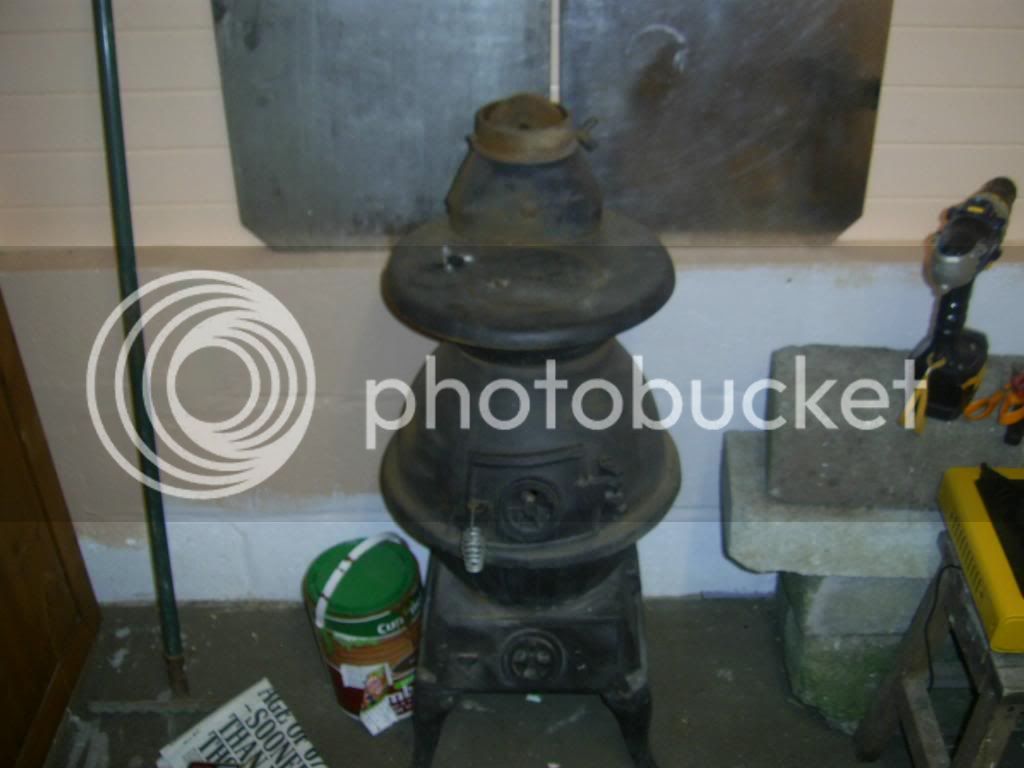
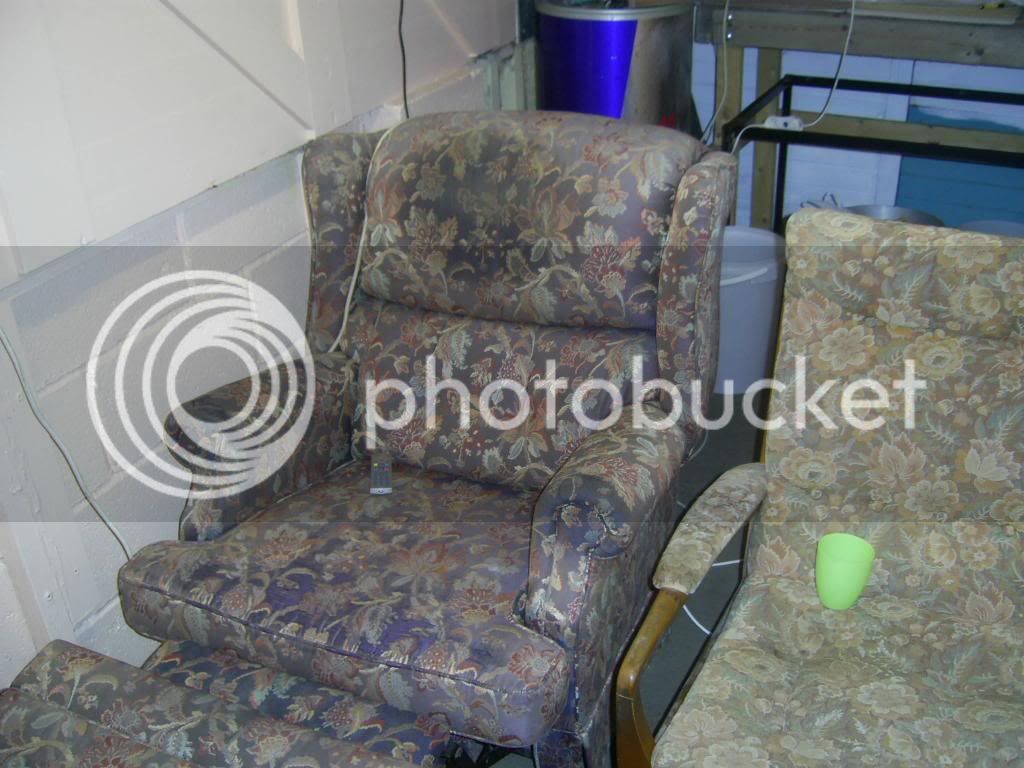
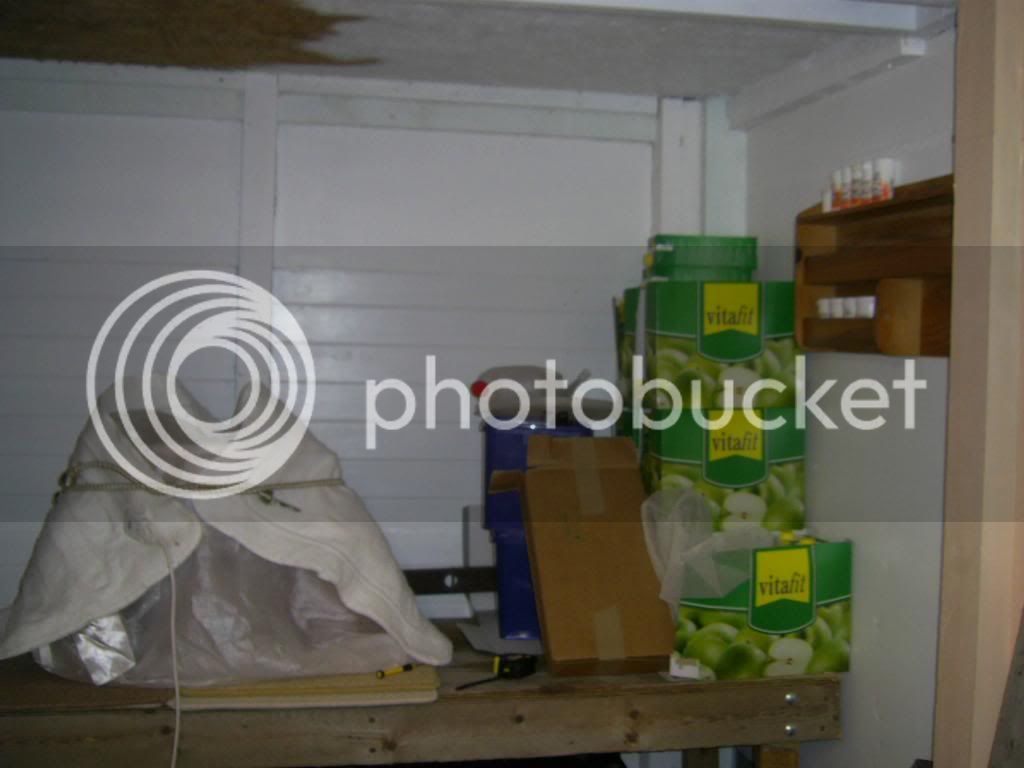
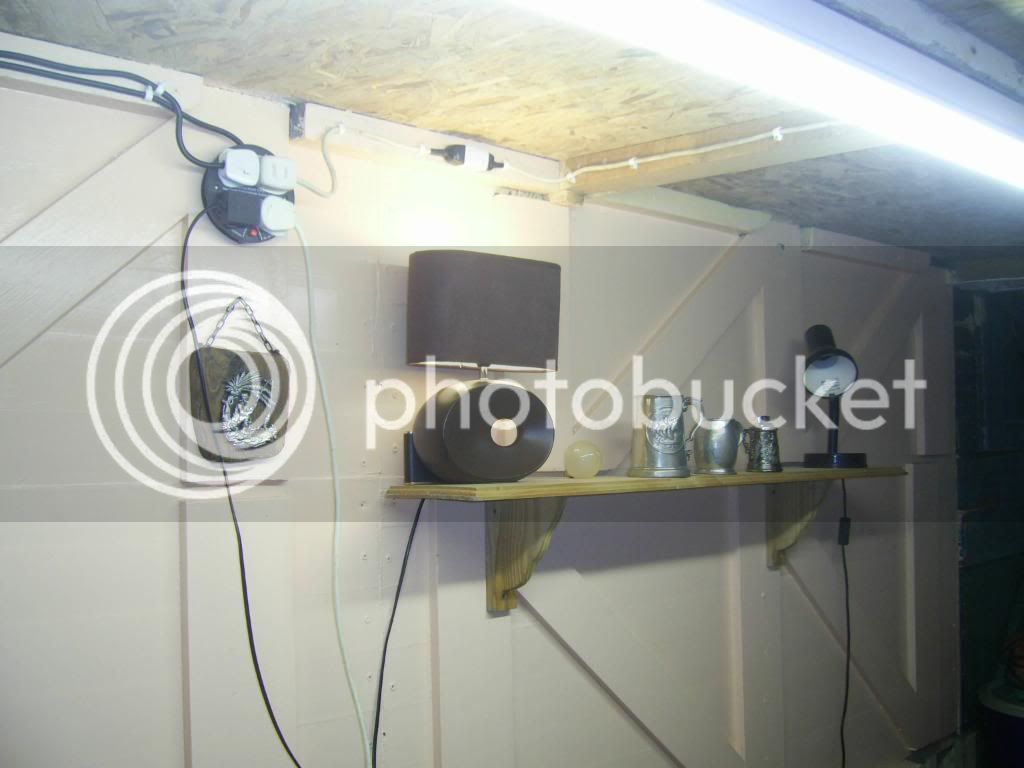
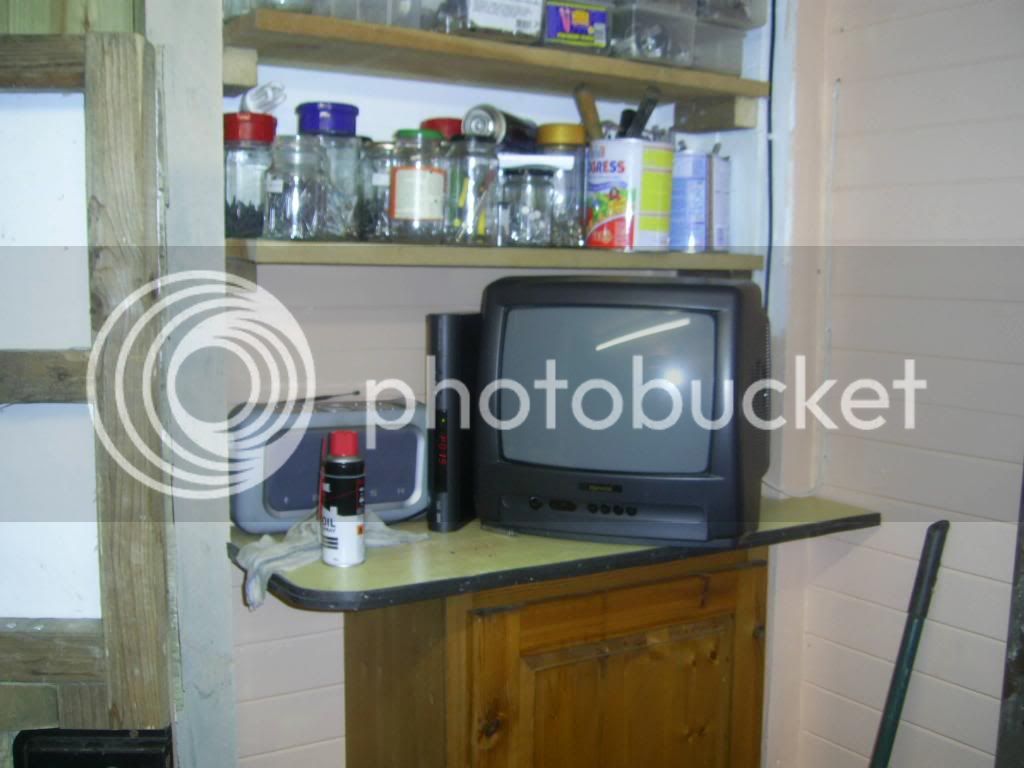
Now sealed and a door put on, there are just a few bits and bobs to do on the outside now. I have done a fair amount on the inside so more pictures will follow soon.
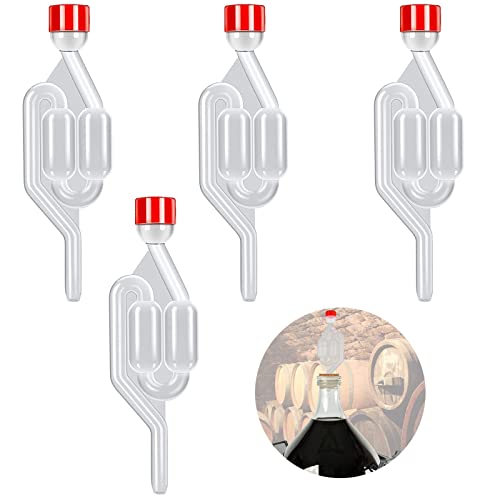
 
Thanks for the comments guys.

I think my first AG will be attempted during the first couple of weeks of January now. There is still quite a bit to do on the inside and in the meantime I have to install this to keep me warm !!

brewingshed022.jpg


Just to keep me comfortable on those cold winter nights, I picked this up on Freecycle. Thats not a dirty great stain on the back, its the only part that wasn't bleached by the sun when it was in the home of the last owner !!

brewingshed020.jpg


A couple more shots of the inside

brewingshed019.jpg

By now money was running out, so instead of paying out to get the shed wired up with electricity, I spent twenty quid on an extension reel and put it up like this. I know its not the best way to light up your shed but apart from the striplight and tv, nothing else will really be used at the same time.

brewingshed021.jpg


brewingshed024.jpg


Just in case the kids take over the tv, I stuck freeview and a tv in as well !!

brewingshed023.jpg


Just a couple more pictures for the moment. I bought this for £26 to keep the beer warm in the summer. I have tried it out and its a cracker.

brewingshed016.jpg


I had family down to visit last week and on their last day we spent a couple of hours fishing in Mylor Harbour near Falmouth. Weeks earlier a local crab boat was unloading their catch and when finished I ask them if I could buy some crab. I should have asked them earlier as it was all weighed and ready to go.

This time I asked when they first came along side and ended up buying five for three quid each. Out came the six gallon brewing pan and once boiled I ended up with this

brewingshed017.jpg
 
Back
Top