Central heating copper cylinder conversion

The Homebrew Forum

Help Support The Homebrew Forum:

This site may earn a commission from merchant affiliate links, including eBay, Amazon, and others.

Sean_Mc

Regular.
Joined
Jul 16, 2009
Messages
323
Reaction score
1
Location
N.Wales
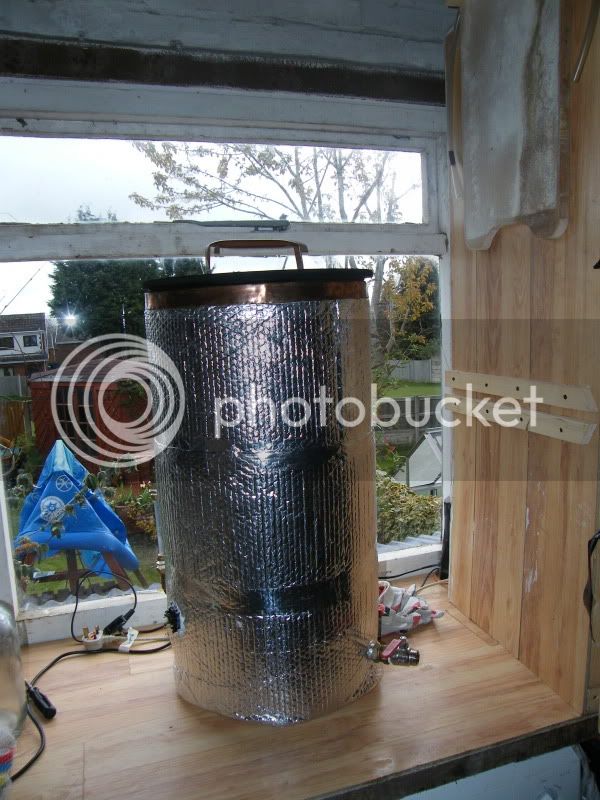
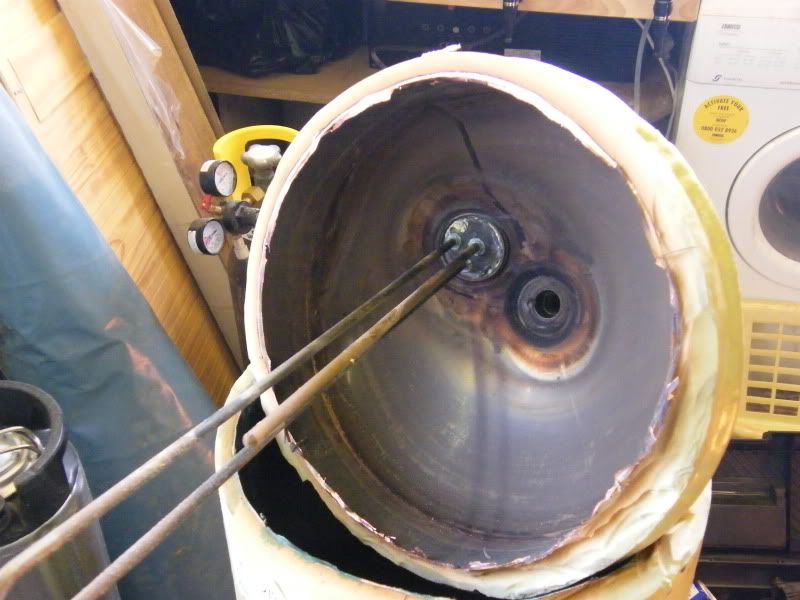
Finally got my promised cylinder and have cut the top off and stripped it down. Sorry no pics , never put the battery on charge.
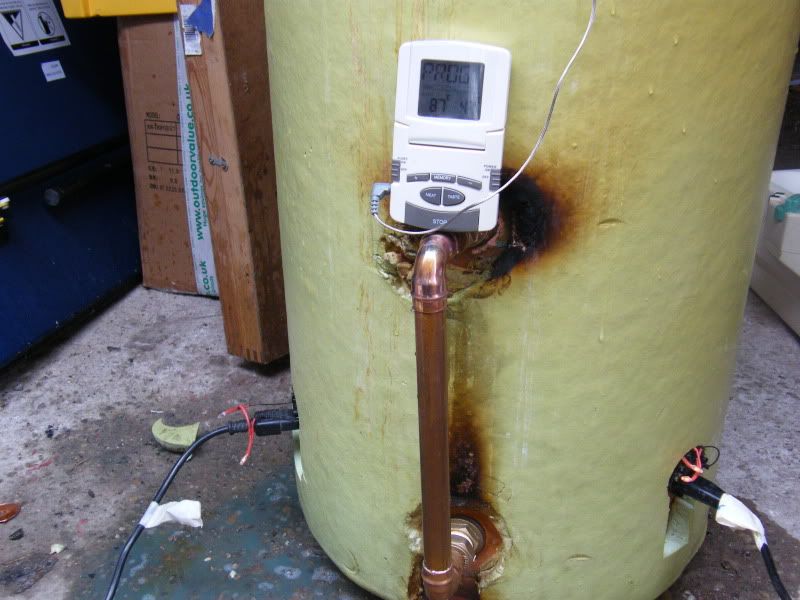
Three holes in it, one I'll use as a tap and two for the coil that I'll bodge a sight tube up with.....eventually...... just getting a water seal for now so am using 22mm pipe.
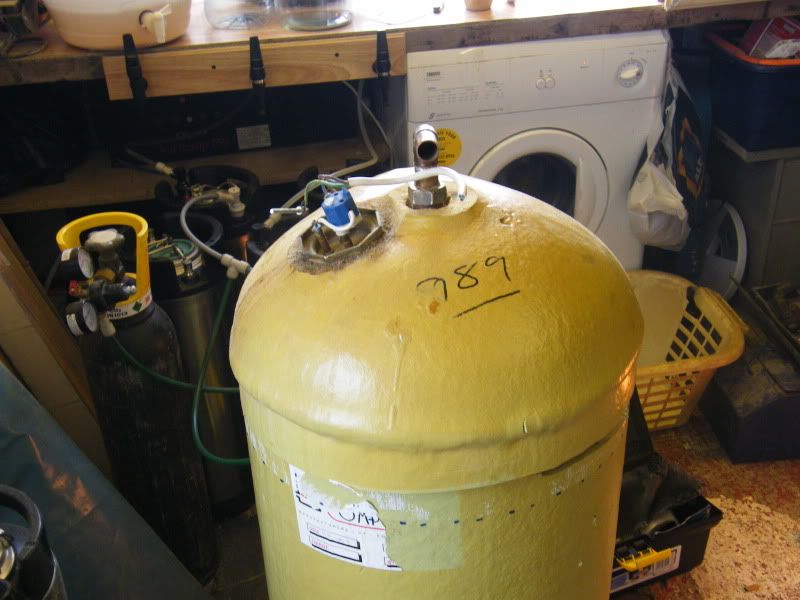
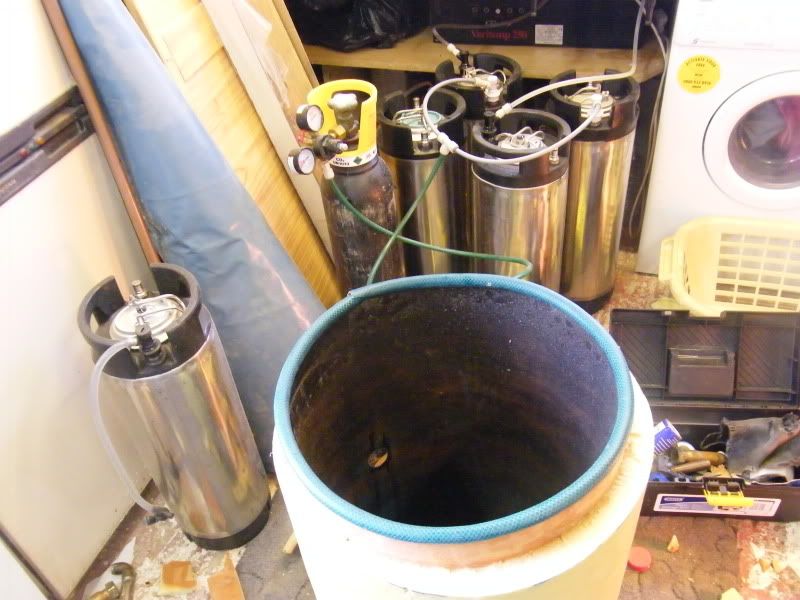
Only had two 22mm tank couplers so used these on the bottom holes. Drilled for two elements and fitted Argos cheap kettles.
Filled the cylinder up to 3inches above elements and tested to 60c.....so far so good :hmm:

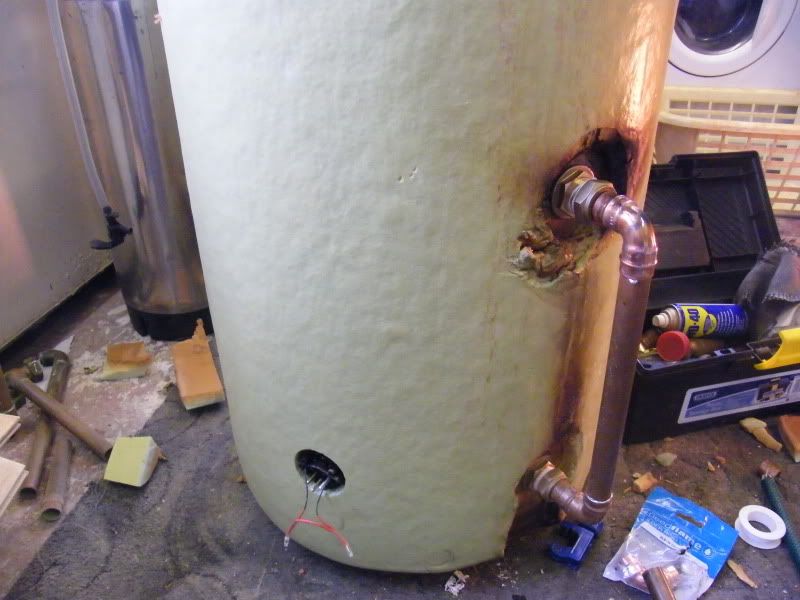
Holes on the cylinder seem to be 35mm, but using nylon washers looks like I can get away with 22mm tank couplers.
Blow torch packed in when soldering the 22mm elbows, thankfully an old camping stove fitting will attach to the butane so finished the yorkshire joints with the stove top :lol:

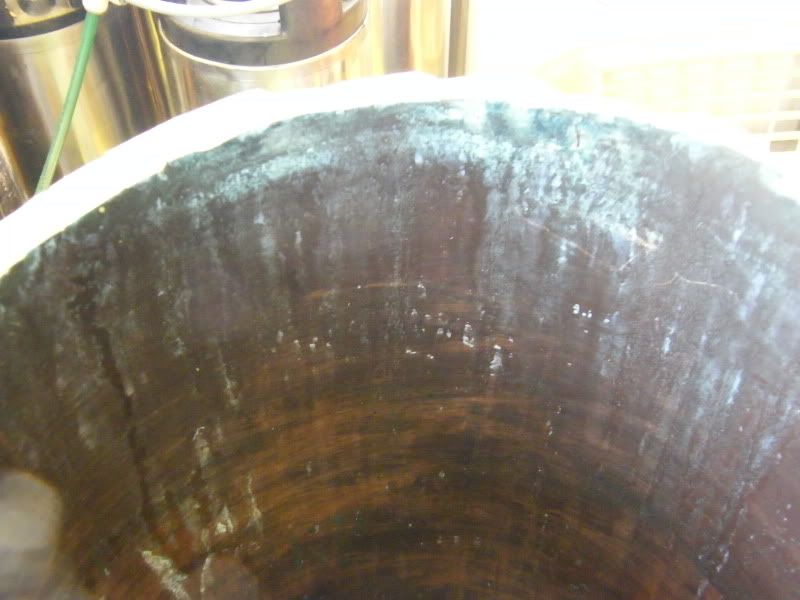
Hope no one wants sausage butties in the morning as I've nicked the brown sauce and painted on the insides on the cylinder hoping to get rid of the copper tarnish....will see in the morning :whistle:

Knackered Sean
 
What no brew porn, get those batteries charged :lol:
When I did my conversion I decided to turn the cylinder upside down, don't know if you saw it http://www.thehomebrewforum.co.uk/viewtopic.php?f=23&t=5927 was worried about completely draining it after use and one heater was already in place.
Not sure if the first reason was valid and I have now found immersion bosses, solder on type, at toolstation for a couple of quid so these could have positioned the elements horizontally low down on the cylinder :)
Brazed a copper disc over unwanted holes. ;)
However, it is made now and works great, 6 kw gets the job done twice as quick as 3kw. :D
This is the finished job, poor pic, the lid is from the mash tun, that's the only problem, I am amazed how much steam comes off at 80 degrees, I am looking to solve that pretty soon before I ruin my ceiling and more. ;)
I fitted a sight tube because mine is a gravity device high up to the ceiling but if you can easily see if the elements are covered a graduated dip stick with notches fixed inside is a simple solution .
4475955658_4b22426f94.jpg


I went for two outlets one to get the water out quickly and another for sparging.
4475177647_5a829b754e.jpg


Mine cleaned up by rubbing around with a scotch bright, but it depends where the cylinders from I guess.
Very please with results, its just the steam issue. :?
 
Dirty brew porn :lol:

Cylinder
DSCF0111-1.jpg


Top off
DSCF0113.jpg


Brown sauce didn't work :(
DSCF0114.jpg


Tidied the top edge up and hose fitted
DSCF0116.jpg


22mm pipe fitted, eventually where the sight tubs going
DSCF0117.jpg


plugged in and testing a boil as I type
DSCF0119.jpg


Tiny dribble where one of the elements is fitted, so need to bodge a bit more. Also need a 22mm tap as I've fitted the old mains stopcock to it for now....pretty it up and a lot of cleaning
 
Thats the way to do it. ;)
Are you going to leave the top sight tube where the coil went, or blank it off and put a tank connector higher up :?
I might be able to do you some 15 mm polycarbonate tube at a reasonable price if you're stuck for some, had to buy 2 metres for my project ?
S
 
Its going to sit on the worktop so think the holes for the old coil will be fine where they are for the site tube, don't think I'll be doing many 20 gallon brews....well you never know MD's Poltergiest porter is calling to me :D
Spoke to a mate that can weld and he sadly didn't seem happy brazing copper........is it such a dark art :?

S if you have some polycarbonate tube that would be great :cheers:
PM if paypal would be okay or I could pop a cheque in the post.

Need to sort a lid out now, if only to keep the muck out for when not in use :hmm: Have some old joists knocking about so may laminate them together and router a circle.

Happy when I'm busy Sean ;)
 
To clean it have you thought of getting some of those big tubs of vinegar you can get from lidl/tescos? Mix with water and leave it to sit in there for a day or two and it should clean right up I think (it's the vinegar in the brown sauce which cleans copper I think).
Also, have you thought about making it shiney by covering it in some of that foil-bubble-wrap-style insulation? :D (shiney stuff makes better beer ;) )
 
Just bought 6litres the nastiest coke from Lidl, never thought about vinegar.
Was thinking about keeping the moulded foam on it and painting with shiny Hammerite :lol: Shiny Bubble wrap could be a goer though.
Bite to eat and back to work on it tonight :D
 
Spoke to a mate that can weld and he sadly didn't seem happy brazing copper
Its not done with "normal" brazing rods, do a google on copper phosphorous brazing rods ;) Can be melted with a propane torch.

Need to sort a lid out
That should be fine if working outside, but as I said I'm getting to much steam in the brewery and am thinking of fitting a top from another cylinder with solder or braze and venting it outside.

Will PM you on the polycarbonate, its 15mm od 11mm inside. I used normal compression fitting on it with a layer or two of PTFE tape. ;)
S
 
Thanks S, will try the local tool hire shop in the week for phosphorous brazing rods or pop down to the industrial estate.

Re-thought the lid, 2inch roofing joist might be a bid heavy :lol: so thinking of routering some 18mm MDF. Also rethought the top cut edge, instead of using hosepipe (can see bacteria building up in there) I've flattened some 22mm pipe, ground one edge down and used this to stiffen up the flimsy copper... Need to brush up my soldering skills, but should give an easy clean finish.
Also want to keep whats left moulded foam and clad in para wood I have knocking about.
Testing no-nails glue on the foam overnight, if not need to get some gorilla glue from screwfix.

Would of got more done today, but father in-law (ex-landlord) came around and we had a tasting session, purely for research :D He loves my bitter, my porters okay, said that needs a session and left with several bottles to continue his judgement....the old lush :whistle:

Too squiffy to carry on :drunk:

Thanks again for the pipe Springer, just thought do you have any more spare
 
Thanks TT, but Springer did me deal on what he had left over from one of his builds, think he has a few spare meters left at mates rates
 
just wish I had the funds to start doing the site tube kits again wasnt as popular as it was around xmass that I sold them so Ithink now might be a good time to start sellint them again
pm me if you want to start selling and Ill give you all the details of all the stuff necessary to get a good easy to instal kit .
 
Payment received many thanks,

yeah thought that lid sounded a bit on the strong side :lol:

Think I got my 3 mm x 1m rods for just under £1.50 a piece, including the Vat. let me know if you struggle.
B & Q were selling some off for 50p for a "packet of three" (anyone remember that phase?) they were only 1mm x 300 mm but I didn't do any good with them at all :? went back to my main supplier ;)

Workshops and beer don't mix, sometimes go down to admire my days work after a beer or two and end up tripping about :lol:

Never done much good with that thick pva stuff, like gorilla glue though, but think I will be going back to cascamite for my exterior woodwork projects. ;)

Still got a bit of polycarbonate tube left lying around.

S
 
Did a bit more work on my cylinder conversion

Another clean on the inside and hopefully upgrade to a 10 gallon brew in the next week

DSCF0123-1.jpg


Circular routed some MDF for the lid, handles just some 15mm pipe flattened and bent to shape.

22mm pipe flattened and shaped around the rim, which also holds the bubble foil.

Two Argos kettle elements fitted, needed to use extra nylon washers to make it water tight.

Had to place the sight tube at the back where the old coil went, which is okay as it still visable
 
Cheers Dave, plan A is to do a 10 gallon brew of porter. 5gallons with S-04 and the other with S-05. Will see which my taste buds prefer
 
anyone looked at solar tanks, they are stainless food grade inside, may make suitable vessel for brewing. downside is £400 new .....................
 

Latest posts

Back
Top