The MaltMother

The Homebrew Forum

Help Support The Homebrew Forum:

This site may earn a commission from merchant affiliate links, including eBay, Amazon, and others.
Columbus Chinook IPA by Ben, on Flickr

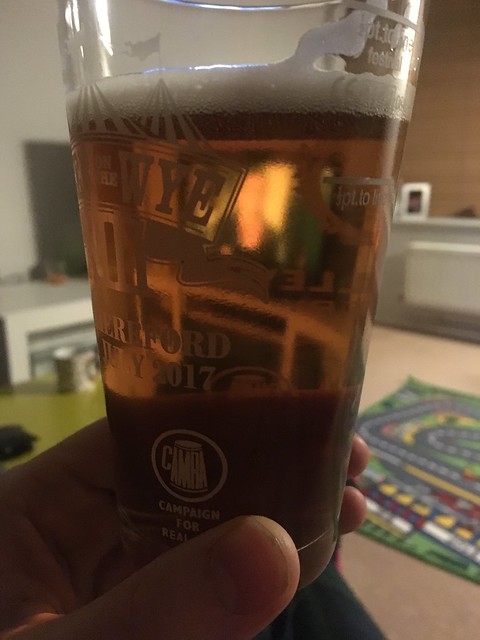
Chinook Columbus IPA - first brew on MaltMother. Tasting great, looking good - I can almost watch TV through it.

Admiral Pilgrim Ale - second brew on MaltMother - just dry hopped with 40g Pilgrim, sample tastes ok, a hint of marmalade.

Picking up four more kegs tomorrow, I've got two kegs at the moment but they'll be full with these two brews and I've just received 25kg of Minch ale malt...
 
Third round of testing

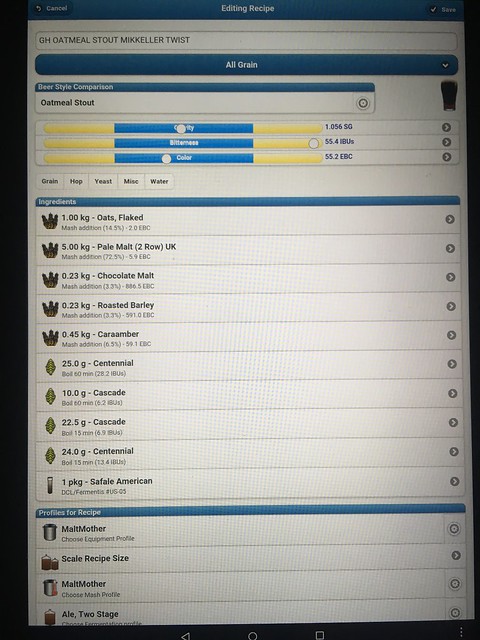
Coffee Oatmeal Stout

Untitled by Ben, on Flickr

Untitled by Ben, on Flickr

Untitled by Ben, on Flickr

Untitled by Ben, on Flickr

Untitled by Ben, on Flickr

Untitled by Ben, on Flickr

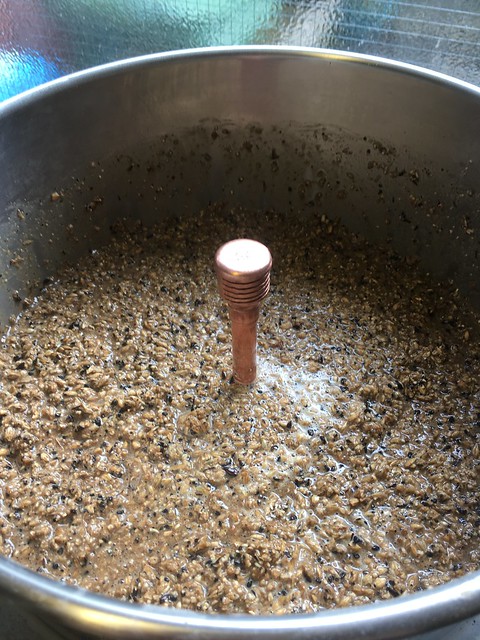
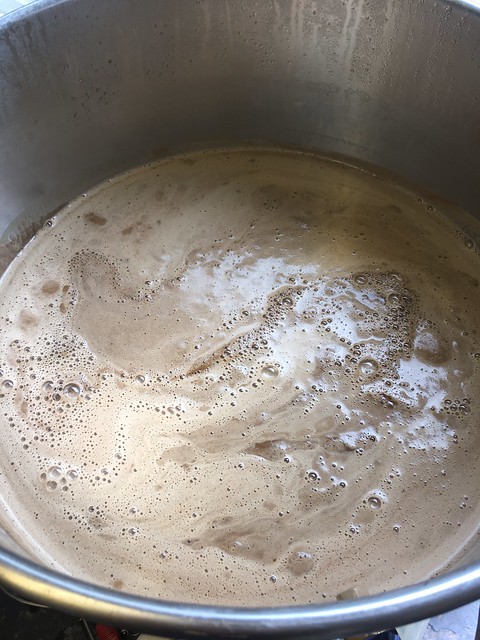
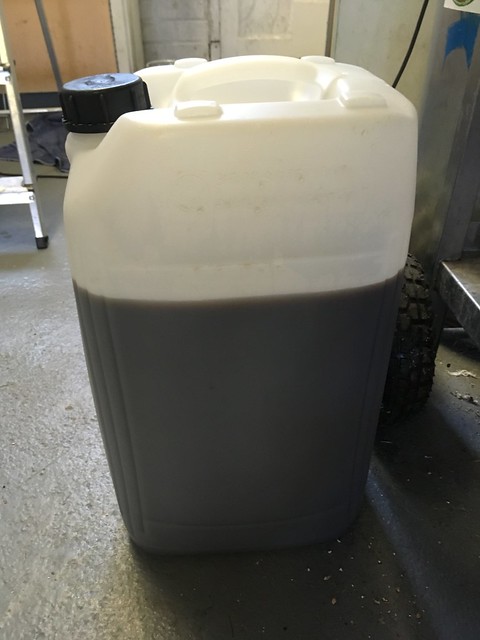
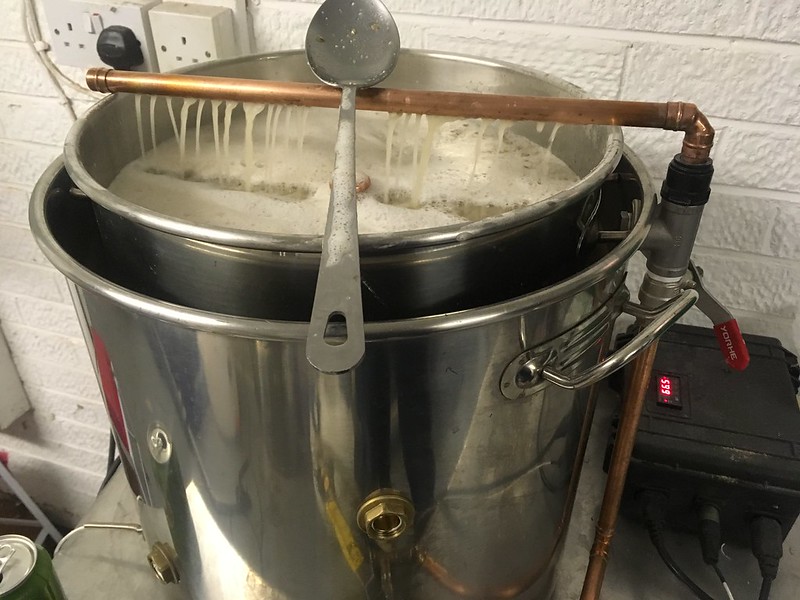
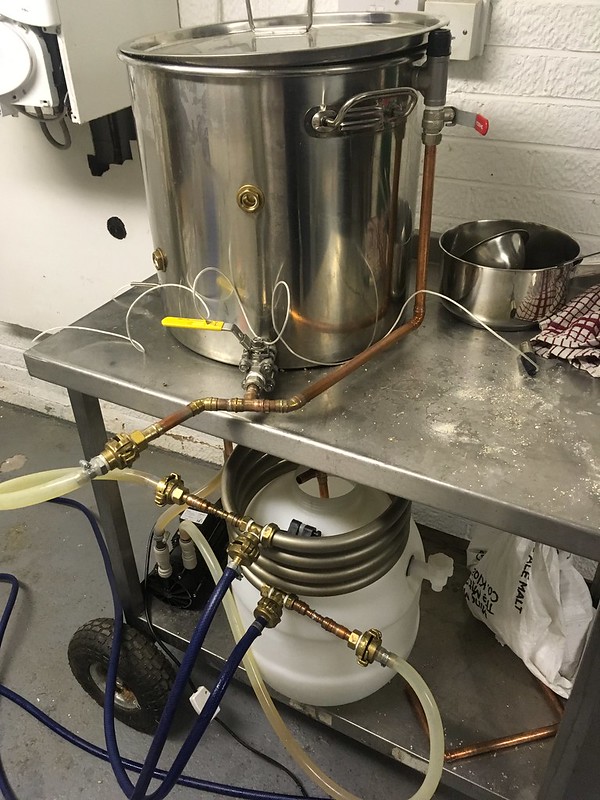
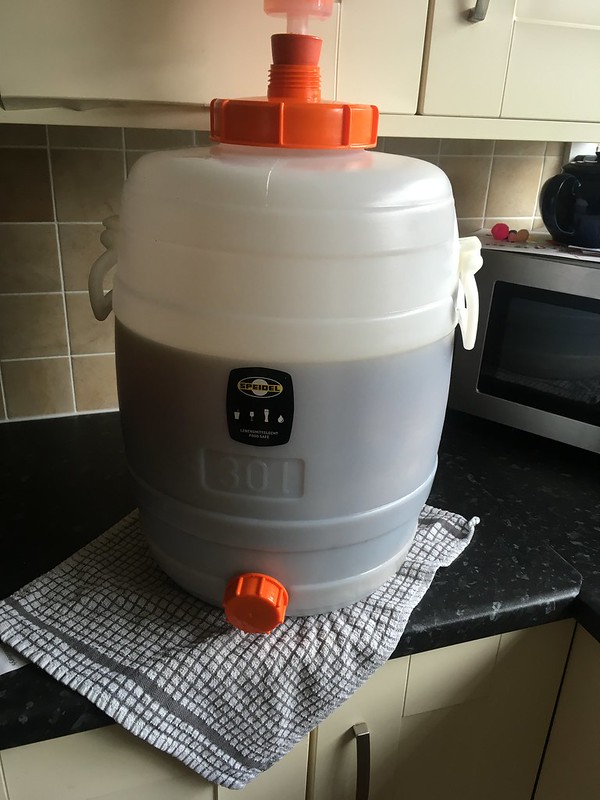
Brewday went well, 4.5 hours start til finish (including heating strike water). The mash needed a good stir a few times to keep the flow going, but not a major issue. Might be due to the oats? Haven't had this problem before. Used my no-chill cube for the first time, I'm not sure whether I'm supposed to squeeze out the air - the cube is pretty hot with wort so I didn't want to be heavyhanded with it. Might even ferment in it, but it might be a struggle to clean afterwards. Its currently outside chilling. I'm in the process of making a CFC so no-chill looks to be a temporary thing.

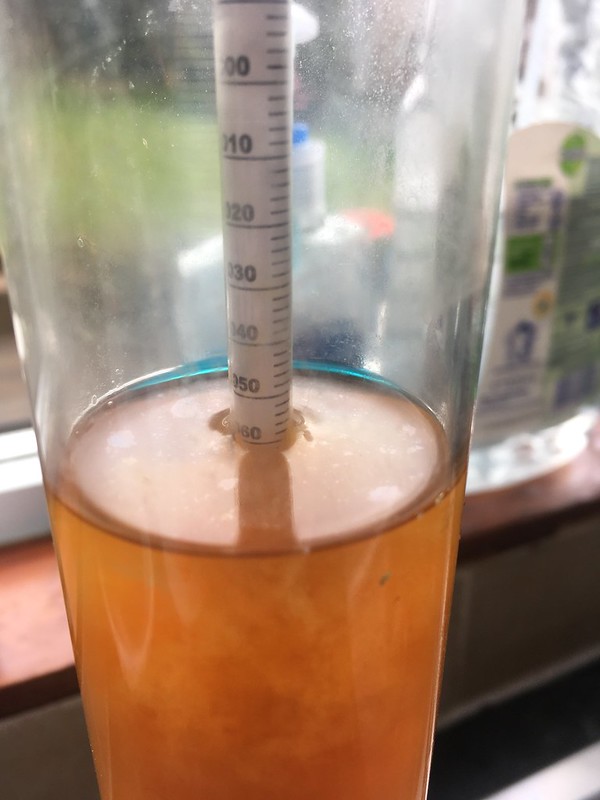
Recipe is a bit of a mash up of Mikkeller (without the crazy IBUs) and a few other recipes online. Planning to add the coffee after 4/5 days fermenting. Ended up with 23 litres @ 1.060 - 65% efficiency

Cheers,

Ben
 
Hi!
When I made a Greg Hughes-ish milk stout, I put the flaked barley on the false bottom of the mash tun, added the crushed grains carefully to maintain a good bed then underlet the grain. I had no problems with flow and I didn't need to stir the mash.
 
Coffee Oatmeal Stout hit 1.010, 50g of ground coffee cold steeped in 500ml boiled then cooled water, for 6 hours in fridge. Added to fermenter, kegged 48hours later. Tastes great already!
 
@cerbera84 - Been reading this thread with interest as keen to create a similar setup using a Burco boiler as a base. Was just wondering how you were getting on with this a few months in and whether there is anything you would change with the benefit of hindsight?
 
Hi guys,

First brew of 2018 on the MaltMother:

6kg pale malt
0.25kg torrefied wheat
Cascade 60g 60mins
Cascade 30g 15mins and copper finings
Cascade 30g + Centennial 30g 5mins
Cascade 80g + Centennial 20g 0mins (30min steep)

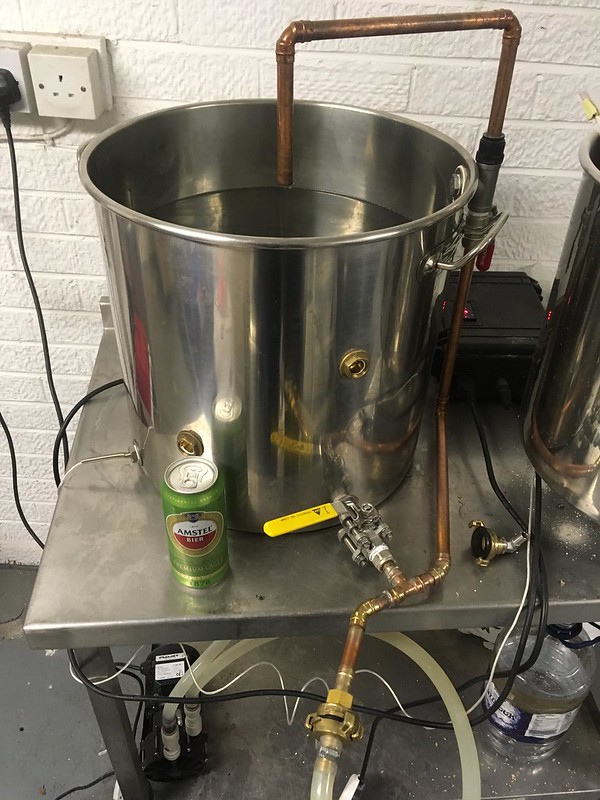
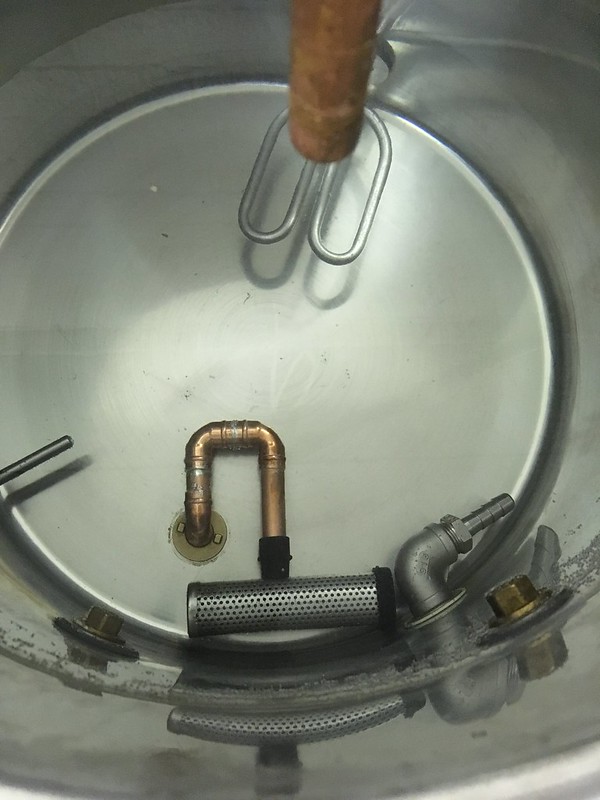
I've upgraded the system a little bit, I've put a tank connector in as a bottom drain and added some 15mm copper connected to a Grainfather pump filter. I've also replaced the external pipework on the system and added a new recirculation arm. I hit 70% efficiency on this brew. Ended up with 23 litres at 1.060 so added 4.5 litres of water to bring it down to around 1.050.

Untitled by Ben, on Flickr

Untitled by Ben, on Flickr

Untitled by Ben, on Flickr

Untitled by Ben, on Flickr

Untitled by Ben, on Flickr

Untitled by Ben, on Flickr

Cheers,

Ben
 
@cerbera84 - Been reading this thread with interest as keen to create a similar setup using a Burco boiler as a base. Was just wondering how you were getting on with this a few months in and whether there is anything you would change with the benefit of hindsight?

Hi Bezza,

I've put an updated post on with some photos of upgrades I've done recently.

In terms of changes, I would say:
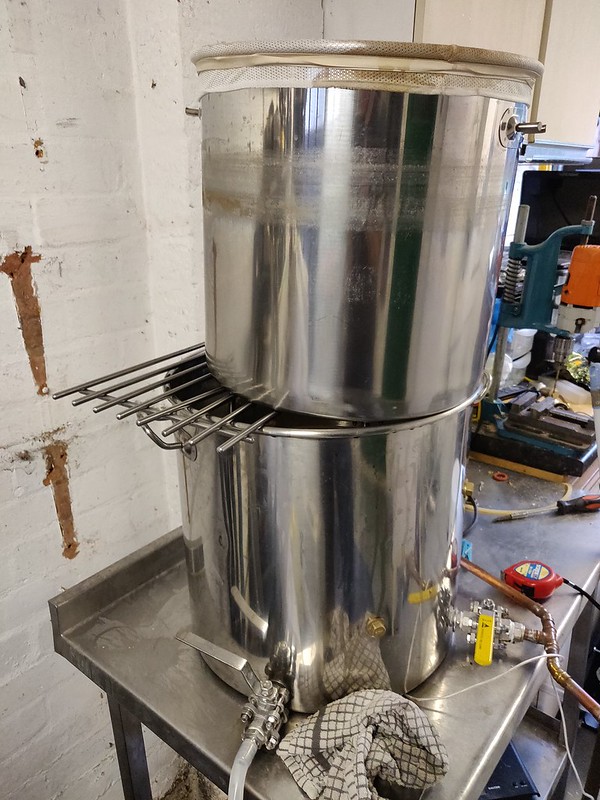
  • Make sure you think about how you would remove the malt pipe/basket after the mash - when the grain is wet its quite heavy (or I'm weak) and lifting it from table height up to clear the top of the pot is sometimes a challenge. I would probably use a hoist or winch with a manual handle to make it easier and include that in your setup. Or make your setup as low as possible
  • Buy or make a detachable temp probe to make cleaning easier
  • Maybe include a sight glass or even make a dip stick to check your volumes. I'm still thinking of etching the inside of the pot
  • Make sure you think about a decent filter before the wort hits your pump - if you want to use the whirlpool port post-boil your filter has to be up to it (or use hop spider)
Hope that helps! Remember, if you don't want the hassle of making a stainless malt pipe/basket, you could just use a really good BIAB bag...

Ben
 
Thanks, really helpful.

It looks like you've gone for quite a robust and permanent installation on the pipework, with some heavy-duty taps. I had initially thought I would use a load of quick disconnects and reinforced flexible tubing so that the whole recirculating side could be taken away if needed (ultimately, my wife agreed to buying the Burco on the basis that it would serve as a large kettle too). Ideally, I'd try and build it into a base or detachable unit somehow - needs some thought.

I did think about the lifting mechanism. One thought was similar to what you have done with the sparge arm pipe but fix this to the top of the pan (or more likely through the top of the pan, with a cap at both ends and a compression tee and disconnect in the middle) to serve as a handle too.

Couple of further questions:

- You've used chunky taps on the recirculation side. Any reason for using those rather than slimmer in-line isolation valves?
- Do you have a link to where you got the stainless steel feet from. It's a hard one to search for!
- How thick is the base of the pan forming the grain basket? Just wondering how thick a pan the Qmax cutters can go through (although I do have a powerful impact driver if I wanted to up the ante a bit!)

Cheers
 
I did originally use flexible tubing, but you've got to consider kinking and possible leaks when wort is being pumped through, so I thought a more permanent assembly would be better. The ball valves on the recirc are purely because I had those from my 3V build. The stainless "feet" are actually door stops, see https://www.ebay.co.uk/i/162626023290 and take the rubber stoppers off.

The pots in my build are by "Bergland", so I would guess they are barely 1mm thick. I think QMAX cutters can do up to 2mm stainless, off the top of my head.
 
Evening guys,

I've lost count of how many brews I've made using my setup, but recently I made a couple of changes to the MaltMother, so its time for a thread update.

IMG_20180921_090456 by Ben, on Flickr

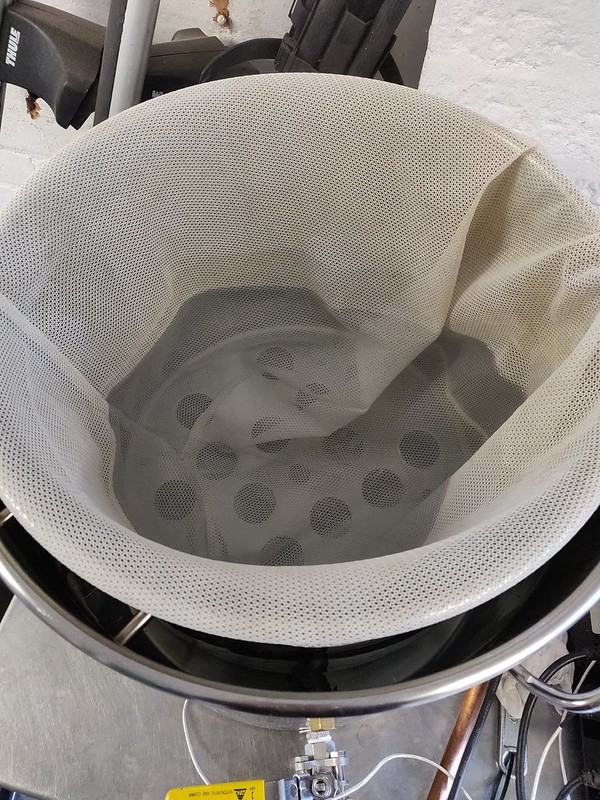
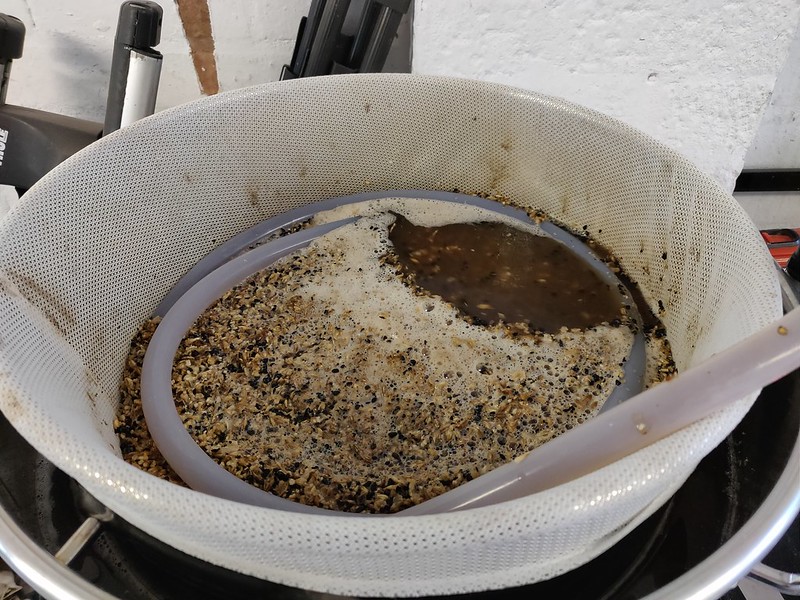
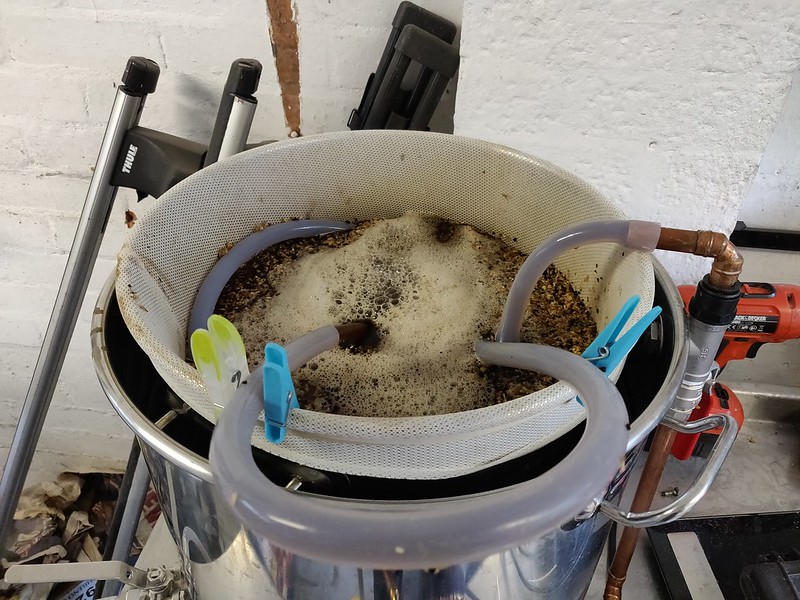
I've replaced the stainless false bottom in the malt pipe for a BIAB fabric bag. Seems to increase flow by quite a margin - was running the recirc pump full blast and was nowhere near to overflowing, despite having 7kg of malt in there. I rebrewed my coffee oatmeal stout, which turned out to be a lovely drop last time.

IMG_20180921_093238 by Ben, on Flickr

IMG_20180921_095723 by Ben, on Flickr

IMG_20180921_105822 by Ben, on Flickr

IMG_20180921_113220 by Ben, on Flickr

IMG_20180921_125013 by Ben, on Flickr

IMG_20180922_130522 by Ben, on Flickr

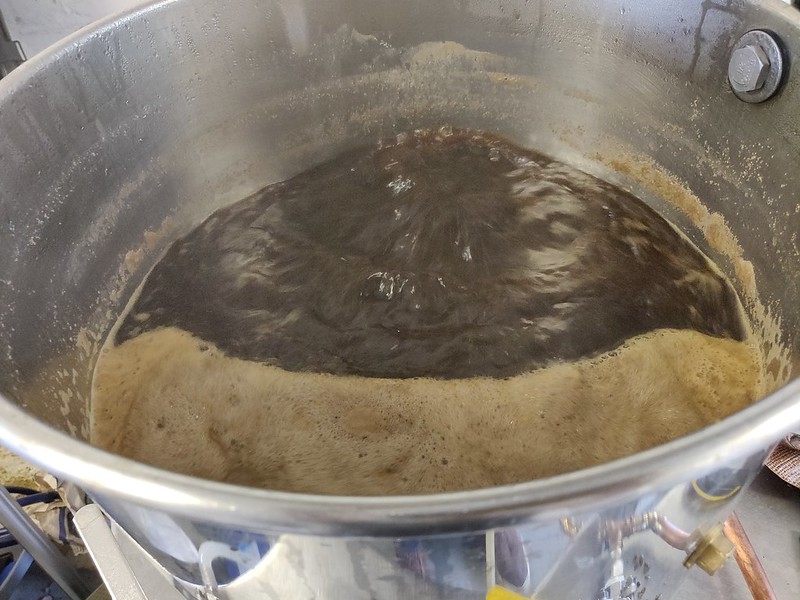
Bang on 1.055 OG, with 65% efficiency. Fitted a modified grainfather filter in the setup, which coped well this time round (much fewer hops). I am planning to place another temperature probe at the top of the system to capture the recirc temp just before it goes onto the top of the mash, to try and get a more accurate temperature reading. I've got 25 litres of this down to 1.015 so far, need to add 50g or so of cold steeped coffee this week.

I'm planning to brew dark beers over winter - I'm starting to tackle the water treatment reading and my initial research indicates my water is very hard. I'm still getting my head around it all but might toy with adding sulphates (using gypsum??) to bring out hop character in my spring / summer pale beers in 2019!

Cheers!
 
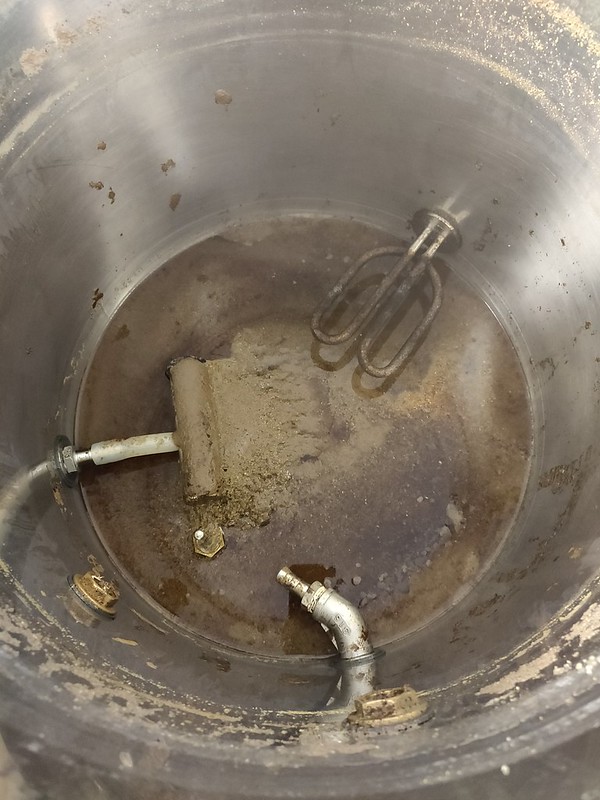
Your second last pic has me thinking on whirlpools, isn't the idea that all the lumpy bits go to the middle? In that pic it looks like if you where recirculating while draining and had a 90 deg elbow on the fitting at the bottom instead of a 45 there'd be a lot less sediment on the filter.
 
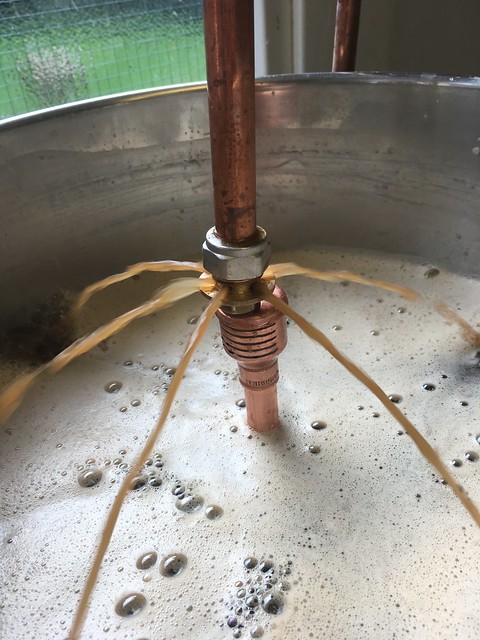
Most of the hop pellet debris is in the centre Stan. If you look at where the whirlpool nozzle is pointing, I've tried aiming it so it clears one side of the filter and whirlpools it onto the other side of the filter (in the middle of the pot). It worked very well this way. The filter clogged on the brew day before this, that time the whirlpool arm had a 90 degree bend pointing in the other direction towards the element and it didn't work as well
 
Most of the hop pellet debris is in the centre Stan. If you look at where the whirlpool nozzle is pointing, I've tried aiming it so it clears one side of the filter and whirlpools it onto the other side of the filter (in the middle of the pot). It worked very well this way. The filter clogged on the brew day before this, that time the whirlpool arm had a 90 degree bend pointing in the other direction towards the element and it didn't work as well

Makes sense... as much as the inner workings of beer make sense ;) I'm only pouring through a filter into the FV at the mo and was wondering how to improve it, good to know it's not working the way I'm thinking.

Mind if I share a thought on the element? I'm guessing you're switching via a thermostat? A PWM or switched current power regulator should give less burning, plenty of suitable units on ebay for around a tenner or maybe the guts of a variable speed drill wired in after the thermostat to test (by a qualified electrification ofc).
 
Cheers Stan, it did catch a little on the element, didn't it. I'm pretty sure it happened the last time I brewed this recipe, not sure why. Hopefully it will nicely complement the roasty flavour....!

Im currently switching it with a PID. Having my garage electrics upgraded to 32a next week, so was thinking of changing the element to a ULWD 3KW ripple one, apparently they have less tendency to scorch.

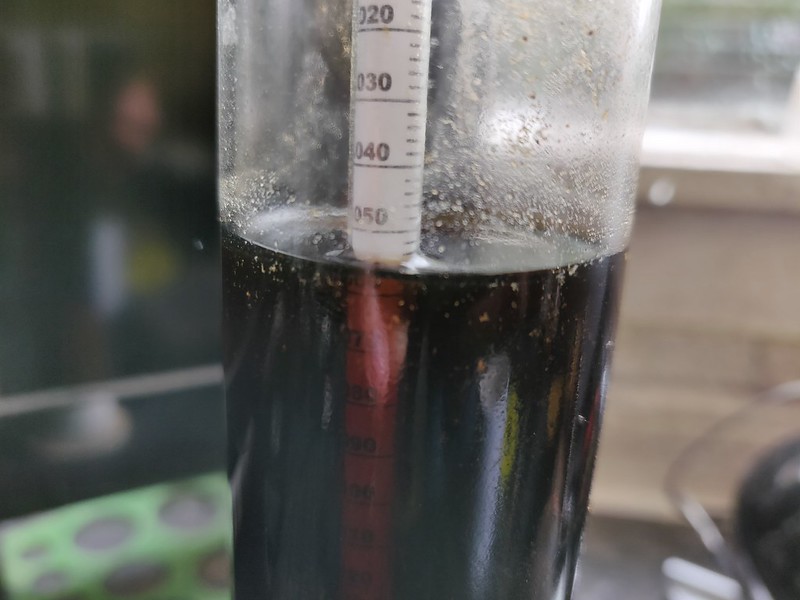
Tasted a sample this morning from the hydrometer and it tastes spot on, so hopefully I got away with it.
 
Caramelising is common in cooking, might even be desirable to get some burning in a boil :) How does a ripple element work? Sounds like the same thing, varying the element wattage and as far as I can elements aren't fussy about switched current type regulators (haven't come across any burning out faster due to it so far).
 
Makes sense, seems a high price though. Not checked but I'm guessing multiple lower wattage elements would come in cheaper with a larger surface area (and probably easier to clean!) plus can be powered up in stages... but that would need individual controls so no cost advantage that way. How often does the element switch off/on, greater than 50% on, 50% off? Probably not much advantage with wattage control if it's on most of the time but would offer more advantage as the power goes up.
 
I have considered using a Grainfather connect unit, but will need to research further.

Ben

I was going to ask this exact question in a new thread, but as you’ve mentioned it - is it possible to do this? Connecting your own pump, element and probe to the Grainfather Connect unit?

I could make a PID control box but I’d much rather build a very similar system to what you have here with the Connect box.

The one I’ve been looking to build is going to be a Clawhammer Supply clone
 
Last edited:
Hi all,
Unfortunately I have not been brewing much lately, I bought a VW van during lockdown and spent the last 18 months stripping it out and converting it into a camper, took up so much of my time that I was unable to focus on anything else! Fast forward to today and all of the recession/energy prices/interest rate hikes got me spooked so I sold the van and now I'm back to brewing!

I have dusted down the MaltMother and have made a few tweaks. I ordered a few bits from Malt Miller (pump, grain bag), popped to BES and picked up some lovely stainless parts and here we go again:

1663943870331.png


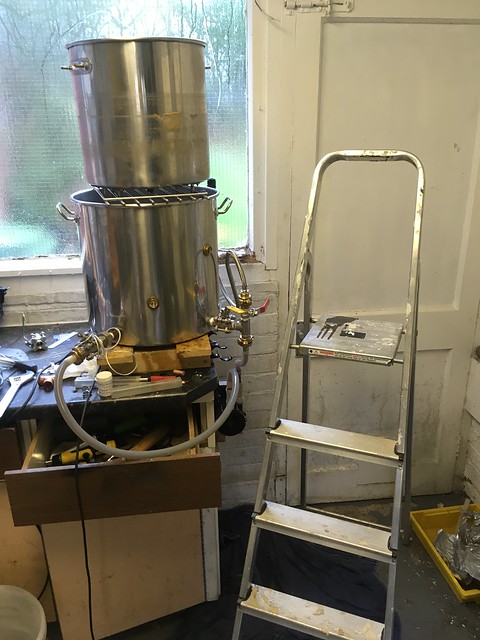
Please excuse the messy garage! I have made a wooden trolley on wheels to minimise the amount of heavy lifting involved. The outer brew pot is secured to the trolley via bungee cords and by the bottom temp probe nut ensuring there's no serious movement. I did away with the separate pump inlet & whirlpool port as I found that the pump's draw is enough to pull the wort across the elements. Also my brewing controller can now limit the elements power to a specific % so no real chance of scorching.

1663944262425.png


1663944292995.png


4.8Kwh of boiling power needs limiting!

1663944314777.png


The pump really helps the immersion chiller with chilling times.

1663944377449.png


And transfer to the fermenter is really quick through the pump.

1663944422021.png


I brewed twice in 3 days over the bank holiday. Still dialing everything in and had to top up the fermenters to bring the OG down to something sensible so I need to do the maths on efficiency but I think it looks promising.

1663944528210.png


1663944555124.png


Have just added a recirculation arm setup inside the lid of the inner mashing pot to allow for the lid to be on during the mash and to help even out the flows (and no more pegs required to secure the hose!)

1663945089826.png


Its very good to be back and I'm looking forward to many more brews now. The latest brew was 3.5 hours start to finish so hopefully should save me a lot of time. Potential upgrades are to use a false bottom inside the grain basket instead of the grain bag, which I did try before and abandoned when I got a stuck mash once, but I think I can make it work better in this system. Also looking into hop spiders to allow recirculation straight into/through the hop spider when being held at 80.

Once the MaltMother is finished, I plan to make a counterpressure PET bottle filler (I don't use glass anymore) using a few bits and bobs in the garage.

Cheers,
Ben
 

Attachments

  • 1663944326821.png
    1663944326821.png
    437.6 KB
IMG_20220924_120030.jpg


Popped to Dark Rock brewing for some ingredients and ended up coming home with a hop spider for the MaltMother
 
Back
Top