Boiler elements waterproof enclosures

The Homebrew Forum

Help Support The Homebrew Forum:

This site may earn a commission from merchant affiliate links, including eBay, Amazon, and others.
Ah I did wonder why when I go to work I make picture frames and not repair domestic appliances :lol:
 
graysalchemy said:
Something in the back of my head says your not meant to solder them? I'm sure I read that when I made mine. Wouldn't normal solder run the risk of melting with the current from a kettle element?
The connector does come with screw terminals, but the wire in the cable is too thick to make a good connection.
I have soldered mine and have had no problems.
If enough heat is being generated to melt soft solder there is a problem else where, possibly the springiness in the connecting plug females not up to the job.
 
graysalchemy said:
Something in the back of my head says your not meant to solder them? I'm sure I read that when I made mine. Wouldn't normal solder run the risk of melting with the current from a kettle element?
I spoke to our sparkies about this, solder will melt but only if it gets hot enough, the only source of sufficient heat, given that the correctly rated wire and connectors are used, is a high resistance due to poor soldering. If you have a good look at a push on connector, the actual area in cont act is less than a good soldered joint.
 
It's difficult to know when you have a poor solder joint . . . until the thing bursts into flames, which is why all high current connections are crimped . . . Its easy to find out if you have a poor crimped connector . . . give it a damn good tug ;)

Also solder to steel has a higher resistance than copper to steel for the same rated current, so the solder joint is at a disadvantage from the start.
 
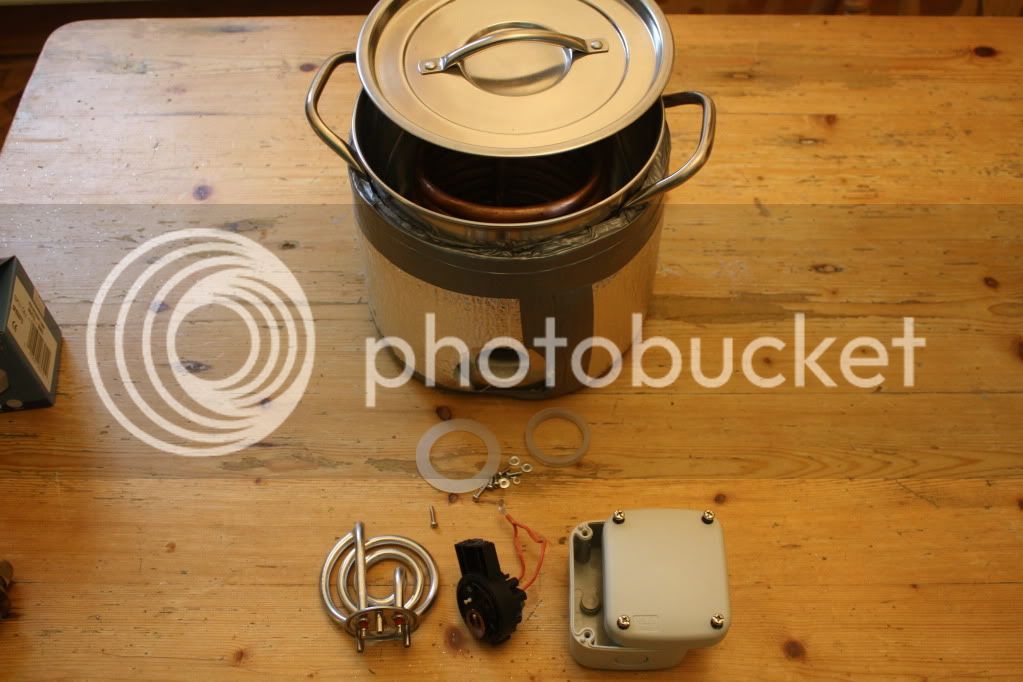
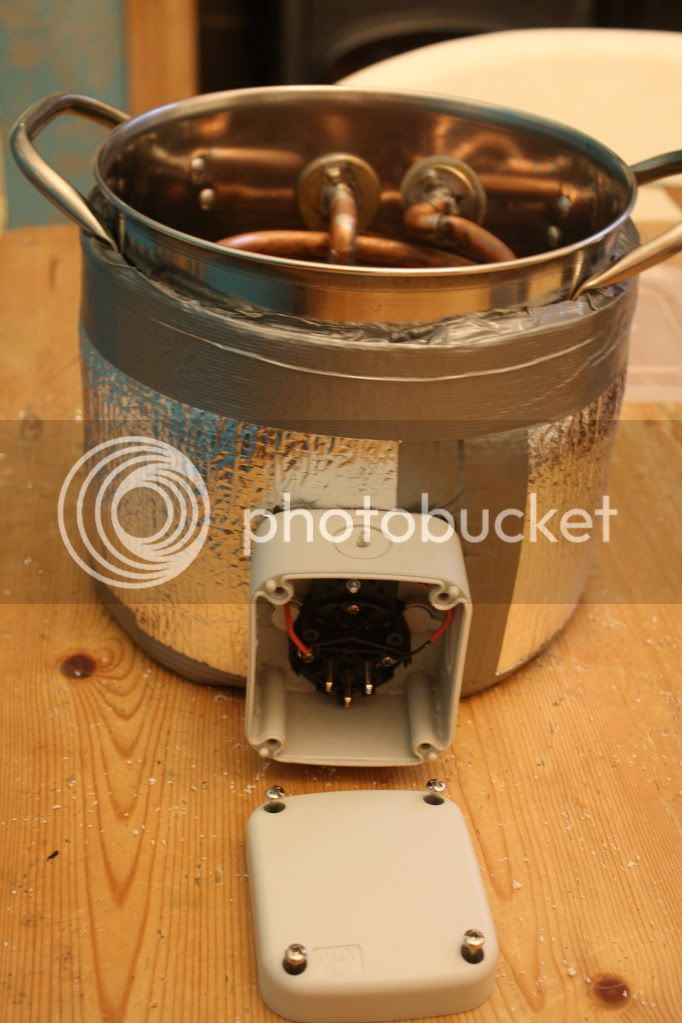
I have nearly finished my HERMS here with the same element and enclosure I used for my HLT and copper. I took some proper pictures this time and thought I would share. :thumb

IMG_1546.jpg


Screwfix IP66 enclosure, the useful bits from a Tesco kettle and a 1 1/2" poly washer.

IMG_1559.jpg


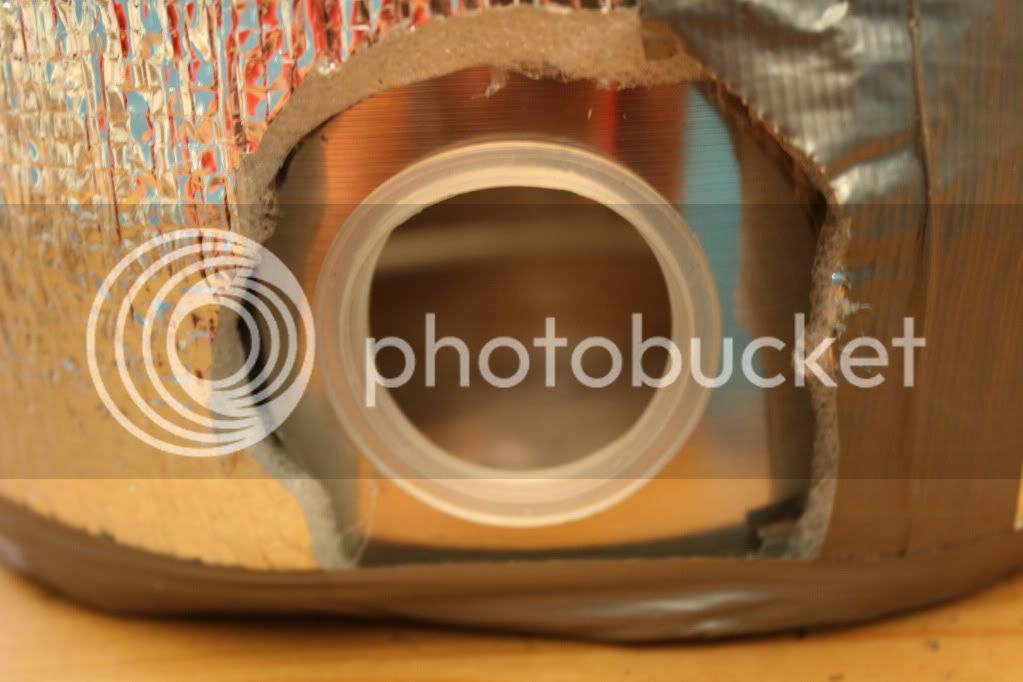
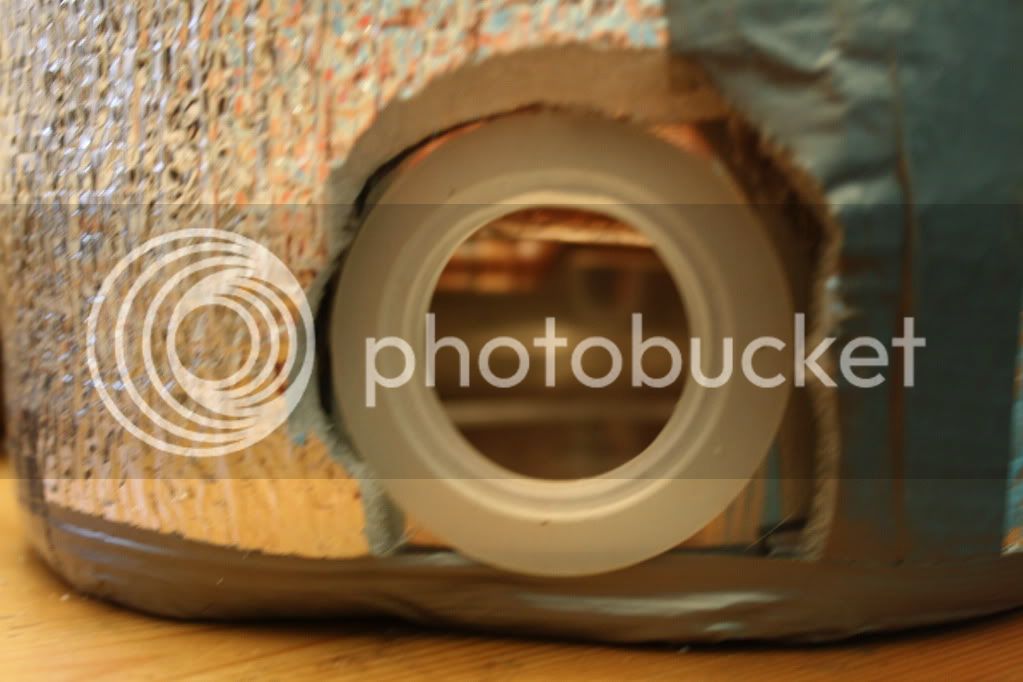
First cut a 38.1mm hole for the element. I used a Q max for this, then use the washer supplied with the kettle.

IMG_1560.jpg


Because the stainless is not as thick as the original plastic kettle it is a bit of a rattling fit. Using a poly washer will take up the slack and it seals as tight as a drum.

IMG_1547.jpg


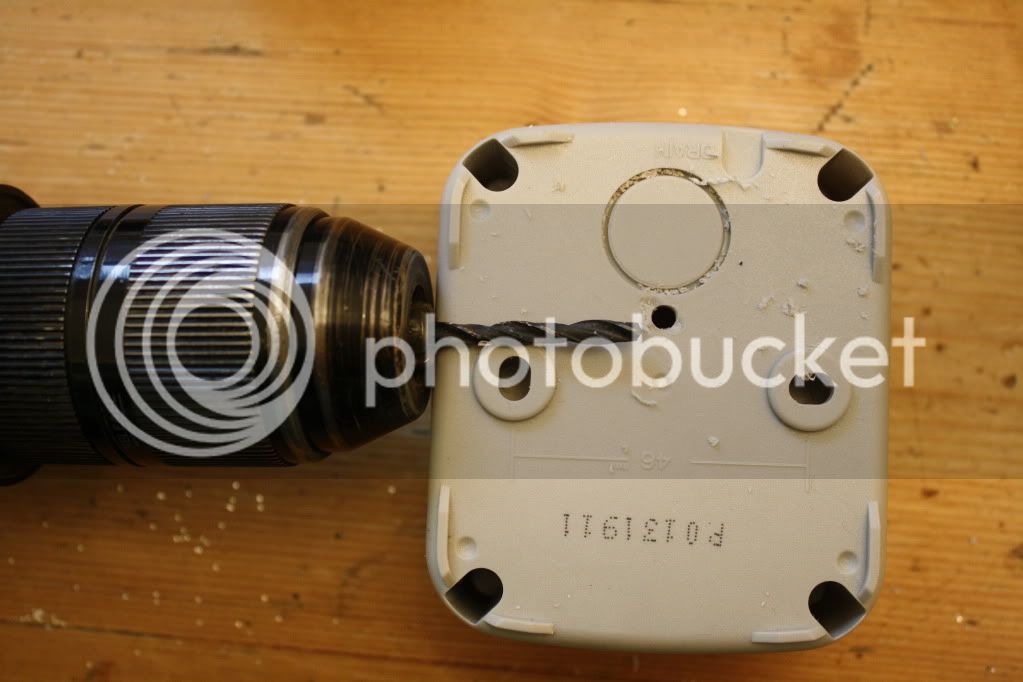
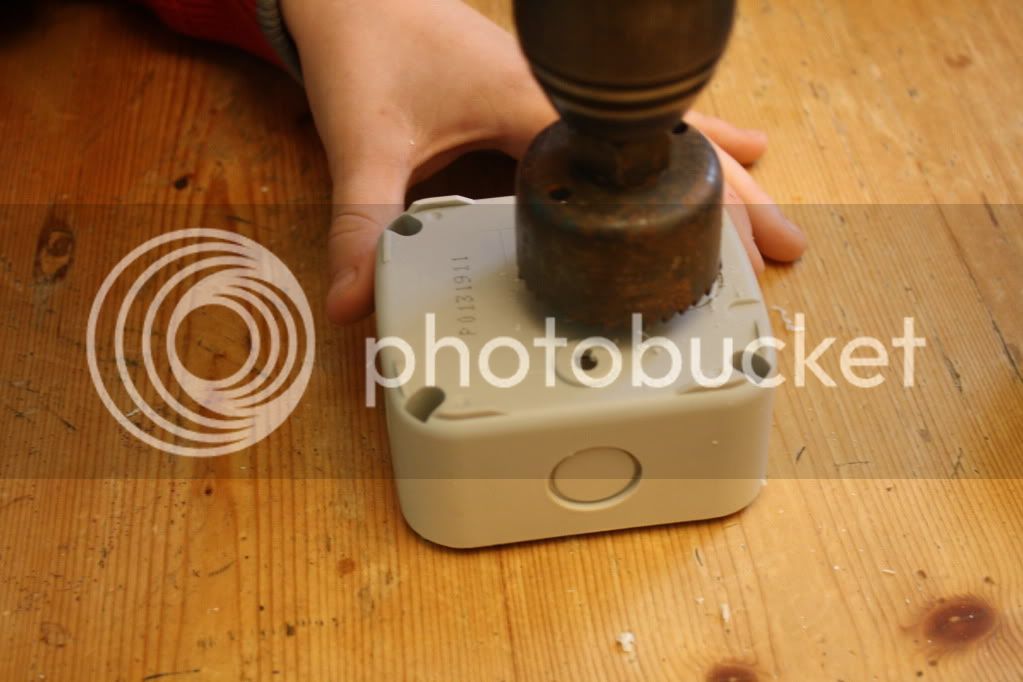
Drill a little pilot hole in the back of the box

IMG_1548.jpg


Open up the hole with a 44mm ring cutter for a very snug fit

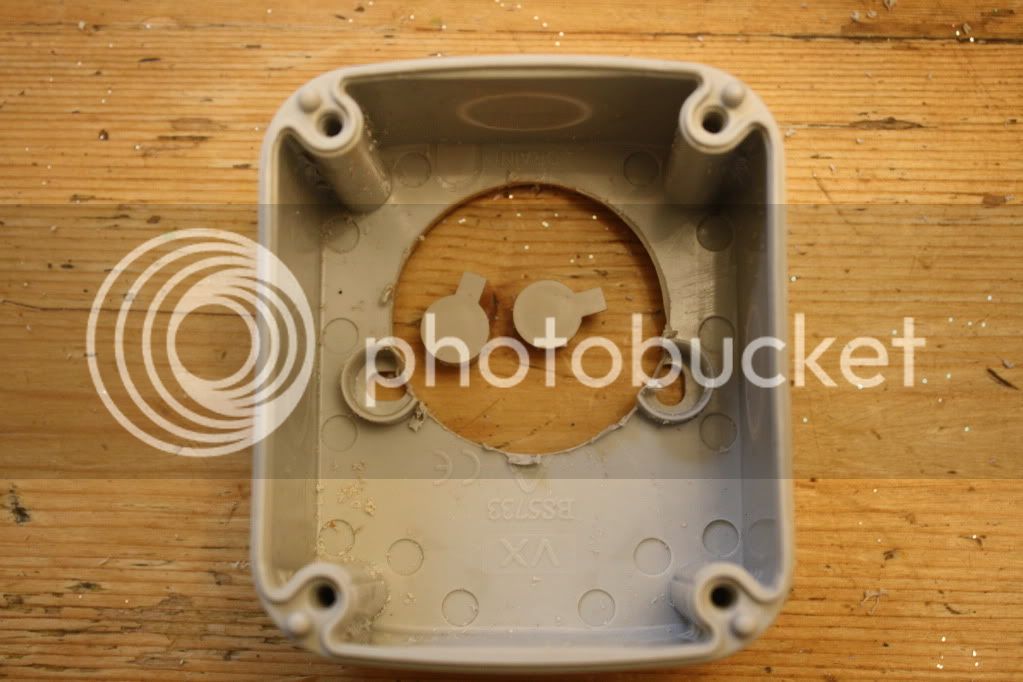
IMG_1549.jpg


This gives a nice neat hole, save the little rubber plugs which seal the screw holes in the back of the box

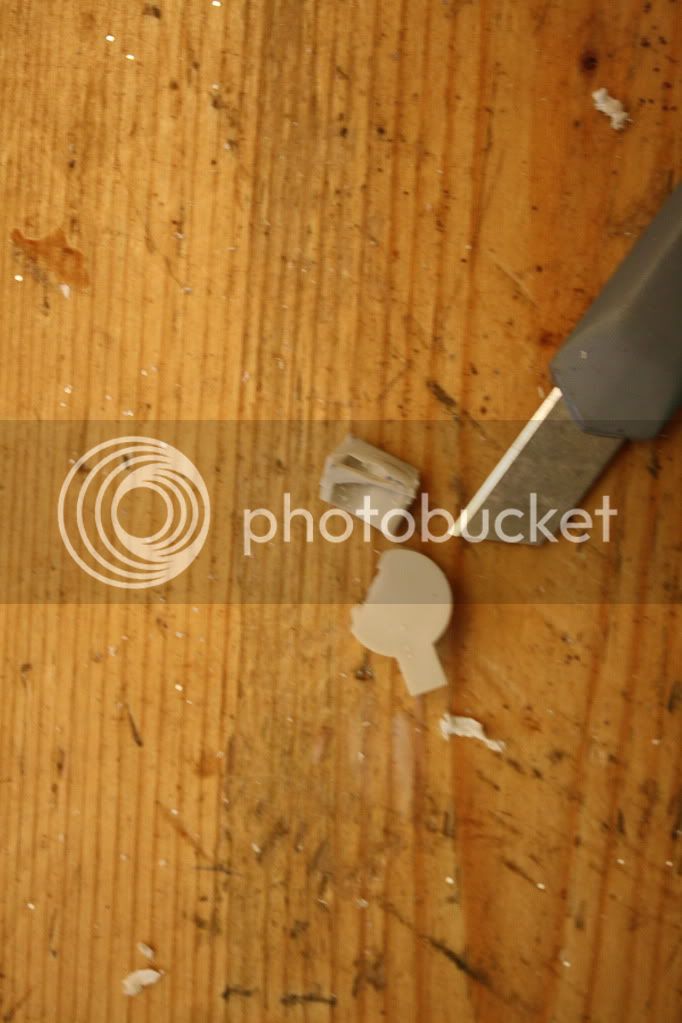
IMG_1553.jpg


Trim up the plugs with a sharp knife

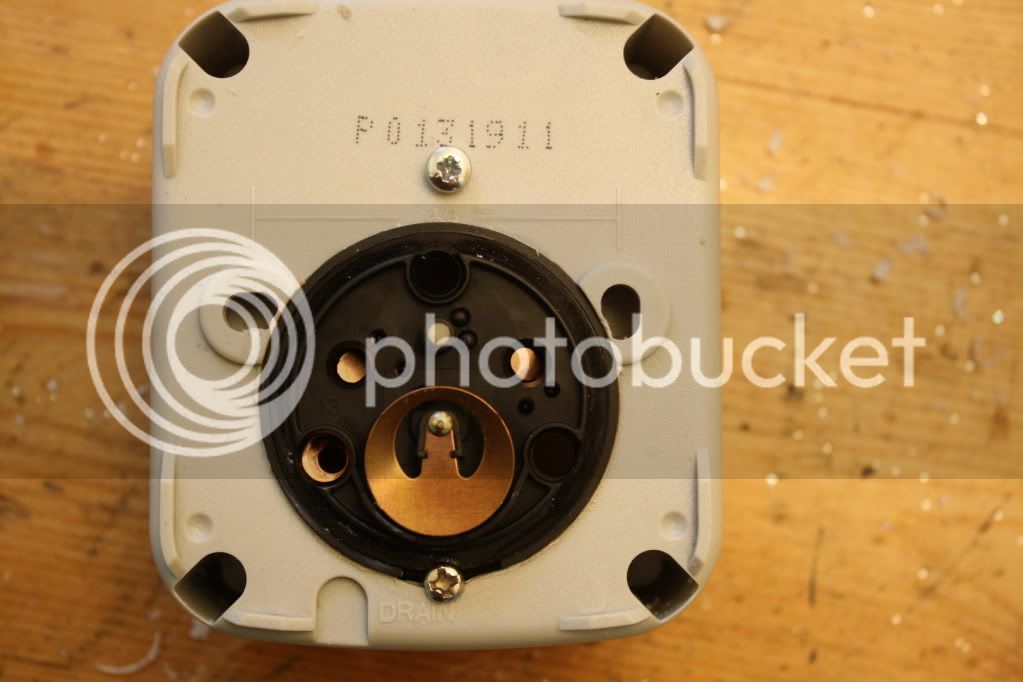
IMG_1554.jpg


Insert the black part of the kettle element and secure with a self tapper at the bottom and a 3mm bolt through the top.

IMG_1557.jpg


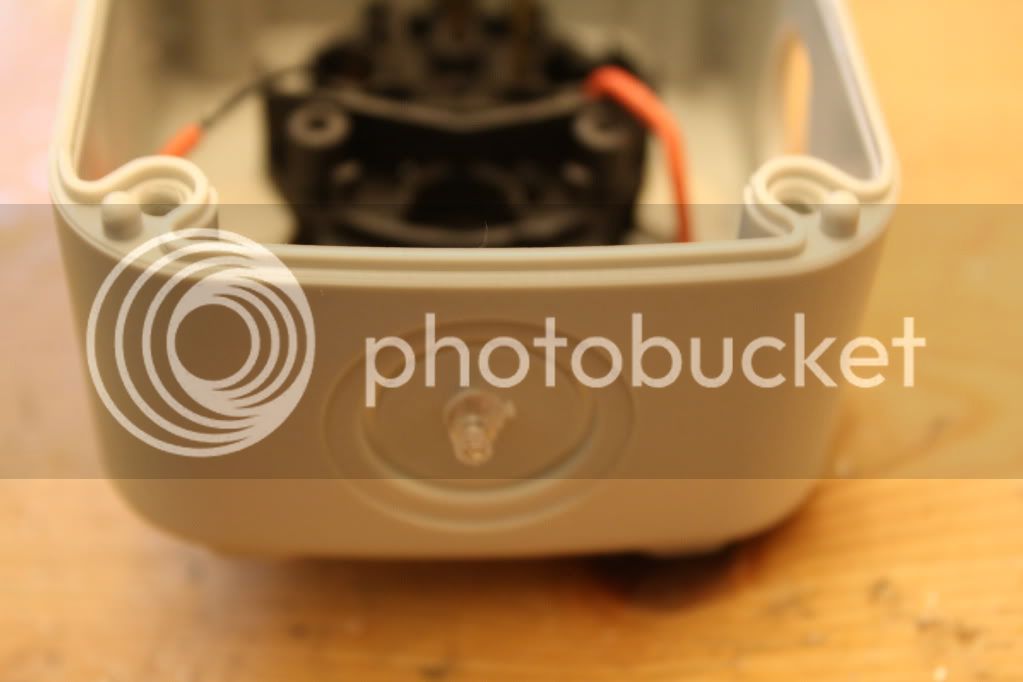
A small hole drilled in the top lets the neon show when the element is on.

IMG_1565.jpg


That's about it really just the gland and the cable to go in
 

Latest posts

Back
Top