The Cellar Conversion Begins

The Homebrew Forum

Help Support The Homebrew Forum:

This site may earn a commission from merchant affiliate links, including eBay, Amazon, and others.
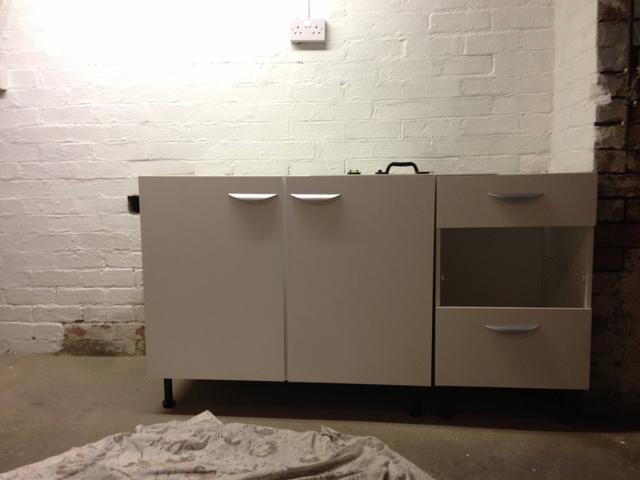
The kitchen units have been purchased and the first one is assembled:

sJmr3N9.jpg


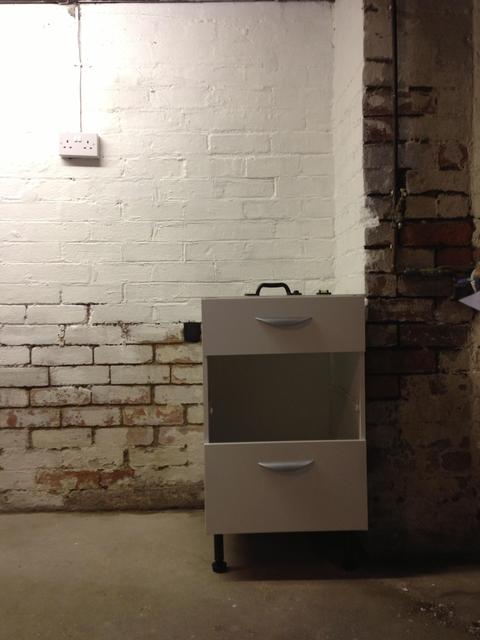
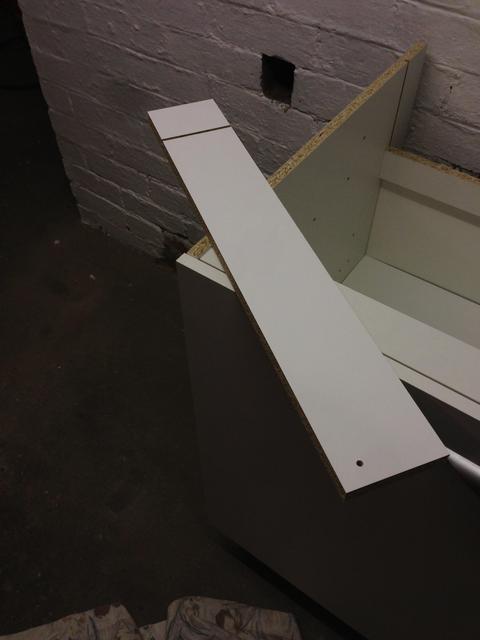
This has taken me two hours so far and would have been much easier to build if I had some sort of woodworking bench or similar....wait a minute....

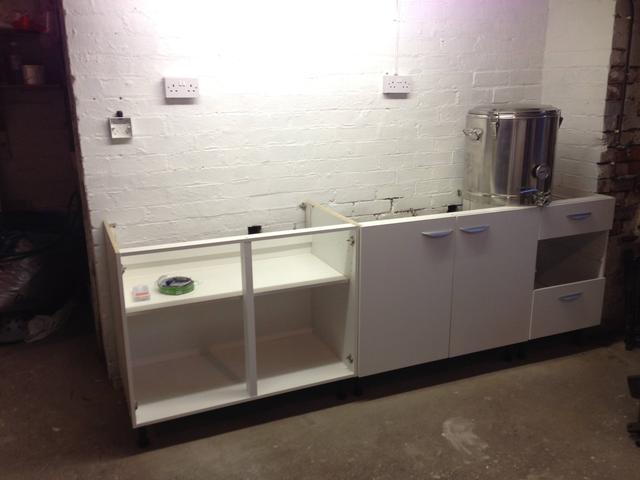
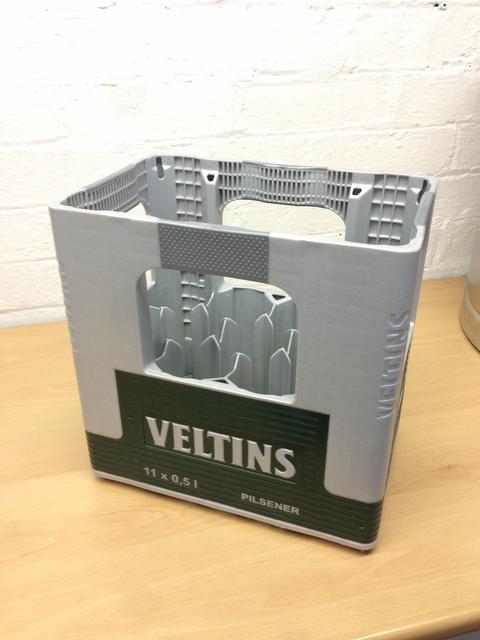
Two more units to do but these are a lot simpler with no drawers so should be quicker to put together. In order to keep my interest in putting the flat pack together I have devised a reward scheme, for each completed unit I get a beer, tonights treat being:

VTP5LjZ.jpg


(There will be no more DIY after this, I value my fingers too much! :drink: )

guyb said:
looks interesting, I am about to embark on a similar project myself, also recently having moved house.

I was going to add I thought you could get a lot cheaper than wickes, but having looked, it does seem very cheap!

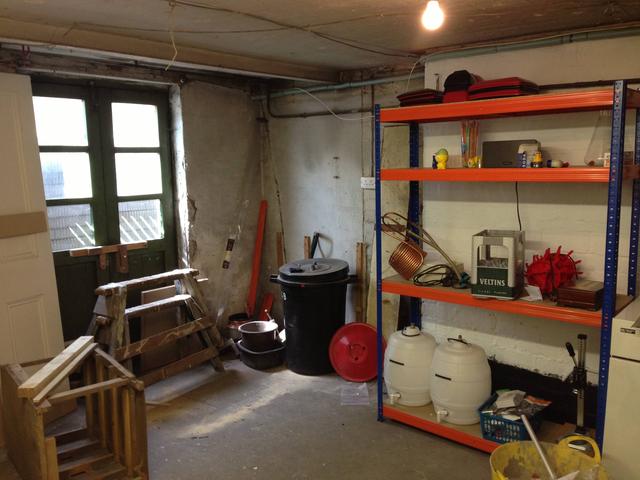
Good luck with the build, I'm using a couple of industrial shelving units to make mine out of in the garage :thumb:

I had a good look around but at the price per unit they started at and given they are doing 20% off as well at the moment it was hard to beat Wickes!

Look forward to seeing your build when you get underway :)
 
am thinking of brewing Robinsons Old Tom to save for Christmas 2013.

can you send me 40 of those empty bottles please...... :D
 
Well I'm always up for a challenge...as long as you don't need them by Monday :)

I was thinking of making Old Tom myself as the inaugural brew as I've just bought GWs book and it took my fancy. Either that or TT Landlord.
 
Enjoying watching this post. Ultimate dream for any home brewer, his own cellar. As most women hate spiders and believe a cellar harbours spiders the size of a rabbit they won't come anywhere near.
 
dennisking said:
Enjoying watching this post. Ultimate dream for any home brewer, his own cellar. As most women hate spiders and believe a cellar harbours spiders the size of a rabbit they won't come anywhere near.

Thanks Dennis, I'm quite enjoying building and chronicling it although I'm not a massive fan of the rabbit sized spiders that exist down here myself...it's the teeth...so many teeth...

Second unit has gone up quicker that the first (only an hour this time round), the next one is identical so should be half that time tomorrow with a second pair of hands to hold things:

ScsSfY3.jpg


The only problem is I have no idea what this bit does or where it came from:

3T9JGJZ.jpg


Must just be one of those pieces they put in so you can feel confident it's a job well done when there's a bit left over :)

I'm now trying to decide what worktop I go for. Wickes have some fairly cheap laminate ones however I'm wondering if I go for a solid wood worktop as if I want to drill holes in it at any point it will be easier to make water resistant that a bunch of MDF. The only downside is treating the worktop on a regular basis but I'll have to do that for the real kitchen so another 2.5m won't make much difference.

Tonight's reward was a few Sierra Nevada Pale Ale,s which rewarded me handsomely half way through the build (this may explain the left over piece)
 
Now it feels like it's starting to take shape:

wRfhfDZ.jpg


All the carcasses are in place, leveled and fixed to the wall and each other, just the doors to fit and a worktop to buy. Sadly my cordless screwdriver is out of battery and I can't find the charger so it might be a while before I can be bothered manually doing the doors!

I've figured out the bit that was "left over" is just in the box to give it some strength it appears.

I've started clearing the rubbish from the cellar so I have some space to move and can start painting the other walls. I was hoping to get a fermenting fridge delivered from Gumtree today but they haven't shown up with it...
 
A week since the last update and some more progress, the doors and drawers are now all on and the worktop is fitted. Holes have been cut to allow me to run the PC inside the cupboard below the monitor and all the electrics have been finished:

LwuCJJP.jpg


I'm very happy with how this is turning out and with my new boiler on order with mrlard it shouldn't be long before I'm ready to brew down there. The entire middle cupboard is empty and should be able to store plenty of malt in there.

A few things left to do:

1) Sort out some extraction!
2) Find something to put underneath the boiler to keep it off the worktop so it doesn't burn. I have some adhesive hotrods left from when we renovated the main kitchen, I'm wondering if those will be enough to keep the surface cool. I'm thinking the Cygnet will be OK as there is a large base on it.
3) Fit a cable grommet to tidy up the hole in the worktop.
4) Maybe fit a matching upstand or just silcone the worktop in to seal the back of it.

In other news the girlfriend has returned from the first holiday with presents for me, not only were they beers, in reusable brown glass bottles but they came in these:

J3GrY3X.jpg


:thumb:

The first of the fermentation fridges and tube heater has arrived so I now need to make a wooden support for the fermenter and wire this up:

tOZq0b5.jpg


This will live in this corner after I've fixed the walls with another 1.5m worktop above it for bottle storage space/bottling area

KapDD45.jpg


This is next weeks job :)
 
a nice 18mm thick piece of ordinary chipboard will do to protect the work surface. A pack of 3 loft boards from B&Q for about £9 will be enough for years..
 
Looks great - I must sort my cellar out soon.
I would definitely work on extraction if you are using Wickes units - I am about to email them to complain that my kitchen is drooping after about 2 years. Double cupboard is just sagging in the middle.
Other than that, grand job you've done there. Can I ask what the computer is for? Are you using it to control brewing equipment or is it just there to provide entertainment and web access while you're down there?
 
Thanks for the suggestions, I'll get myself some chipboard, cheap and cheerful :)

Algernon said:
Looks great - I must sort my cellar out soon.
I would definitely work on extraction if you are using Wickes units - I am about to email them to complain that my kitchen is drooping after about 2 years. Double cupboard is just sagging in the middle.
Other than that, grand job you've done there. Can I ask what the computer is for? Are you using it to control brewing equipment or is it just there to provide entertainment and web access while you're down there?

The PC has Beersmith on and is also running Plex to serve media to the house and keep me entertained whilst brewing. It was originally put in there to act as a fridge controller with the brewpi software but I've gone down the STC-1000 route instead.

Extraction is high on the list but the first brew might be done with the doors wide open until I can afford a decent extractor.
 
have a look on ebay mate I picked up a cooker hood extractor last night brand new and never opened for £10. there was loads on there.
 
The spare bit is a kickboard, fills the gap between the unit and the floor

Also painting the entire wall will stop moisture coming through the wall and rotting the back of your units out.
 
Aquila said:
The spare bit is a kickboard, fills the gap between the unit and the floor

Also painting the entire wall will stop moisture coming through the wall and rotting the back of your units out.

I did initially think kickboard when i pulled it out of the box but the ones inside the 1000mm cabinets are the exact same dimensions as the 500mm so doesn't look like it would work. I decided against kickboards as the cellar can sometimes flood so figured there wasn't much point as they'd just soak it up and swell.

The wall that the kitchen units back onto is an internal cellar wall (there's another room behind there with the electricity board etc) so should be safe from moisture.
 
Doing a cracking job there mate :thumb:

The leftover bit was probably just a scrap piece to take up the extra space in the box to stop things moving about too much!
 
misfit said:
Doing a cracking job there mate :thumb:

The leftover bit was probably just a scrap piece to take up the extra space in the box to stop things moving about too much!

Thanks, DIY is definitely not my strong point but I'm happy with what I've accomplished so far.

I've taken the first steps to resolving the extraction issue and purchased this on ebay:

http://cgi.ebay.co.uk/ws/eBayISAPI.dll? ... 1091137495

It's shiny and a reasonable price, there were some cheap 99p ones but as they are collection only and I don't have a car this seemed like a good middle ground, I also need a cassette style one like this as there isn't a lot of ceiling height above the boiler.

Now I just need to figure out where I'm going to duct this to. To begin with I might set up a temporary duct that I can open the door and hang up on brew day until I can find someone competent enough to fit it properly
 
Quiet day so spent the afternoon building a shelf for the new fermentation fridge, just need to put some 20mm holes in the top to aid heat flow and it's done:

HU5wCmx.jpg


My only concern is how much heat one of these tube heaters puts out and if there will be an issue with how close it is to the wood, it's only a 60w one but I'm paranoid about burning the place down!
 
Back
Top