Questions, questions.

The Homebrew Forum

Help Support The Homebrew Forum:

This site may earn a commission from merchant affiliate links, including eBay, Amazon, and others.

Sean_Mc

Regular.
Joined
Jul 16, 2009
Messages
323
Reaction score
1
Location
N.Wales
Okay I've read the 'How to's', been linked to 'Youtube' multiple times, so here's the stupid questions :D

Going to start building my AG setup over the next week and sadly its the plastic route, but its a start.
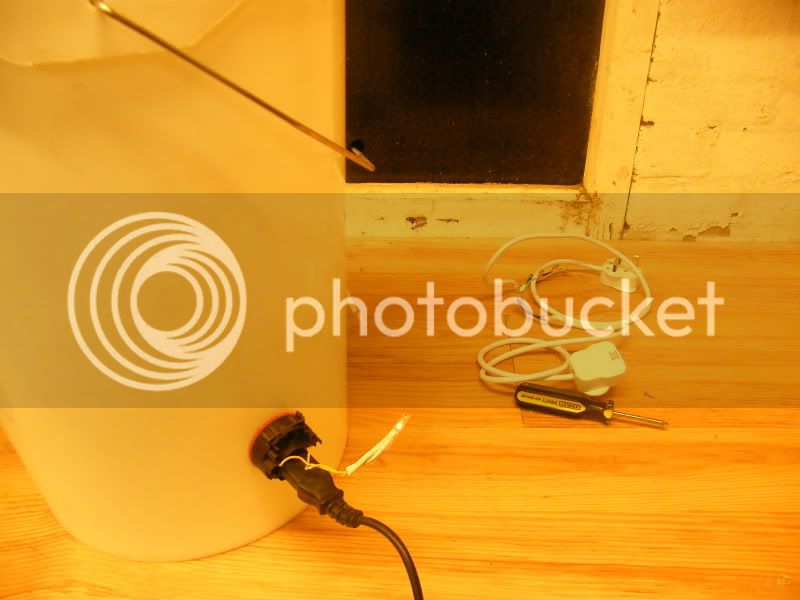
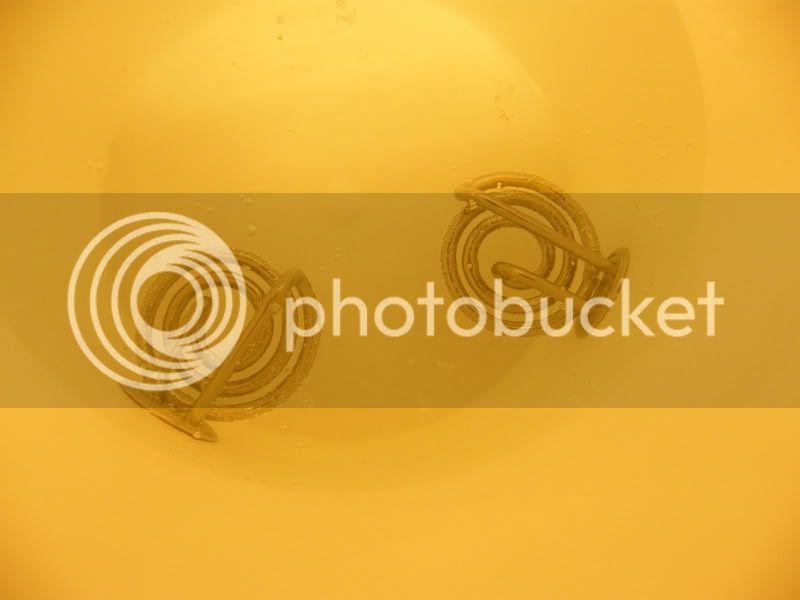
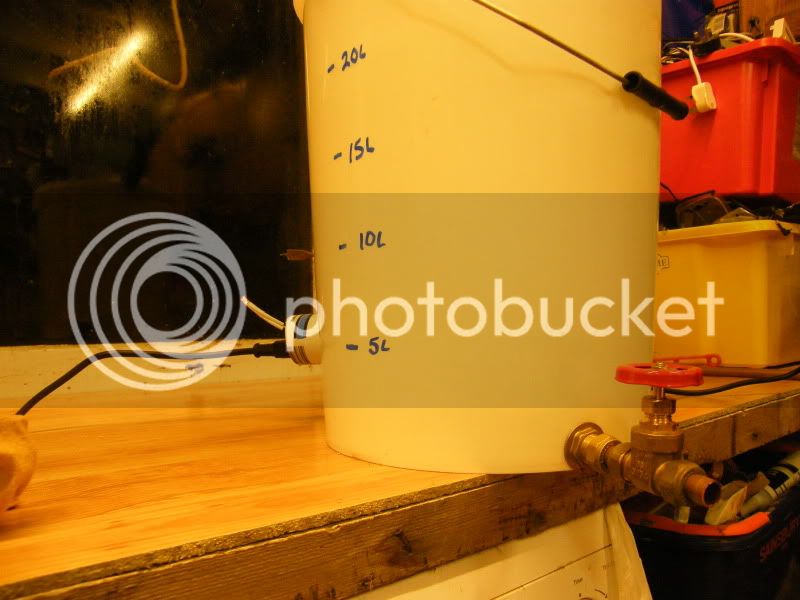
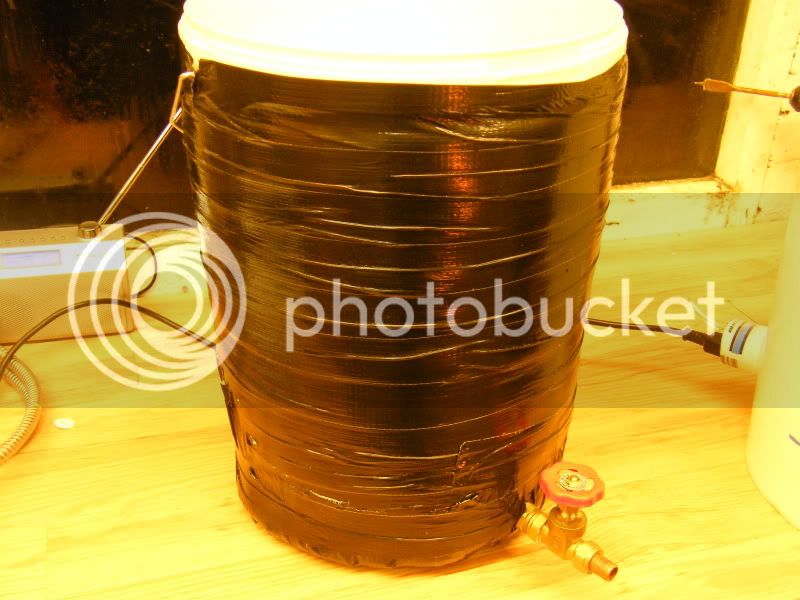
Boiler
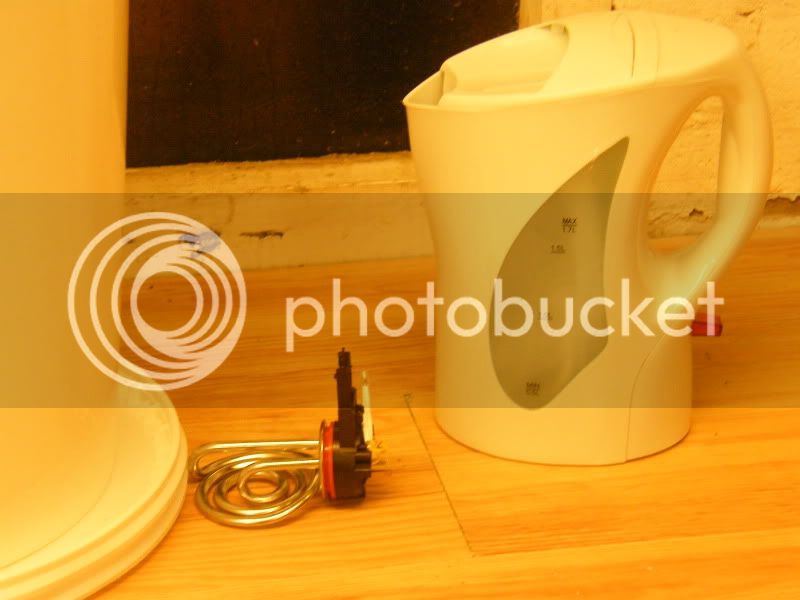
Are THESE the Tesco kettles I've read so much about and is the size to drill out 40mm? Also do I use an auger bit or spade, which works better?
Tank backnut flanges 20mm?
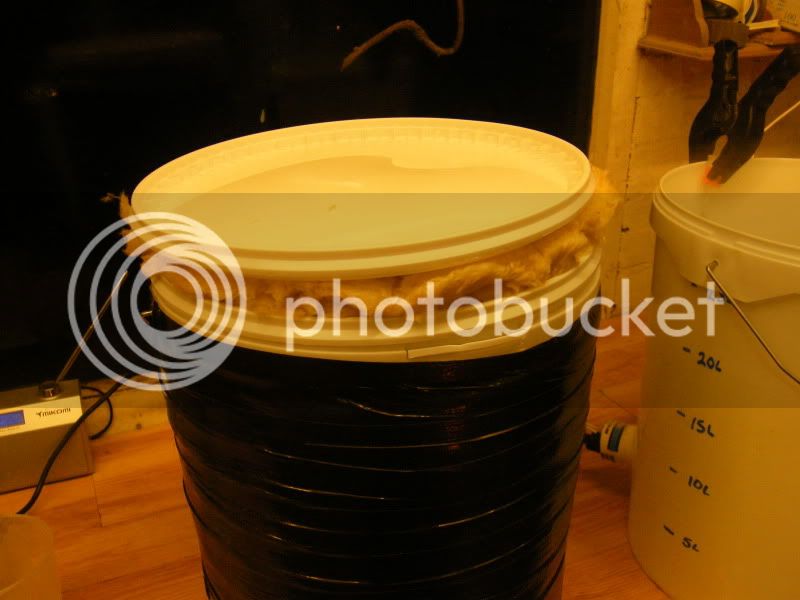
Mash tun
Daab's false bottom or 15mm copper tube with slots, what depth should the slots be?
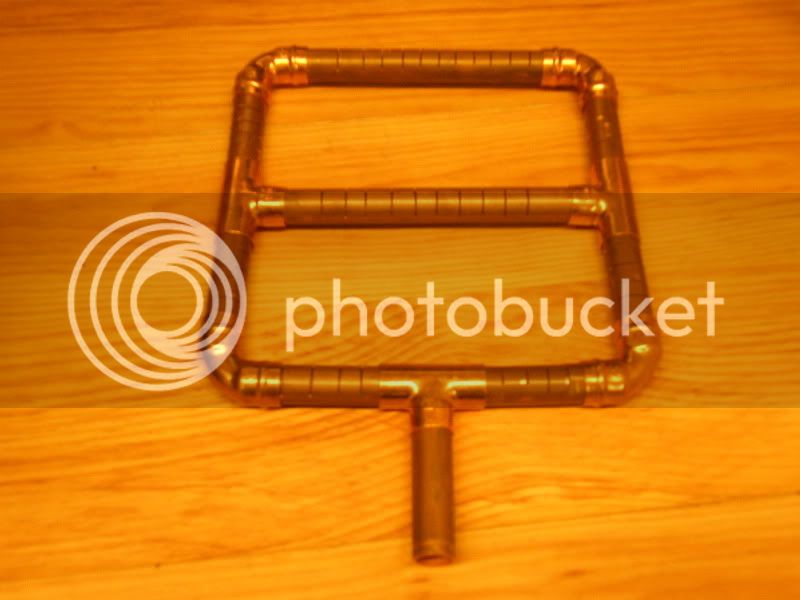
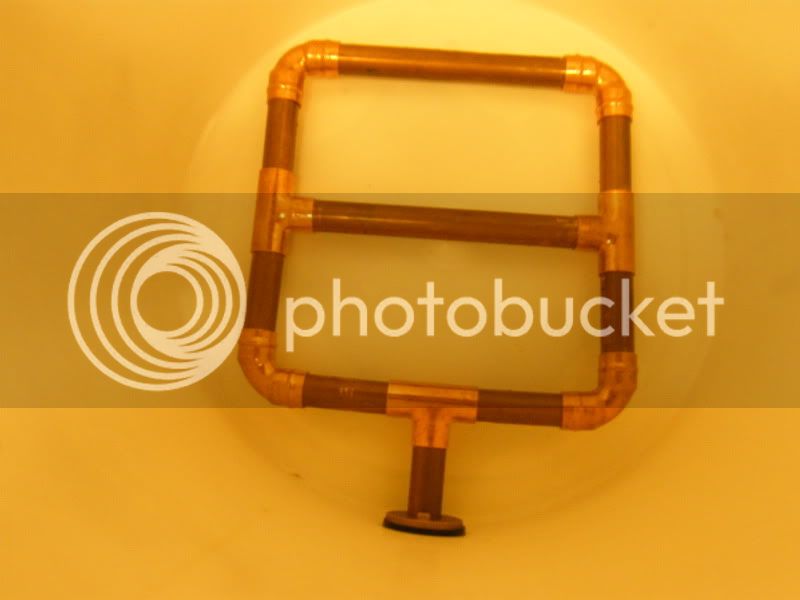
Spargers
15mm copper rectangle 1mm holes or use the shower head I have? :pray:

I'm sure they'll be plenty more question, but think that's it for now.

Sean
 
Thanks Eddie, that's a great post by MD and one I think I'll need to print off :clap:

Sadly Argos have run out of the cheap kettles in a 20 mile radius from us
 
The better kettle elements are the Asda Value ones :lol:

And its a 38mm hole . . . use a holesaw not an auger or spade bit . . . and buy a decent Bosch one for metal . . . not one of the cheapy sets
 
Nothing wrong with plastic, been using the same plastic kit for over 5 years now, just logged brew 65 :D

Boiler
If you don't want to buy a hole saw, have a look at http://www.thehomebrewforum.co.uk/viewtopic.php?f=23&t=6028 , bottom of thread, takes a bit more time but even if you need to buy a file that will probably be of more general use than a one size hole saw. Time verses cash ;) :)
Mash Tunn
Mine's a picnic box with 22mm copper pipe rectangle, one tee piece and four elbows, not soldered up to aid cleaning, slot are every 12mm or so nearly half way through.
Sprarge arm
Never had one of these, in my five years of brewing :lol: Just let the sparge water dribble in. I am sure someone will tell be why you really need one, but have always made some good beer without. I have half made one for my new brew set up though :)
Happy brewing
S
 
Thanks Springer.

What ever happened to New Yankee Workshop, bliddy Discovery Shed :D

That's cleared a few doubts up for me.
I'm still worried about the plastic going all wibbly whilst doing a rolling boil. I have some parawood flooring, so am considering to do something similar to what you did below.....He say with his CSE in woodwork :hmm:

4069561398_6fce2c9469.jpg


I'll bodge along, but thanks all for the thoughts
 
I'll bodge along, but thanks all for the thoughts
Do whatever works for you, there's always several way to achieve the goal. The link was to an alternative to buying a hole saw, not the way to build a set up. ;) Wished I had some of Norms kit, got the safety glarssess :lol:
I actual bought a ready made "plastic boiler", when I started brewing, wouldn't do it again ;) , it has never rolled away yet :lol:
What is important is to cut down heat losses. I used to cover it in an old quilt, this kept the wind off and kept heat in, but it got messy cos I usually let it boil over :( There are more sophisticated methods :) Keep meaning to put some proper insulation on mine. Its surprising the improvement you get by just shielding it from the wind. Its the opposite of blowing your porridge. :lol:
Also have read somewhere on the forum about improving a picnic type box, by uprating the insulation.
He say with his CSE in woodwork
I've got one of those, but never thought it would come in so useful when I was making a tea pot stand many years ago :lol:

Happy Brewing
S
 
Yep was with you with the link, with seeing your new build it just gave the idea to stiffen up the boilers plastic walls, also insulate it.
New brainwave is to use bendy MDF :D

Sean
 
Yep was with you with the link, with seeing your new build it just gave the idea to stiffen up the boilers plastic walls, also insulate it.
New brainwave is to use bendy MDF

I wouldn't worry about the wall strength, insulate by all means, my new boiler is going to have some thermowarp.
I always go over the top with my designs, my mash tun was designed and made before i decided to go HERMS, hence I was concerned about heat loss but with HERMS you can add heat to make up losses, as necessary, so I am over designed once again. :lol:
 
Started me bodging :D

Buckets arrived this morning, so checked the plastic symbol on the bottom and there polypropylene, Wiki says they have a melting point of 160c, so that's eased my melting plastic and gushing water fears............a little. :hmm:

Spent a couple of hours hunting cheap kettles in the supermarkets this afternoon, Asda sold out, Argos sold out, Tesco's sold out, but Sainsbury's had several for £4.79. Inspected carefully and concluded these would meet the job at hand.

Work and other commitments dealt with, meaning I had a couple of hours to myself this evening to actually start building something.

Right who left the shed in this state

DSCF0006.jpg


Well its one mess I can't blame the kids for

An hour later and I have room to work in.

DSCF0007.jpg


Well its a slight improvment

One kettle done

DSCF0010.jpg


One fitted

DSCF0012.jpg


And two fitted, so better test

DSCF0015.jpg


No leaks and the electrics work, half filled and test the plastic when boiling

DSCF0021.jpg


You'll have to take my word on that pic, but its boiling and steamy, more importantly its working and no wibbly plastic:D

With all the clearing up that's all I had time for :oops:
 
Looks like you are making good progress, soon be brewing

Well its one mess I can't blame the kids for

My workshop looks just like that, :) If you managed to clear that in a hour, excellent effort, to do all mine working on your figure I think a full day will be needed :lol: I have just suspended all work, due to lost fitting and am doing no more until I have sorted my mess up. :x

Liked the link :D
 
god sean your garage is as cluttered as mine nice 1 the kettles are virtually identical as the argos ones well done :drunk: :drink: :cheers:
 
Thanks guys, did some more work on the set up tonight. I've set the end of January as my first AG brew day, but I had my stupid head on :|

The only bit for drilling the boiler was a 19mm, which was okay, just needed a few strokes of the file and sanded with wet n' dry.....Never thought about the tank nut flange clearance and in my haste drilled too close to the bottom of the boiler :(

After a think I came up with a bodge :) Angle grinder out and a couple of min later

DSCF1015.jpg


So a tap fitted of sorts, dead space calculated and volume measured

DSCF1002.jpg


I saw the nice idea about using customised Young's ingredient tubs as shrowds incase of boil overs, discovered that mastic tubes are also a nice fit.

I've bought a coolbox for a mash tunn, but it would come in very handy for family trips in the summer, so thought about one of the buckets I have. rapped it in foil, then fibreglass rock-wool, cling filmed in place and rapped in tape.

DSCF1005.jpg


Notice the tap on this one it much higher :oops:

The lids seem to stack with a gap, so used foil and rock-wool, but haven't a suitable adhesive.....needs a think this one :hmm: Lets see how it preforms

DSCF1008.jpg


Strainer cut to size

DSCF1003.jpg


Strainer fitted......over doing the pics now :grin:

DSCF1004.jpg


scavenger needs work too....and me last pic :whistle:

DSCF1009.jpg


Notes to self
Tumble dryer, halogen heater, radio and boiler all switched on blows the ring main fuse :wha:
Uncoil the extension lead, even with a RCD the cables melt :hmm:
Use suitable leads to the kettle elements :nono:
 

Latest posts

Back
Top