loady
[Superlative Сasual Dating Real Women]
Finally its up and running, with advice and help from many on this forum i have realized my dream !! You may remember i got hold of a nearly new coca cola fridge from blockbusters for £60, to get it in my shed meant having to remove the UPvc door frame, i also put castors on the fridge and relaid the floor in my shed so it was smooth.
The wiring i thought was going to cause me some concern but after a little research i discovered that the coca cola company install their own controllers into these fridges, not disimilar to the STC 1000 but with more functions like controlling the lights and changing the temp out of hours. Instead of wiring with this in, i stripped it all out and just left the wires running through the fridge, they were easily traceable and once i knew where they were the wiring of it was a breeze and went really well, i removed the flourescent light tube that run behind the door mullion and put the 4FT heat tube in its place, i wired the evaporator fan to be on all the time and and routed the power of the STC through the old light switch so i can switch it all off.
My next job was getting the taps in. The doors had double glazed units in them, i removed one and replaced it with UPvc infill panel, this is where i started scratching my head, as it wasnt a solid peice of materiel.
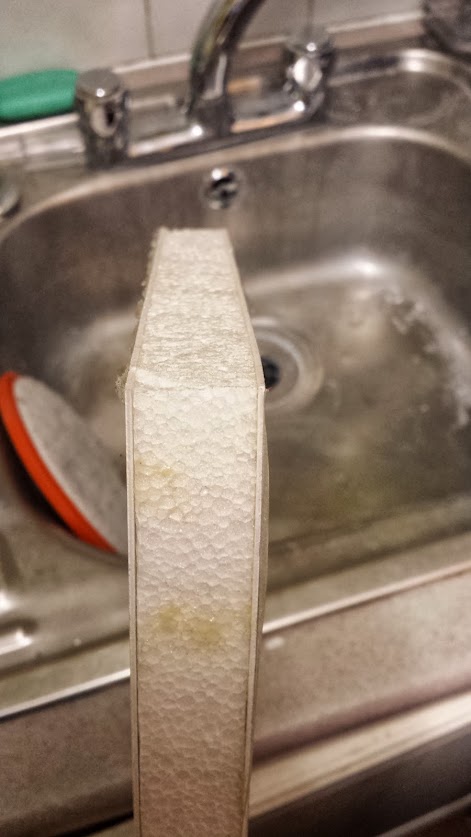
i nearly gave up on this and was going to get some plyboard cut to size when a plumbers merchant suggested this little baby...

They can come 100mm long !!..ideal even for normal fridge doors as you dont need to drill oversized holes to bolt them in. They are 1/2" BSP, the tap barrel goes into the female and then a 1/2" brass backnut to act as a washer.
To get this to work for me i used them inconjunction with an array of washers, both steel and rubber. From right to left, the tap had two steel M20 washers followed by an M20 rubber washer, the rubber washer grips the UPvc panel nicely and stops the tap rotating to easily, next on is the radiator extension nipple, mine were 35mm long, i tried 25mm initially which worked to fix it in but when fully tightened the other end compressed the release collar on the JG insert and could have caused the beer line to work loose, this extension piece screwed over the tap barrel. The tap with those parts on passes through the 25mm hole made in the UPvc panel then on the other side of the panel the M25 rubber washer goes over the barrel of the extension nipple (again, to grip the panel) followed by the M25 steel washer and finally the brass back nut to tighten, this was just finger tightened then very slight bittien with a spanner, this stops the taps flopping or spinning around, helped by the rubber washers, but allows them to be turned and aligned by hand with ease without the need to undo anything.
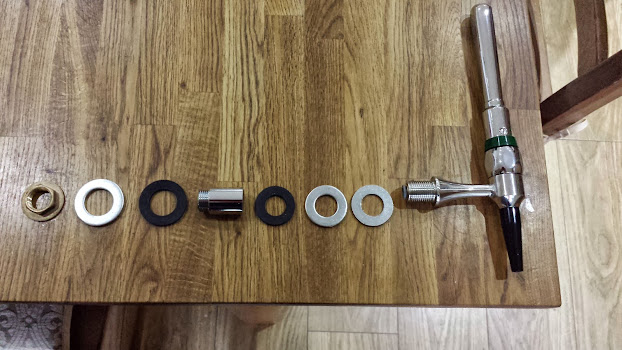
This is how each part looks when put together.
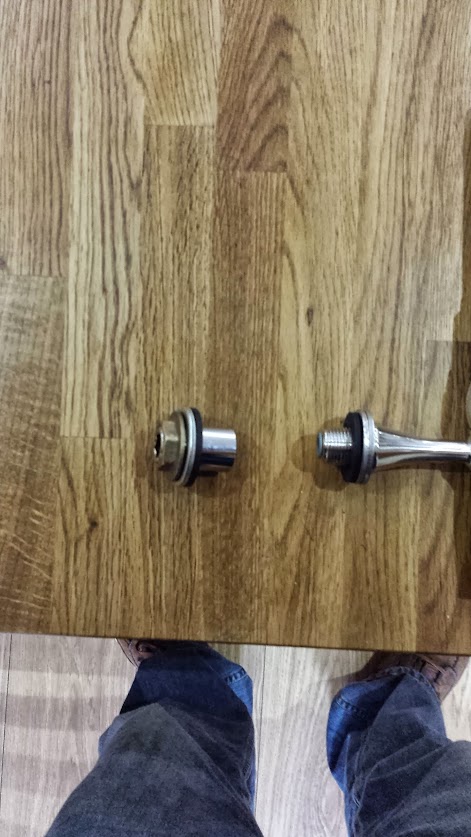
Insitu from behind..
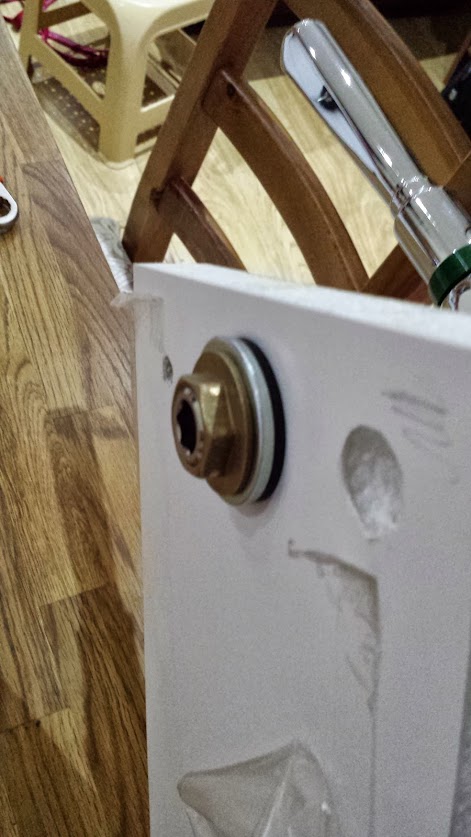
From the front..sorry..one handed mobile picture !!
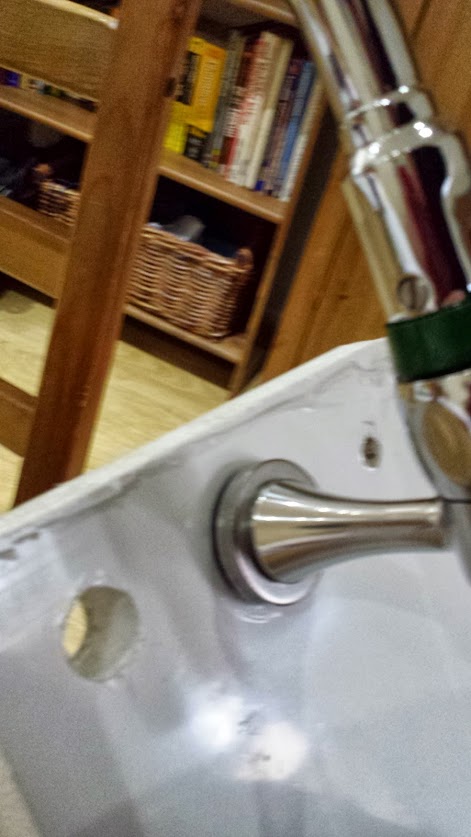
So with the prototype tested in my test piece this is how it went...
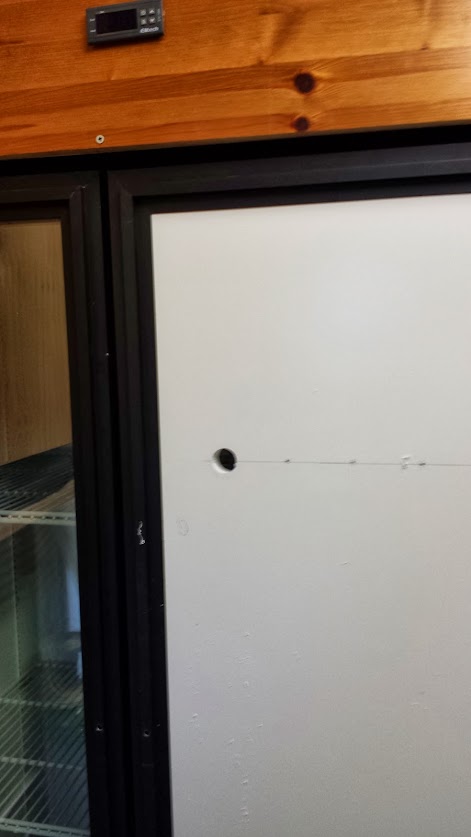
Panel in with first 25mm hole drilled with hole saw..went through so easy, a pleasure to cut this stuff !!
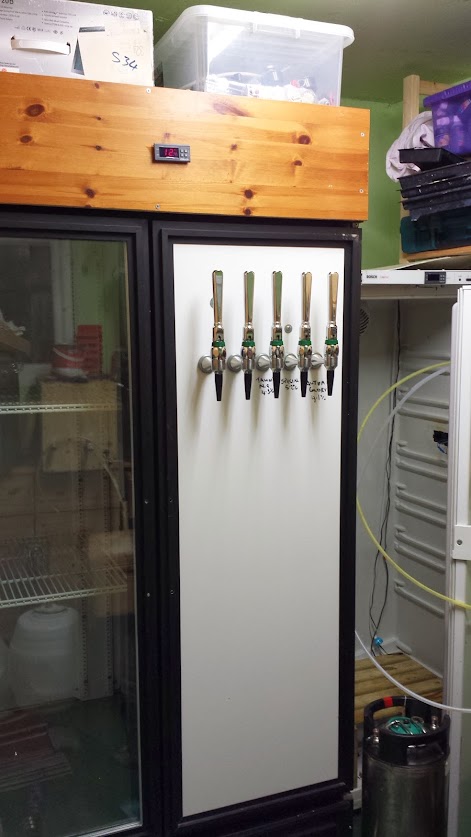
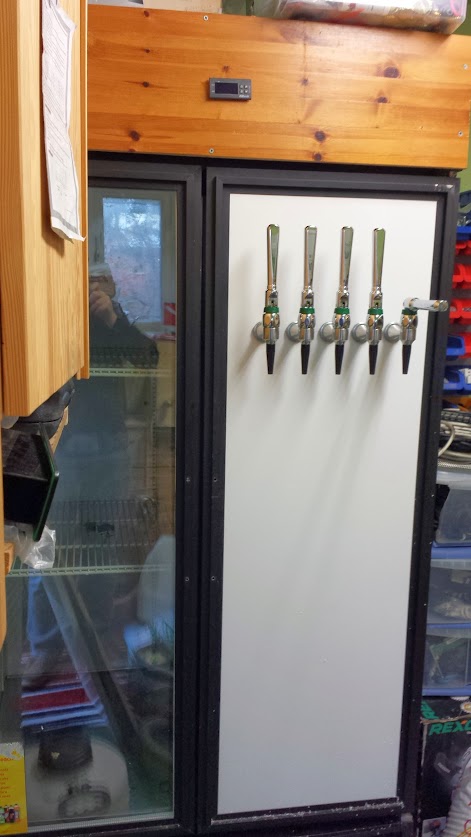
Taps on !!..yes five chrome ones !!..guy on ebay selling them quite cheaply, i got three delivered for £52 !! after already buying two, ask me if you want contact details. You can see the old kegerator to the right, this is going to be my fermenting fridge now.
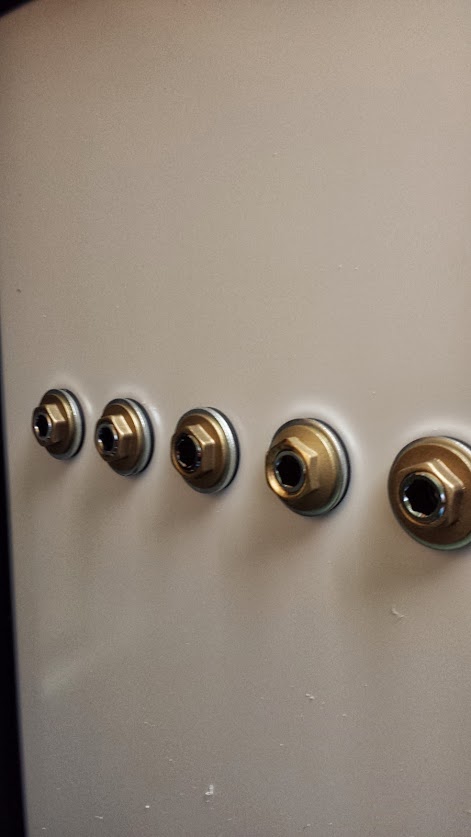
Back of panel, very easy to access the back of taps, just nip with spanner then undo with hand.
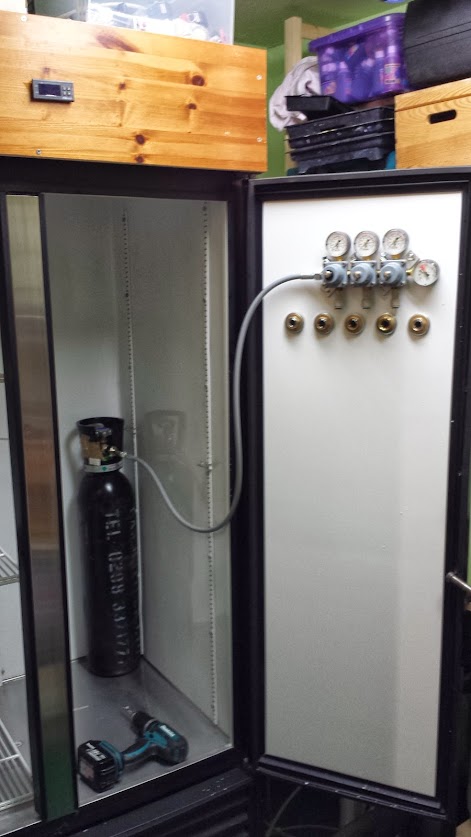
And with gas and regulator fitted. i was planning on keeping the gas outside but to be quite honest, i got more room in there than i need so i can confortably fit 5 cornies, the gas and have room above for another shelf for bottles or yeast.
So, looking good..
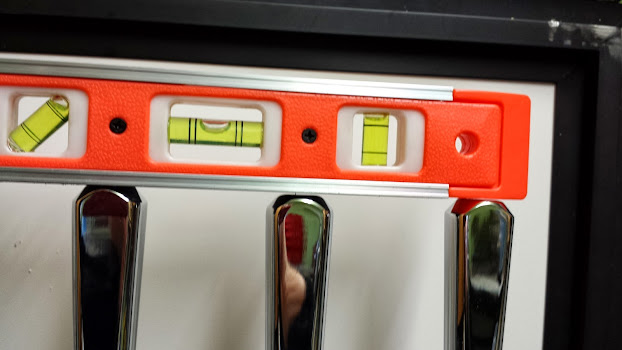
Not to happy about this one in the middle though...might start again :whistle:
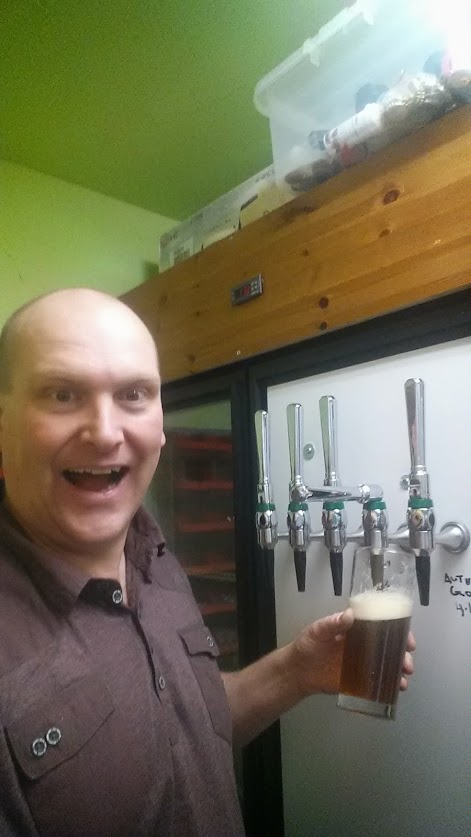
So..i am so happy with this bargain fridge i got, thanks to everyone who pitched in with advice, if i can be of any assistance to anyone and you want to know what i used or where i got stuff please feel free to ask.
The wiring i thought was going to cause me some concern but after a little research i discovered that the coca cola company install their own controllers into these fridges, not disimilar to the STC 1000 but with more functions like controlling the lights and changing the temp out of hours. Instead of wiring with this in, i stripped it all out and just left the wires running through the fridge, they were easily traceable and once i knew where they were the wiring of it was a breeze and went really well, i removed the flourescent light tube that run behind the door mullion and put the 4FT heat tube in its place, i wired the evaporator fan to be on all the time and and routed the power of the STC through the old light switch so i can switch it all off.
My next job was getting the taps in. The doors had double glazed units in them, i removed one and replaced it with UPvc infill panel, this is where i started scratching my head, as it wasnt a solid peice of materiel.

i nearly gave up on this and was going to get some plyboard cut to size when a plumbers merchant suggested this little baby...

They can come 100mm long !!..ideal even for normal fridge doors as you dont need to drill oversized holes to bolt them in. They are 1/2" BSP, the tap barrel goes into the female and then a 1/2" brass backnut to act as a washer.
To get this to work for me i used them inconjunction with an array of washers, both steel and rubber. From right to left, the tap had two steel M20 washers followed by an M20 rubber washer, the rubber washer grips the UPvc panel nicely and stops the tap rotating to easily, next on is the radiator extension nipple, mine were 35mm long, i tried 25mm initially which worked to fix it in but when fully tightened the other end compressed the release collar on the JG insert and could have caused the beer line to work loose, this extension piece screwed over the tap barrel. The tap with those parts on passes through the 25mm hole made in the UPvc panel then on the other side of the panel the M25 rubber washer goes over the barrel of the extension nipple (again, to grip the panel) followed by the M25 steel washer and finally the brass back nut to tighten, this was just finger tightened then very slight bittien with a spanner, this stops the taps flopping or spinning around, helped by the rubber washers, but allows them to be turned and aligned by hand with ease without the need to undo anything.

This is how each part looks when put together.

Insitu from behind..

From the front..sorry..one handed mobile picture !!

So with the prototype tested in my test piece this is how it went...
Panel in with first 25mm hole drilled with hole saw..went through so easy, a pleasure to cut this stuff !!

Taps on !!..yes five chrome ones !!..guy on ebay selling them quite cheaply, i got three delivered for £52 !! after already buying two, ask me if you want contact details. You can see the old kegerator to the right, this is going to be my fermenting fridge now.

Back of panel, very easy to access the back of taps, just nip with spanner then undo with hand.

And with gas and regulator fitted. i was planning on keeping the gas outside but to be quite honest, i got more room in there than i need so i can confortably fit 5 cornies, the gas and have room above for another shelf for bottles or yeast.

So, looking good..

Not to happy about this one in the middle though...might start again :whistle:

So..i am so happy with this bargain fridge i got, thanks to everyone who pitched in with advice, if i can be of any assistance to anyone and you want to know what i used or where i got stuff please feel free to ask.







![BREWING THERMOMETER STICKERS ACCURATELY MONITOR FERMENTING BEER & WINE LIQUID TEMPERATURES 5PCS HOME BREW SPIRITS WINE LCD ADHESIVE [US]](https://m.media-amazon.com/images/I/311DDjo2X3L._SL500_.jpg)


