Double Dog Brewing - New brewery build

The Homebrew Forum

Help Support The Homebrew Forum:

This site may earn a commission from merchant affiliate links, including eBay, Amazon, and others.
had a quick test of the heating ability of the HLT with one 2.2kw element whilst making tea last night. I've got a second element ready to put in but thought I'd have a quick play (with the tank :shock: )

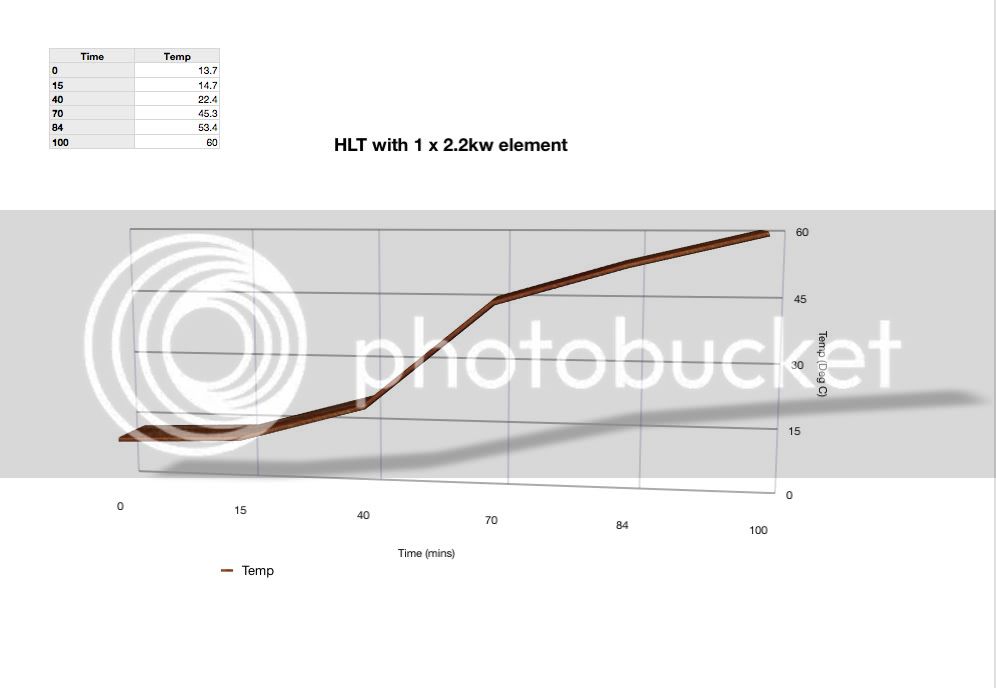
With 65L of cold water (13.7 deg C) it took 1hr 40 mins to reach 60 deg C. Defiantly going to need a second element, although I usually use water from the hot tap for brewing.

And as I'm a massive geek I put the temp recordings into mac numbers and made this! :oops: :oops: :oops:

hlt1x221.jpg
 
If you are electric . . . just insulate the tank well . . . obviously it's harder to do with a gas build
 
Aleman said:
If you are electric . . . just insulate the tank well . . . obviously it's harder to do with a gas build


cheers A! It is electric, and it is a lagged hot water cylinder so pretty well insulated. Although i did do the test with no lid (as i haven't made one yet! ;) ) So maybe it would be better with a lid on. I plan on adding radiator silver bubble wrap insulation on top of the foam lagging that is already on the tank, so that should make an improvement!
:thumb:
 
And that is not me paying attention . . . I saw the George Beck tank and assumed that was what you were using . . . A lid will help, but those immersion cylinders are pretty well insulated so adding more may not really help. This Heating Time Calculator Give an estimated time of 90 minutes to take 65L from 14to 60C . . . so you ain't that far off


EB . . . We need a heating time calculator ;)
 
Cheers A, forgot about that calculator! :thumb:

4.4kw (ie 2 x 2.2kw elements says 48 minutes so that's alot better!

Aleman, while your reading this, do you know of any reason why I shouldn't use water from the hot tap to brew with? I've been doing that with my small 5 gallon set up for the best part of a year now to decrease the time to reach strike temp. I haven't noticed any detriment to the final product but then it's always nice to get reasurance from more knowledgeable folk! :thumb:

Cheers


LB
 
leedsbrew said:
Aleman, while your reading this, do you know of any reason why I shouldn't use water from the hot tap to brew with?
As long as your Hot water comes from a Combi boiler (i.e. straight out of the rising main and heated) then there is certainly no issue (apart for perhaps chlorine . . . If it comes out of an open header tank in the loft then I would certainly be cautious (Dead birds dropping in etc). . . Water by-law 20 (IIRC) stops the use of open tanks in loft spaces so as long as your tank is by-law 20 compliant then again there is no issue (I know mine is as I fitted it)
 
I now have two water tight elements! :D :D :D :D

Had them both in over night with 65L of water to make sure the vertical pressure of that much water wouldn't make the seals leak. I ended up using the silicone washer, with a rubber washer in it on the outside of the copper tank, and then another rubber washer between the silicone surface and the black plastic block of the element back. :D took a while but I got there!

LB
 
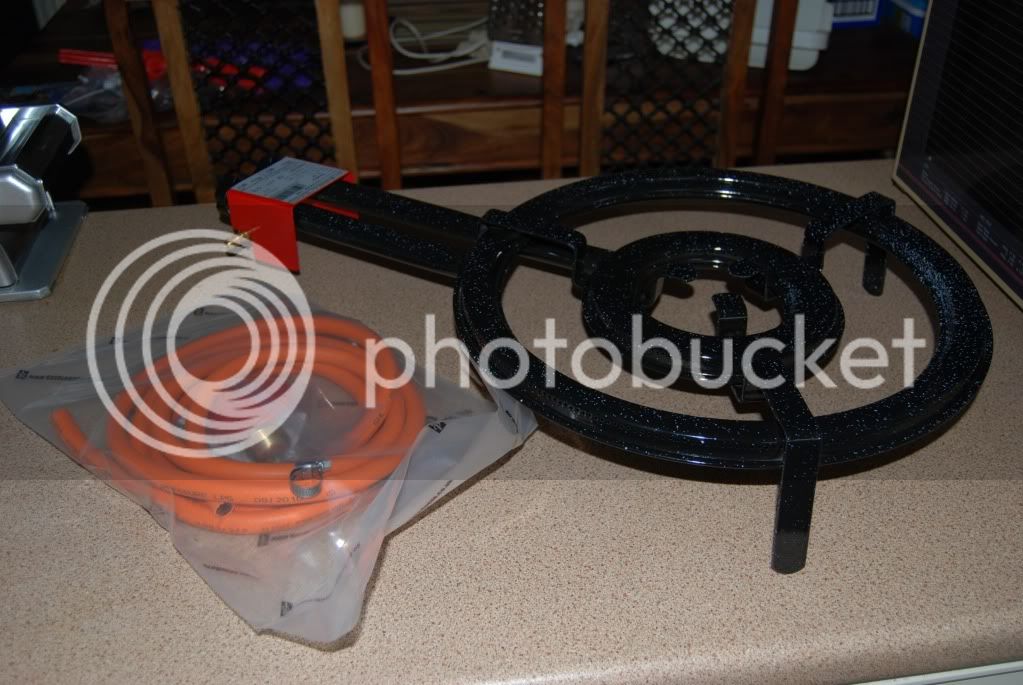
things have been a bit slow on the build front lately.............but look what the postman just brought! :D :D :D :D


DSC_1077.jpg
 
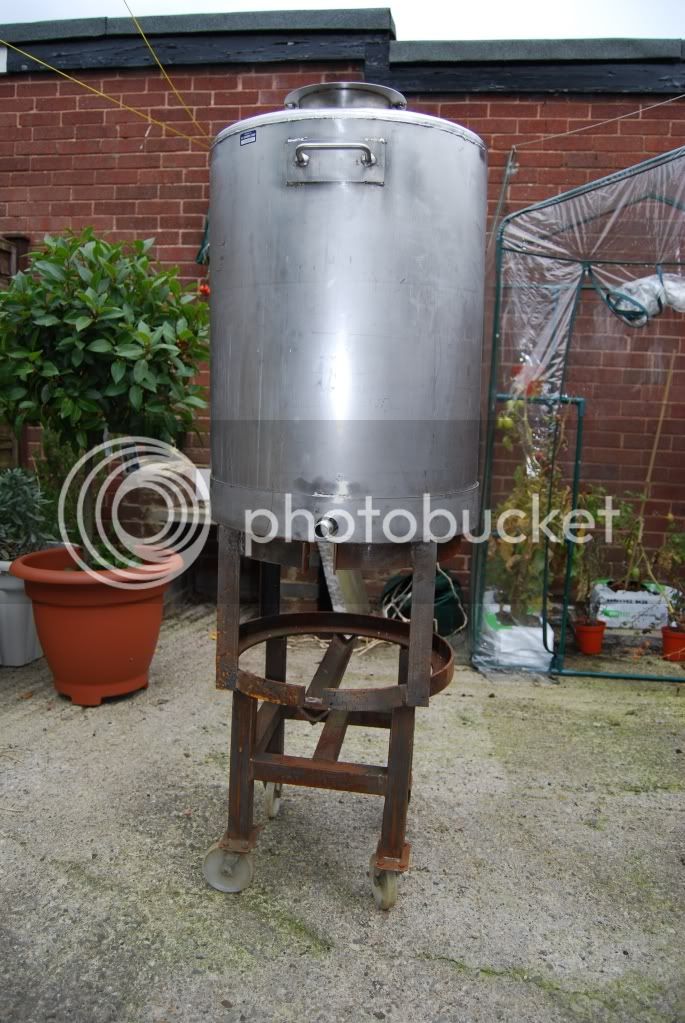
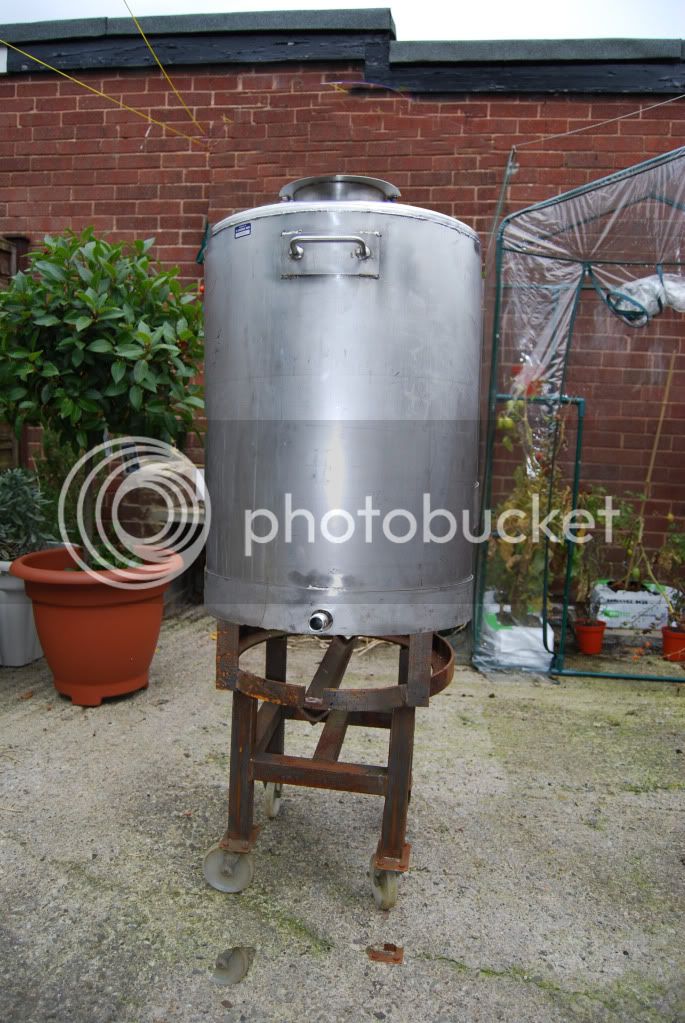
I have been looking at the gas ring and the stand I have for my kettle

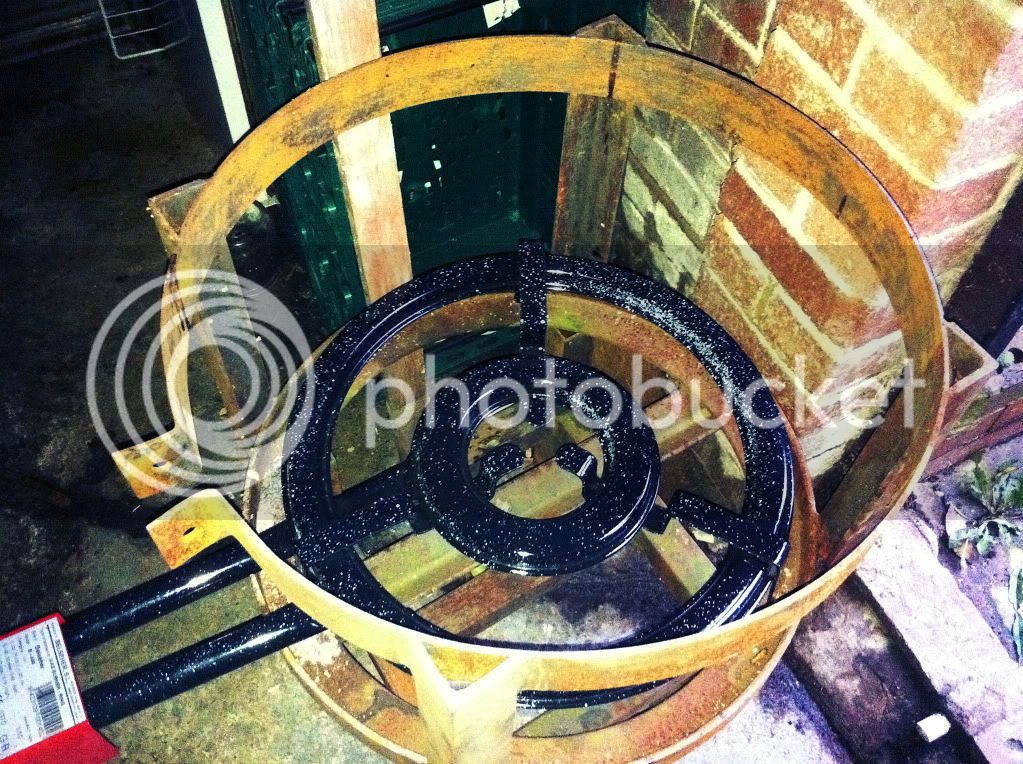
This is the stand. It needs a clean up and modifications.

The burner sits really well on a lip inside the stand

IMG_0693.jpg


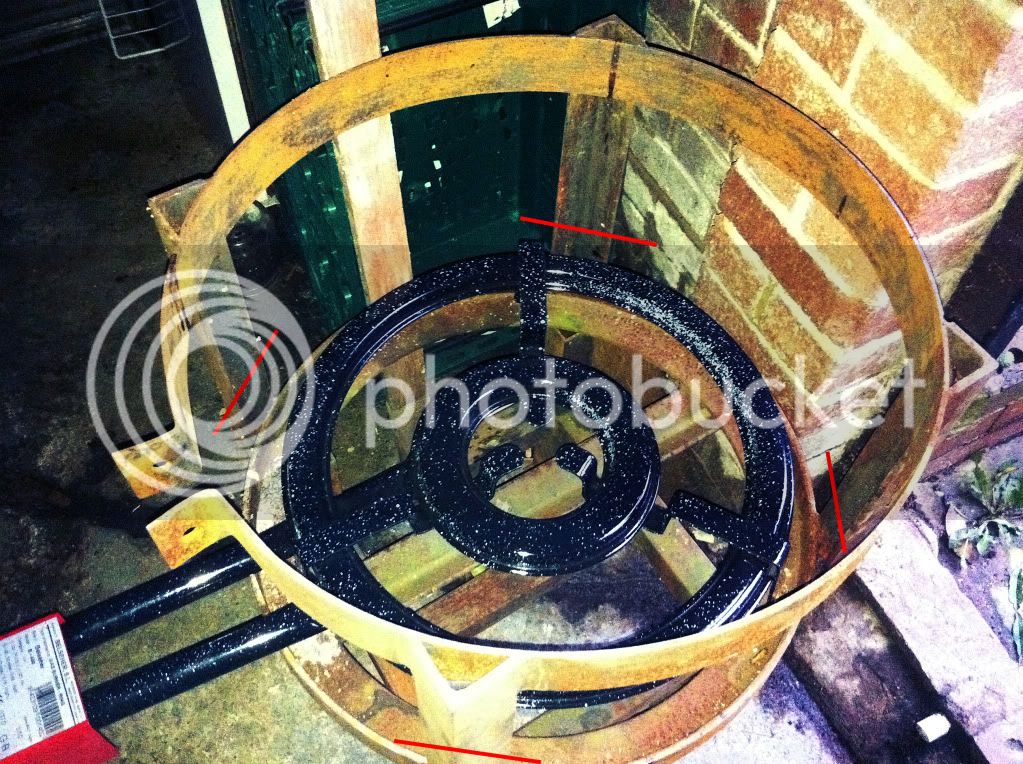
I plan on cutting the stand down so that the tank sits just above the burner

stand-02.jpg


So it will go from sitting on the stand from THIS

DSC_1051.jpg


To THIS (please forgive the rushed photoshop! :D)
PHOTO-SHOPED.jpg


This will also make mean that the boiler is at a more useable height, as I'm only 5'8" :D


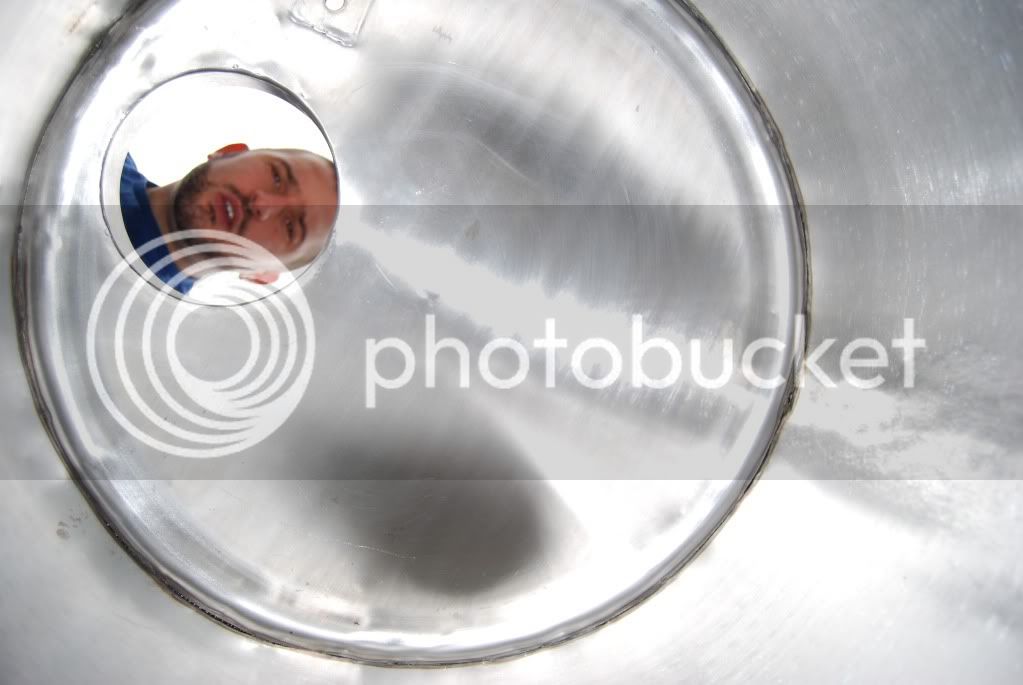
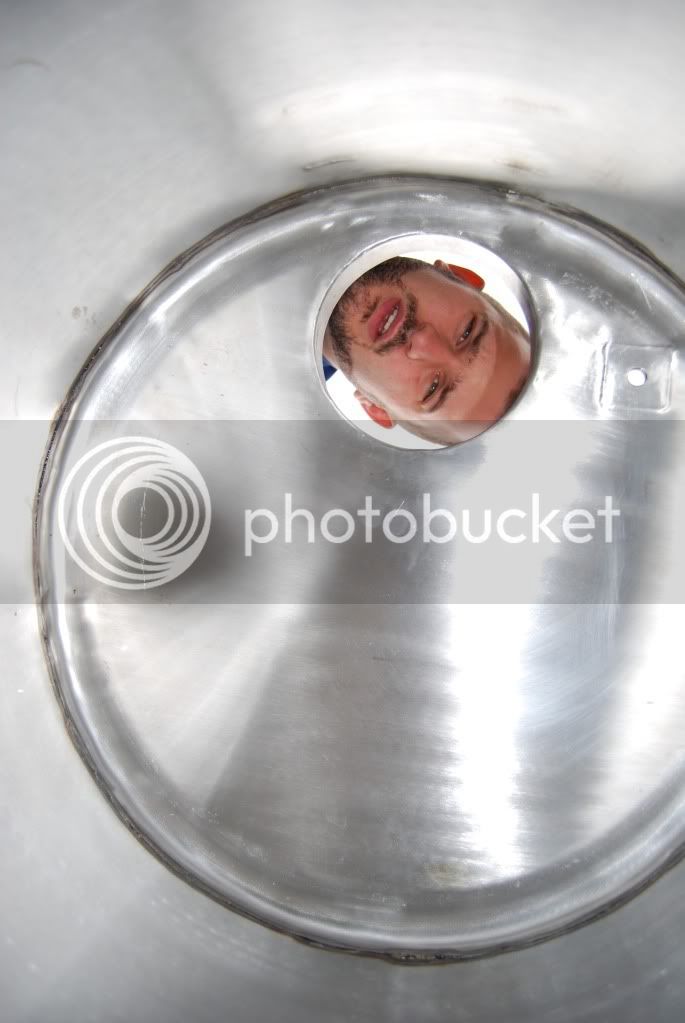
Incidentally I wanted to check that I had cleaned the boiler sufficiently on the inside of the top. The only way I could think of was to put my camera inside the tank on a timed exposure! :D

DSC_1057.jpg


DSC_1058.jpg


shiny MUCH! :D :D :D :D


Cheers


LB
 
Nice setup! Mucho Jelous.

Can i just ask - speaking as an Engineer, doesn't the stand for your HLT/Boiler look somewhat unstable? Are you going to put stabilisers on it?
 
caerleon said:
Can i just ask - speaking as an Engineer, doesn't the stand for your HLT/Boiler look somewhat unstable? Are you going to put stabilisers on it?

As a non engineer I was wondering the same. Get a good rolling boil on and I would be worried about that going over. Looks dam fine though :D
 
yeah lads! The idea is to get it over to my dad's workshop and get it up to scratch. It was buit for a tank a bit smaller so does need some fettling!
To be honest I was thinking of taking it off at the bottom ring section and using it as two stands. The bottom section is the perfect width for my HLT, and then use the top section for the boiler. It would beed some 'girth' adding :shock: But it's bloody solid stuff. The iron is about 5mm thick!


Cheers for the input though! Any other thoughts as the build progresses would be much appreciated!

LB
 
Well after much fannying about with the 3 piece 3/4" ball valve for the boiler I'm of the impression that the threads on the tank are farcked! :evil:

they don't look knackered, apart from the second thread in is a bit flattened, but I can't get the tap more than 1 and a half rotations! I'm going to give the fabricator next to barley bottom a ring in the week and see if they can have a look at it!

Things were getting somewhere this week as well! :evil: :evil:
 
Ey up lads! Well things have been going slowly with the build of late, mainly due to working ones plums off and the god awful weather! :( :( :(

Anyway, today I will be collecting my ebay bargain of the week. 10 lengths of 2.4m, 40mm x 40mm x 3mm box section to create some brewing stand action! A bargain as it came in at £2.44/M :D :D
 
Well this is taking a lot longer than I planned but it's mainly work and mortgage saving that's getting in the way! :D

I've been in the garage today ad had a tidy around. The stands are painted and back from my brothers workshop

brewery1.jpg


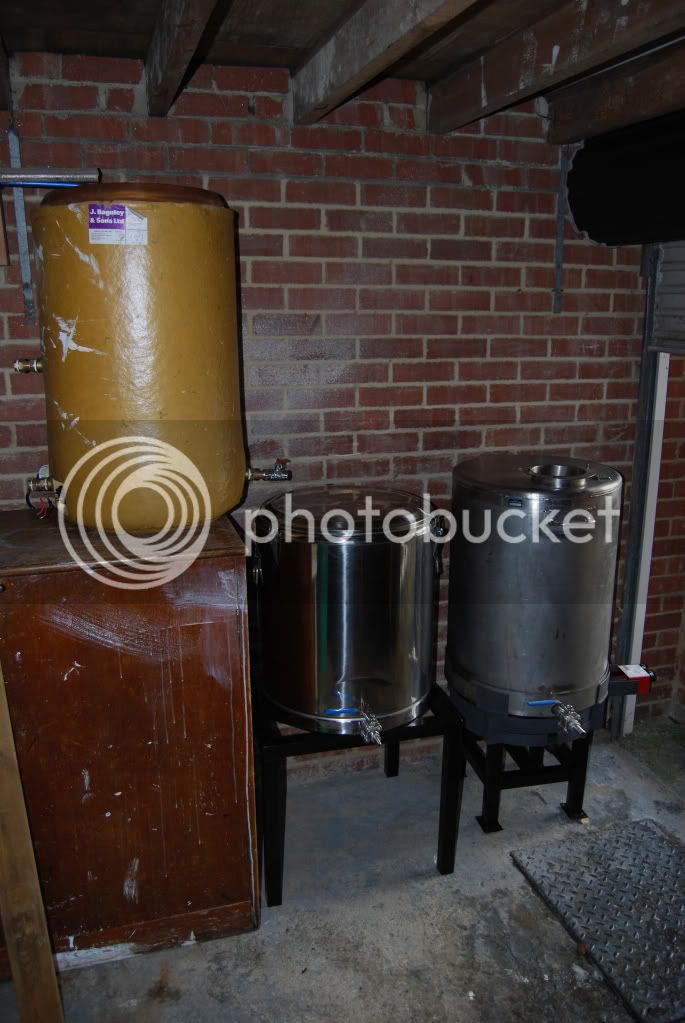
This wil be the set up for now. I plan on getting a test brew done in the next couple of weeks and see how it will work. I still have to wrap the HLT in some shinny foil, but thats more to stop it looking so ropey! :D It is on a cabinet that has all my unused bottled and other brewing kit in. We measured the mash tun to that the tap of the HLT is at the correct height to open up and mash in! :D

brewery4.jpg

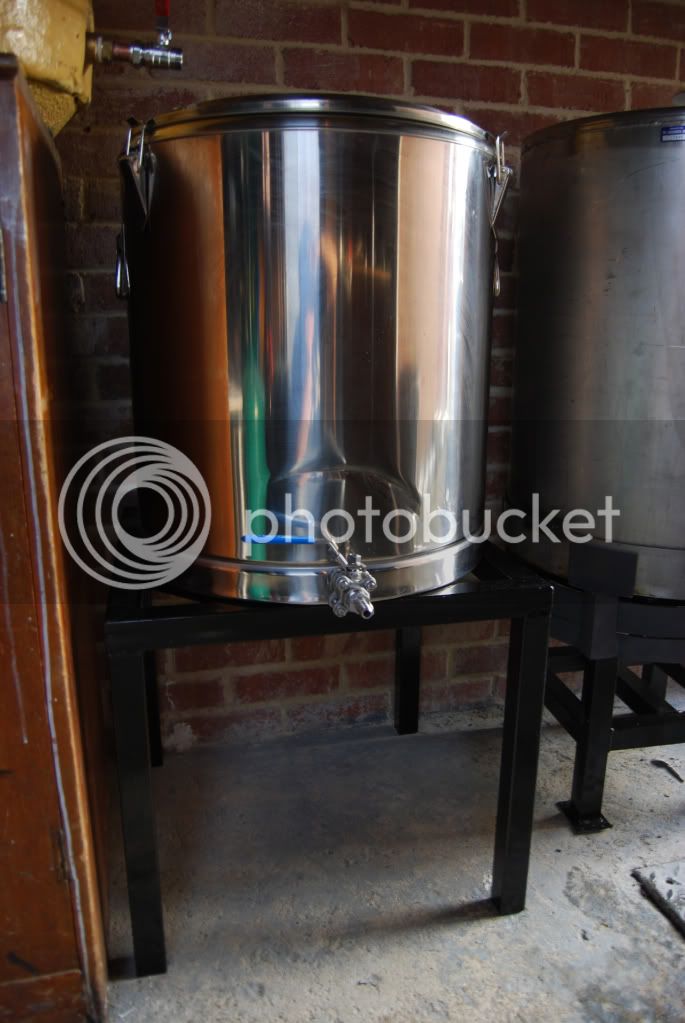
80L mash tun on it's new stand

brewery2.jpg

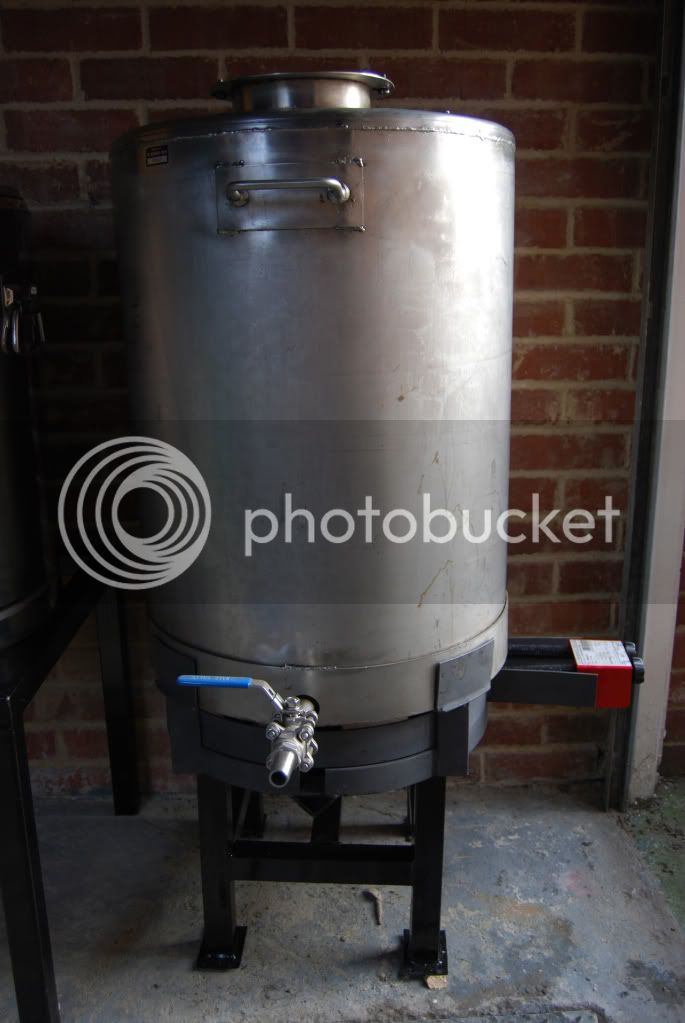
The brew kettle on it's new stand. It is now shorter than when I 1st got the stand and it is now very sturdy! :D

brewery3.jpg

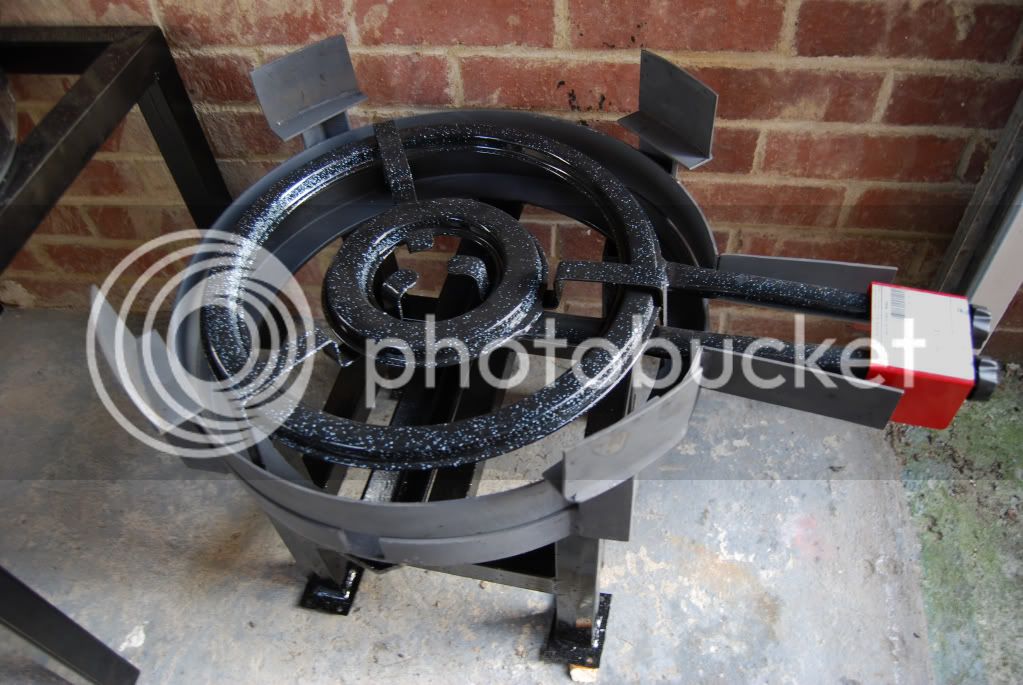
The stand with kettle removed. The burner fits a treat and we used some of the steel we cut from the top of the old stand to make the shroud that goes round the gas ring! :D The wings coming off the shroud will stop me from accidentally knocking the burner mid boil! :D It is two tone as the bottom is painted in hammerite, and the top is high temperature resistant pain! I'll see how it gets on with the burner to see if I need some other type of paint! :D
 
a little point, your graph isn't right - the x-axis is wrong - the numbers and the spacings are wrong...
 
retourrbx said:
a little point, your graph isn't right - the x-axis is wrong - the numbers and the spacings are wrong...

Please, explain!

I looks ok to me! It's at a bit of an angle as it's 3D! Are you saying the data is wrong or just the layout of the graph?
 
Back
Top