Andbrew
Active Member
I did my 3rd all grain today, heres hoping i can work out this Photo Bucket device here goes.
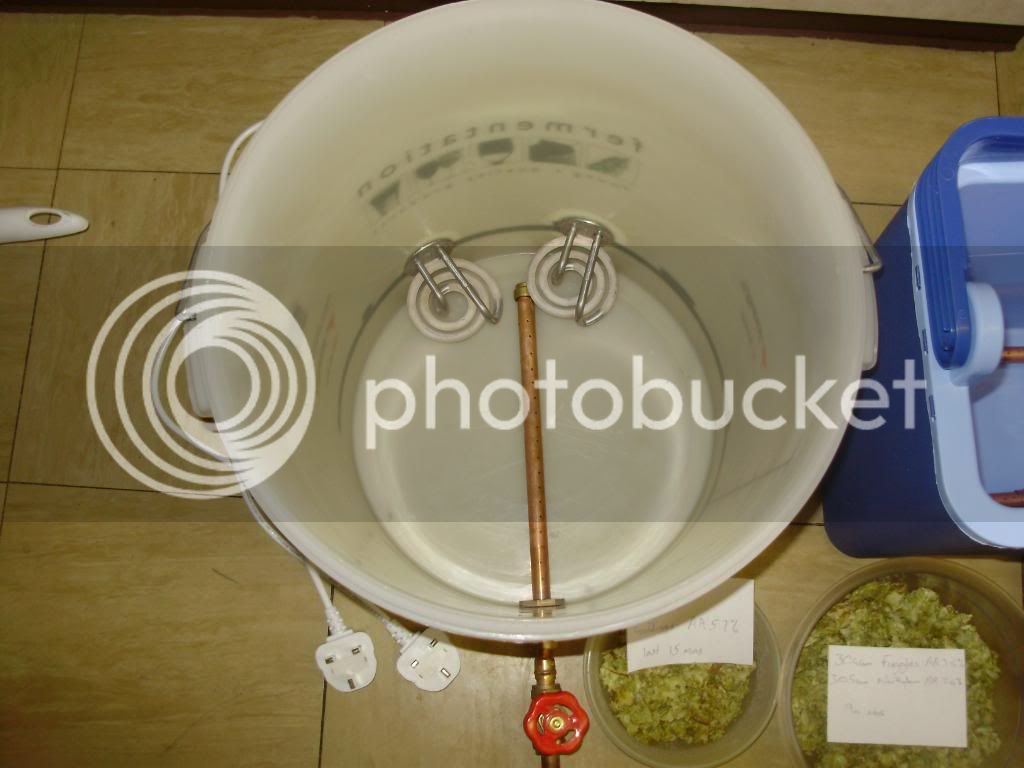
Boiler
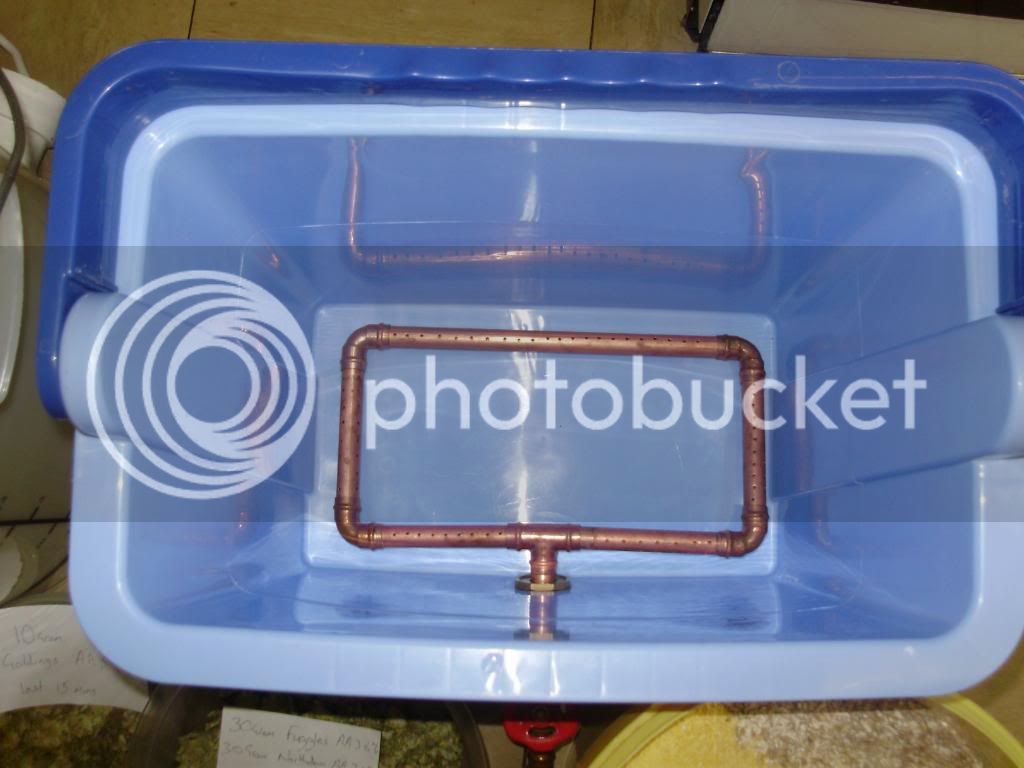
Mash tun
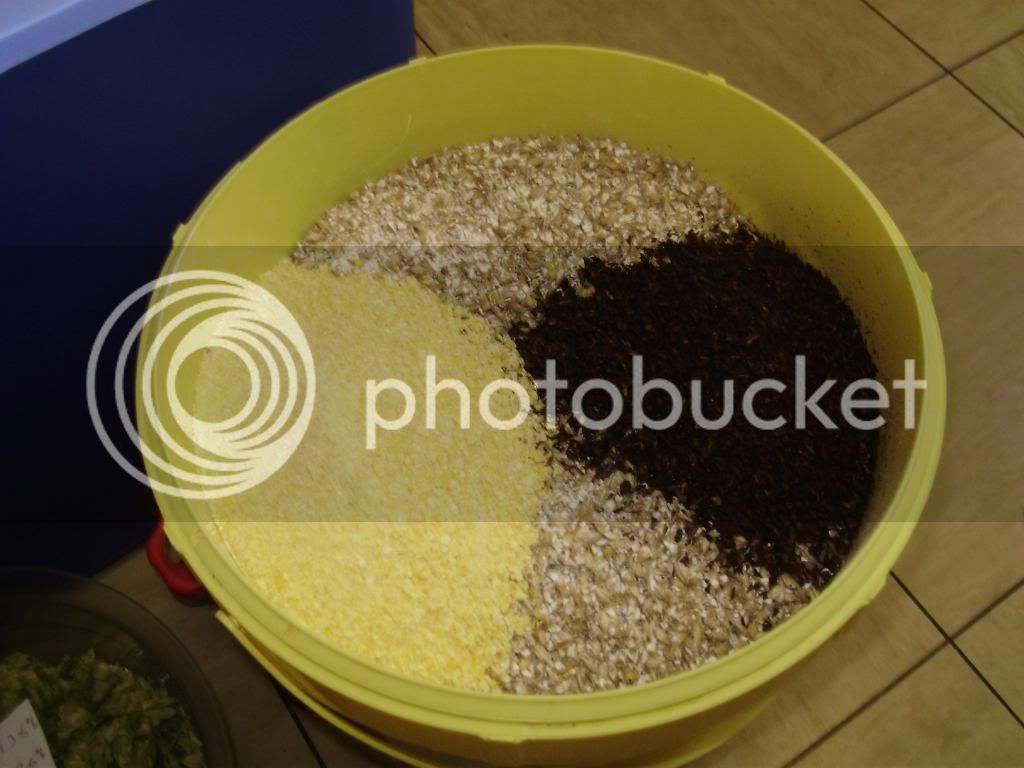
Grist
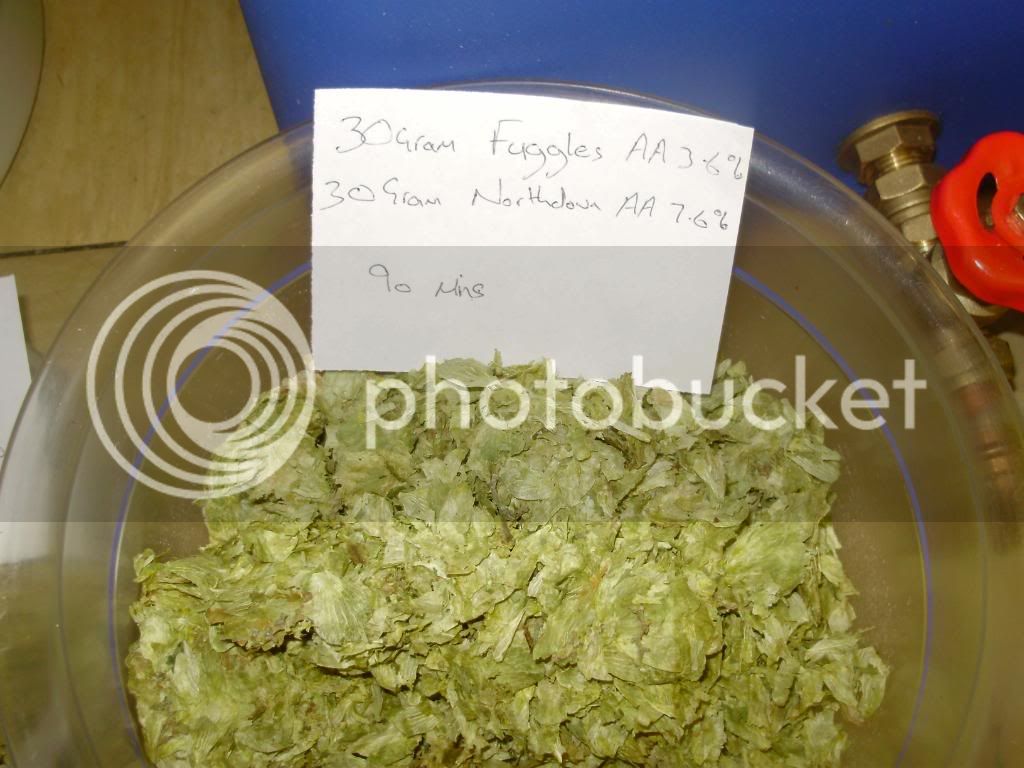
Bittering Hops
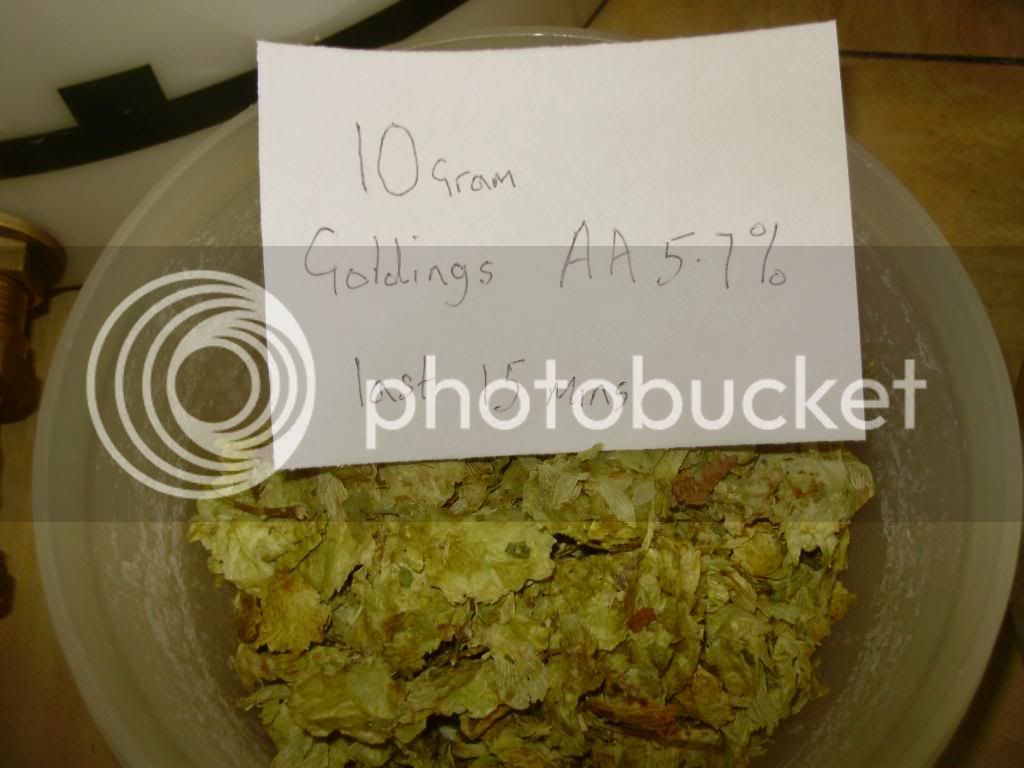
Aroma hops
[pic removed - due to possible copywright issues]
Recipe
Hook Norton Best Bitter
in the tun
3750g pale malt
240g flaked maize
60g chocolate malt
in the boiler
33g of fuggles start of boil
30g of challenger start of boil
10g of goldings 15 mins
I deviated as i didn't have any challenger in my ignorance i looked up challenger and northdown, saw they were both general use hops with a similar AA content so i did it my way
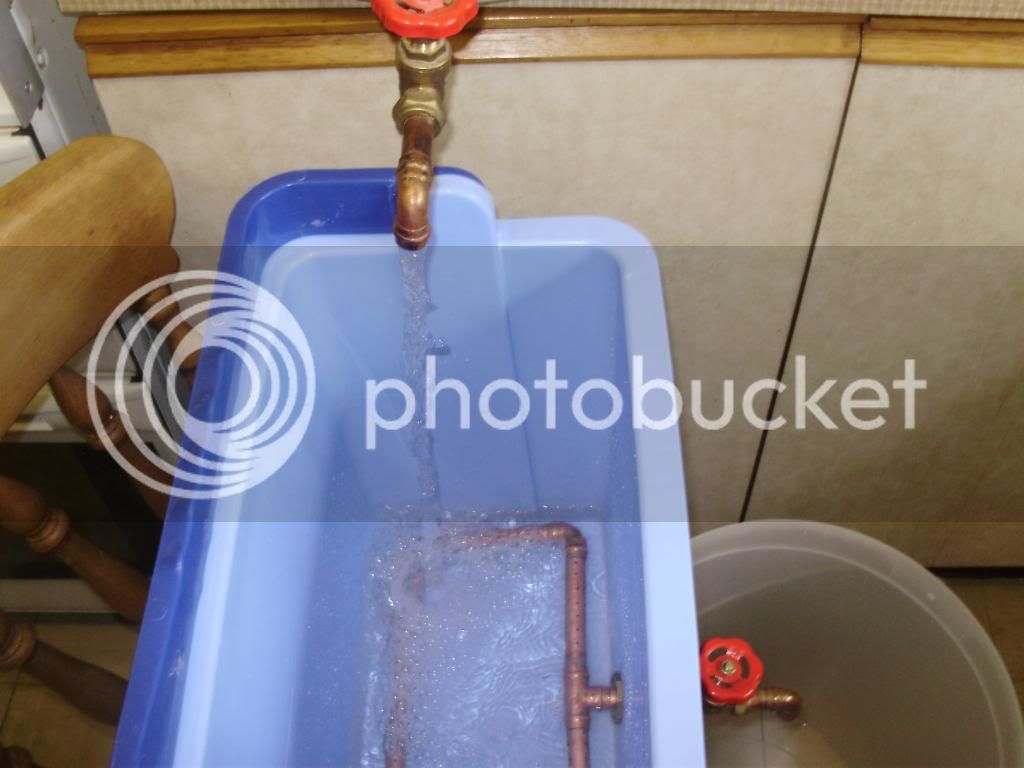
Filling the tun
Mash temp
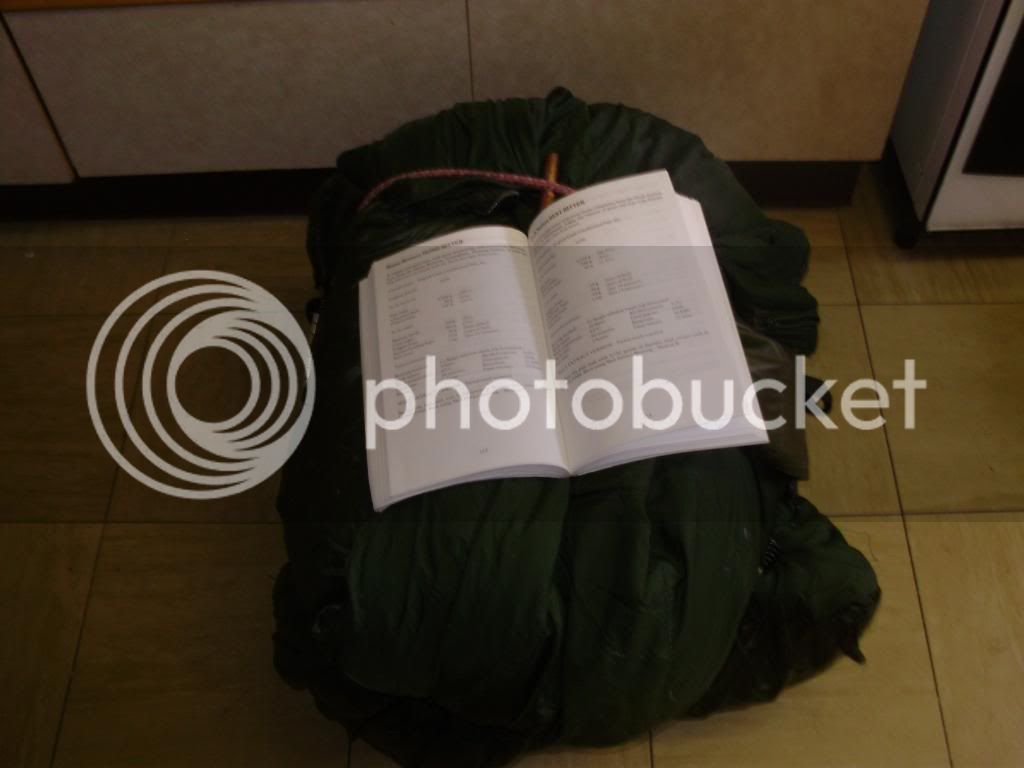
Tun in bed, checked at 45mins added a touch of boiling water.
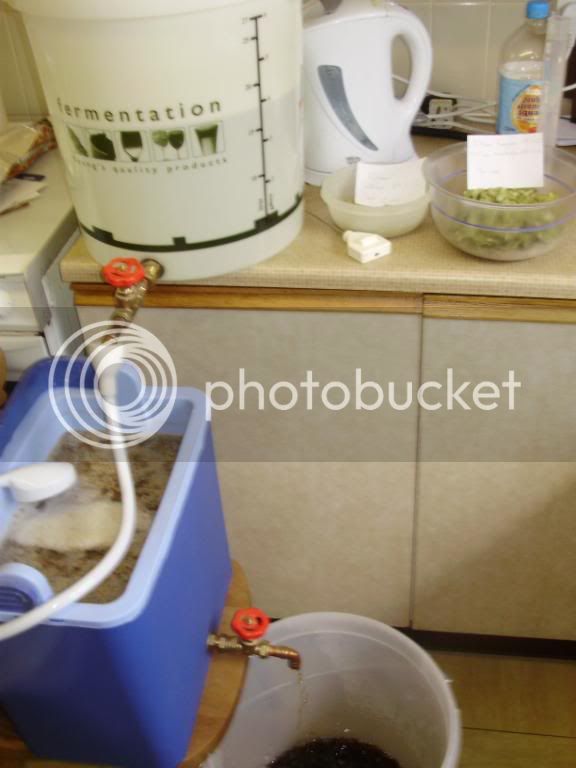
The Sparge
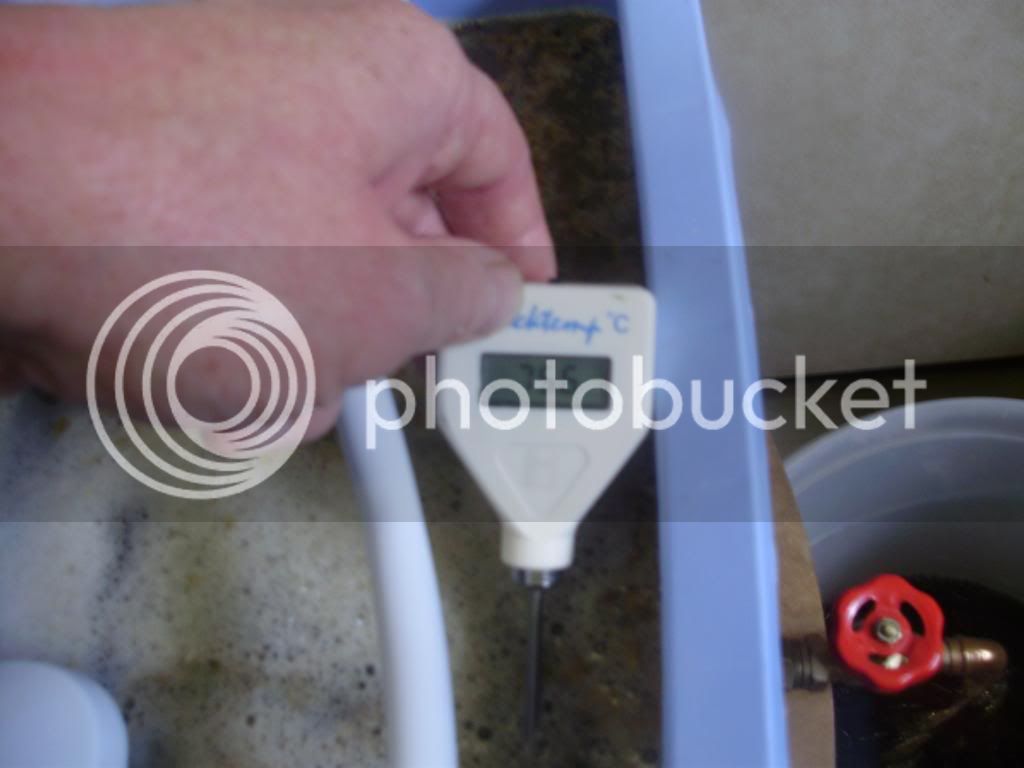
Sparge temp
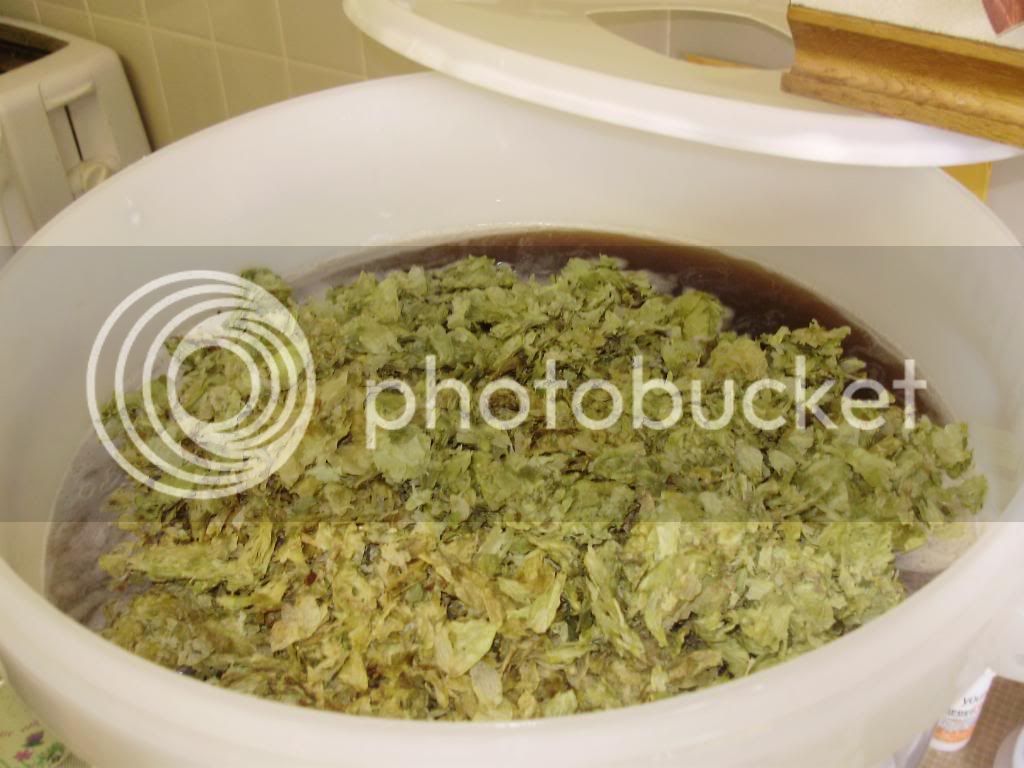
Bittering hops in
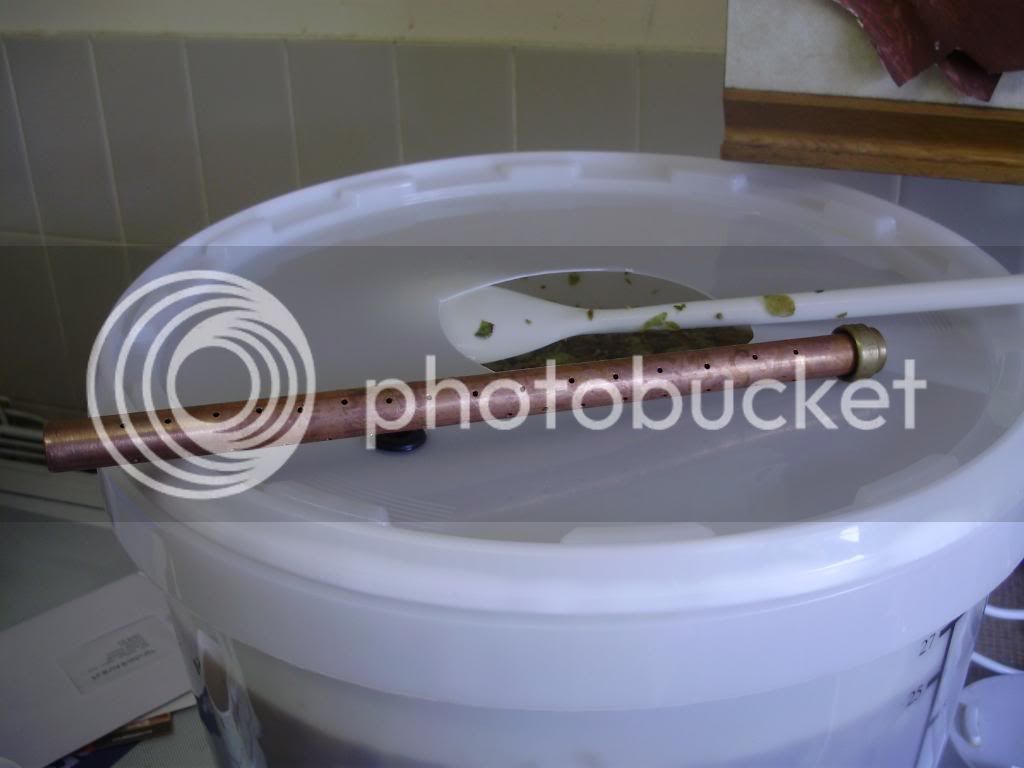
Bugger just spotted hop strainer is not fitted (plonker)

Boil baby boil
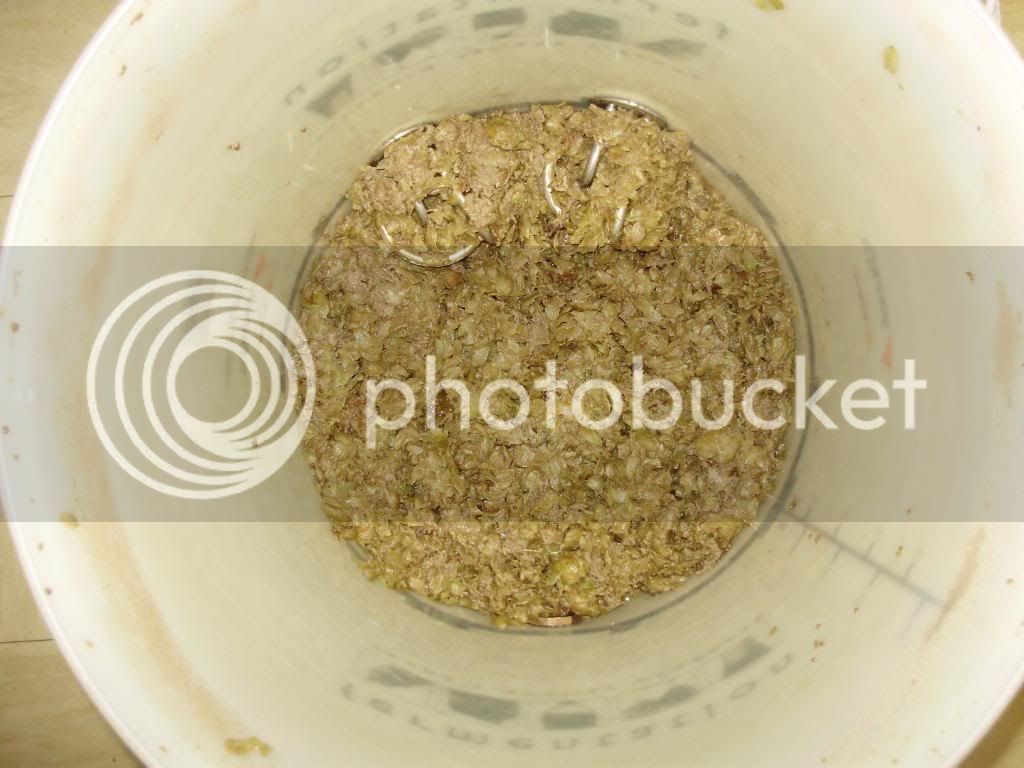
Trub shot
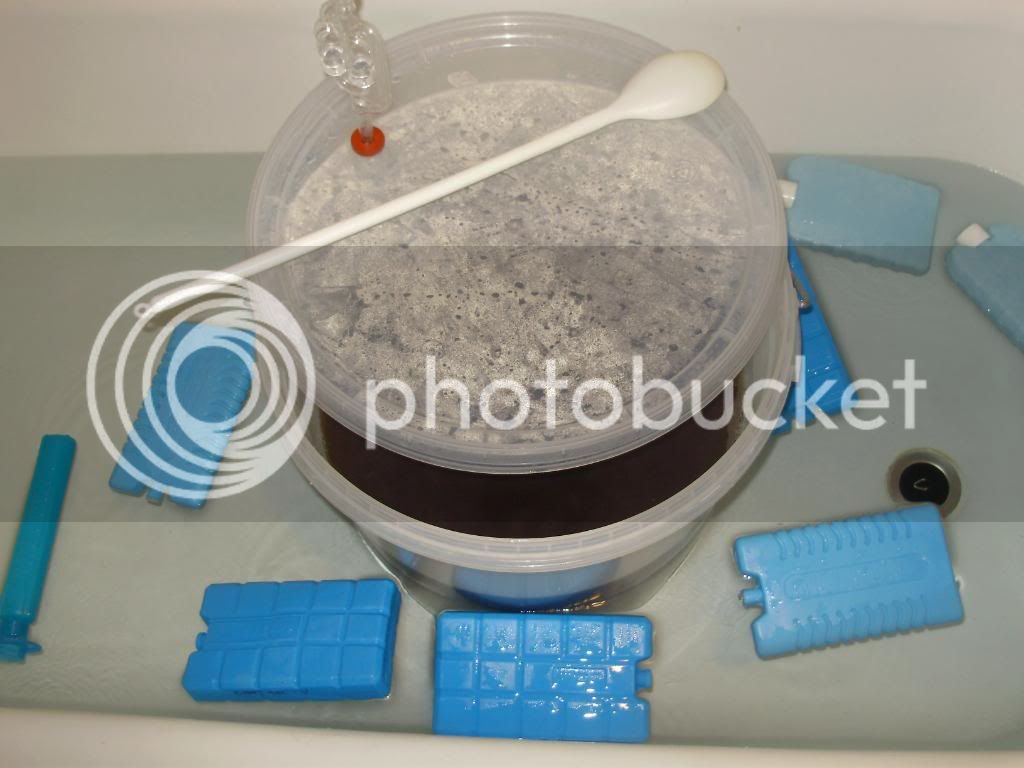
Cheap wort chiller, it did the job in around 1 1/2 hours.
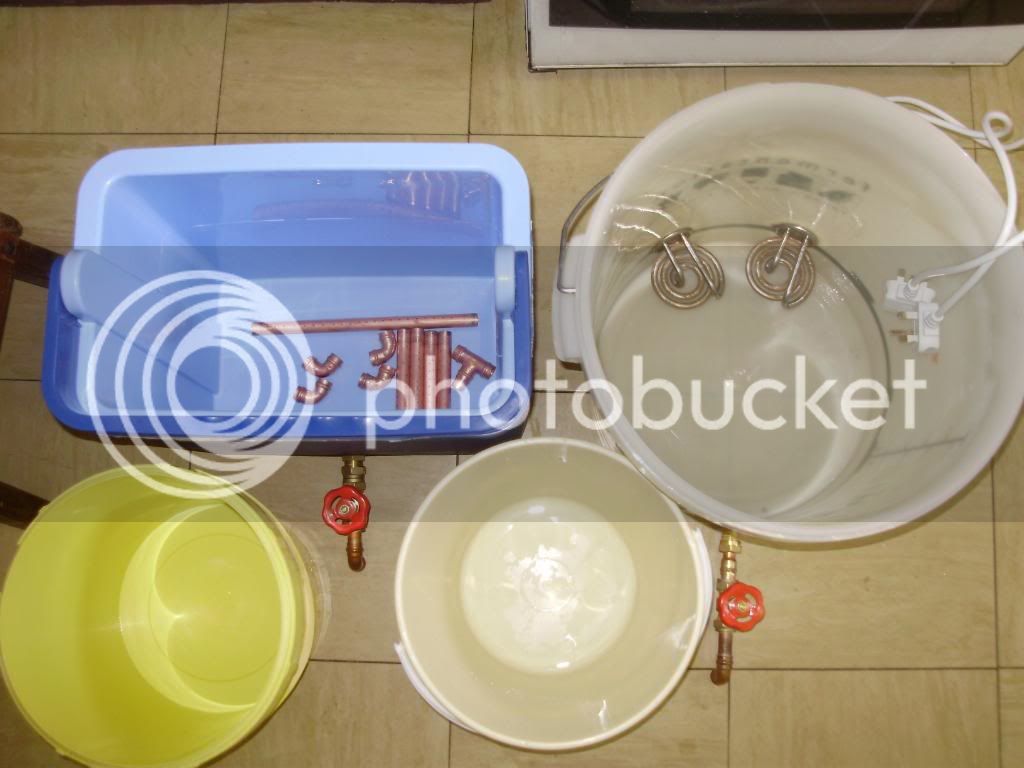
All cleaned and ready to go again
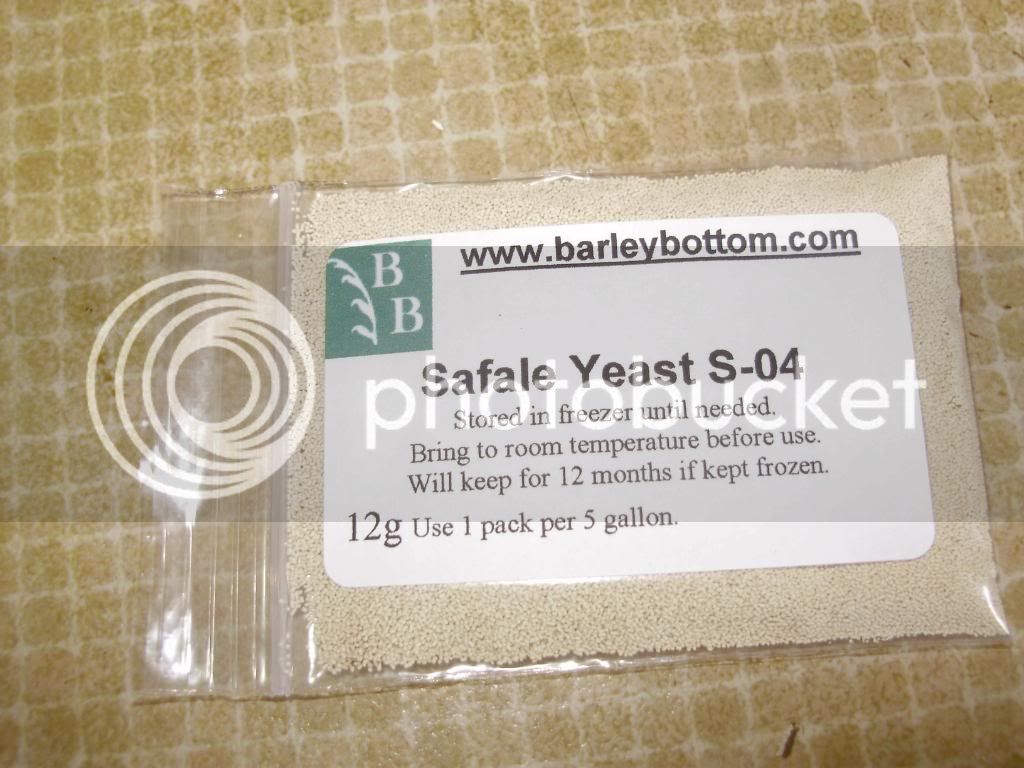
yeast, yep i just sprinkled
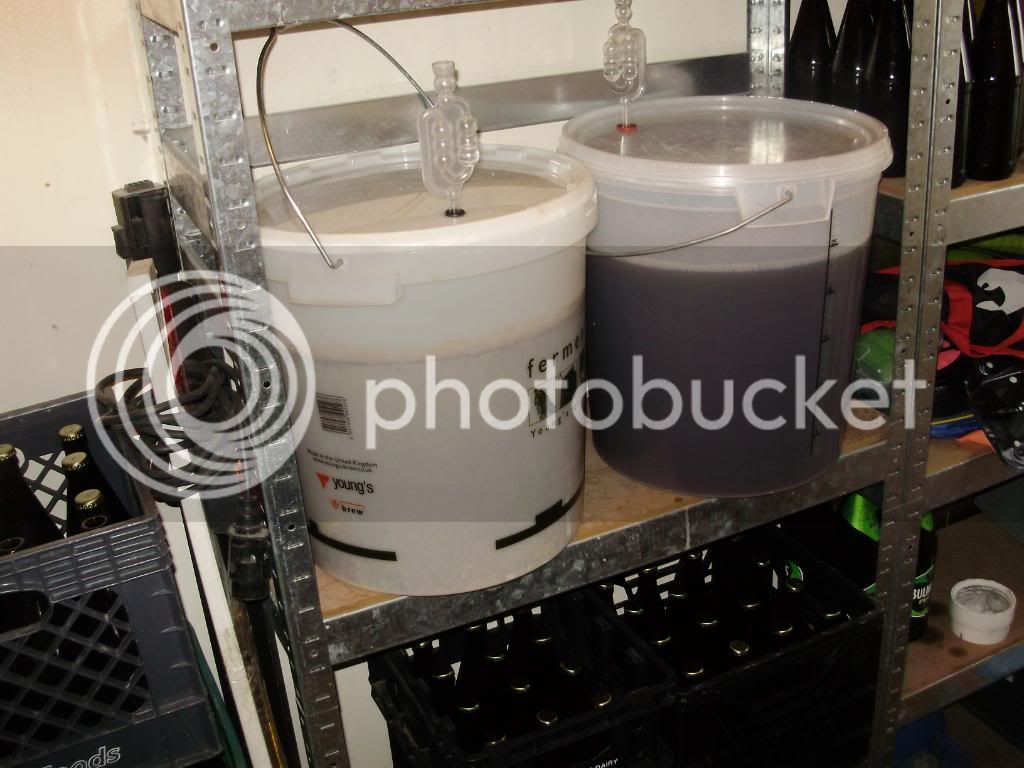
Its on the right the left is a pendle witches brew started last week. the bottles below was a coopers canadian blonde.
thoughts
1. fit a hop strainer
2. liquor back with previously frozen water in litre bags (aid wort cooling)?
3. fit hop strainer
4. maybe next one i'll do a yeast starter
Cheers guys feel free to offer constructive critisism (spelling)
I need one of those Canadian blondes now.
Andbrew.

Boiler

Mash tun

Grist

Bittering Hops

Aroma hops
[pic removed - due to possible copywright issues]
Recipe
Hook Norton Best Bitter
in the tun
3750g pale malt
240g flaked maize
60g chocolate malt
in the boiler
33g of fuggles start of boil
30g of challenger start of boil
10g of goldings 15 mins
I deviated as i didn't have any challenger in my ignorance i looked up challenger and northdown, saw they were both general use hops with a similar AA content so i did it my way

Filling the tun

Mash temp

Tun in bed, checked at 45mins added a touch of boiling water.

The Sparge

Sparge temp

Bittering hops in

Bugger just spotted hop strainer is not fitted (plonker)

Boil baby boil

Trub shot

Cheap wort chiller, it did the job in around 1 1/2 hours.

All cleaned and ready to go again

yeast, yep i just sprinkled

Its on the right the left is a pendle witches brew started last week. the bottles below was a coopers canadian blonde.
thoughts
1. fit a hop strainer
2. liquor back with previously frozen water in litre bags (aid wort cooling)?
3. fit hop strainer
4. maybe next one i'll do a yeast starter
Cheers guys feel free to offer constructive critisism (spelling)
I need one of those Canadian blondes now.
Andbrew.




![BREWING THERMOMETER STICKERS ACCURATELY MONITOR FERMENTING BEER & WINE LIQUID TEMPERATURES 5PCS HOME BREW SPIRITS WINE LCD ADHESIVE [US]](https://m.media-amazon.com/images/I/311DDjo2X3L._SL500_.jpg)


