My ag brewing started with a totally botched biab in a 5gallon to the brim ally burco with an element which consists of copper plates bolted to the pot underside.. And while i botched it completely the beer forgave my errors and turned out better than any kit i had brewed :)
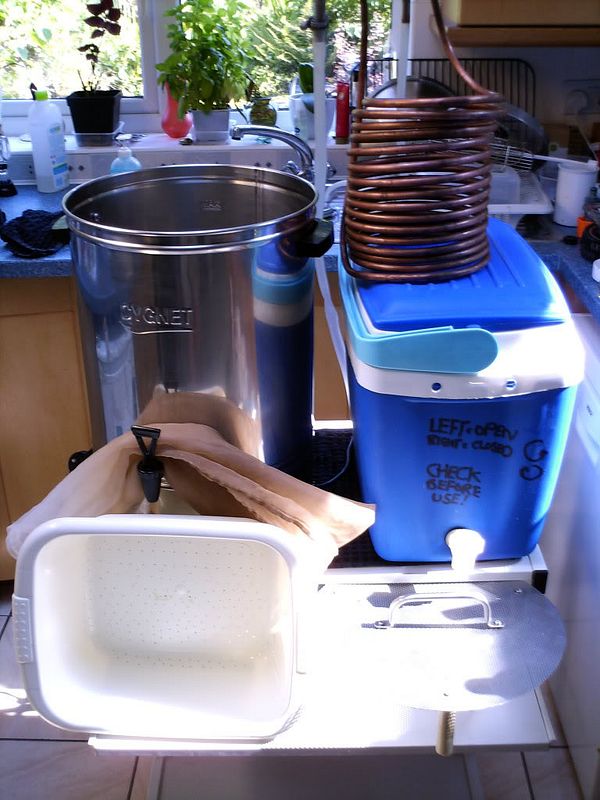
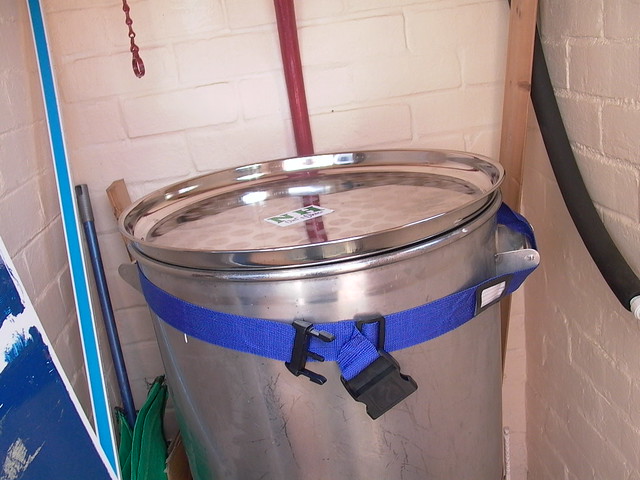
I then invested in this coldbox tun
a viking brand coleman modded coldbox supplied with braid filter grain bag and laser cut perspex FB.
the 66l PP bucket hlt in the background was a later development.
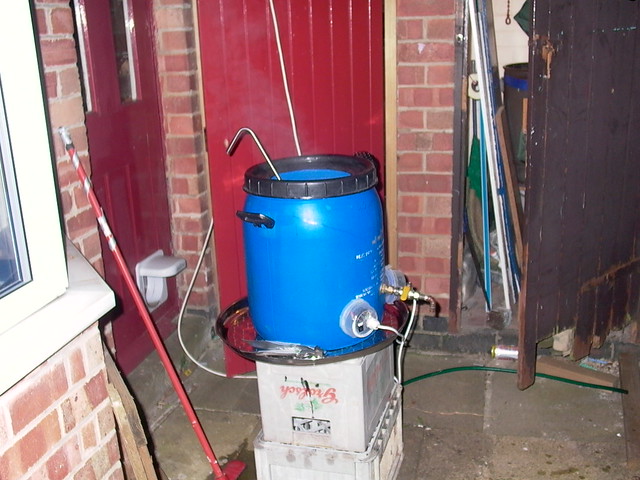
i then cobbled this mango barrel beauty up from kettle elements and the surplus copper pipe n fittings in the shed
")
and a few £shop food boxes as element shrouds
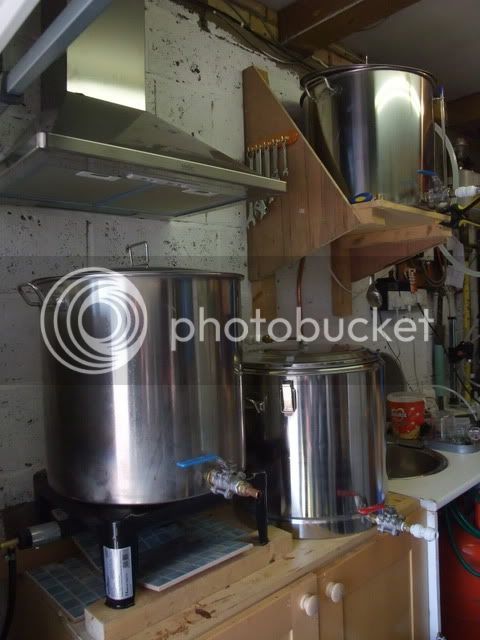
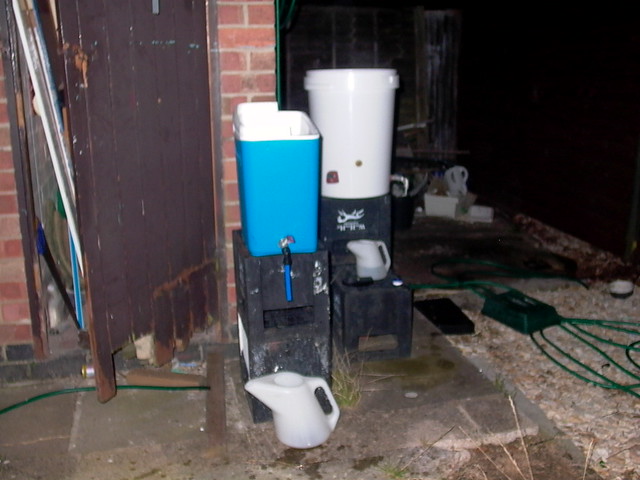
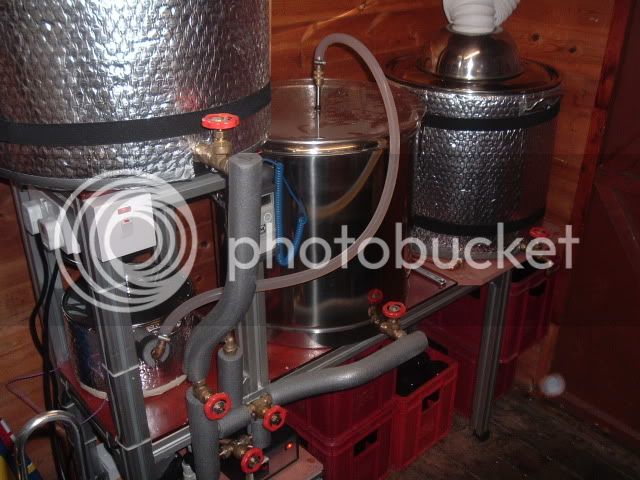
wasnt long before i set my sights on a bigger brewlength and i gave away the first hlt i built a retired 4" neck wine fermentor with kettle element heating and plastic tap and built the one in the background of the tun pic. but before i built the 66l boiler i decided to go shiny and 98/100l pots.. and started the shiny upgrade im still in..
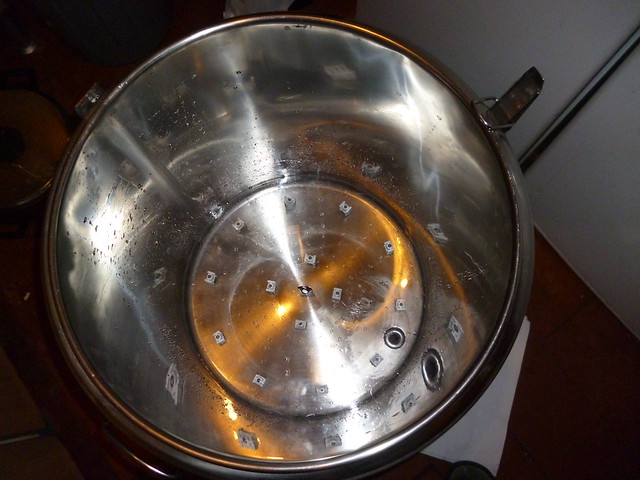
the tun....
80l so i can play with full volume mashing and recirculating ala rims or herms..
the perspex FB in my viking tun gets 10/10 from me so i have made a perspex fb for my shiny tun too..
thanks to support from barneey i got the tap feed inside the bottom void and thru the side
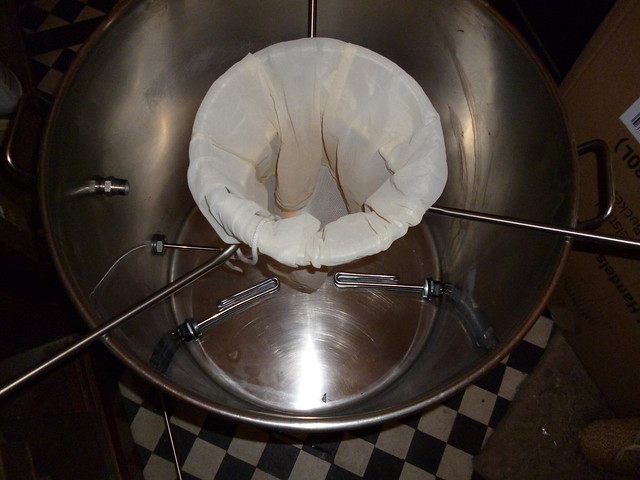
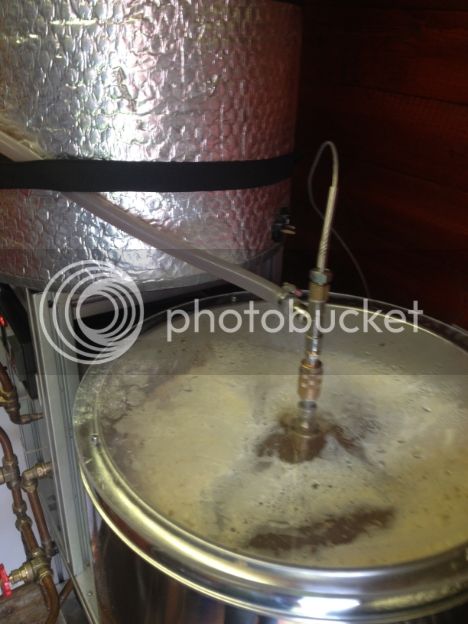
This was my plan for both new HLT and boiler, supporting pumped recirculation for maintaining consistent heat in hlt and hopefully making a whirlpool for post boil chilling in the boiler, Hop spider to save on needing a hop filter..
But the stanton elements i bought into turned out to be less than successful for others and start to loose their silver (SS???) coating leaving a black surface visible???
threw me a bit of a curve ball as our amarican cousins may say that did..
So im now considering a different boiler pot with a raised bottom and bottom fed elements
ebay and too many good beers sometimes comes up trumps
not always tho...
or investing in MrLards 3kw elements which should fit in my existing holes??? in the original pots...
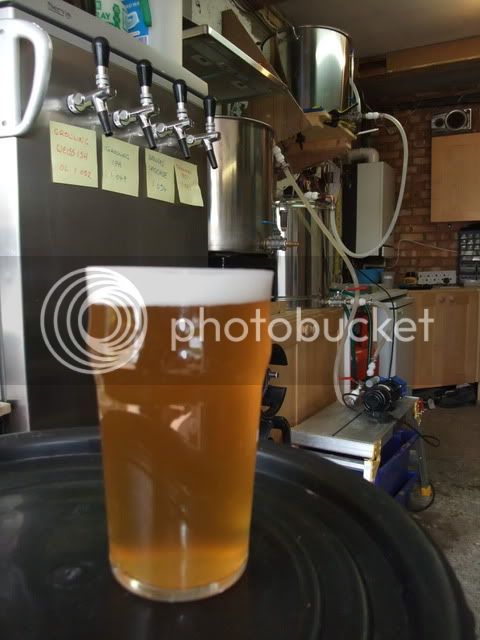
As soon as i started tasting the quality of ag brews, and stopped trying to tell pals my beer was as good as pub beer and started telling them they needed to go a long way to find a pint close to the quality i had with GREAT PRIDE
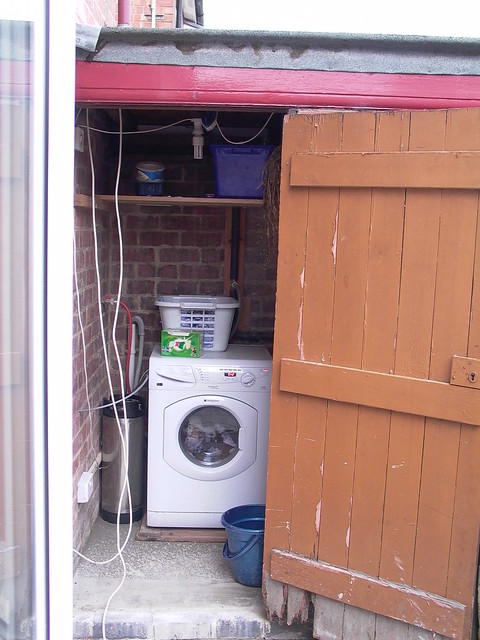
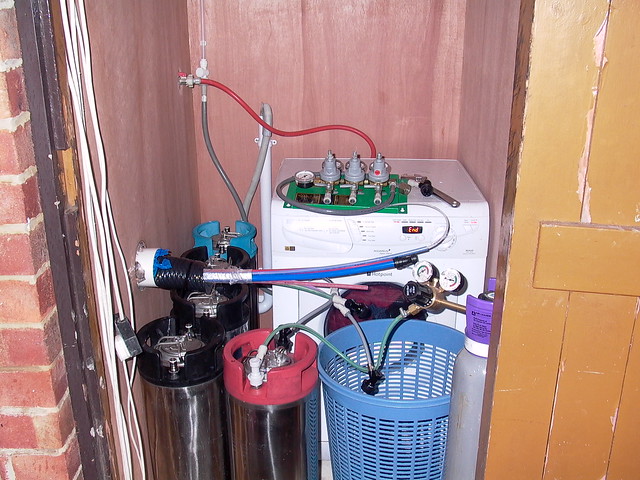
i started thinking about serving and turned this w/machine home ex coalshed into me cellar..
After laying a flat floor so kegs could stand next to the w/machine..
Cheers Itch
not much room for insulation so i built a custom composite from space blankets and bubblewrap behind a 3mm marine ply skin taking a total of 22mm of width up with both sides 11mm each side.
the 8mm battons were a b*gg*r to secure without snapping over the odd rough brick
But did get it insulated all round with room for the w/machine not to knock the kegs (on the 2nd washing machine with no keg disturbance probs) phew!
and the other side of the left side wall is this :)
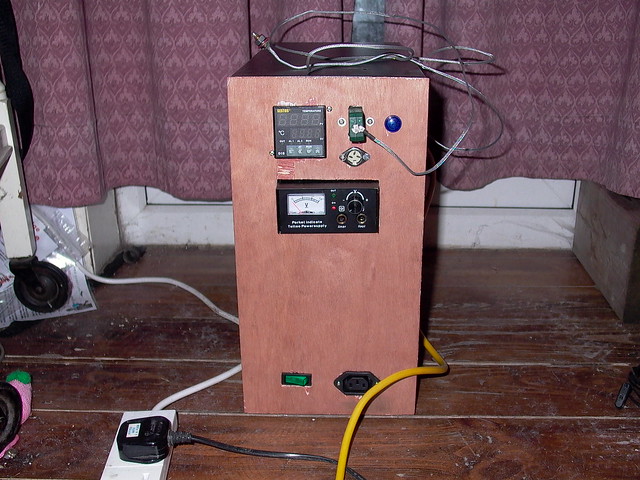
Somewhere along the line i started reading about controllers and started with this ugly box with redundand ssrs for pid control and a tattoo psu pump controller :)
but then found the arduino and found loads of totally free code to copy to do almost anything and have recently started considering expanding my at one time finalised brewputer design yet again to incorporate liquid measurement..
so the work in progress continues..
The brewshed may get started soon too.. how long have i been saying that now???
i have to admit i have had just as much fun with playing and tinkering with brewkit as i have had with making the beer and drinking it.. win win win win !!!
And while my beer wont win medals im proud as punch serving up a pint thats worthy of sharing :)


![BREWING THERMOMETER STICKERS ACCURATELY MONITOR FERMENTING BEER & WINE LIQUID TEMPERATURES 5PCS HOME BREW SPIRITS WINE LCD ADHESIVE [US]](https://m.media-amazon.com/images/I/311DDjo2X3L._SL500_.jpg)