Not been on for a while, as I have been having internet problems, but I have finally finished project monolith (my kegerator). I did not have enough depth for a standard fridge, so decided to rip an old one apart.
I started off my making the box for the cornies out of ply and coating it with PVA, all joints were pinned and 'no more nailed'.
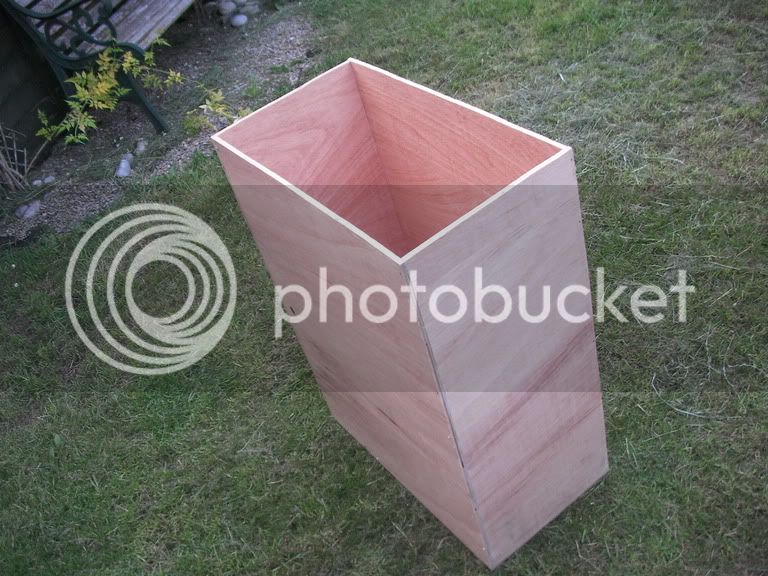
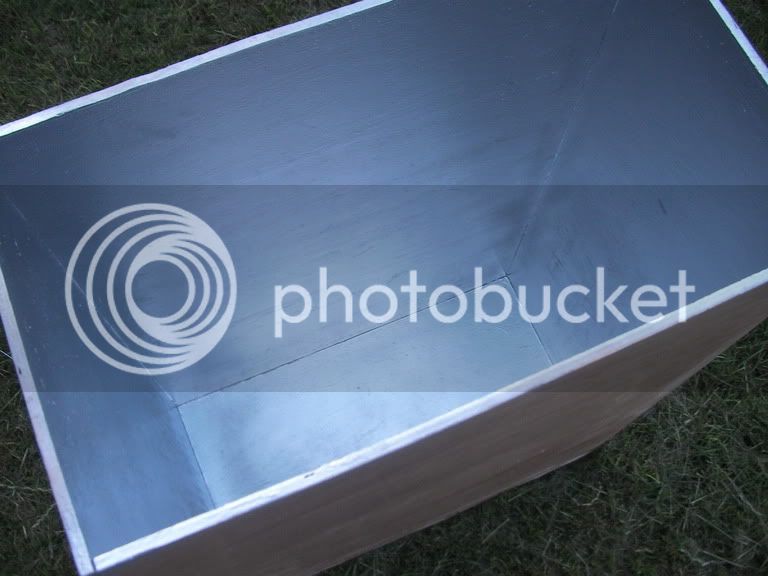
I then primed and sprayed this silver. Don't know whether this would help reflect the cold, but would help with wipe downs if needed.
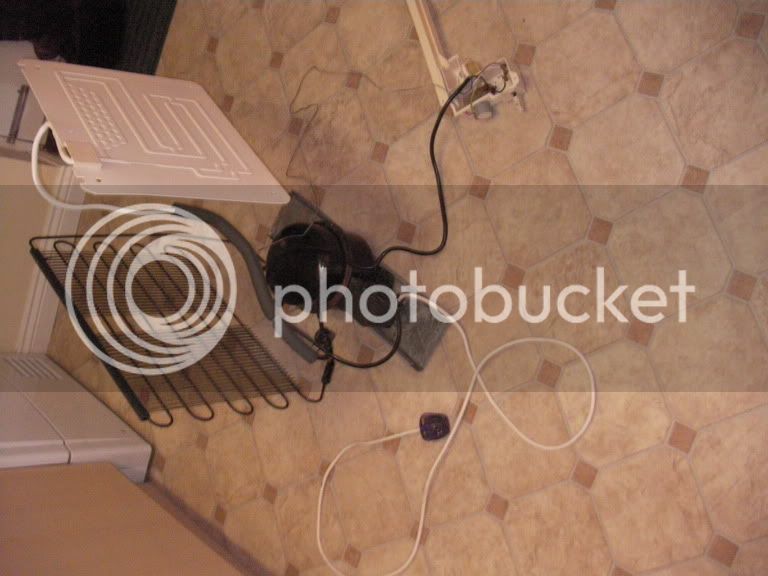
Here is what was left of the fridge after 10 mins work. I ended up shorting the thermostat and sensor, so I could use a TC-10 instead.
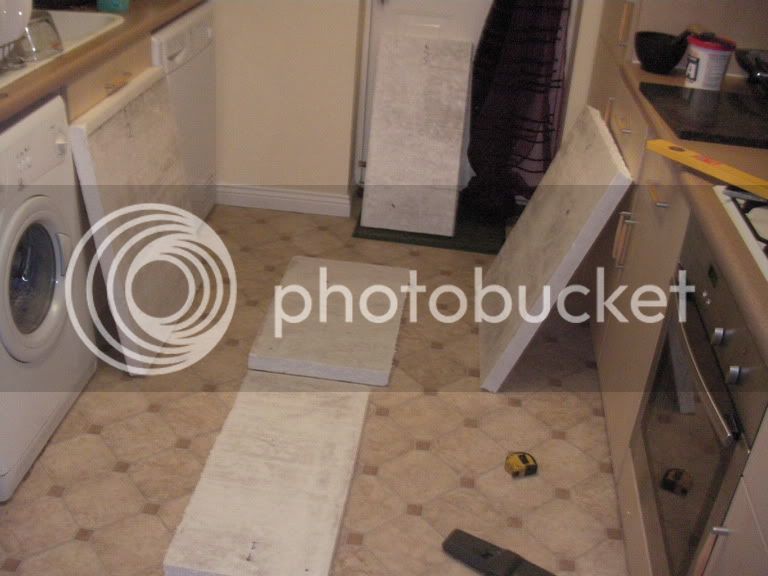
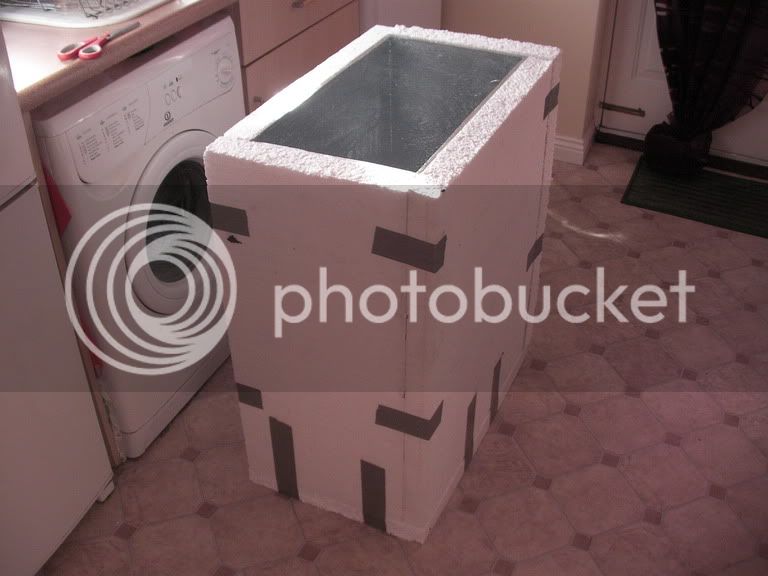
Next I built a 50mm foam box around the inner box, and taped this with gaffer tape (and a little PVA between it and the ply).
I then built the MDF frame around this leaving space for the gas compartment (wanted to keep this separate). Note the space below which is for the compressor/drain. Also the gap at the top for the 'inner lid'.
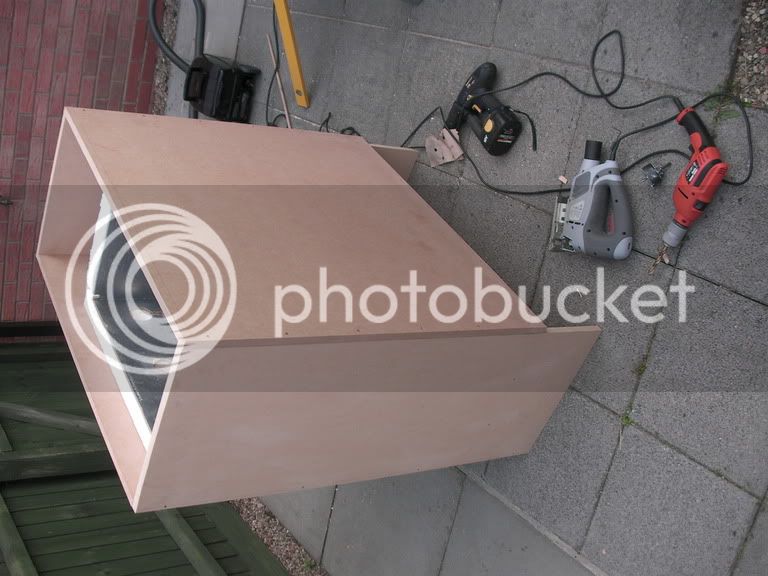
Next some drilling for taps.
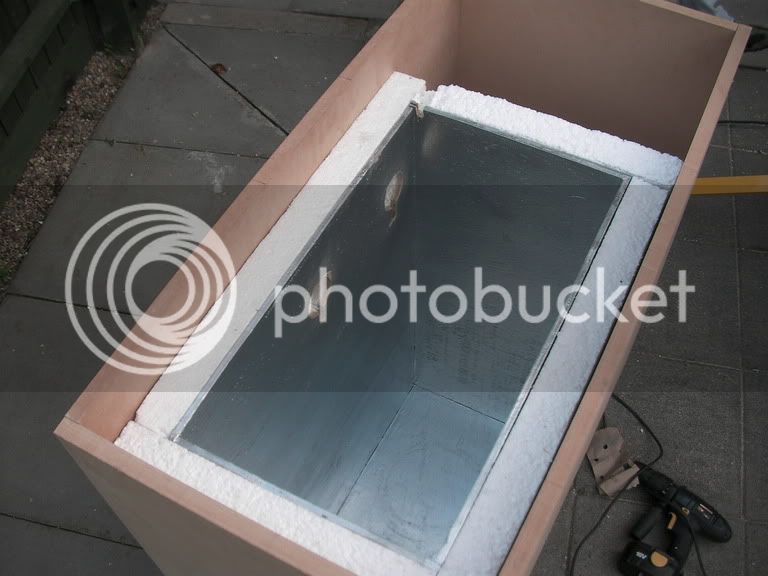
And some vinyl tiles applied to the top/side of the polystyrene.
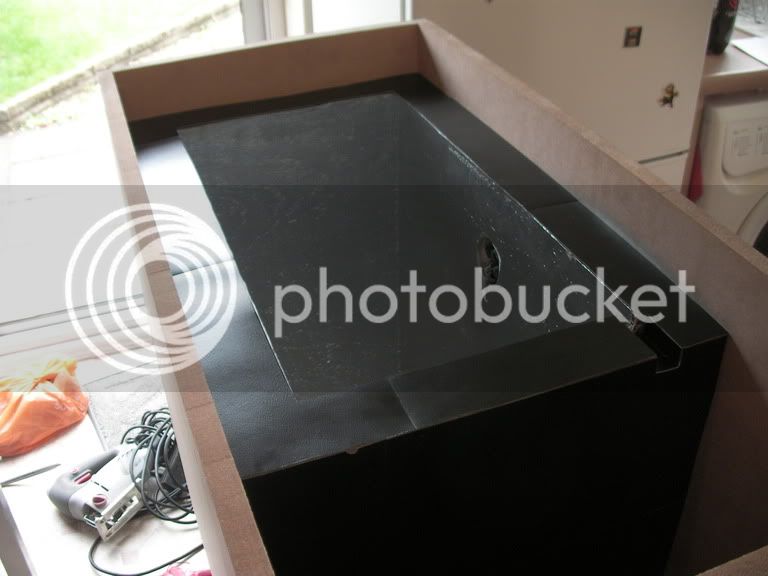
This was then sprayed.
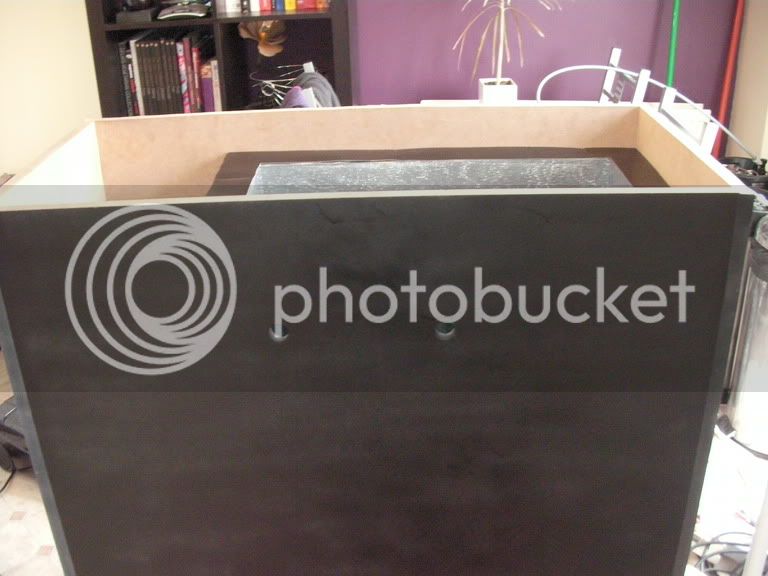
First 'dry' run. After a couple of leeks, this was then sorted!
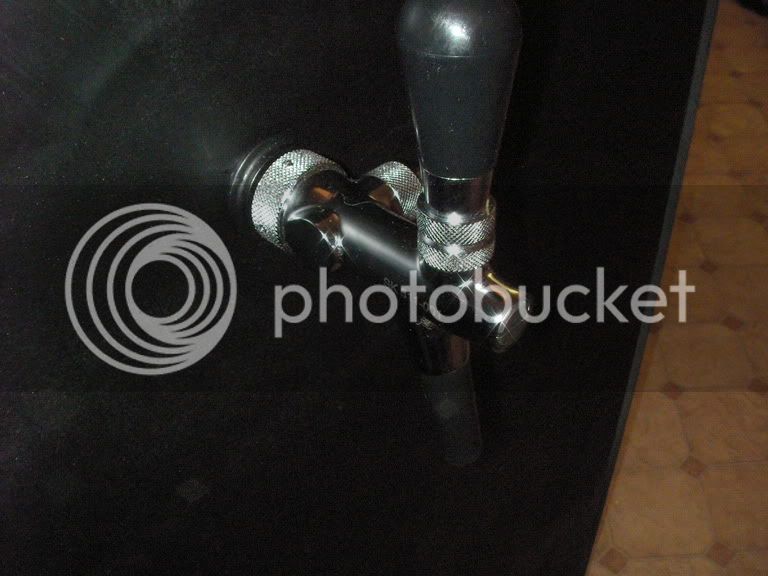
One of the beautiful flow control taps from Norm.
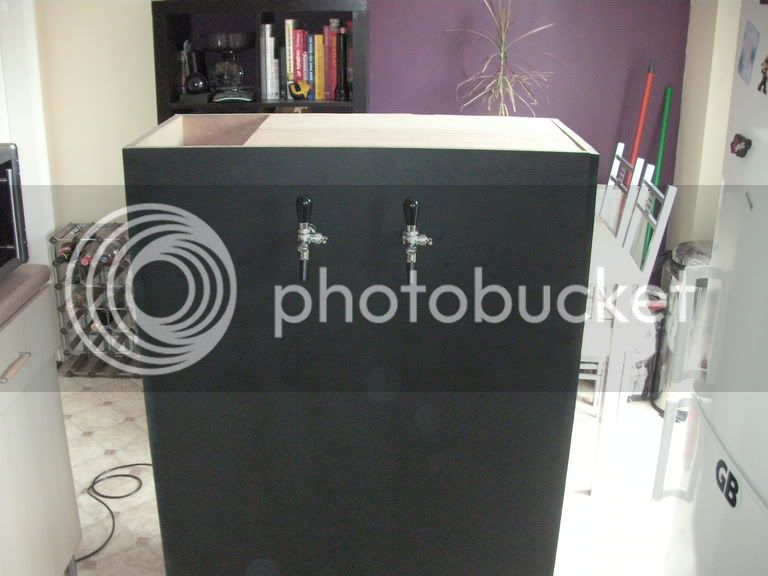
Both taps installed and the 'inner lid' on. The inner lid was just a ply box with a polystyrene core. I then applied vinyl tiles to the underneath.
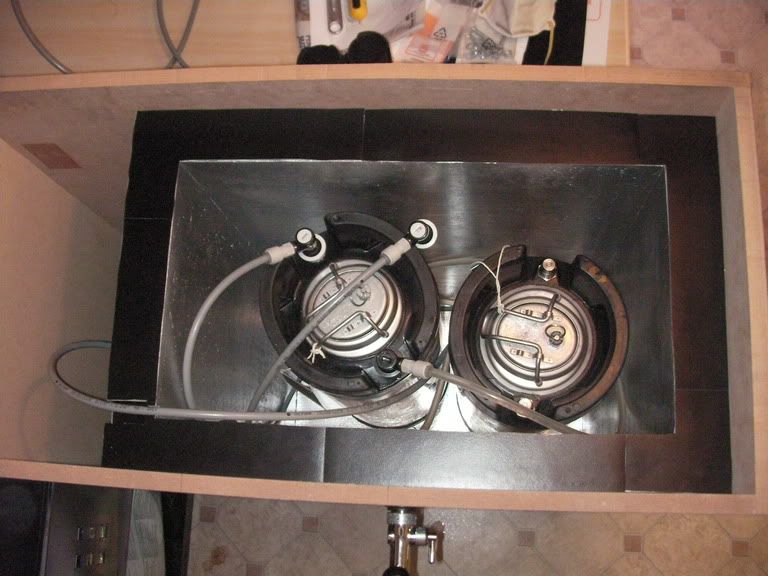
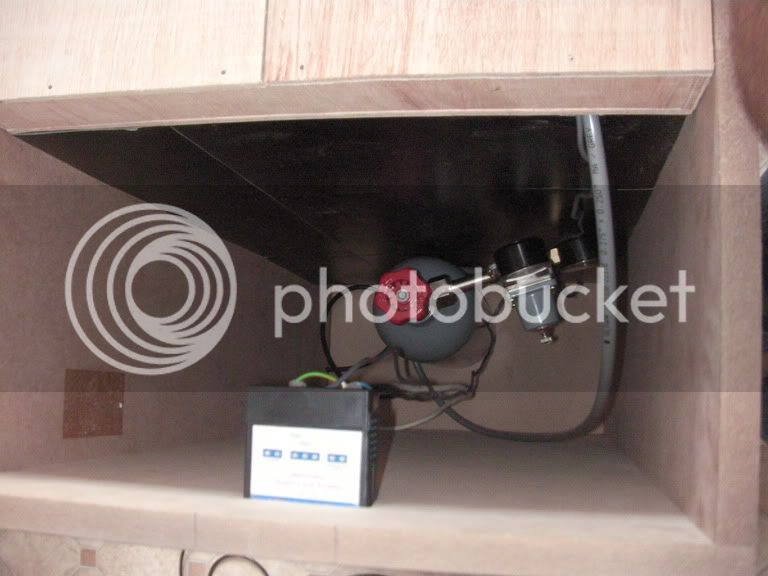
Gas compartment with TC-10 inside. Probably a bit too much room, but better too big than small!
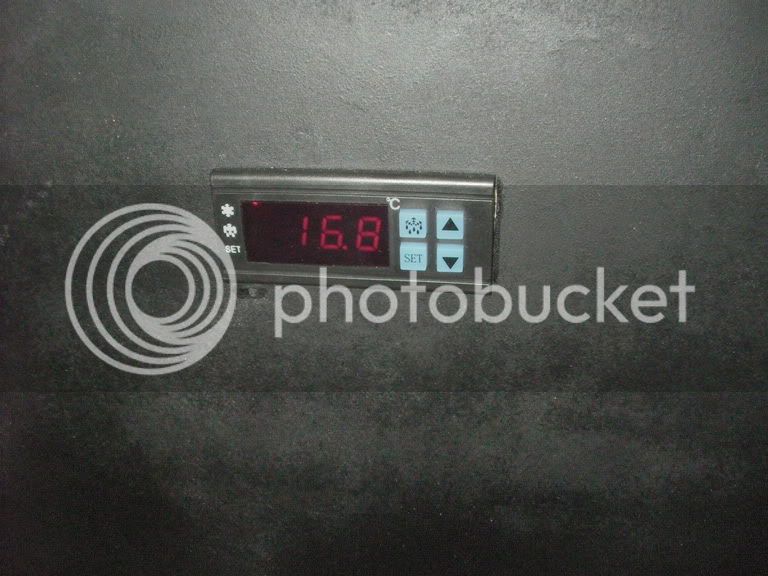
This was during the initial cooldown. It is now going nicely between 10 and 11.
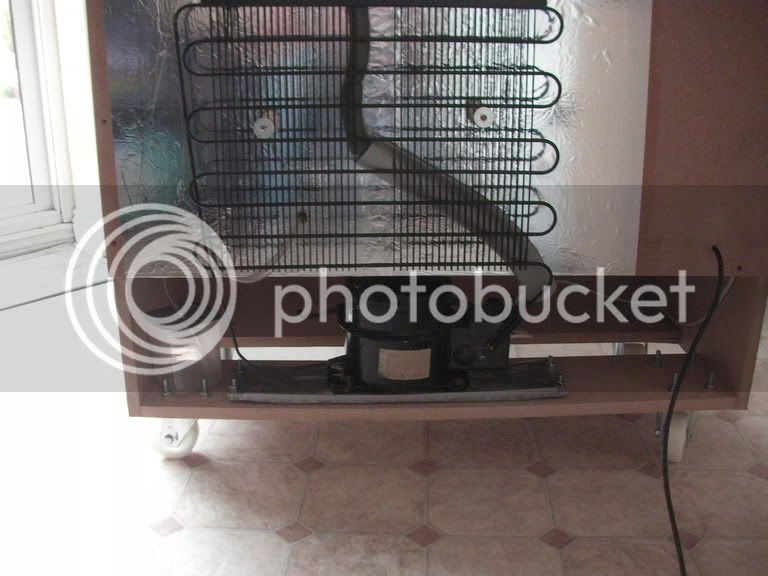
On the back I put some tin foil to deflect heat from the compressor/radiator. I have also installed the original drip tray under the cooling plate and installed an old syphon into a small tuperware container for the condensation. This is one step I am VERY glad I did properly as over a month there has been about 1 inch of water in there!
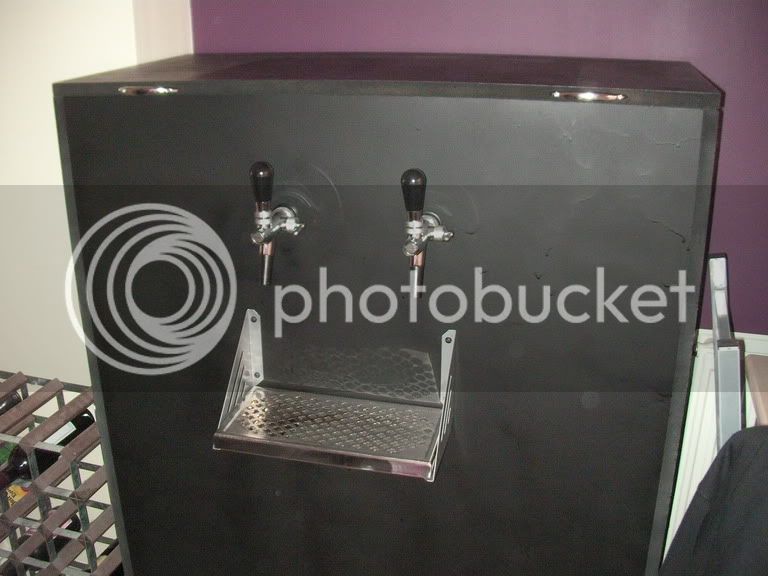
Finally with the proper lid on and a nice SS drip tray and I have something to be proud of (rather than the two cornies in the corner with pipes going everywhere).
Only thing I am thinking of changing is going to a double regulator so I can have different styles on tap, but for now am very happy with this (even though it took a good few weeks of parttime work to do).
Cheers :
I started off my making the box for the cornies out of ply and coating it with PVA, all joints were pinned and 'no more nailed'.

I then primed and sprayed this silver. Don't know whether this would help reflect the cold, but would help with wipe downs if needed.

Here is what was left of the fridge after 10 mins work. I ended up shorting the thermostat and sensor, so I could use a TC-10 instead.

Next I built a 50mm foam box around the inner box, and taped this with gaffer tape (and a little PVA between it and the ply).


I then built the MDF frame around this leaving space for the gas compartment (wanted to keep this separate). Note the space below which is for the compressor/drain. Also the gap at the top for the 'inner lid'.

Next some drilling for taps.

And some vinyl tiles applied to the top/side of the polystyrene.

This was then sprayed.

First 'dry' run. After a couple of leeks, this was then sorted!

One of the beautiful flow control taps from Norm.

Both taps installed and the 'inner lid' on. The inner lid was just a ply box with a polystyrene core. I then applied vinyl tiles to the underneath.

Gas compartment with TC-10 inside. Probably a bit too much room, but better too big than small!

This was during the initial cooldown. It is now going nicely between 10 and 11.

On the back I put some tin foil to deflect heat from the compressor/radiator. I have also installed the original drip tray under the cooling plate and installed an old syphon into a small tuperware container for the condensation. This is one step I am VERY glad I did properly as over a month there has been about 1 inch of water in there!

Finally with the proper lid on and a nice SS drip tray and I have something to be proud of (rather than the two cornies in the corner with pipes going everywhere).

Only thing I am thinking of changing is going to a double regulator so I can have different styles on tap, but for now am very happy with this (even though it took a good few weeks of parttime work to do).
Cheers :


