plastic boiler build

The Homebrew Forum

Help Support The Homebrew Forum:

This site may earn a commission from merchant affiliate links, including eBay, Amazon, and others.

rickthebrew

Landlord.
Joined
Apr 30, 2009
Messages
675
Reaction score
11
Location
Exeter
sadly my old boiler passed away last week - but reckon i could maybe fix her :?

so thought i`d build a cheap one to use and its always good to have a backup plan :thumb: all credit goes to muddydisco`s how to guide for this :cheers:
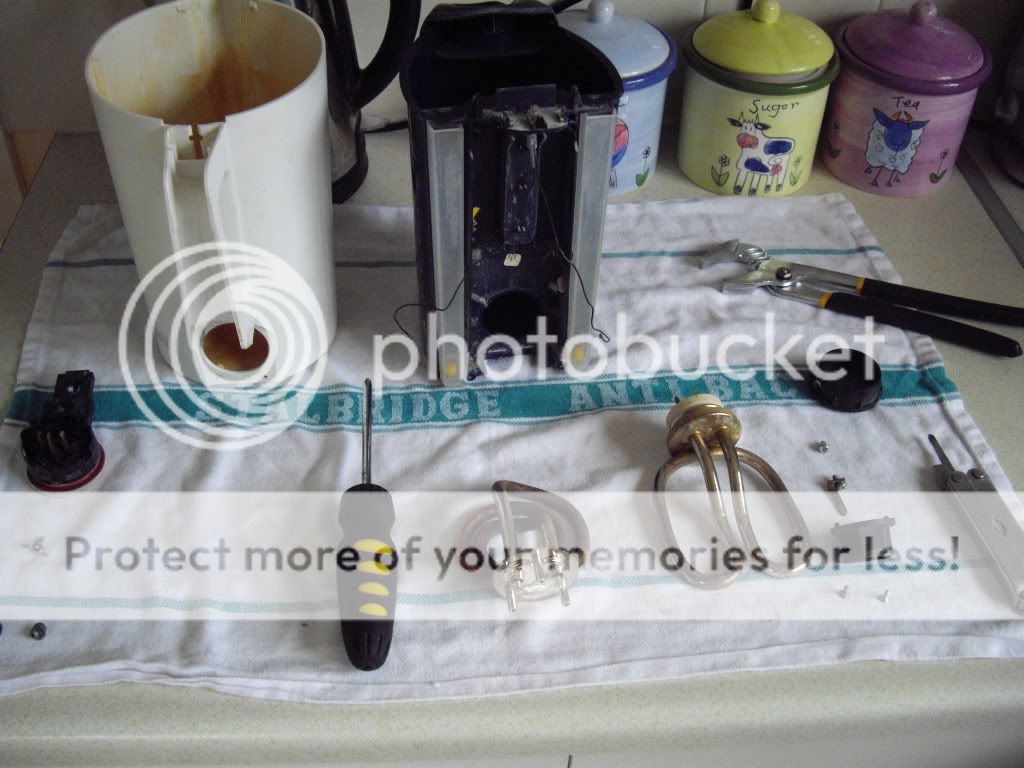
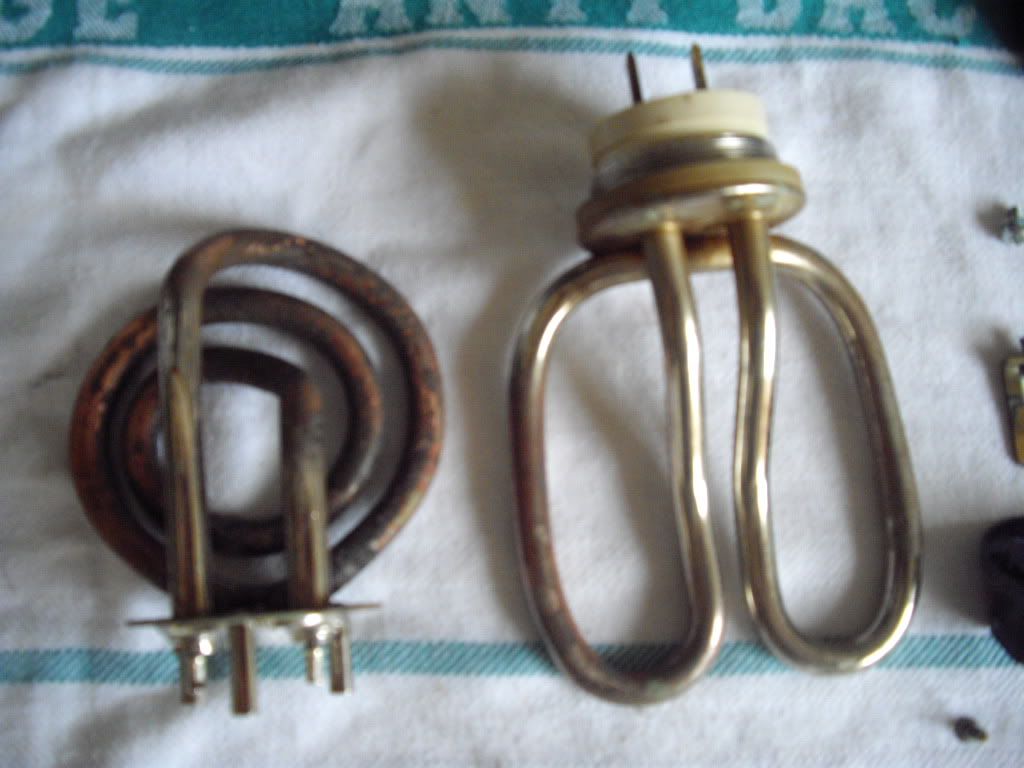
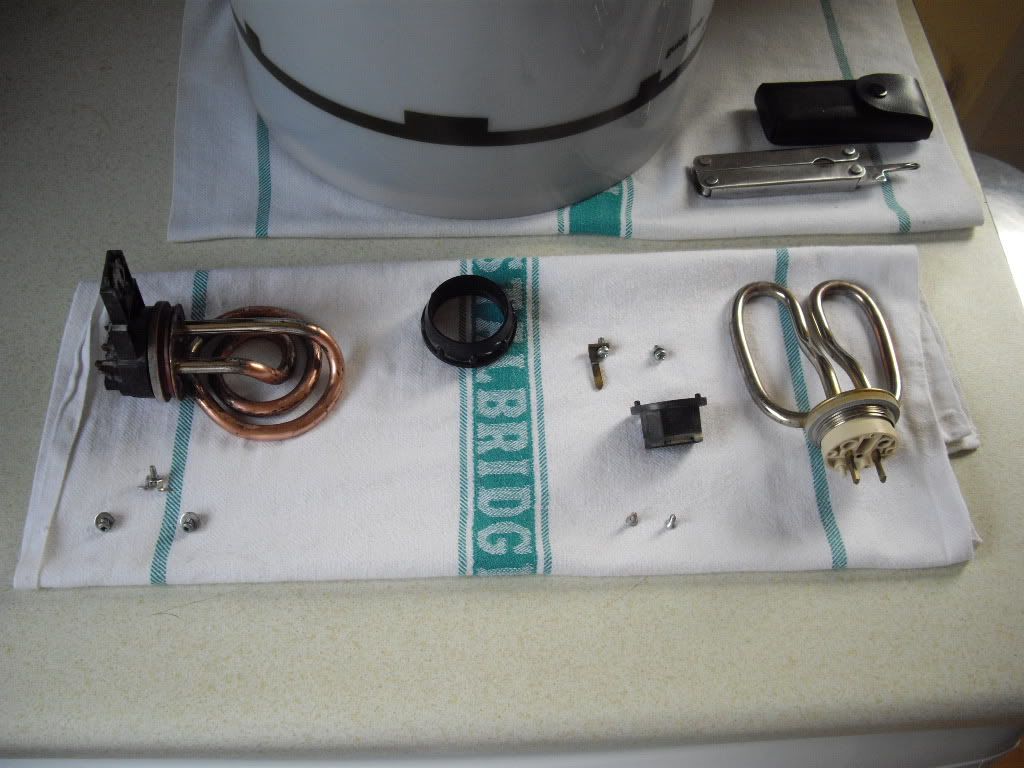
so i bought the 60litre bucket and two kettles, then my dad says i`ve got two old kettles you can have so i stripped them down to use and gave the elements a good clean,
IMGP2130.jpg
IMGP2131.jpg
IMGP2132.jpg


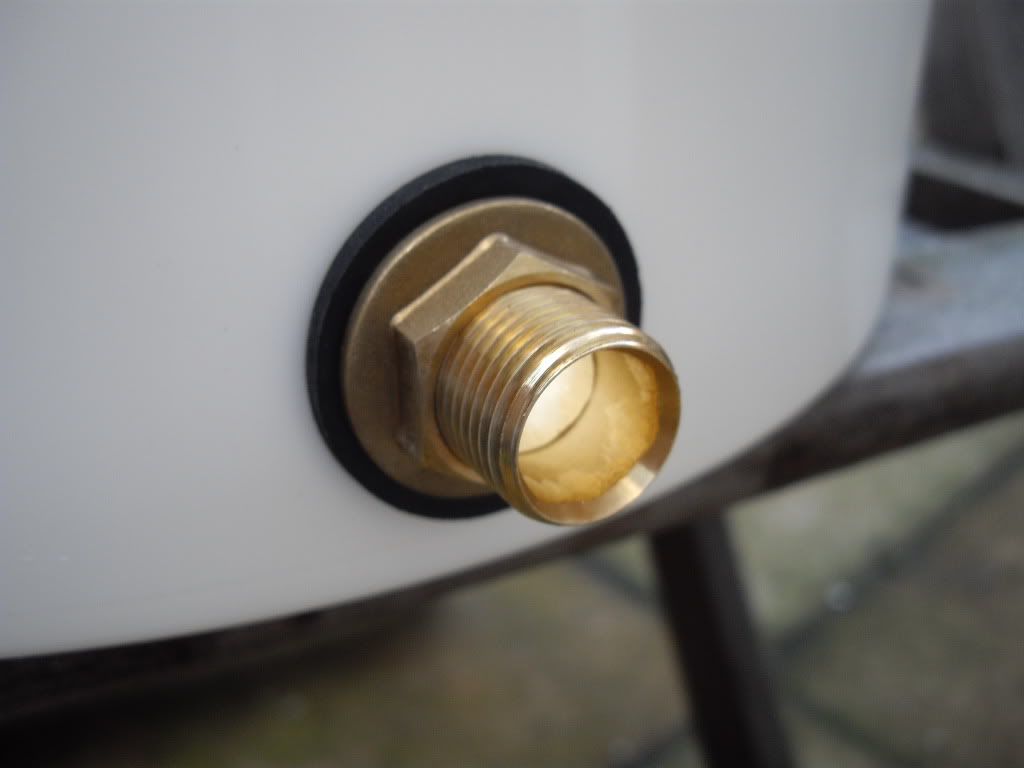
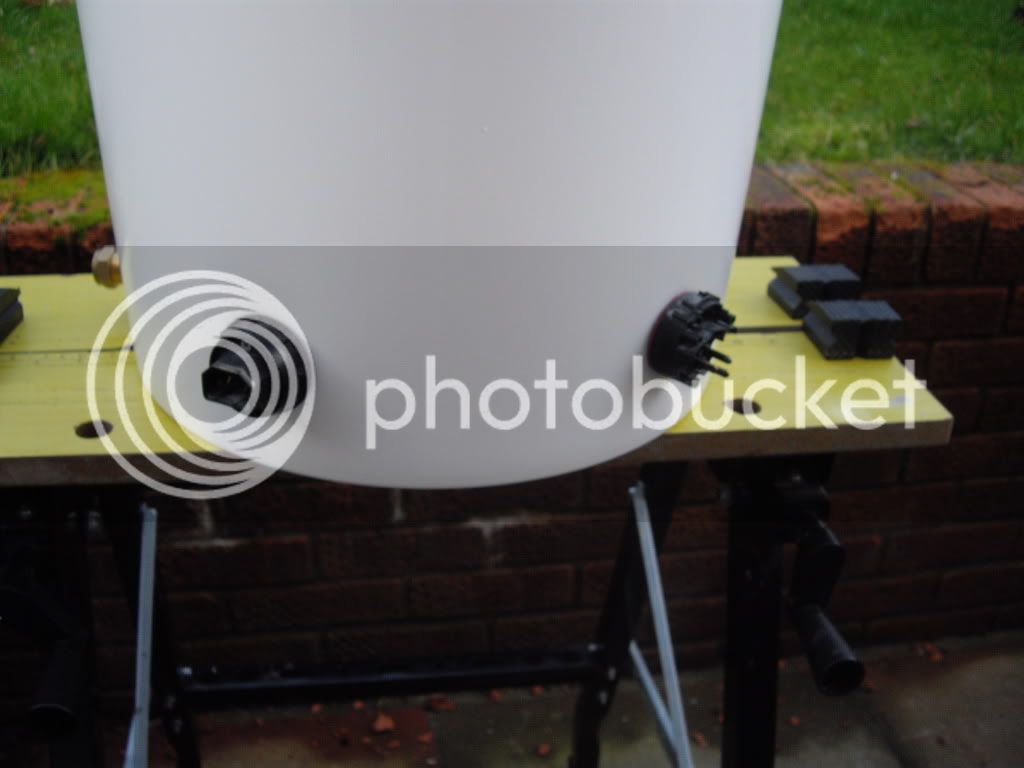
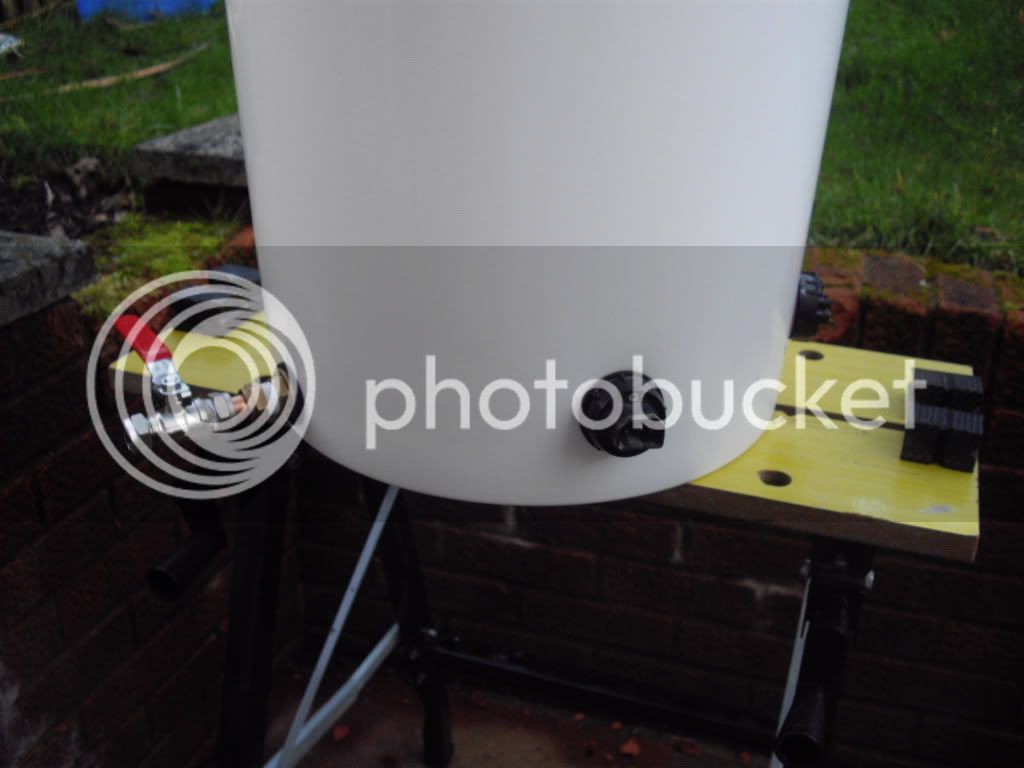
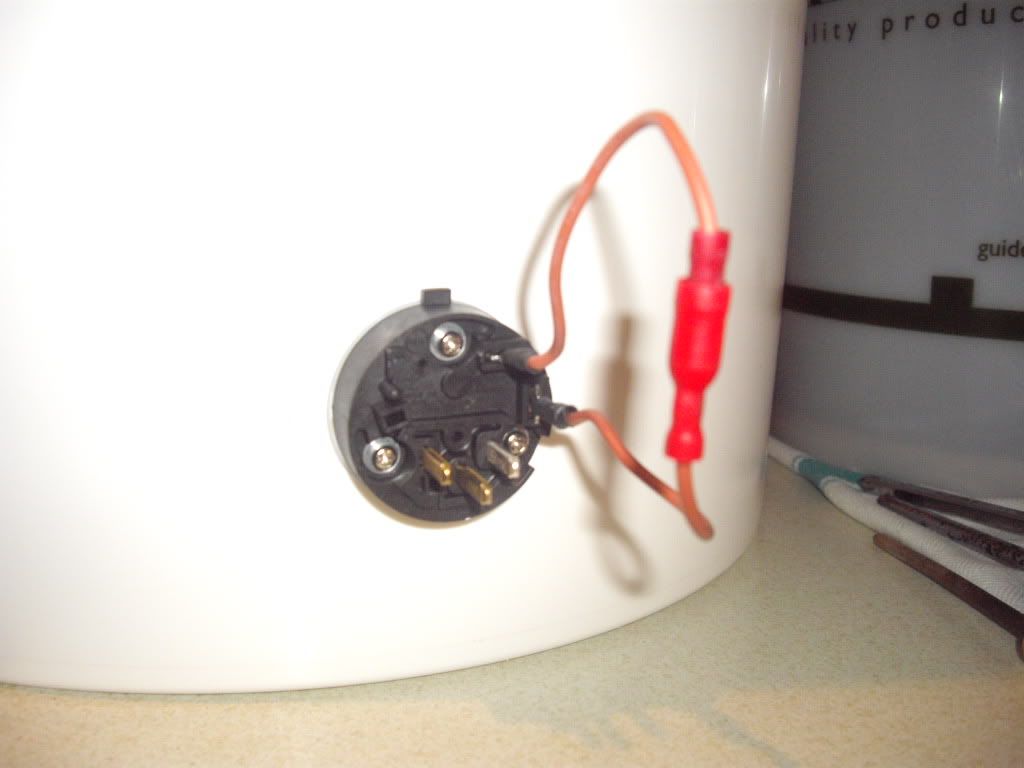
next pics the bucket, holes made( all sizes as md`s guide) bits fitted and water tested - all good :party:
IMGP2133.jpg
IMGP2134.jpg
IMGP2135.jpg
IMGP2136.jpg
IMGP2137.jpg
IMGP2138.jpg
IMGP2139.jpg

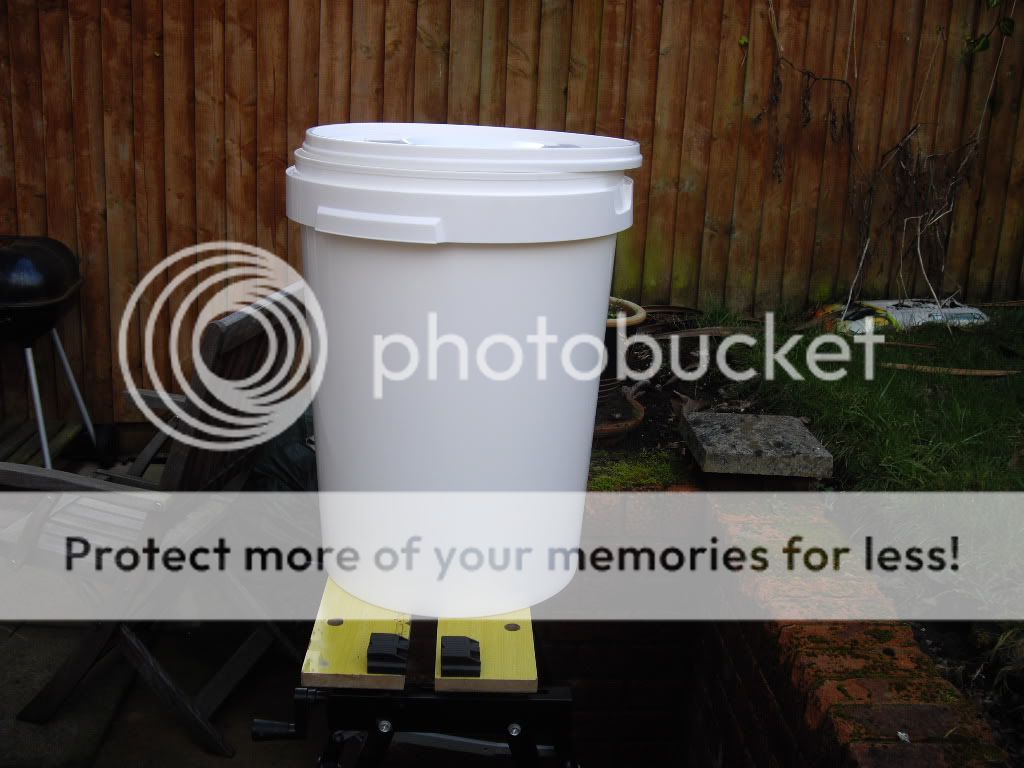
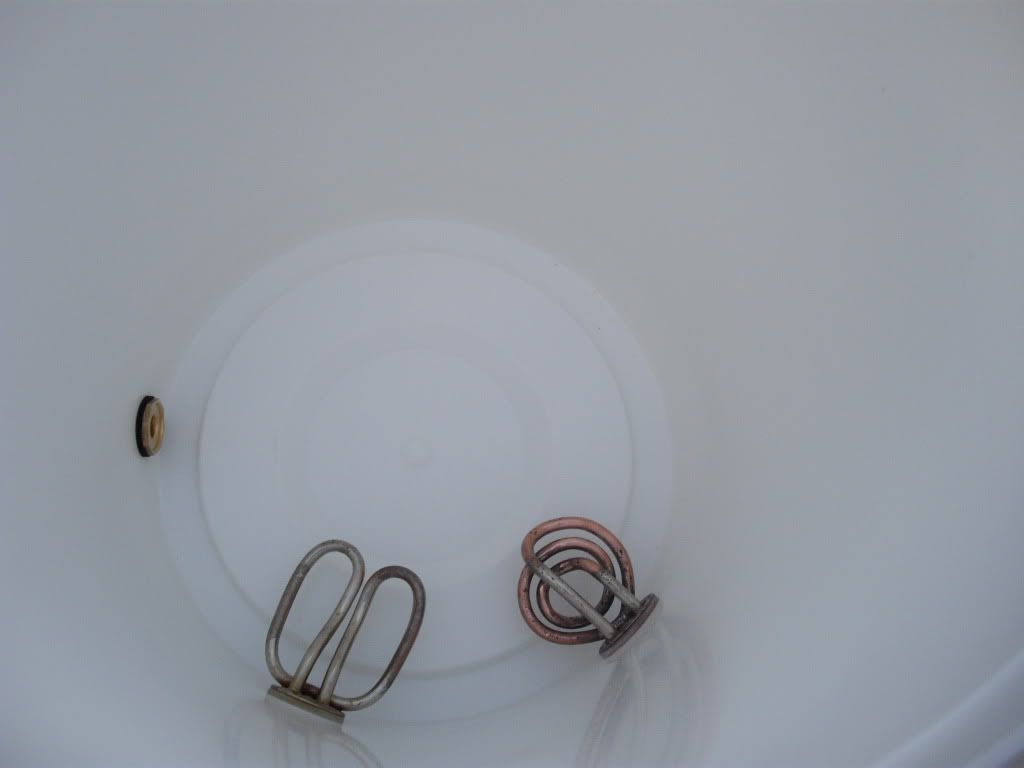
water tight but one element wouldn`t work - :hmm:
 
worked out that i butchered the switch that i should have linked out - so stuck one of the tesco elements in and all good, will keep the other tesco kettle as a spare - can`t go wrong for £4.83!!!!!
Plus the old element was a bit cruddy so better of with the shiny new one, water tested all good :thumb:

IMGP2143.jpg


will tidy this up and make a protective cover - can`t wait to brew again, plus i`m off next week so will hopefully get a couple brews in , great boiler for around 45quid (had to pay delivery on bucket) :cheers:
 
Im sorry but im new and im probably missing something but on MDs AG how to build and in this as well both kettle elements get placed on one side is there a reason for this as I would have thought one on each side would give a more even heat distribution???.
 
no idea - but when its up to the boil you can switch one off, also you`ve got to fit your hop filter in :thumb:
 
nice work, i'd put your tank connector the other way round tho, then you'll have less sticking out ;)
 
Looks good :thumb:
Where did you get the suitable 60ltr bucket from Rick?

I put my elements to one side so the scavenger pipe couldn't touch them
 
Sean_Mc said:
Where did you get the suitable 60ltr bucket from Rick?
:lol:

well i got it from here http://www.the-home-brew-shop.co.uk/
as for being suitable :whistle: reckon it could be the new thinner one but as the tap is copper i reckon it should be ok, the hop and grape builds have plastic taps which can move more easily :thumb:

i`ll find out soon - good job i brew outside
 
Both elements on one side gives a good space for the boil to roll up one side down the other, plus it gives room for the hop stopper to be fitted and removed for cleaning and also leaves clear space at the botttom for your chiller to sit on the bottom not on the elements :thumb:

Hope it hold up if it is the thinner one :? Be carefull first time out :thumb:
 
Cheers bud

If they're stamped PP (polypropylene) they've a melting point of 160c, so should be fine for brewing (prolly best out side though ;) )
 
snail59 said:
Im sorry but im new and im probably missing something but on MDs AG how to build and in this as well both kettle elements get placed on one side is there a reason for this as I would have thought one on each side would give a more even heat distribution???.
The idea behind putting the elements side by side is so that aggressive thermal currents are formed which are important as agitation of the hops is as important as heat in hop utilisation and break formation :thumb:
Hence the need for a rolling boil rather than a simmer ;)
 
muddydisco said:
Both elements on one side gives a good space for the boil to roll up one side down the other, plus it gives room for the hop stopper to be fitted and removed for cleaning and also leaves clear space at the botttom for your chiller to sit on the bottom not on the elements :thumb:

Hope it hold up if it is the thinner one :? Be carefull first time out :thumb:

Now you see I wouldn't have thought of all that and it all makes sence. So when I build my AG set up I will put both elements on one side :thumb:
 
rickthebrew said:
so thought i`d build a cheap one to use and its always good to have a backup plan
Looks like you've done very similar to what I have.
Just checked mine and it is only 2mm plastic, but it stood up well to the long boil and even to being hoisted into the air and tipped!
Still have my old faithful in store though.
 
It is marked PP so no problem with the heat - shall do a test and a brew this week, also try to fix my old boiler for backup - hopefully she will be OK!!!

MD - did you make a hole in the lid so you can keep on during the boil ? If so approx how big should it be to avoid DMS (think thats what we want to avoid :hmm: )

:drink: cheers Rick :thumb:
 
I haven't Rick but have seen tubby's 150mm hole and that seems to work a treat. It's your preference I have to keep a intact lid, cos when brewery is not in use I have alot of grinding dust etc flying around the garage. so It keeps nasties out of my brewery :thumb:
 
muddydisco said:
I haven't Rick but have seen tubby's 150mm hole and that seems to work a treat.

Crikey. Has he been doing stretching exercises? Is TS the goatse bloke? (don't search for that at work)
 

Latest posts

Back
Top