Gethin79
Well-Known Member
As promised in a different thread last week, here are some pics of my fridge build, just in case it helps anybody else or gives anyone some ideas. I'm no expert, but you never know, it might help someone! The photos seem to have come out really big, don't know if I can re-size them or not, but I'm sure its not really that important!!
The first thing was to build the control unit, using a project box from Maplin. It had removable ends which made cutting out the hole for the STC1000 unit fairly easy. The instructions tell you the dimensions for the hole required. I also drilled 3 x 20mm holes in the other end for the two sockets and one power supply cable.
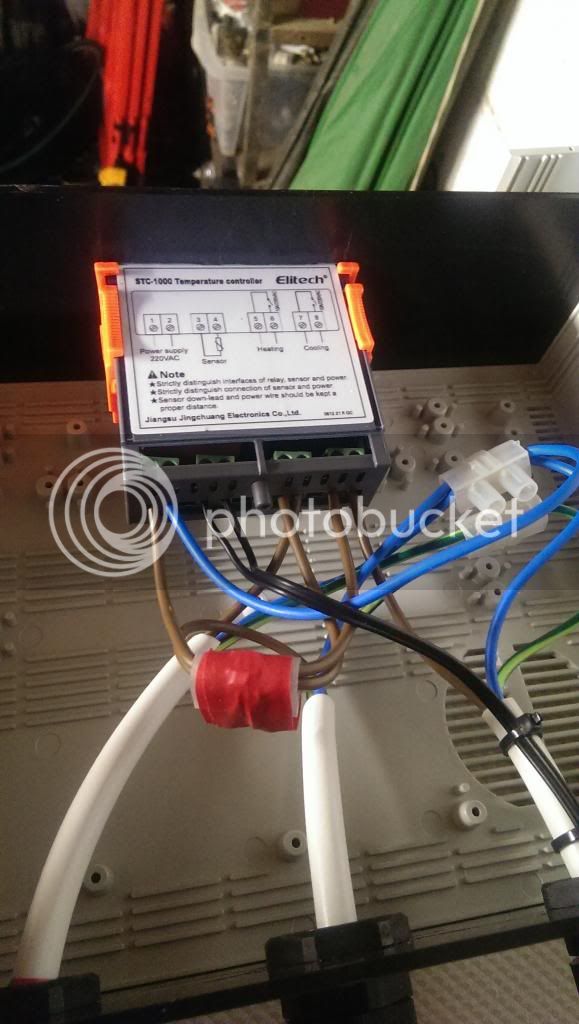
The instructions on the STC1000 don't tell you which terminal the live and neutral supply go into, it just says "power supply". So, terminal 1 is live and terminal 2 is neutral.
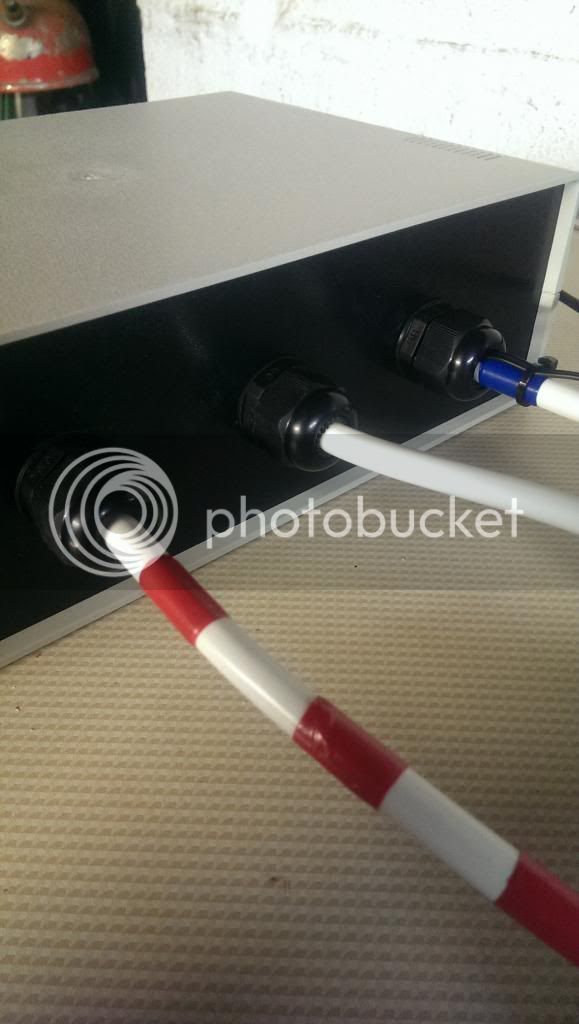
I used 20mm glands from B&Q to secure the cables in place.
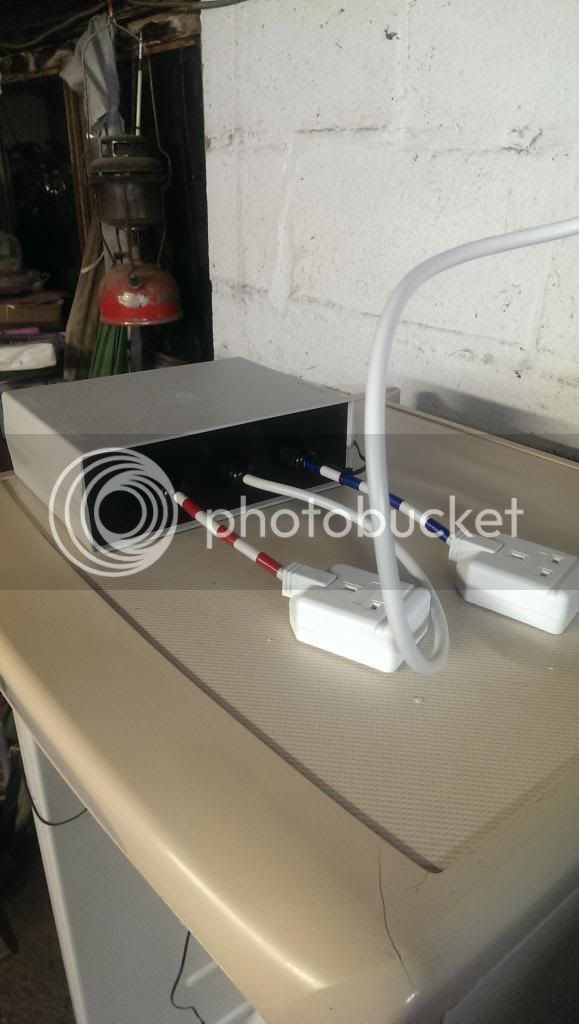
Box all closed up - rear view. Blue - cooling, red - heating, middle - power supply
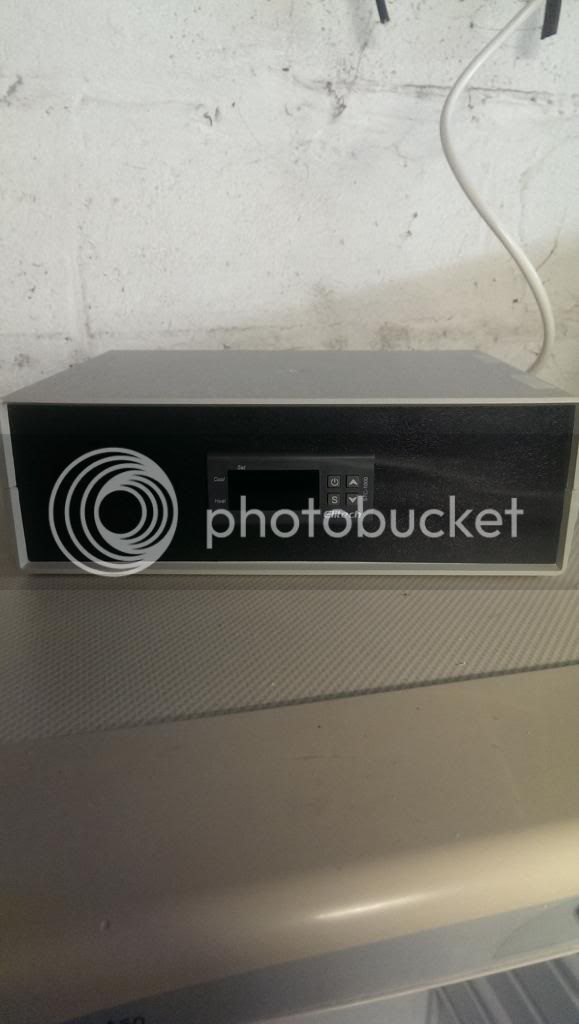
Front view of control box - almost ready to fire it up!
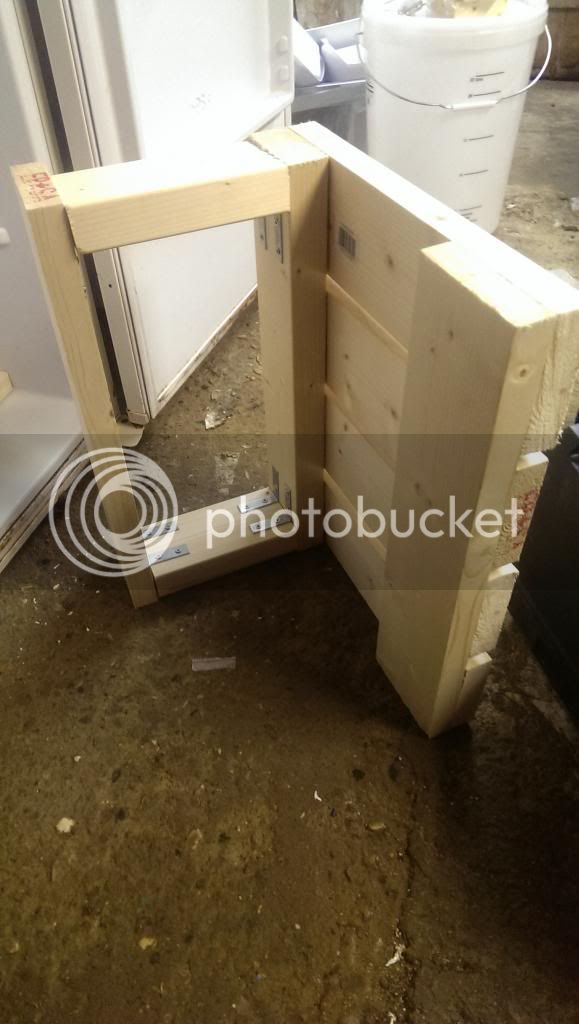
The next thing was to take some meaurements of the bottom of the fridge. Due to the step I had to manufacture a shelf which would be capable of supporting the weight of a full fermentation bucket. I'm not sure how strong the bottom of the fridges are, so I tried to build it so that it spreads the weight over a larger area of the fridge floor, using a base length of wood:
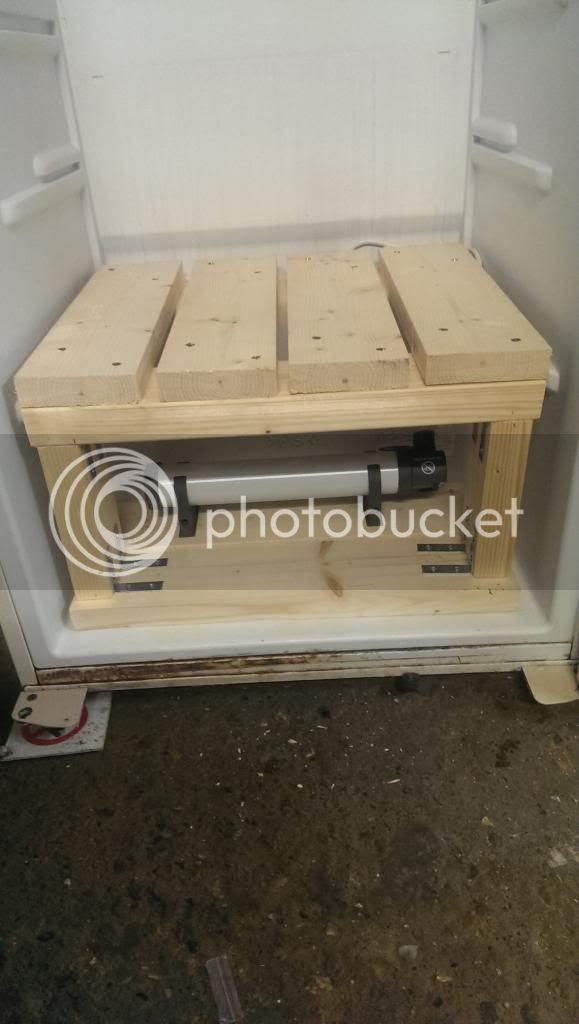
Next step was to mount the heater to a length of wood, which will sit underneath the shelf. I managed to avoid having to drill through the fridge to run the power cable, instead running it through the drain hole at the rear:
Next was to fit it all together and hey presto!!
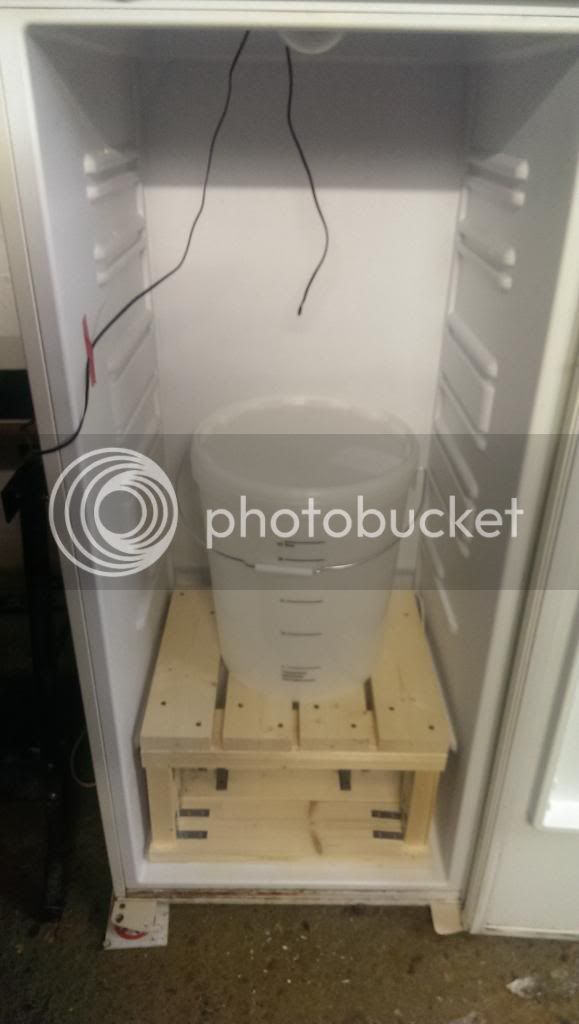
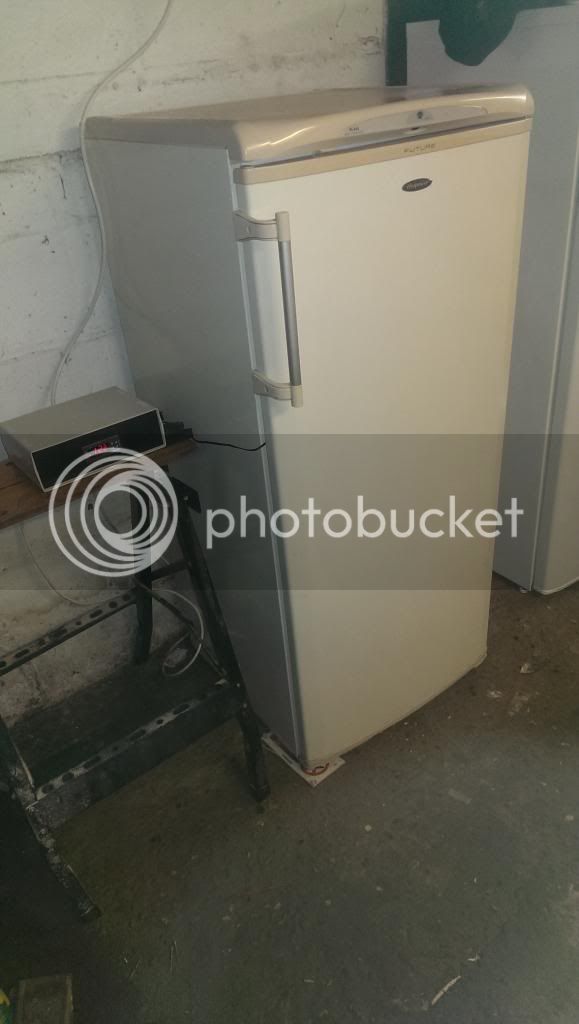
The finished article. I have routed the sensor cable through the door. It is small enough to allow the door to continue to seal.
And there you have it. I haven't gone into massive detail, but hopefully it is enough to help anyone thinking of doing the same. :thumb:
The first thing was to build the control unit, using a project box from Maplin. It had removable ends which made cutting out the hole for the STC1000 unit fairly easy. The instructions tell you the dimensions for the hole required. I also drilled 3 x 20mm holes in the other end for the two sockets and one power supply cable.

The instructions on the STC1000 don't tell you which terminal the live and neutral supply go into, it just says "power supply". So, terminal 1 is live and terminal 2 is neutral.

I used 20mm glands from B&Q to secure the cables in place.

Box all closed up - rear view. Blue - cooling, red - heating, middle - power supply

Front view of control box - almost ready to fire it up!
The next thing was to take some meaurements of the bottom of the fridge. Due to the step I had to manufacture a shelf which would be capable of supporting the weight of a full fermentation bucket. I'm not sure how strong the bottom of the fridges are, so I tried to build it so that it spreads the weight over a larger area of the fridge floor, using a base length of wood:

Next step was to mount the heater to a length of wood, which will sit underneath the shelf. I managed to avoid having to drill through the fridge to run the power cable, instead running it through the drain hole at the rear:

Next was to fit it all together and hey presto!!


The finished article. I have routed the sensor cable through the door. It is small enough to allow the door to continue to seal.
And there you have it. I haven't gone into massive detail, but hopefully it is enough to help anyone thinking of doing the same. :thumb:


![BREWING THERMOMETER STICKERS ACCURATELY MONITOR FERMENTING BEER & WINE LIQUID TEMPERATURES 5PCS HOME BREW SPIRITS WINE LCD ADHESIVE [US]](https://m.media-amazon.com/images/I/311DDjo2X3L._SL500_.jpg)


