Cononthebarber
Landlord.
I decided to upgrade my elements and figure out a better way of enclosing my switches and wiring after my last brew where I had a boil over which led to all the electrics in the house tripping...So after much faffing around and what not I can unveil my boiler mark 2...
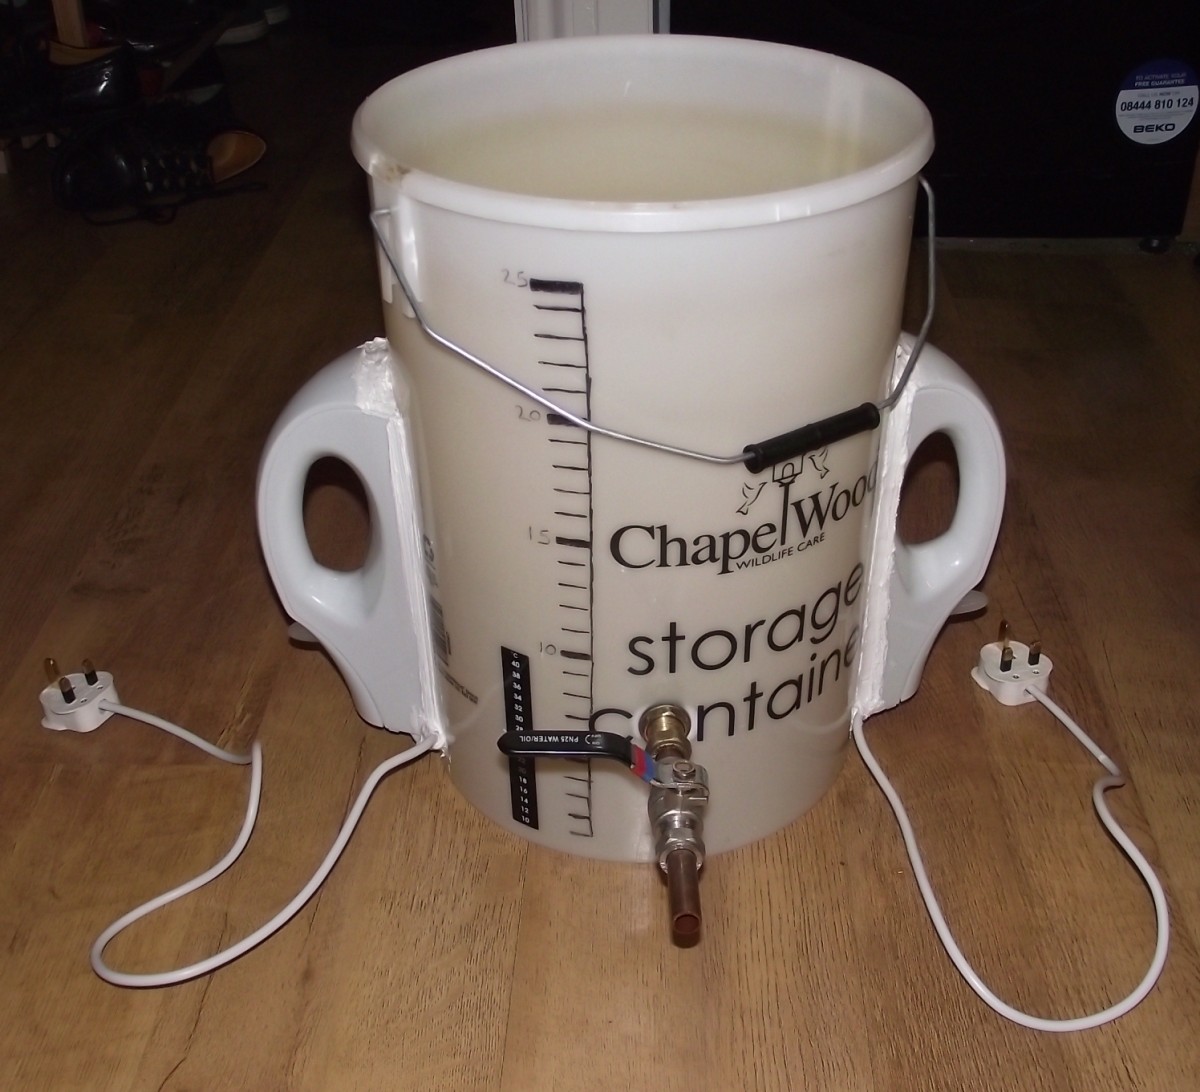
I will post below my "how to" on improving (IMHO!) on this already well documented "how to"...BigYin...hope you dont mind?
I went out and bought myself two of these:
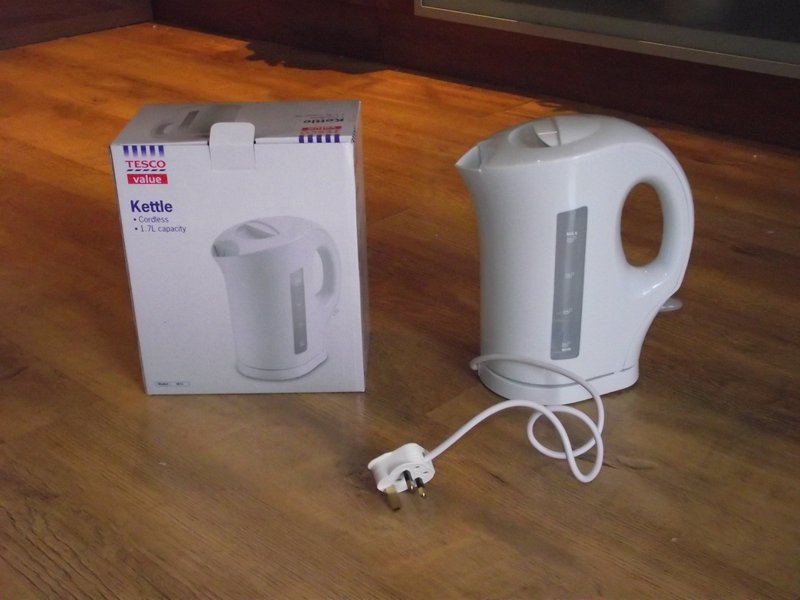
And found that the design has changed slightly since the last time I bought them. The new design makes it much easier to steal the elements AND it also means you don't need to do any wiring or soldering, you just need...
A screwdriver
A roll of insulating tape (or duct tape)
A flat head screwdriver
A hack saw
Sandpaper
and a tube of sealant and sealant gun (I used white Stixall - amazing stuff!)
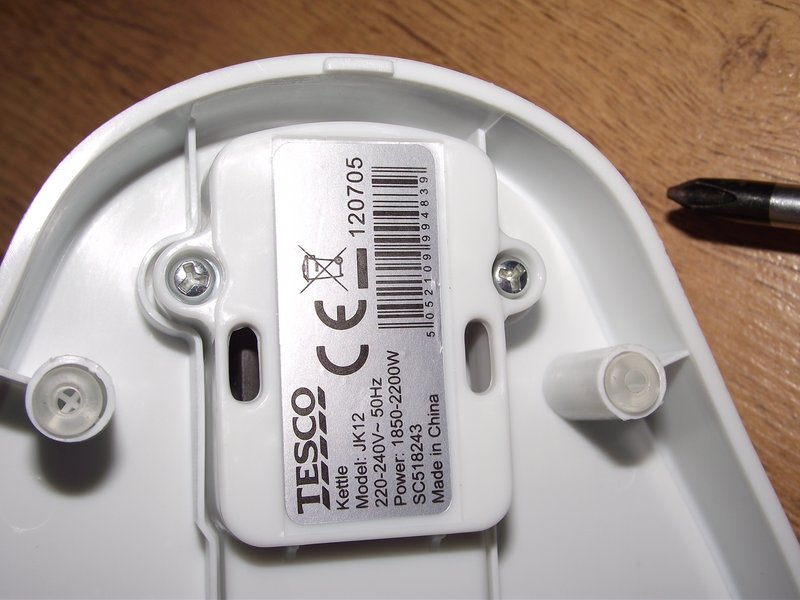
So you start off with the bottom part of the kettle, and remove the two screws, they are strange three pronged screws so you need a flat-head screwdriver at an angle to get them out - you'll figure it out when you see it:
Then use same flat-head screwdriver to push off the two plasic clips holding the bottom part of the base on:
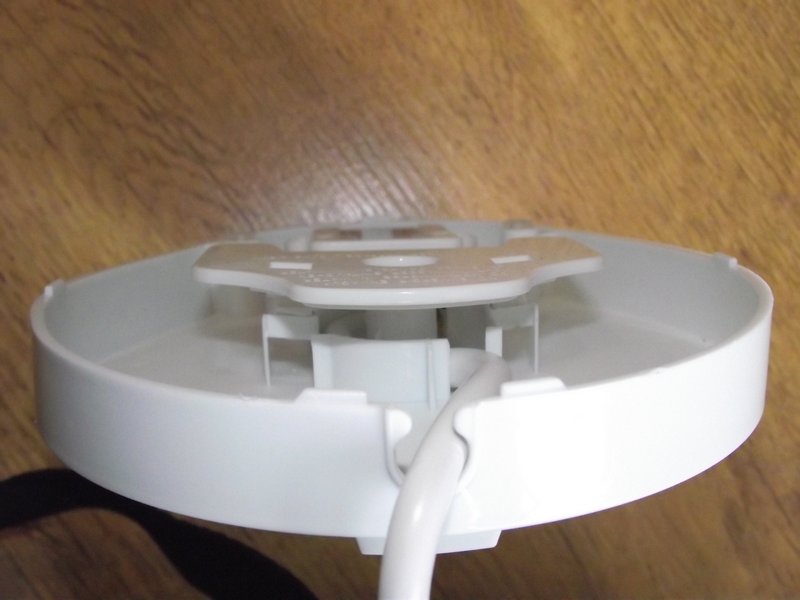
You should now have this:
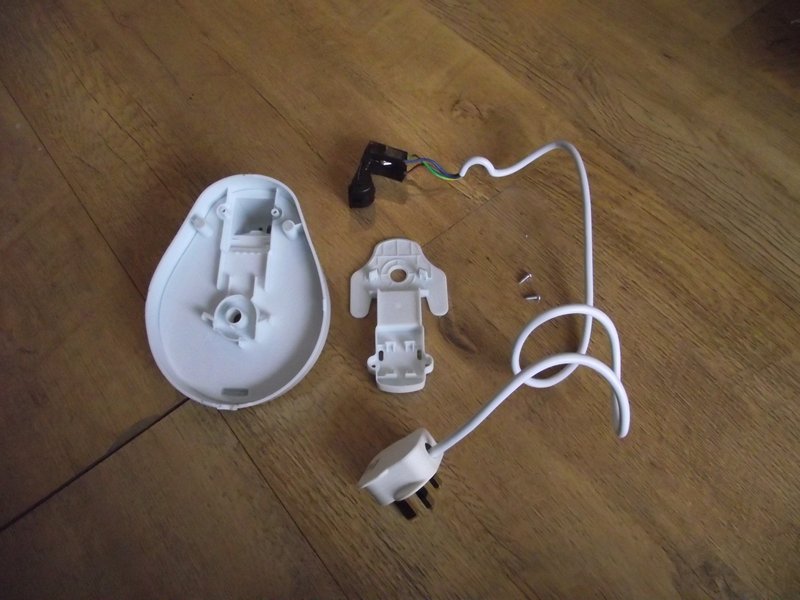
Then you need to remove the two screws from inside the lid and on the bottom of the kettle:
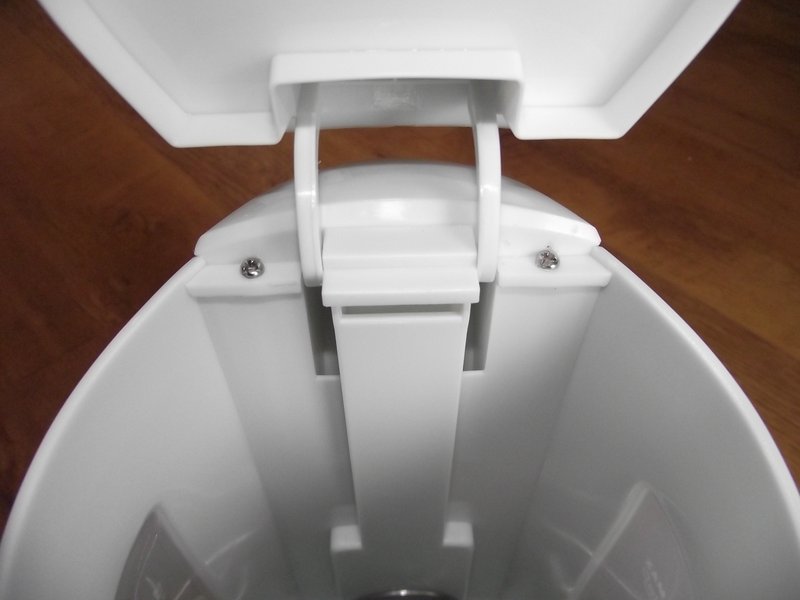
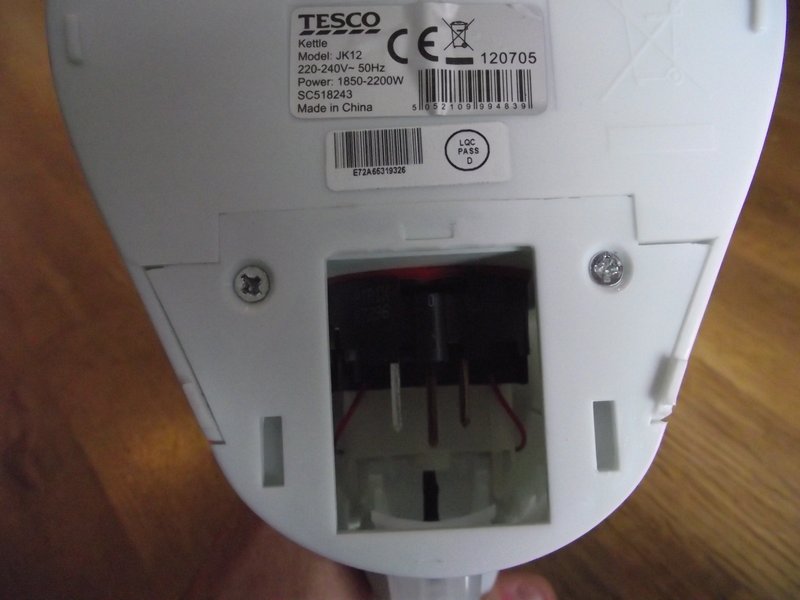
Then you can unclip the outer part of the handle, like so:
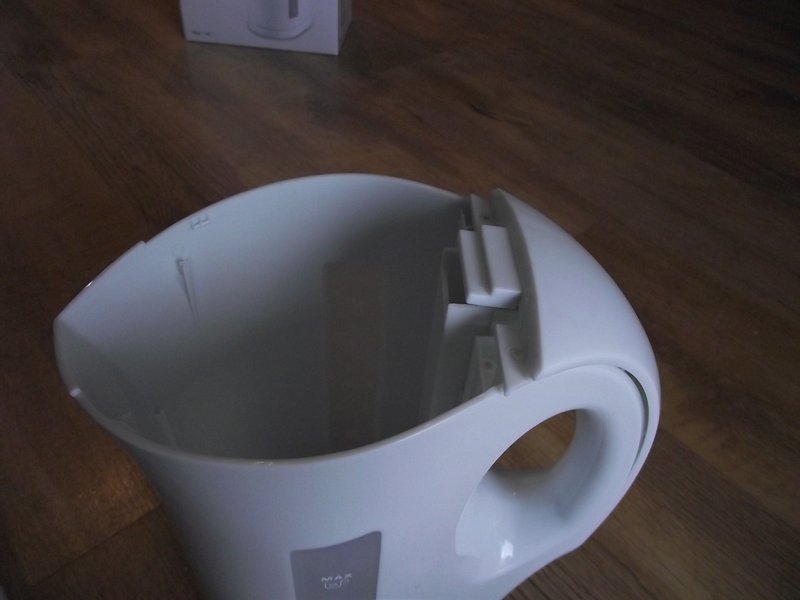
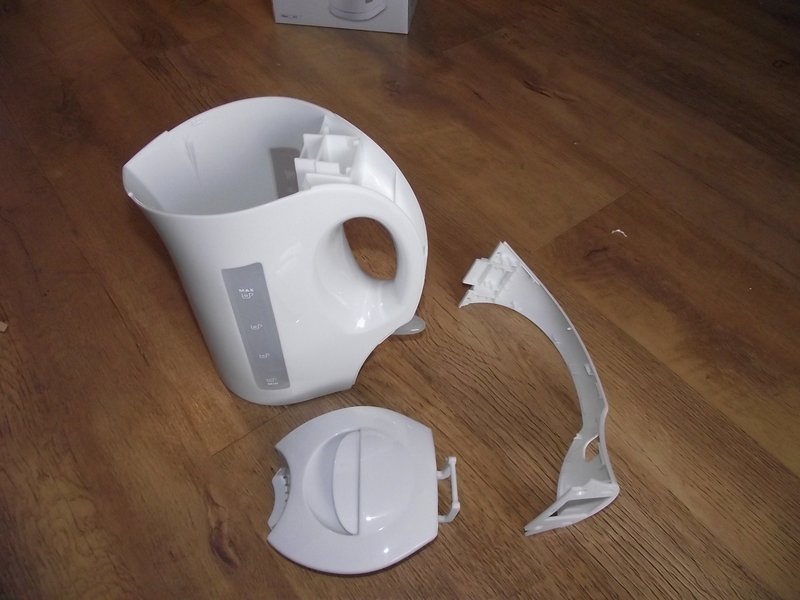
Now take the kettle and remove the two screws on either side of the switch and then the three screws holding the element in place:
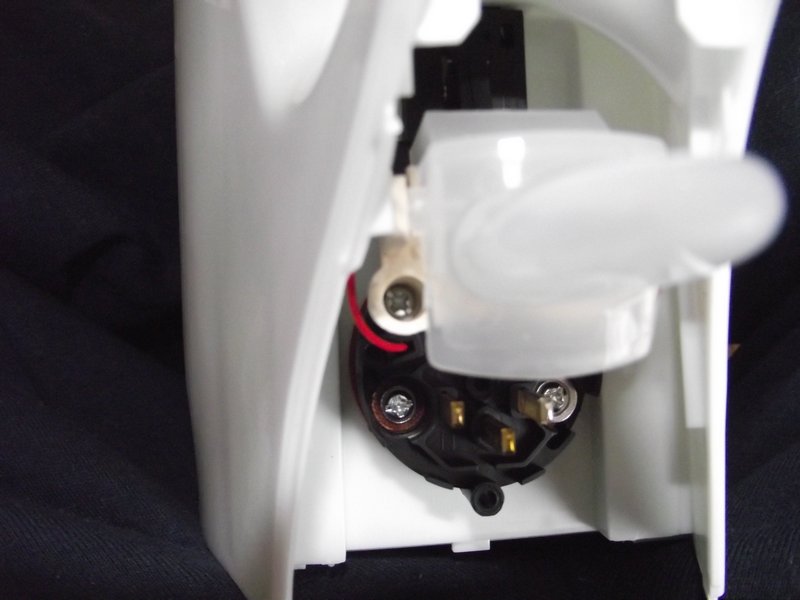
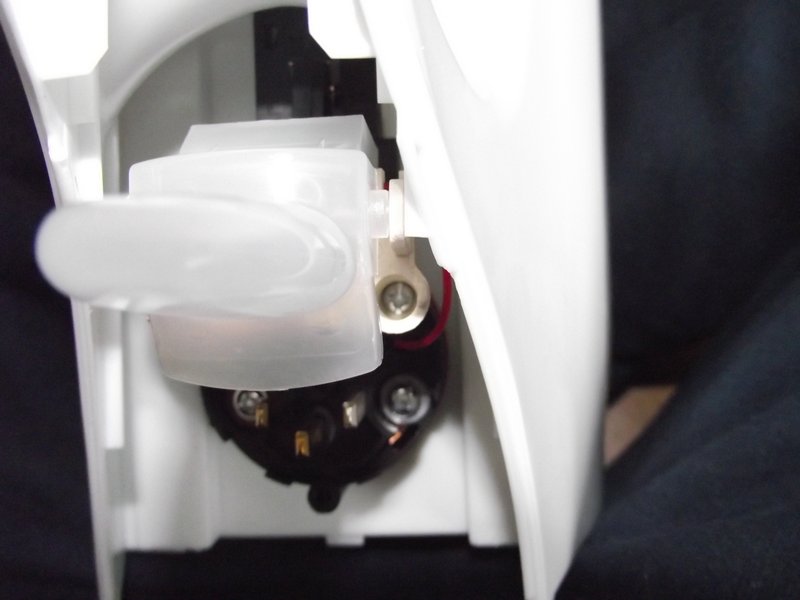
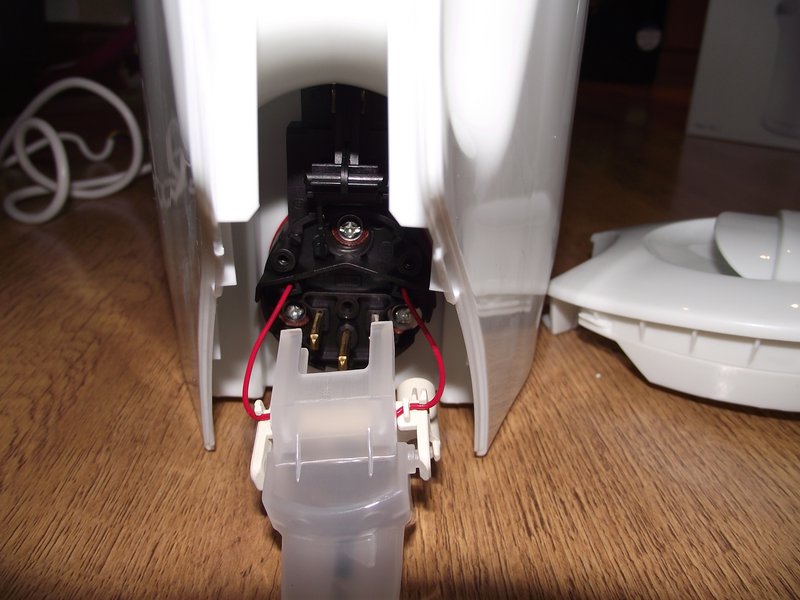
You should then have this:
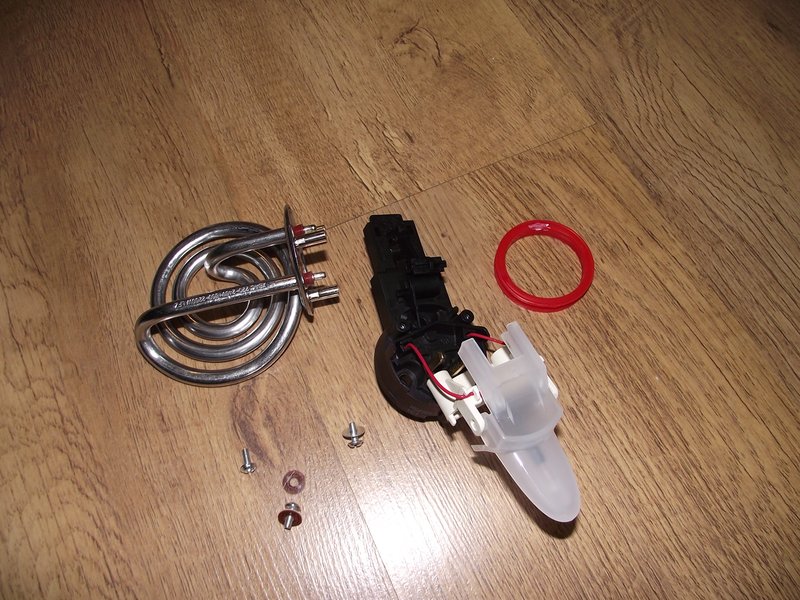
Now take your hacksaw and cut the handle from the kettle, leaving enough space between the handle so as to allow for the curve of your boiler...it will make sense when you come to it!
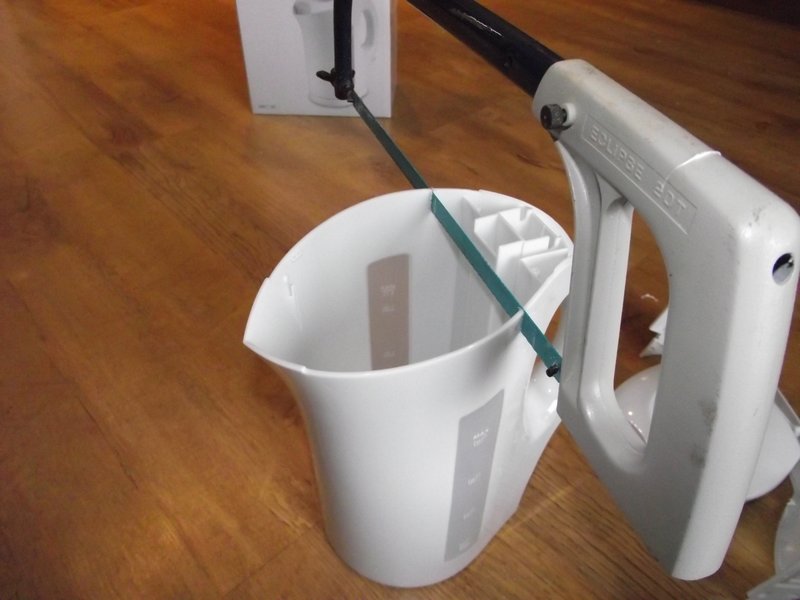
You should then have something akin to this:
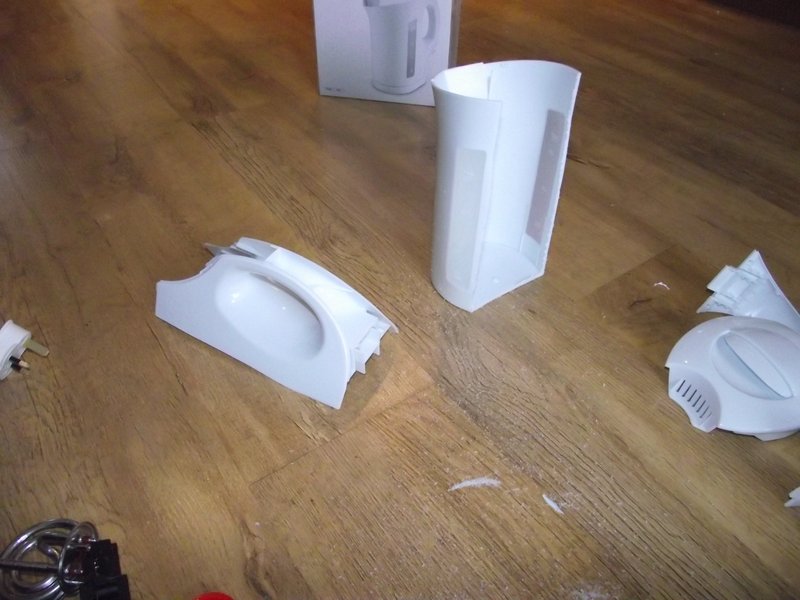
Now fit your element to the side of the boiler like so (if you look back a few posts you will find instructions on how to do this):
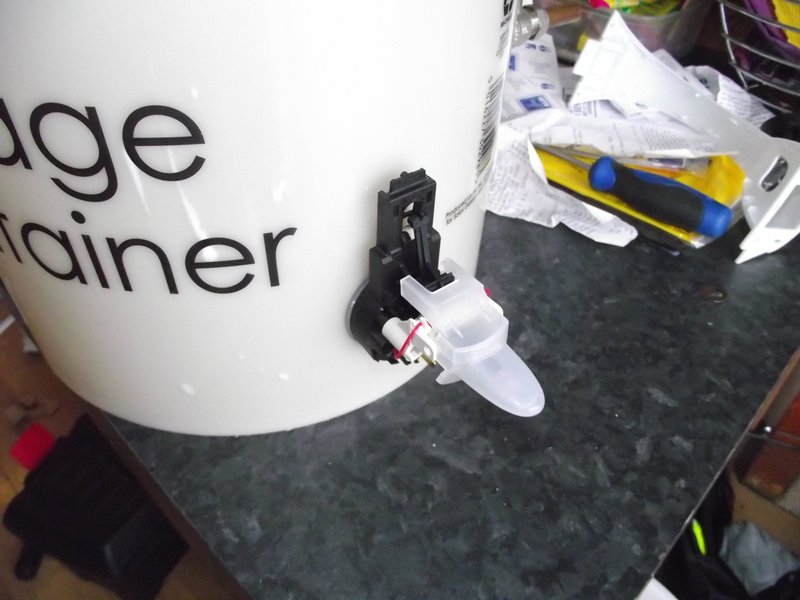
You should now be able to fit the handle part that you previously cut off and it should fit onto the top of your switch like so:
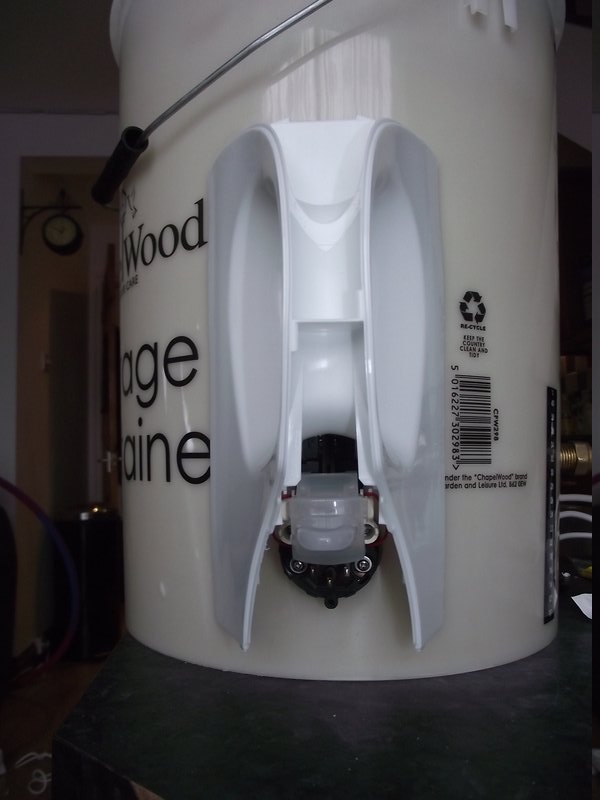
But you don't need to do this just now so take it back of...
Now take the cable from the base of the kettle and (using insulating or duct tape) stick it in place so that the three prongs are in contact with the connectors on the cable...this bit is very fiddly and didn't manage to take any photos...sorry!!!
Once you have the cable in place, I used the sealant to basically glue it in place (NOTE you will need to sand down, using sandpaper, any parts of the plastic container that you plan to add sealant. Otherwise it will not stick properly!)
This was the most time-consuming part of this process and was a right faff trying to keep the parts in the right place long enough for the sealant to stick!
So now you have this done...you can put the handle back on and stick it in place with more sealant and you should have something along the lines of this:


I will post below my "how to" on improving (IMHO!) on this already well documented "how to"...BigYin...hope you dont mind?
I went out and bought myself two of these:

And found that the design has changed slightly since the last time I bought them. The new design makes it much easier to steal the elements AND it also means you don't need to do any wiring or soldering, you just need...
A screwdriver
A roll of insulating tape (or duct tape)
A flat head screwdriver
A hack saw
Sandpaper
and a tube of sealant and sealant gun (I used white Stixall - amazing stuff!)
So you start off with the bottom part of the kettle, and remove the two screws, they are strange three pronged screws so you need a flat-head screwdriver at an angle to get them out - you'll figure it out when you see it:

Then use same flat-head screwdriver to push off the two plasic clips holding the bottom part of the base on:

You should now have this:

Then you need to remove the two screws from inside the lid and on the bottom of the kettle:


Then you can unclip the outer part of the handle, like so:


Now take the kettle and remove the two screws on either side of the switch and then the three screws holding the element in place:


You should then have this:

Now take your hacksaw and cut the handle from the kettle, leaving enough space between the handle so as to allow for the curve of your boiler...it will make sense when you come to it!

You should then have something akin to this:

Now fit your element to the side of the boiler like so (if you look back a few posts you will find instructions on how to do this):

You should now be able to fit the handle part that you previously cut off and it should fit onto the top of your switch like so:

But you don't need to do this just now so take it back of...
Now take the cable from the base of the kettle and (using insulating or duct tape) stick it in place so that the three prongs are in contact with the connectors on the cable...this bit is very fiddly and didn't manage to take any photos...sorry!!!
Once you have the cable in place, I used the sealant to basically glue it in place (NOTE you will need to sand down, using sandpaper, any parts of the plastic container that you plan to add sealant. Otherwise it will not stick properly!)
This was the most time-consuming part of this process and was a right faff trying to keep the parts in the right place long enough for the sealant to stick!
So now you have this done...you can put the handle back on and stick it in place with more sealant and you should have something along the lines of this:


