Fridge Fermenter

The Homebrew Forum

Help Support The Homebrew Forum:

This site may earn a commission from merchant affiliate links, including eBay, Amazon, and others.

Kronos

Well-Known Member
Joined
Sep 20, 2016
Messages
170
Reaction score
11
Location
Leicestershire
I am seriously thinking about building myself a fridge fermenter, can anyone recommend a suitable fridge and instructions for building one and a link to a good build on YouTube.
 
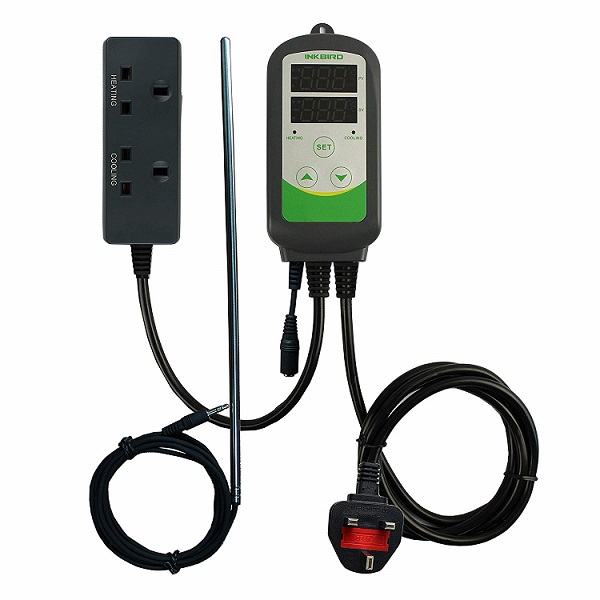
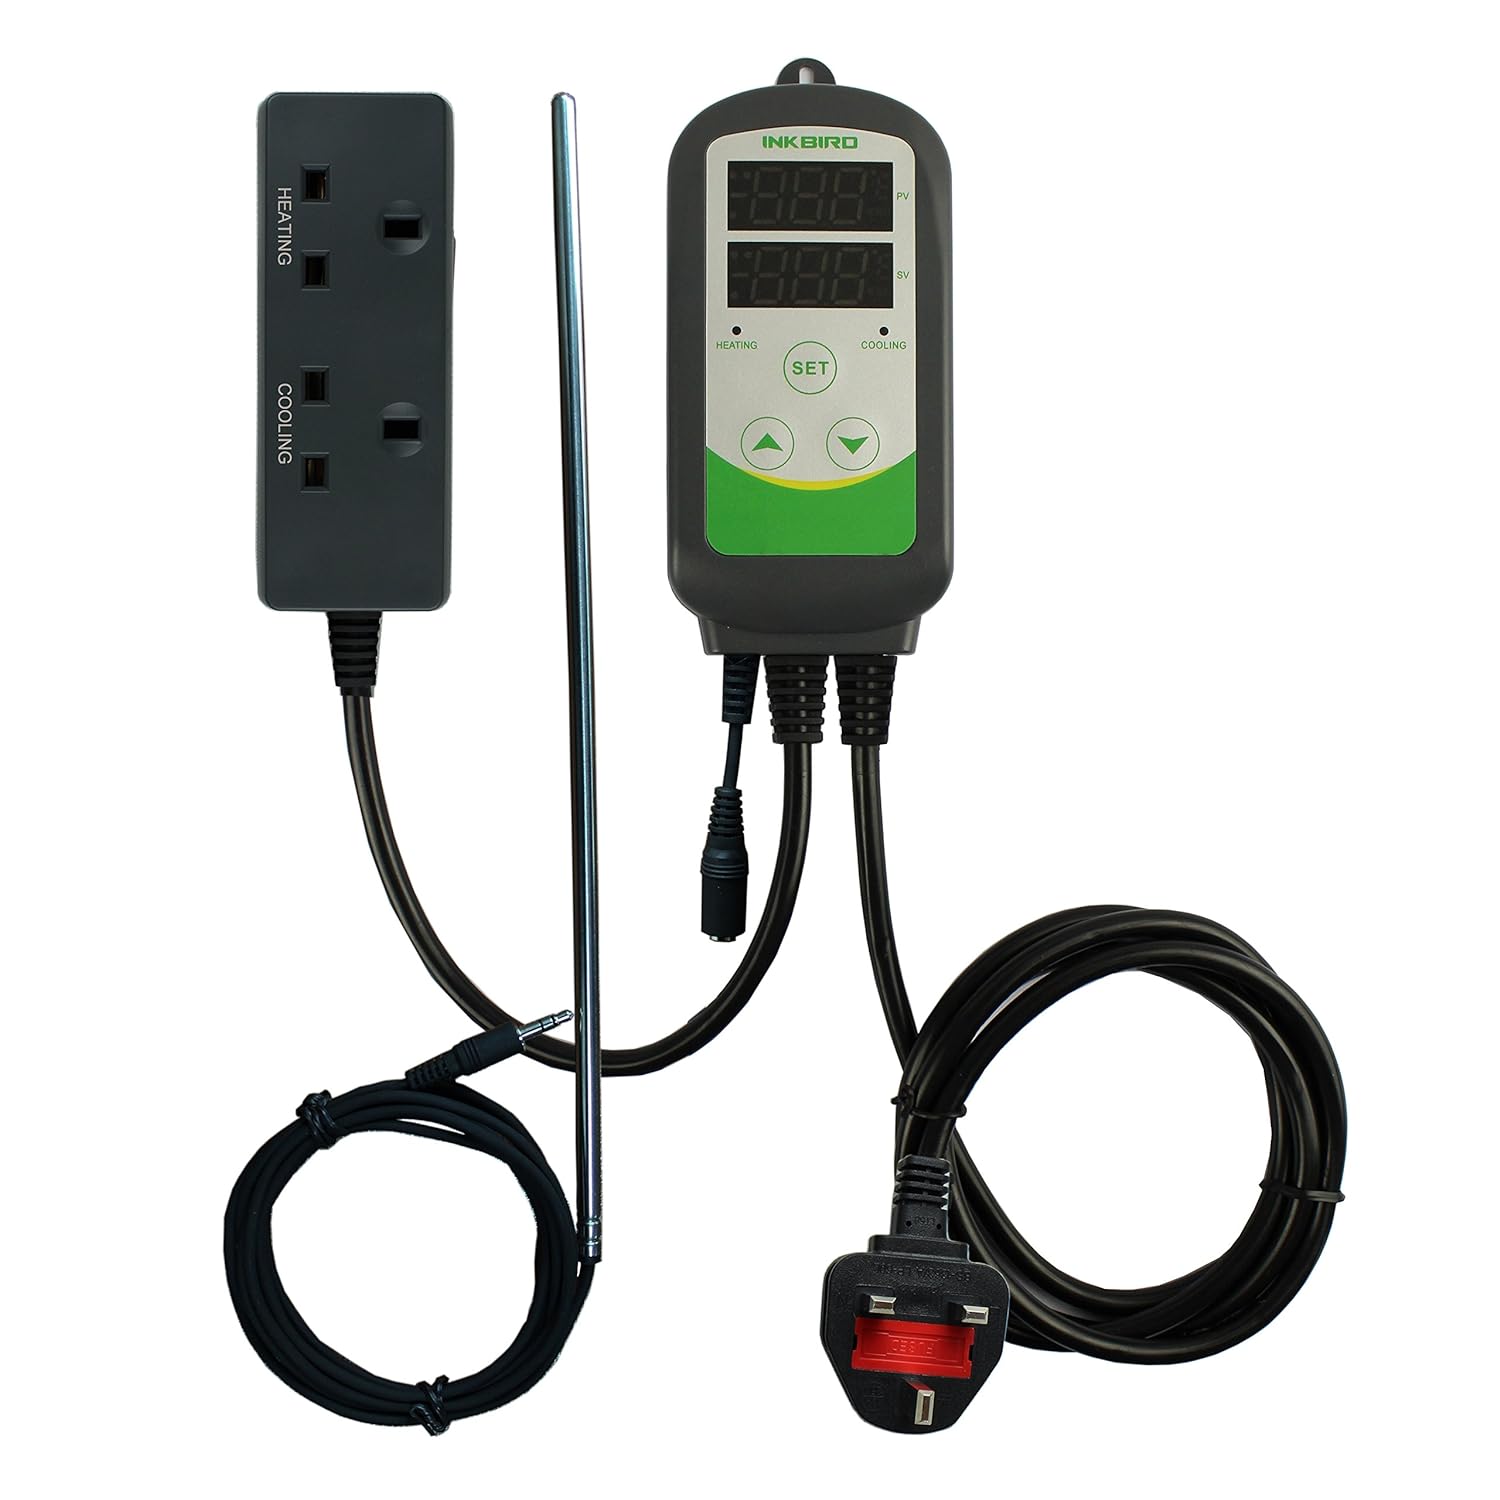
Get yourself an old fridge off Gumtree for £20. Get an Inkbird ITC-308 - £27 on Amazon at the moment. Get a cheap greenhouse heater - £13 or so. Put the greenhouse heater inside the fridge and plug it into the "heat" socket on the Inkbird. Plug the fridge into the "cold" socket on the Inkbird. Put the Inkbird temperature probe inside the fridge (better still tape it to the FV you're putting in the fridge). Plug the Inkbird into the wall and set it as per the instructions to the temperature required. Voila, fridge fermenter. Nothing else to it.
 
Just done this seems to work great. Not had chance to brew in it yet. Will this week though

I'm doing my first batch in mine at the moment - a patersbier with WLP530 (first time with liquid yeast too). I took my first gravity read and sample today and it's already beautiful. Can't wait for it to be ready!
 
put the feelers out for a free or cheap fridge and work with what you get ;)
My ebay 'bargain' arrived too small to accommodate my brewbuckets so i switched to different FV's ;)

control options range from the off the shelf plug n play inkbird controllers to uber diy builds based on brewpi or the esp8266 brewpiless ;) go with what appeals to you..

If you have room for the 12" tube heater great if not folk have adapted trace cable, brewbelts and other heat sources ..

dont forget a fan to move the air about inside.. an old pc case fan powered by an old phone charger or £shop equivelant will boost the heat exchange efficiency many-fold over.

imho its the best investment you can make for your brewing and the benefits are apparent from brew #1, you will find similar brews with the same yeast will complete primary like clockwork.. i can count on primary completing within 4-5 days when i brew circa 1045-1050 OG basic malt 5-10%- crystal, and 5% wheat brew with a dry pitch of S-04 @ 19c..
 
If you want to buy a new fridge then Currys CUL55W12 fits a 32l fermenter, a King Keg or 42 500ml bottles inside with the heater placed on the bottom.
 
I made mine using a free larder fridge I got off freecycle and a brew belt I already had. I bought the Inkbird 308s as you can unplug the probe and bought a 12 inch probe to go with it which I used for my first AG on the stove top the other day to measure mash and sparge temperatures. The standard probe stays in the fridge all the time and I just unplug it to use the Inkbird for brewing.
 
This is a fairly typical set up for the fridge using a tube heater and an Inkbird controller as mentioned above.

Some members use a PC fan to move the air around some don't so its up to you.

ATC-800-c.jpg


yyyyyyyyyyyyyyy.jpg


81P9knArM2L._SL1500_.jpg
 
Last edited:
Get yourself an old fridge off Gumtree for �£20. Get an Inkbird ITC-308 - �£27 on Amazon at the moment. Get a cheap greenhouse heater - �£13 or so. Put the greenhouse heater inside the fridge and plug it into the "heat" socket on the Inkbird. Plug the fridge into the "cold" socket on the Inkbird. Put the Inkbird temperature probe inside the fridge (better still tape it to the FV you're putting in the fridge). Plug the Inkbird into the wall and set it as per the instructions to the temperature required. Voila, fridge fermenter. Nothing else to it.
Just ordering the Inkbird ITC-308 unit, is a 60 watt greenhouse heater adequate for the job or does it need to be higher or lower in wattage.
 
No higher than 60W, in fact I have 60W in both mine and I get an overshoot in the smaller fridge (both undercounter larder type jobbies), in retrospect a 40W probably would have been fine. Don't use a fan either, convection works for me.
 
No higher than 60W, in fact I have 60W in both mine and I get an overshoot in the smaller fridge (both undercounter larder type jobbies), in retrospect a 40W probably would have been fine. Don't use a fan either, convection works for me.
Cheers Graz, I will order a 45W heater.
 
Is it best to tape the temperature gauge to the fermenting bin or just leave it loose in the fridge.
 
At the recommendation of others on here I've taped "pocket" of bubblewrap onto the side of the FV then popped the temperature probe in there so it's in contact with the FV, giving an accurate FV temperature without being in direct contact with ambient temperature air. It seems to work very well.
 
At the recommendation of others on here I've taped "pocket" of bubblewrap onto the side of the FV then popped the temperature probe in there so it's in contact with the FV, giving an accurate FV temperature without being in direct contact with ambient temperature air. It seems to work very well.
Thank you, that's another question answered.:thumb:
 
Another question.

Is it best to raise the fridge off the floor by two or three feet so it makes it easy to transfer the wort to another FV or barrel when it has finished fermenting.
 
Another question.

Is it best to raise the fridge off the floor by two or three feet so it makes it easy to transfer the wort to another FV or barrel when it has finished fermenting.

Going to be a case of whatever works for you really. I thought about this initially with mine but didn't in the end. I just carefully lift the FV out of the fridge and onto the work surface (our chest freezer (for food :()) when it comes to transfer time.
 
If you've cold crashed the wort (which you're going to do, as it's in a fridge!) you can safely move the FV to a more convenient location without risk of disturbing the trub which is likely to be well compacted.
 
Get yourself an old fridge off Gumtree for �£20. Get an Inkbird ITC-308 - �£27 on Amazon at the moment. Get a cheap greenhouse heater - �£13 or so. Put the greenhouse heater inside the fridge and plug it into the "heat" socket on the Inkbird. Plug the fridge into the "cold" socket on the Inkbird. Put the Inkbird temperature probe inside the fridge (better still tape it to the FV you're putting in the fridge). Plug the Inkbird into the wall and set it as per the instructions to the temperature required. Voila, fridge fermenter. Nothing else to it.


This all day long. I recently did this, but use a terarium heat mat - my thinking twas that fermentation would likely ramp up the temp in the fridge so initially the cooling would be more important. I taped the 'heat mat' to the FV and its worked a charm. Best brew I've made to date all due to that stable fermenting temperature!

It'sone of the best things you can do to improve your brews IMHO.
 
Is it best to tape the temperature gauge to the fermenting bin or just leave it loose in the fridge.

I tape a washing up sponge to the side of the fv then insert the probe (ooh - err!) between the fv and the sponge. I think I read some experiment that showed that insulating the probe against the wall of the fv is the most successful way of maintaining a steady temp.
 
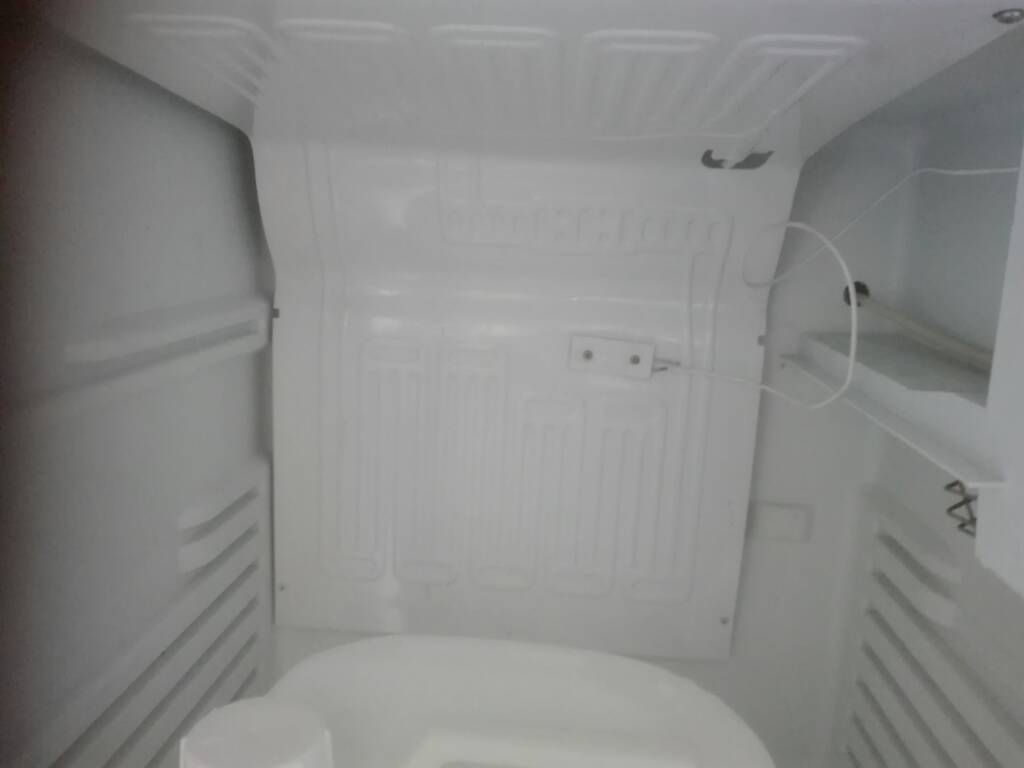
Just started working on mine as I've had to dismantle the ice box and manipulate it to suit as the internal setup of the fridge was restricting my FV.I have a reptile heater mat that I used for my fermenters previously which I shall install.
As you can see I've opened it up 90 degrees and secured it to the back and top to allow clearance.Moved the thermostat to the front which will still allow the fridge to be operational.
Great wee past time although going out tonight so shall continue tomorrow.
be0c1176ec55a95b5b3065d67b89a299.jpg


Sent from my ALE-L21 using Tapatalk
 

Latest posts

Back
Top