Effin Brewery Upgrade - Pico brewery to Nano brewery

The Homebrew Forum

Help Support The Homebrew Forum:

This site may earn a commission from merchant affiliate links, including eBay, Amazon, and others.
That's looking very good A!

I recon I'm going to go for the same burner as you seem more that happy with it. How far from the bottom of the tank have you possitioned it. I'm going to be welding up the frame for mine with my brother and don't want to have it too close or too far away!

Thanks


LB
 
I have the inner burner practically touching the base of the kettle . . . even so I still managed to set fire to the nyloc nuts in the clamp that holds the drain plug in :oops: . . . Changed them for standard stainless ones for next time :lol:

Bear in mind the heat shroud I have as this will make a big difference to the heating times you will get with a gas burner.
 
thanks A

Yeah, I think I'm going to have to try and come up with a shroud or something! I will be brewing in the garage. It has a roller door and a normal house door so ventilation won't be a problem. Although it can be a bit of a wind tunnel as it is down the drive at the back of the house! We'll have to wait and see! :thumb:
 
Just to keep this thread going :lol: I converted a 50L thermobox to a mash tun to replace the Keg mash tun I used to use . . . I've also got an 80L tun I intend to convert as well . . .which will be done in the same way.

Here is how I did it.

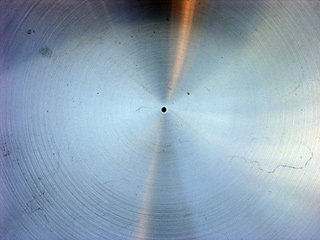
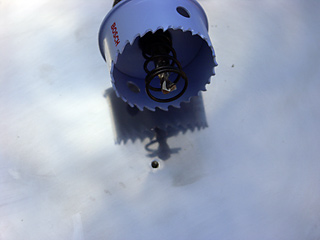
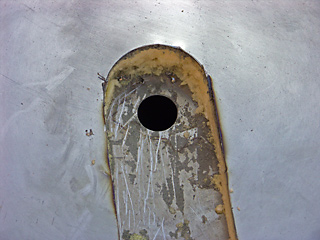
First drilling a 3mm hole from the inside to the outside in the centre, turning the thermobox over, A suitable hole was drilled using my Cobalt Holesaw (52mmIIRC) . . . If you dont have a hole saw you can cut a square using the angle grinder

PilotHole.jpg
PilotHole02.jpg


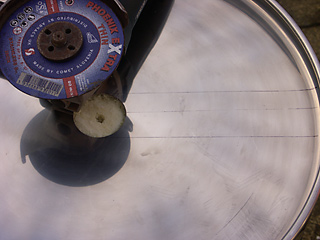
Plenty of water as a coolant, and taking it slow and steady with the hole saw easily cut though the outer skin, which was then marked up for cutting the channel.

OuterHole.jpg
PreChanelCut.jpg


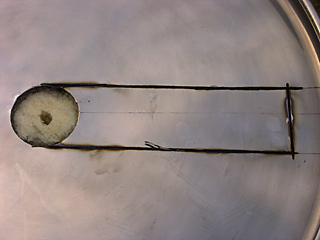
As much of the cuts as possible were done with the slitting disc, but close to the wall I had to resort to a reinforced cut off wheel in the trusty Dremel. The insulation was removed, and a 21mm QMax punch made the hole for the fitting.

PostChanelCut01.jpg
InsulationRemoved.jpg


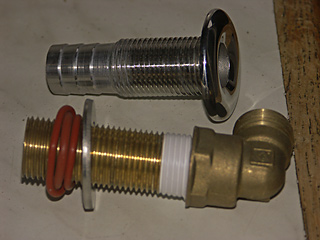
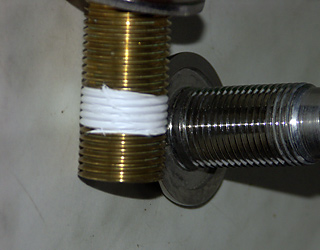
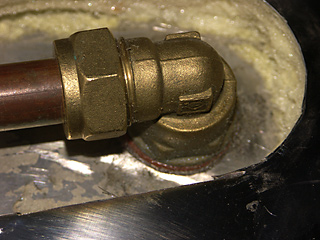
Here is a shot of the Deck Fitting which needs trimming down. I used a length of nipple to screw the right angle fitting onto as far as it would go, and then marked the end position with the PTFE Tape. This showed how much thread was required to mount the two pieces together . . . Short work with the angle grinder and a file reduced the Deck fitting to length.

DeckFitting.jpg
ThreadRequired.jpg


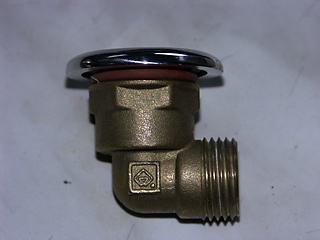
And here it all is dry assembled. To fit it in place The underside of the Deck fitting was liberally coated with LS-X and pushed into place, the O Ring was put into place and the threads of the deck fitting had some LS-X smeared on. The Female elbow was then screwed on tight to slightly compress the O Ring. Excess LS-X removed and it was put aside to dry.

DryAssembly.jpg
ExternalMount.jpg


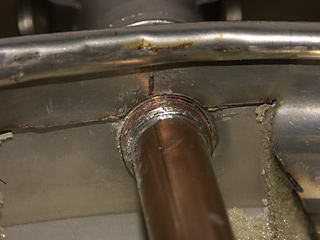
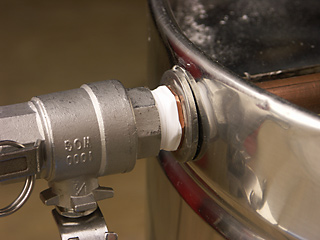
I drilled a 17/18mm hole in the outer wall of the TB to allow the pipe to exit. In my case it had to be a bit bigger than 15mm as I wanted to use a Female Ball Valve so needed a 15mm to 1/2" Male BSP end soldered on to the pipe, and also used a stainless washer to cover the hole in the external skin

TapMount.jpg
TapMountOutside.jpg


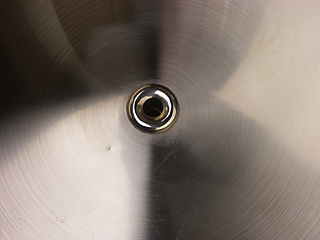
This is all you see on the inside.

Complete.jpg


I haven't finished it yet as I still have to spray foam it to replace the insulation removed , and fit another bottom . . .but I have used it anyway standing it on a sheet of polystyrene :oops:
 
I will be starting to attack my 50 Litre Thermobox following your excellent gudelines this weekend.

I bet the end result isn't as smart as yours though.
 
Runwell-Steve said:
I bet the end result isn't as smart as yours though.
I bet you don't drop yours and ding the base like I did though :evil: :evil:
 
Aleman said:


I seem to have an absolute inability to make one of these things. :doh:

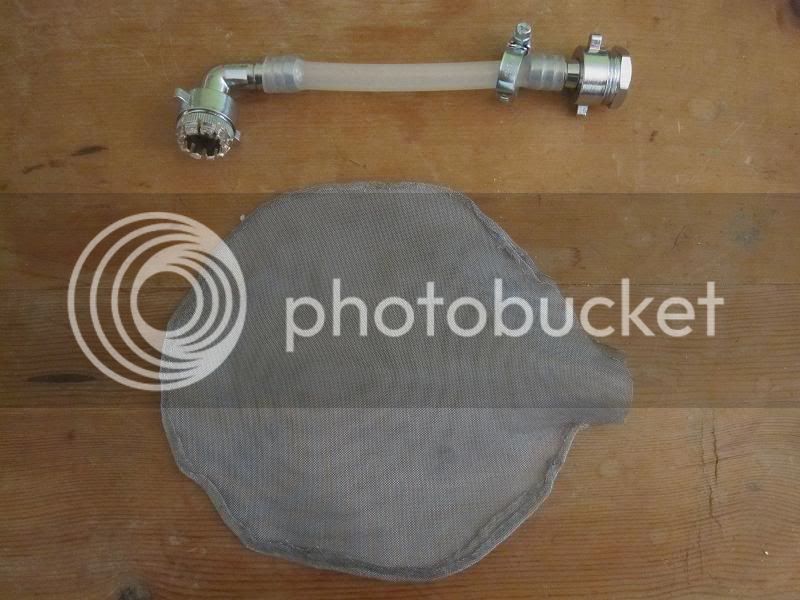
I don't have the tools to make the pressed copper tubing ring, so I decided to just crimp over the edges of the mesh.

hopstopper.jpg


This guy worked well for a few brews, but then it started getting all clogged up with hop material and it went to s*** when I tried to take it apart to clean it.

Is there any way to just buy one of these stoppers someplace? I feel a bit defeated writing that, but I've come to terms with the fact that I'll never be able to make those copper rings.
 
Aleman said:
ericstd said:
Why "pico and nano"?
One being 10 to the power -12 and the other 10 to the power -9!! :whistle:

Well can't really call anything less than 1BBL (164L) a Microbrewery . . . My previous setup could safely produce 60L so I called it a pico brewery . . . . this is bigger (probably max boil of 150L . . . still not 1BBL so still not a micro) . . . and so Nano . . . not strictly SI :lol:

And the 20L plant is a femtobrewery . . . . . I'm waiting for someone to produce a 1L all grain system to claim the yocto prefix :lol: :lol:

I called my 4.5L set-up a nanobrewery - looks like I got my conversion factor wrong! Not sure what to call it now; it's too big for yocto!

Dennis
 

Latest posts

Back
Top