AndyBWood
Regular.
A chill wind curls around the very foundations of my abode, icy fingers scratch at glass and door and our warmth giving sun hangs low, desperate and forlorn. Have I unwittingly summoned demons by what I have done ? Should I repent now whilst there is still time ? Surely I can be forgiven and salvation granted if, by my hand, grain and water have not yet met ?
As predicted by many of those who entice the unwary on this site, this journey was inevitable and its history carved many moons ago; there was but only ever one conclusion, one fate, one outcomeâ¦.. I have crossed, I have summoned the Dark Sideâ¦â¦â¦
I feel it only right to publicly admonish those who have played no small part in my decent; Aleman for his deft attention to my ill fitting pipe work and Rob (The Malt Miller) who generously offered a similar service. There was no charge, no cost involved; they knew I had been takenâ¦â¦
Without doubt, however, there is one, one so vial that he cares not who reads his published alchemy, he tempts the unwary, he knows our weaknesses, he knows we will fallâ¦â¦â¦ His name is Vossy; fear him â much of the following account is based upon his evil worksâ¦..
The Mash Tun
32.5 litre Thermobox
I considered all the pros and cons of this conversion and really wanted to follow Vossyâs lead with the negative dead-space solution, but, in the end I went for an easier bulk-head fitting.
Unfortunately, Iâve no pictures of the build itself but the (semi) finished article took shape as follows :
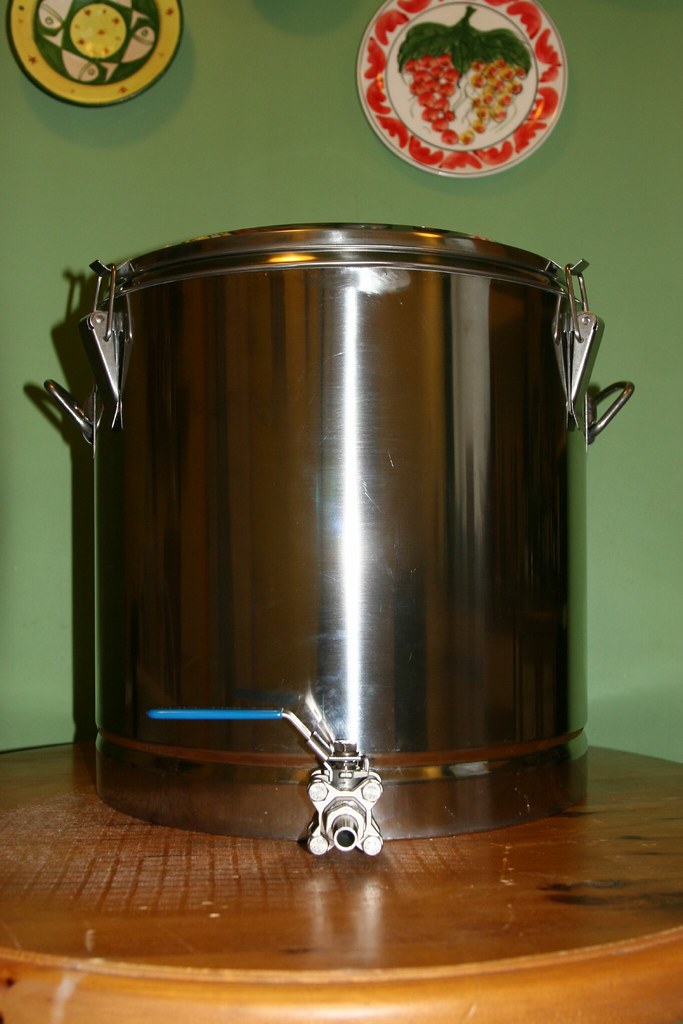
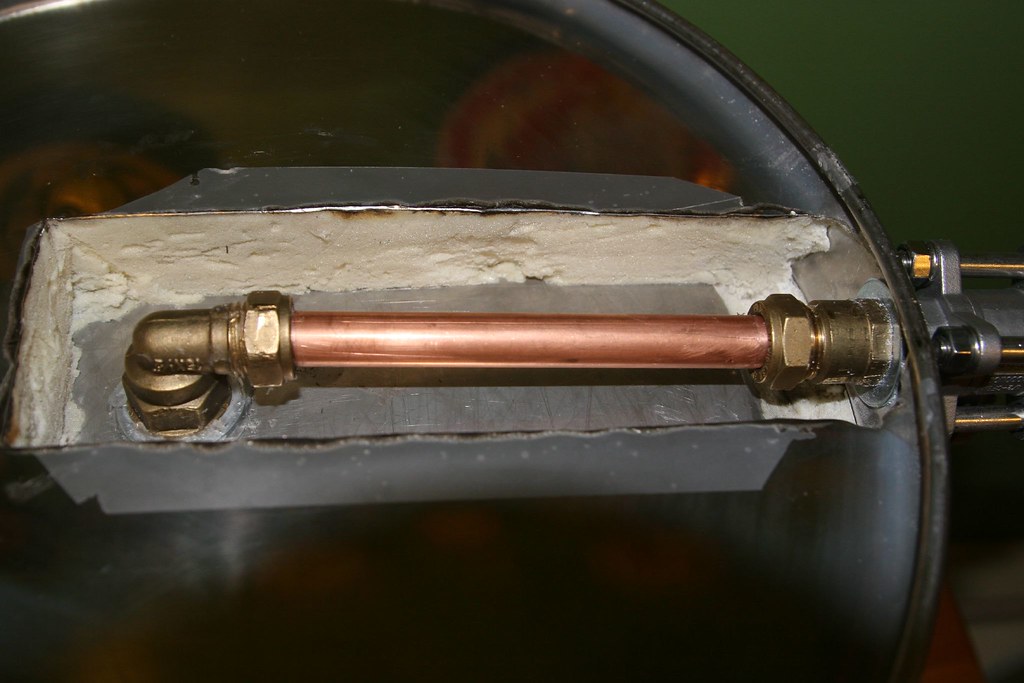
Just as per Vossyâs guide I cut a slot through the bottom skin of the tun to allow access. If anybody ever wanted to ask the question; âcan you do this with a Dremel ?â, the answer is yes ! All I had, went through a couple of cutting wheels but it worked.
I then Q-Maxed a 20mm whole through the inner skin.
I thought long and hard about how to fit the drain but in the end came up with this :
Skin-fitting for boats. NB â not my photo (found this on the internet) but I cut the 60mm thread down to a short stub exactly as below.
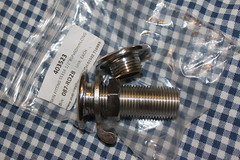
The fitting then passed through the inner-skin with a âreally decentâ amount of Fernox LS-X on the understand of it to form a seal. I would have used JB Weld but I wasnât confident though that if I did need to strip it down and start again the silicon might be easier to deal with.
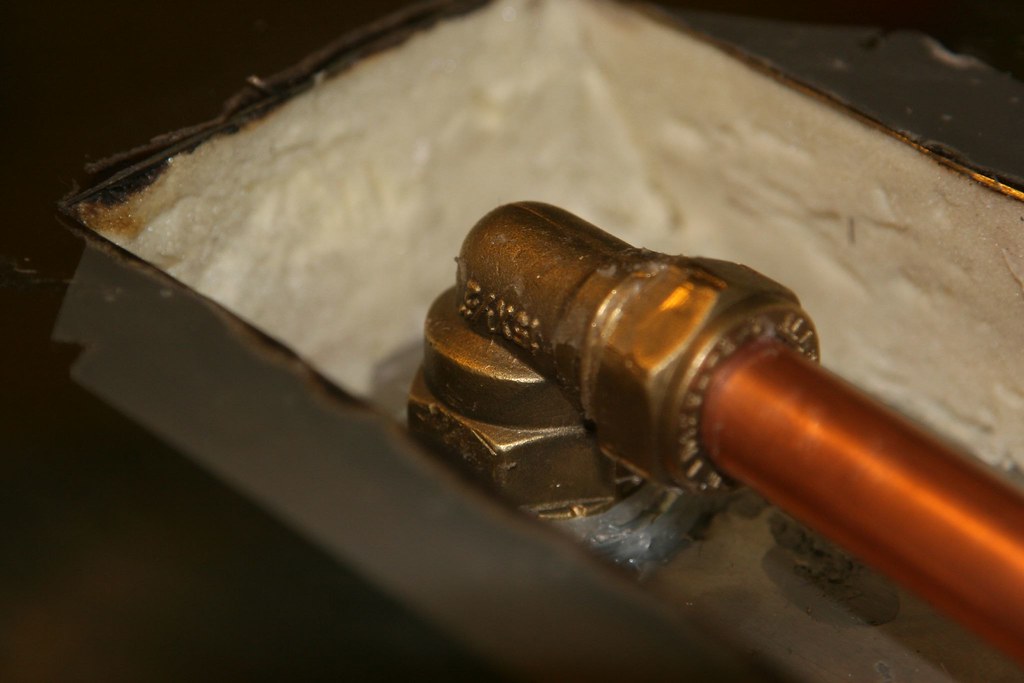
On the underside, the drain screws directly into an ½ inch elbow, again with a goodly amount of sealant to keep things together and the remaining pipe work is fashioned as per Vossyâs guide.
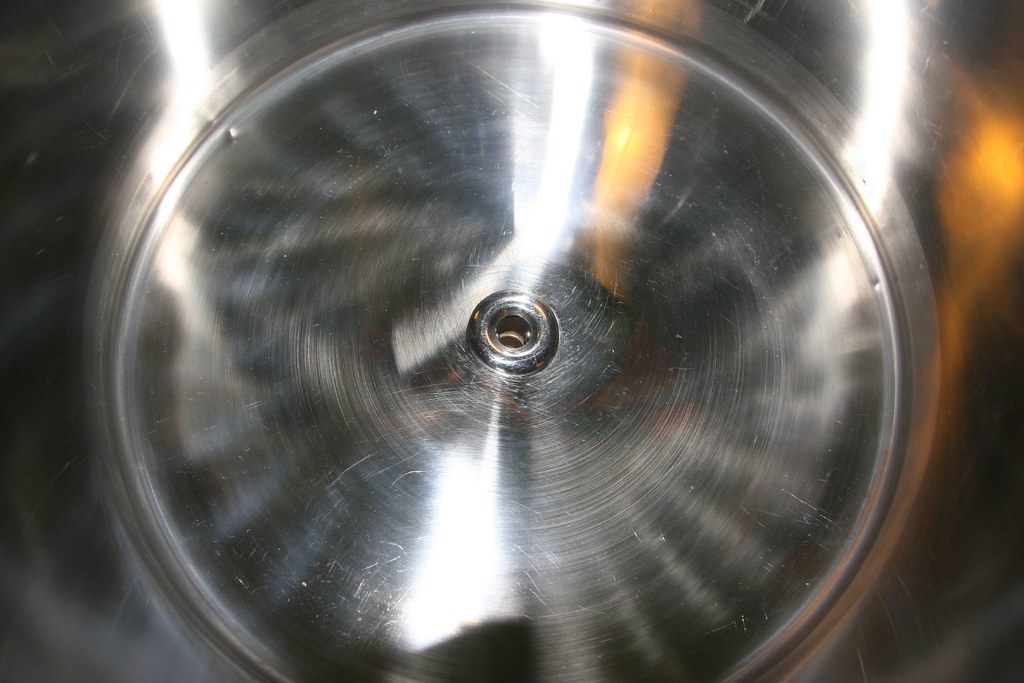
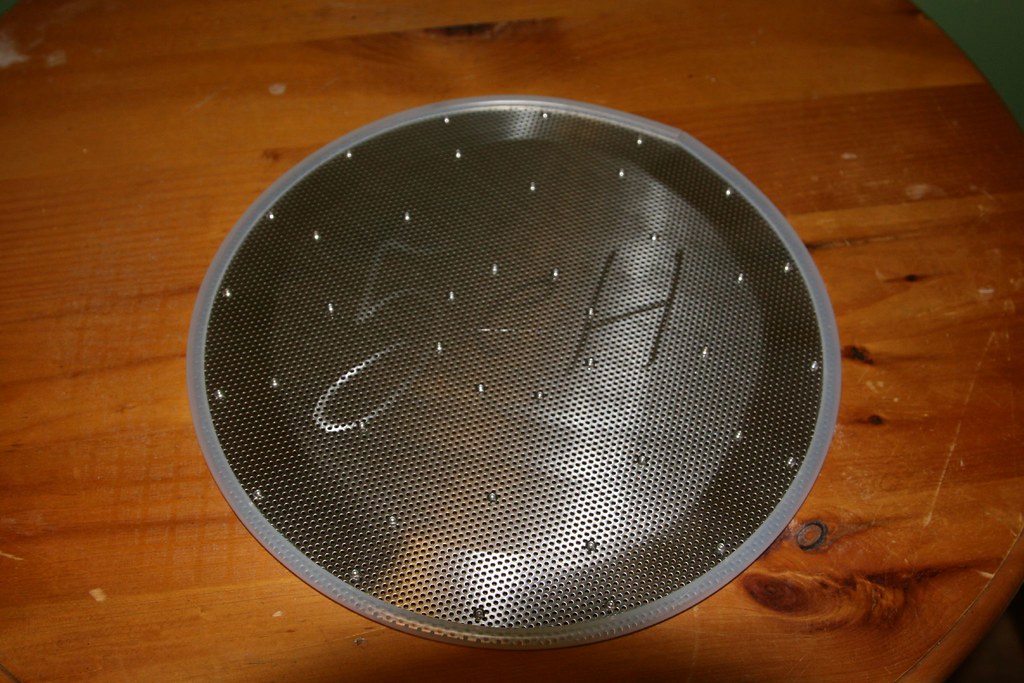
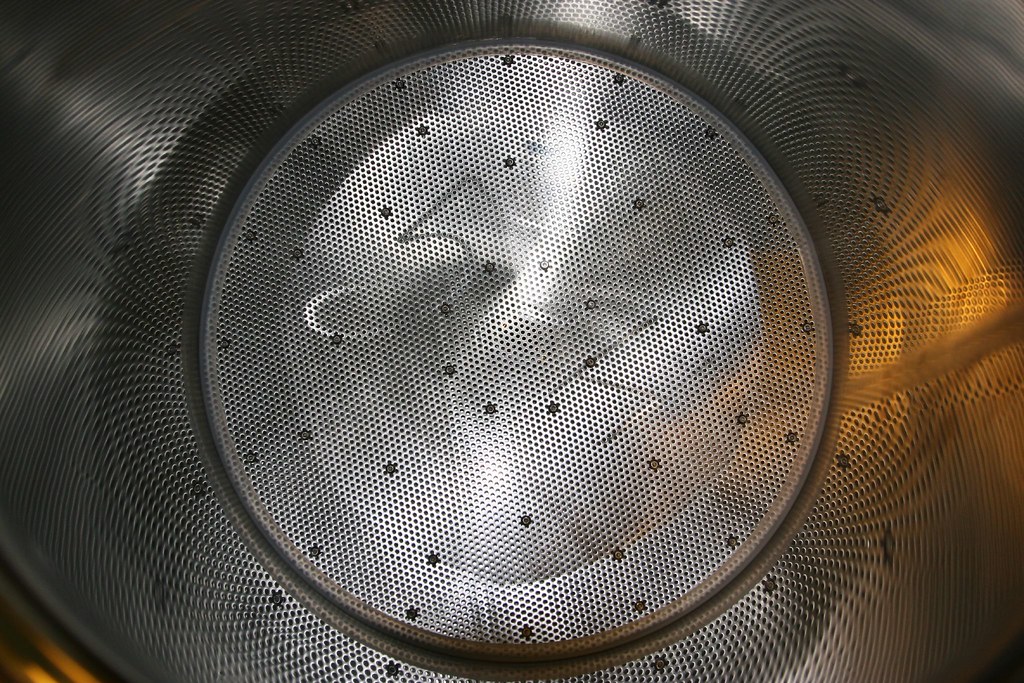
Again, taking Vossyâs lead I commissioned John at Hop and Grain to supply the perforated disk for the false bottom. No legs as requested which I made from 3mm dome-head bolts. Iâm especially happy with this, perfect âengineersâ fit with the beer line taking up any irregularities in the pot wall.
The HLT and Boiler
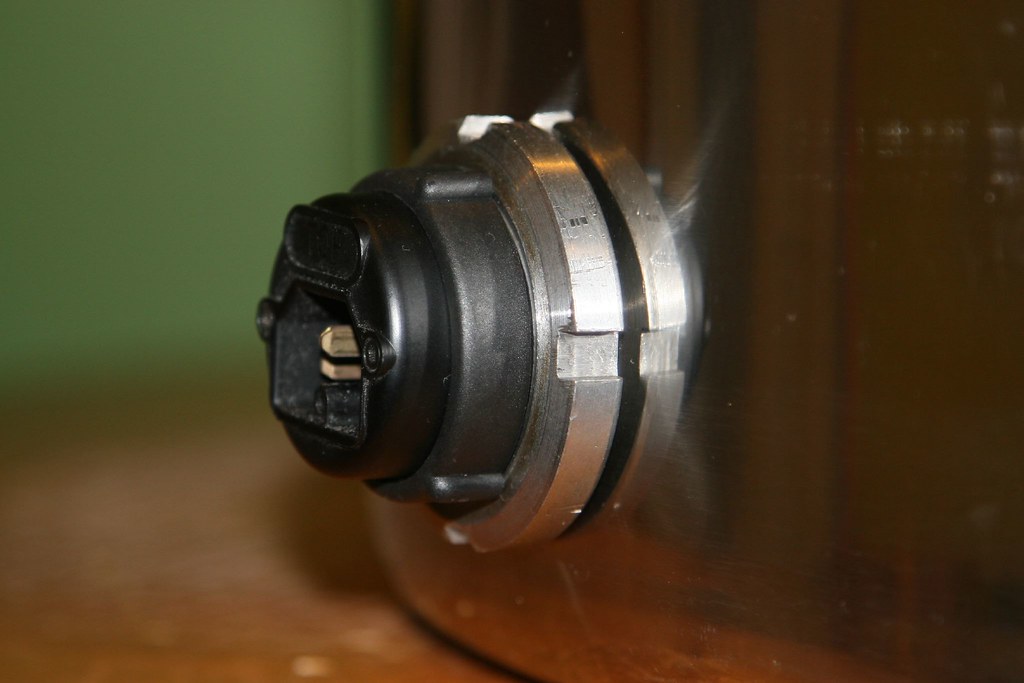
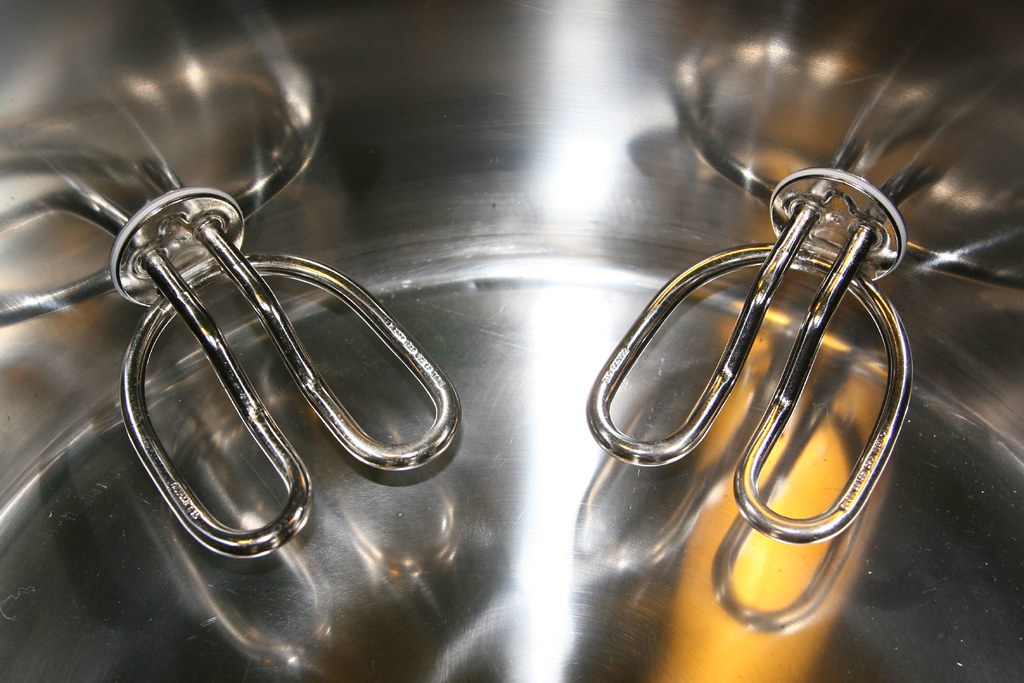
Very much as per Vossyâs guide. I did, however, plump for the stainless steel bulkhead solution available via the forum; a real quality piece of kit.
Lock nuts replacing the poor plastic items provided with the elements.
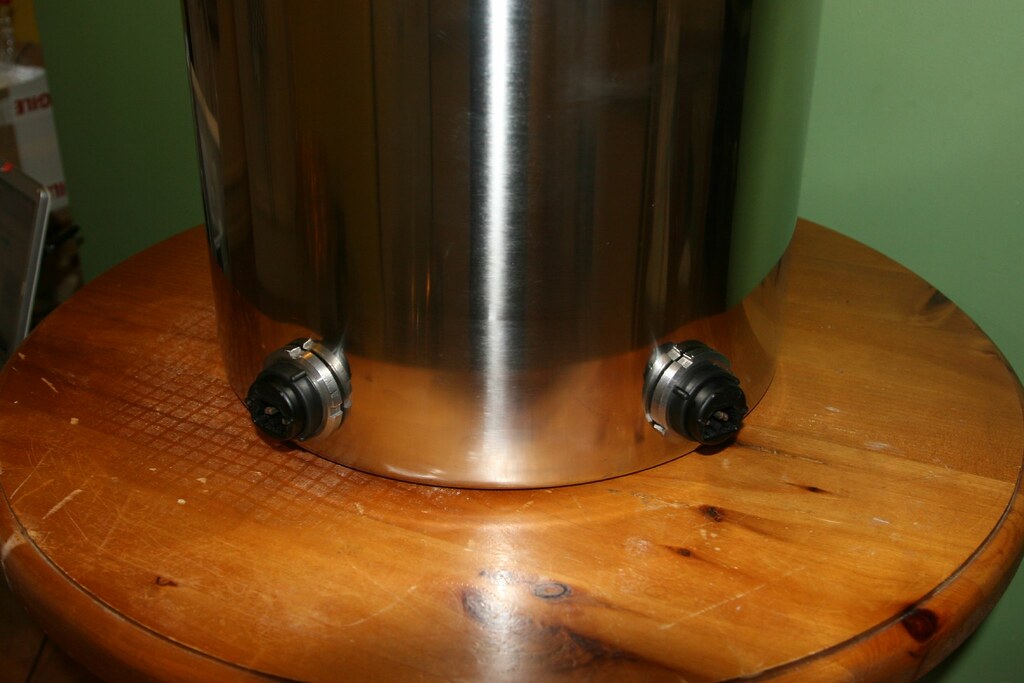
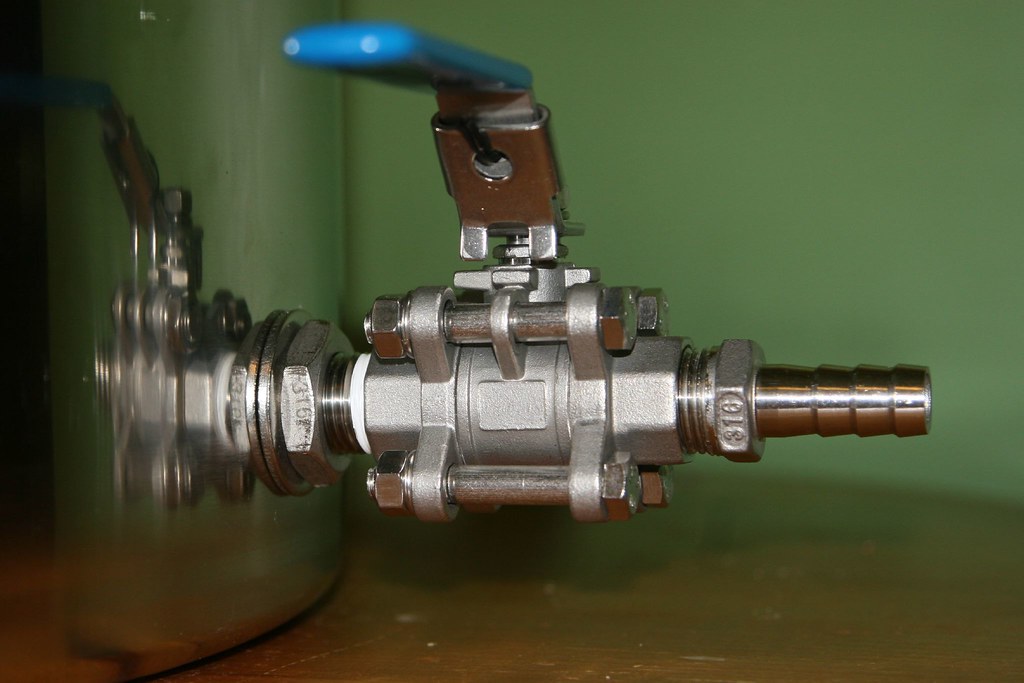
3-part ball valve in place with hose-tail.
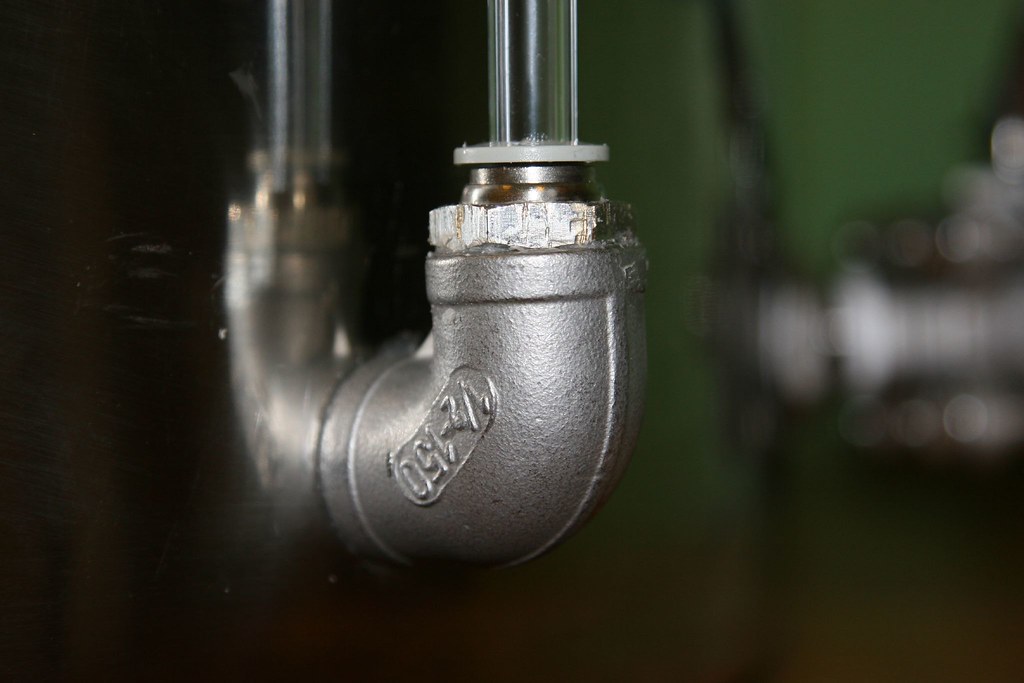
Sight-glass elbow and (slightly chewed) 10mm fitting for the polycarbonate tube.
For the hop filter I came up with the following :
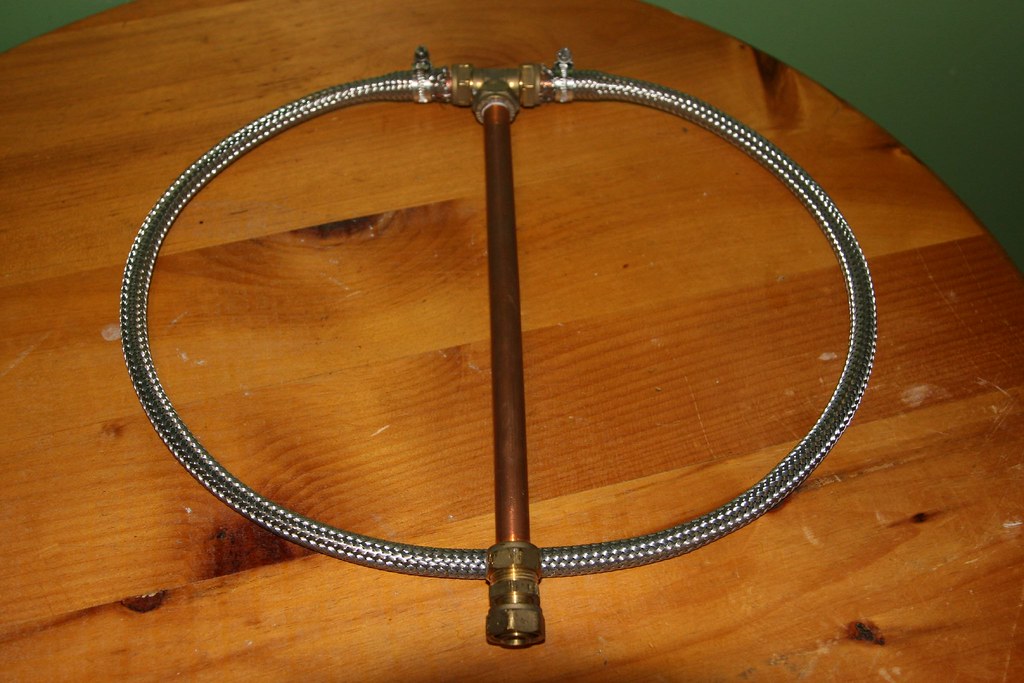
I put a bit of a curve in the pipe so that the 15mm T-fitting sits snugly on the base of the pot. ( I bent the pipe using an Ikea pipe bender â aka â the arm of my sofa â very clever those Nordics..... ) With a length of tubing attached to the ball valve on the outside, and a deft tilt backwards towards the end of the drain, I can remove all but a spash of liquid due to the syphon effect.
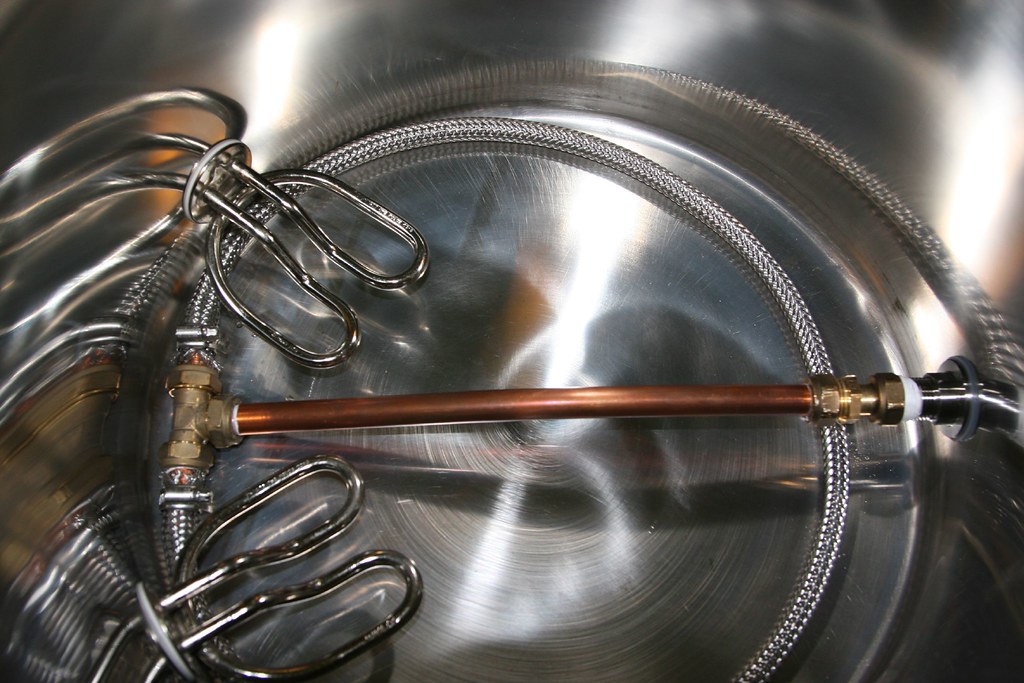
Different arrangement in the HLT; I used a bent tap-connector with a short stub of 15mm pipe to get âclose to the bottomâ.
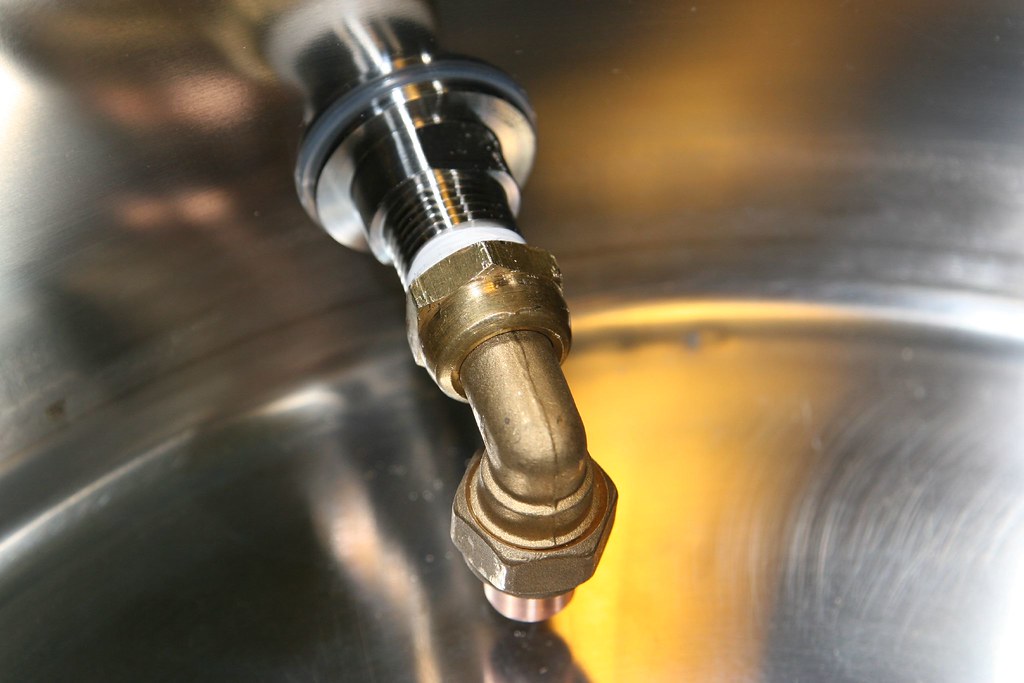
So, returning to our storyâ¦â¦..
I shall rise early tomorrow filled with a mixture of hope and trepidation. Who knows what will follow, who knows what will ensue but the Dark Side must be embraced and cannot be denied. Every ounce of mustered strength will be needed if I am to prevail; I hope your spirit will be with me oh brothers, I hope AG1 will be kind, I hope ....â¦â¦
Andy
As predicted by many of those who entice the unwary on this site, this journey was inevitable and its history carved many moons ago; there was but only ever one conclusion, one fate, one outcomeâ¦.. I have crossed, I have summoned the Dark Sideâ¦â¦â¦
I feel it only right to publicly admonish those who have played no small part in my decent; Aleman for his deft attention to my ill fitting pipe work and Rob (The Malt Miller) who generously offered a similar service. There was no charge, no cost involved; they knew I had been takenâ¦â¦
Without doubt, however, there is one, one so vial that he cares not who reads his published alchemy, he tempts the unwary, he knows our weaknesses, he knows we will fallâ¦â¦â¦ His name is Vossy; fear him â much of the following account is based upon his evil worksâ¦..
The Mash Tun
32.5 litre Thermobox
I considered all the pros and cons of this conversion and really wanted to follow Vossyâs lead with the negative dead-space solution, but, in the end I went for an easier bulk-head fitting.
Unfortunately, Iâve no pictures of the build itself but the (semi) finished article took shape as follows :

Just as per Vossyâs guide I cut a slot through the bottom skin of the tun to allow access. If anybody ever wanted to ask the question; âcan you do this with a Dremel ?â, the answer is yes ! All I had, went through a couple of cutting wheels but it worked.
I then Q-Maxed a 20mm whole through the inner skin.
I thought long and hard about how to fit the drain but in the end came up with this :
Skin-fitting for boats. NB â not my photo (found this on the internet) but I cut the 60mm thread down to a short stub exactly as below.

The fitting then passed through the inner-skin with a âreally decentâ amount of Fernox LS-X on the understand of it to form a seal. I would have used JB Weld but I wasnât confident though that if I did need to strip it down and start again the silicon might be easier to deal with.
On the underside, the drain screws directly into an ½ inch elbow, again with a goodly amount of sealant to keep things together and the remaining pipe work is fashioned as per Vossyâs guide.


Again, taking Vossyâs lead I commissioned John at Hop and Grain to supply the perforated disk for the false bottom. No legs as requested which I made from 3mm dome-head bolts. Iâm especially happy with this, perfect âengineersâ fit with the beer line taking up any irregularities in the pot wall.


The HLT and Boiler
Very much as per Vossyâs guide. I did, however, plump for the stainless steel bulkhead solution available via the forum; a real quality piece of kit.
Lock nuts replacing the poor plastic items provided with the elements.


3-part ball valve in place with hose-tail.

Sight-glass elbow and (slightly chewed) 10mm fitting for the polycarbonate tube.

For the hop filter I came up with the following :

I put a bit of a curve in the pipe so that the 15mm T-fitting sits snugly on the base of the pot. ( I bent the pipe using an Ikea pipe bender â aka â the arm of my sofa â very clever those Nordics..... ) With a length of tubing attached to the ball valve on the outside, and a deft tilt backwards towards the end of the drain, I can remove all but a spash of liquid due to the syphon effect.

Different arrangement in the HLT; I used a bent tap-connector with a short stub of 15mm pipe to get âclose to the bottomâ.

So, returning to our storyâ¦â¦..
I shall rise early tomorrow filled with a mixture of hope and trepidation. Who knows what will follow, who knows what will ensue but the Dark Side must be embraced and cannot be denied. Every ounce of mustered strength will be needed if I am to prevail; I hope your spirit will be with me oh brothers, I hope AG1 will be kind, I hope ....â¦â¦
Andy


 :thumb:





![BREWING THERMOMETER STICKERS ACCURATELY MONITOR FERMENTING BEER & WINE LIQUID TEMPERATURES 5PCS HOME BREW SPIRITS WINE LCD ADHESIVE [US]](https://m.media-amazon.com/images/I/311DDjo2X3L._SL500_.jpg)


