strange-steve
Quantum Brewer
- Joined
- Apr 8, 2014
- Messages
- 6,027
- Reaction score
- 5,805
So you've just got yourself a shiny new Grainfather, and whether you're completely new to all-grain brewing or you've been 3V brewing for years, your first brew can be a little confusing, bewildering or unclear. So if like me you work better visually, I've put together a simple walkthrough with lots of pictures to guide you through your first brew step-by-step.
This is a long one so apologies for that, but hopefully it's mostly foolproof and comprehensive.
With the GF Connect, you can upload your recipe with temperature steps and timings and so on direct to the controller, but for this walkthrough we'll just do it manually to get you used to the basics.
Before you start, make sure to give the GF a thorough clean to remove anything left behind from the manufacturing process. The easiest way to do this is to follow the instructions on the side of the GF cleaner which you should have gotten with it. If not, simply fill with water, heat to 60°, add a few scoops of oxy cleaner, circulate through the chiller for 15 mins then through the recirc pipe for 15 mins. If you're not sure how to do this read on…
After cleaning you'll obviously need a recipe and all the ingredients, a vessel in which to heat the sparge water, be it a GF sparge heater, an electric boiler or a stock pot, a thermometer, plus a large mash paddle or spoon, preferably stainless steel.
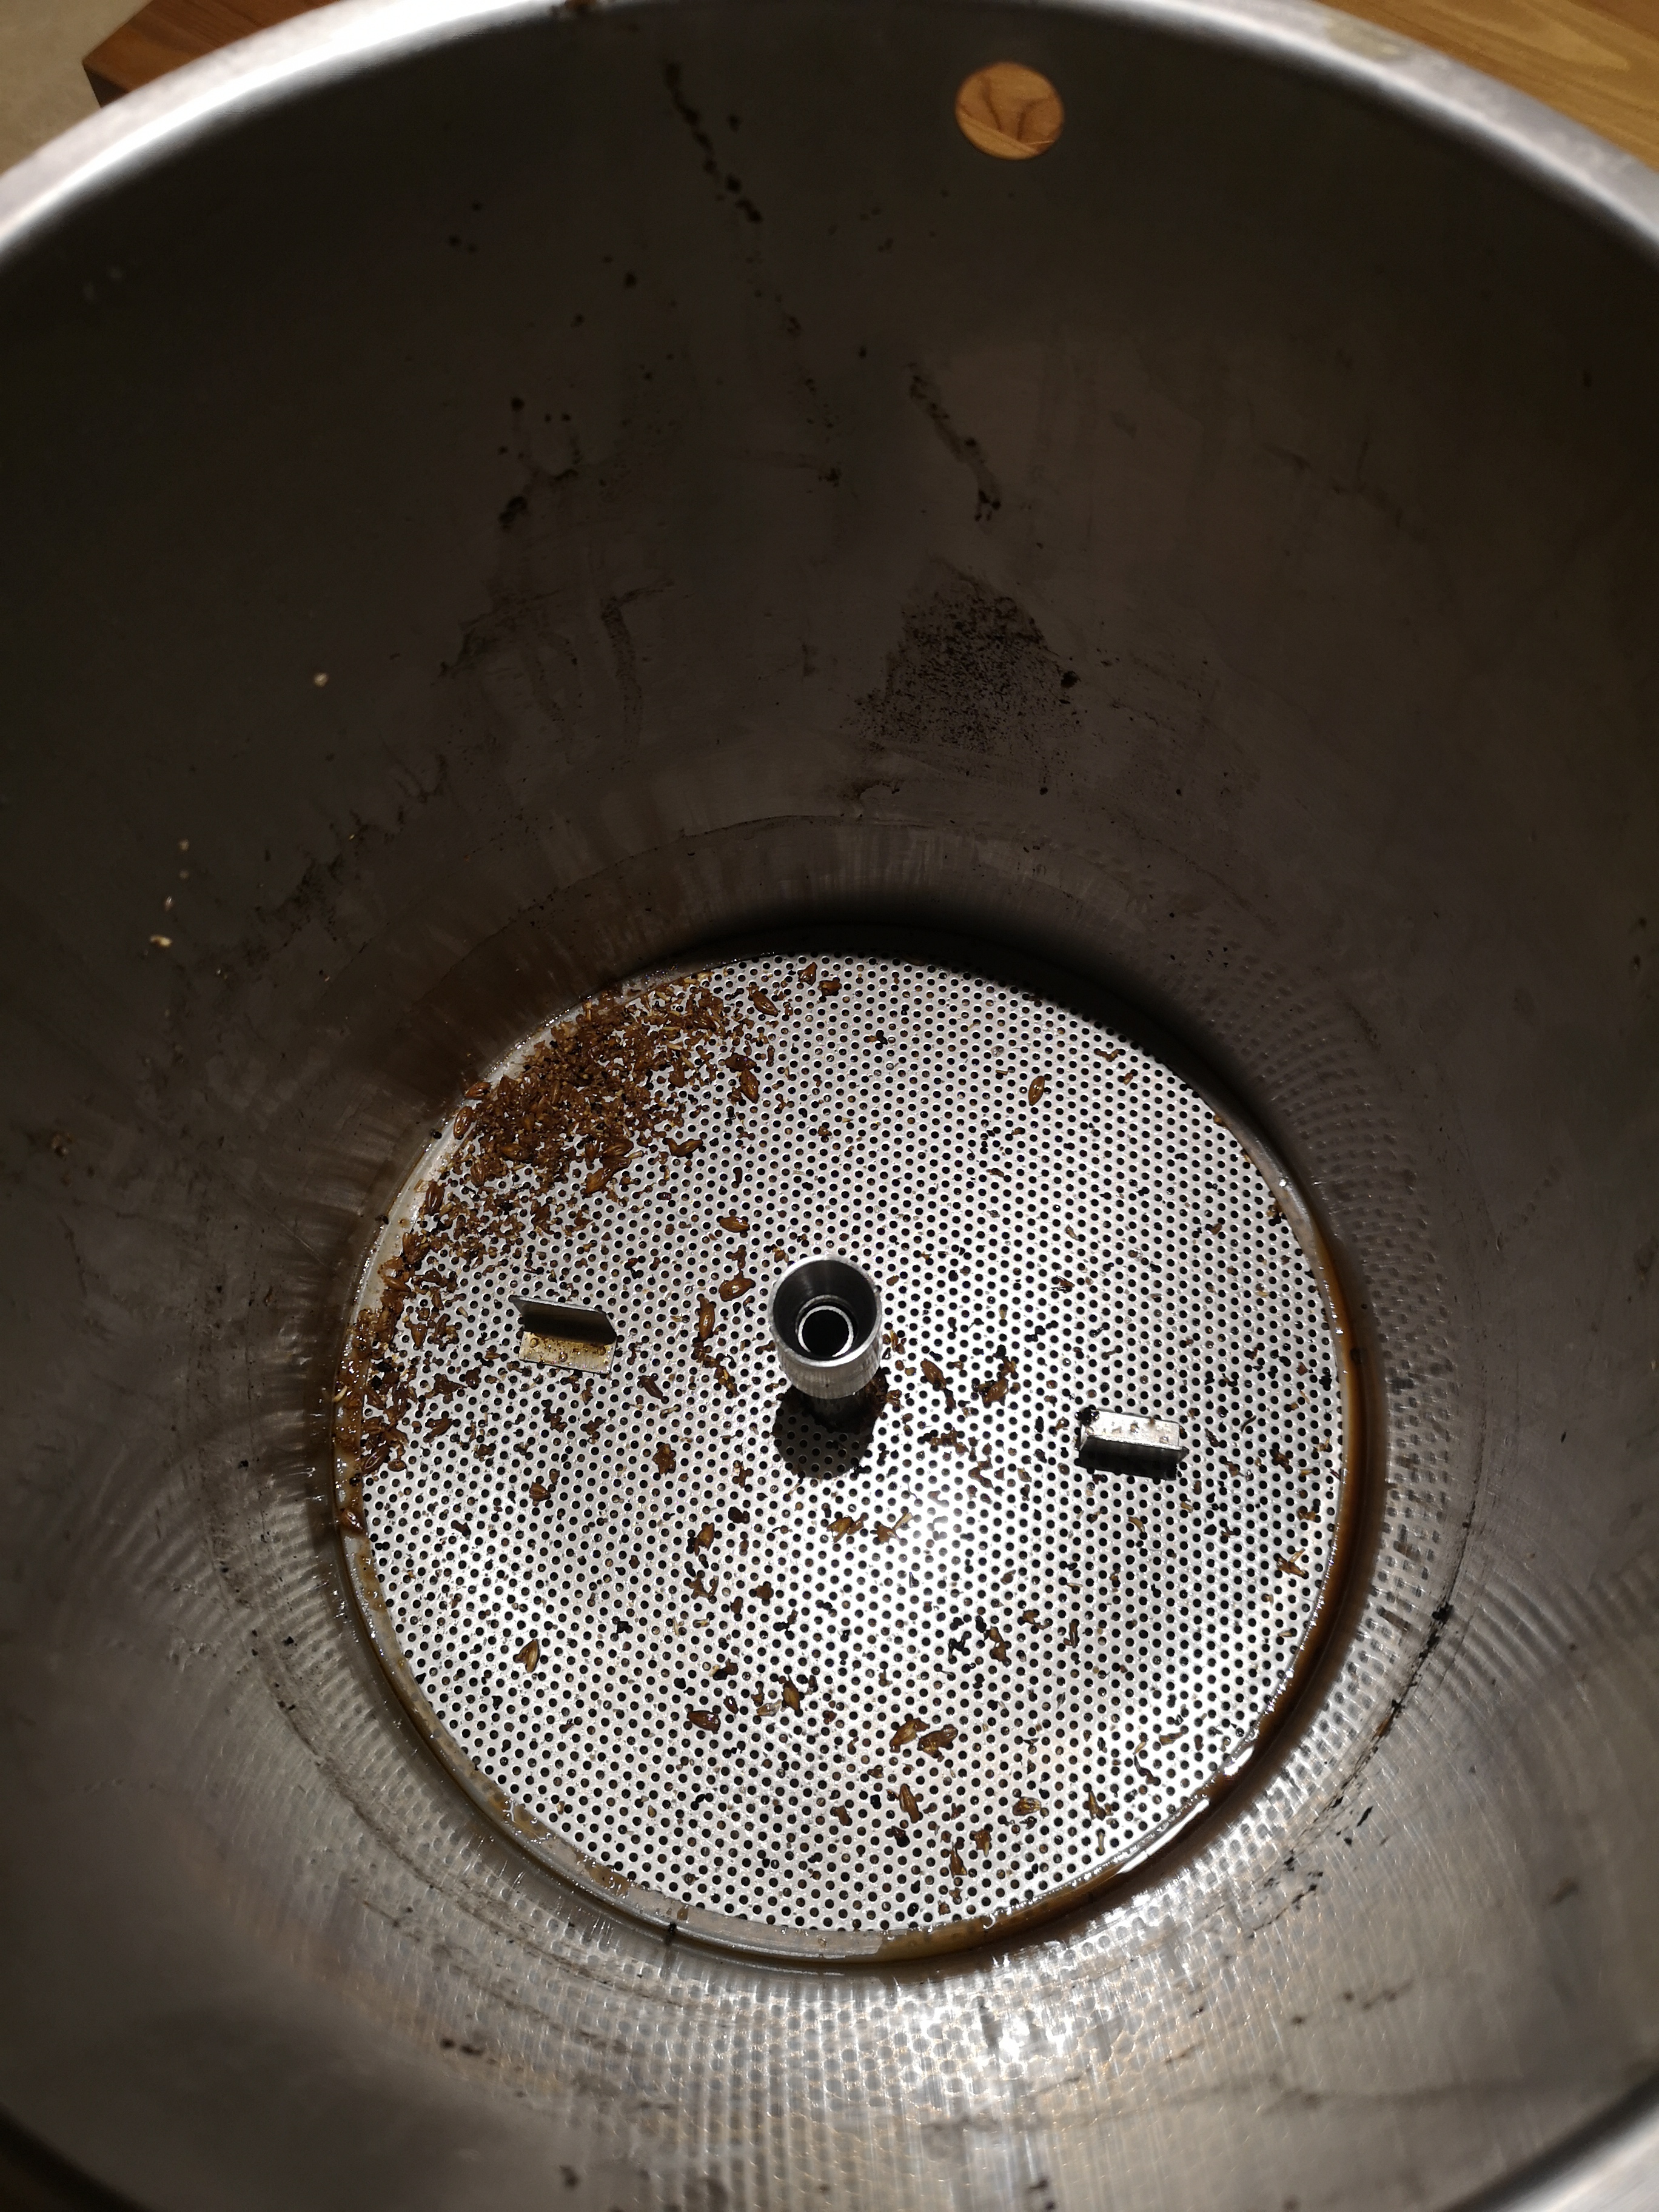
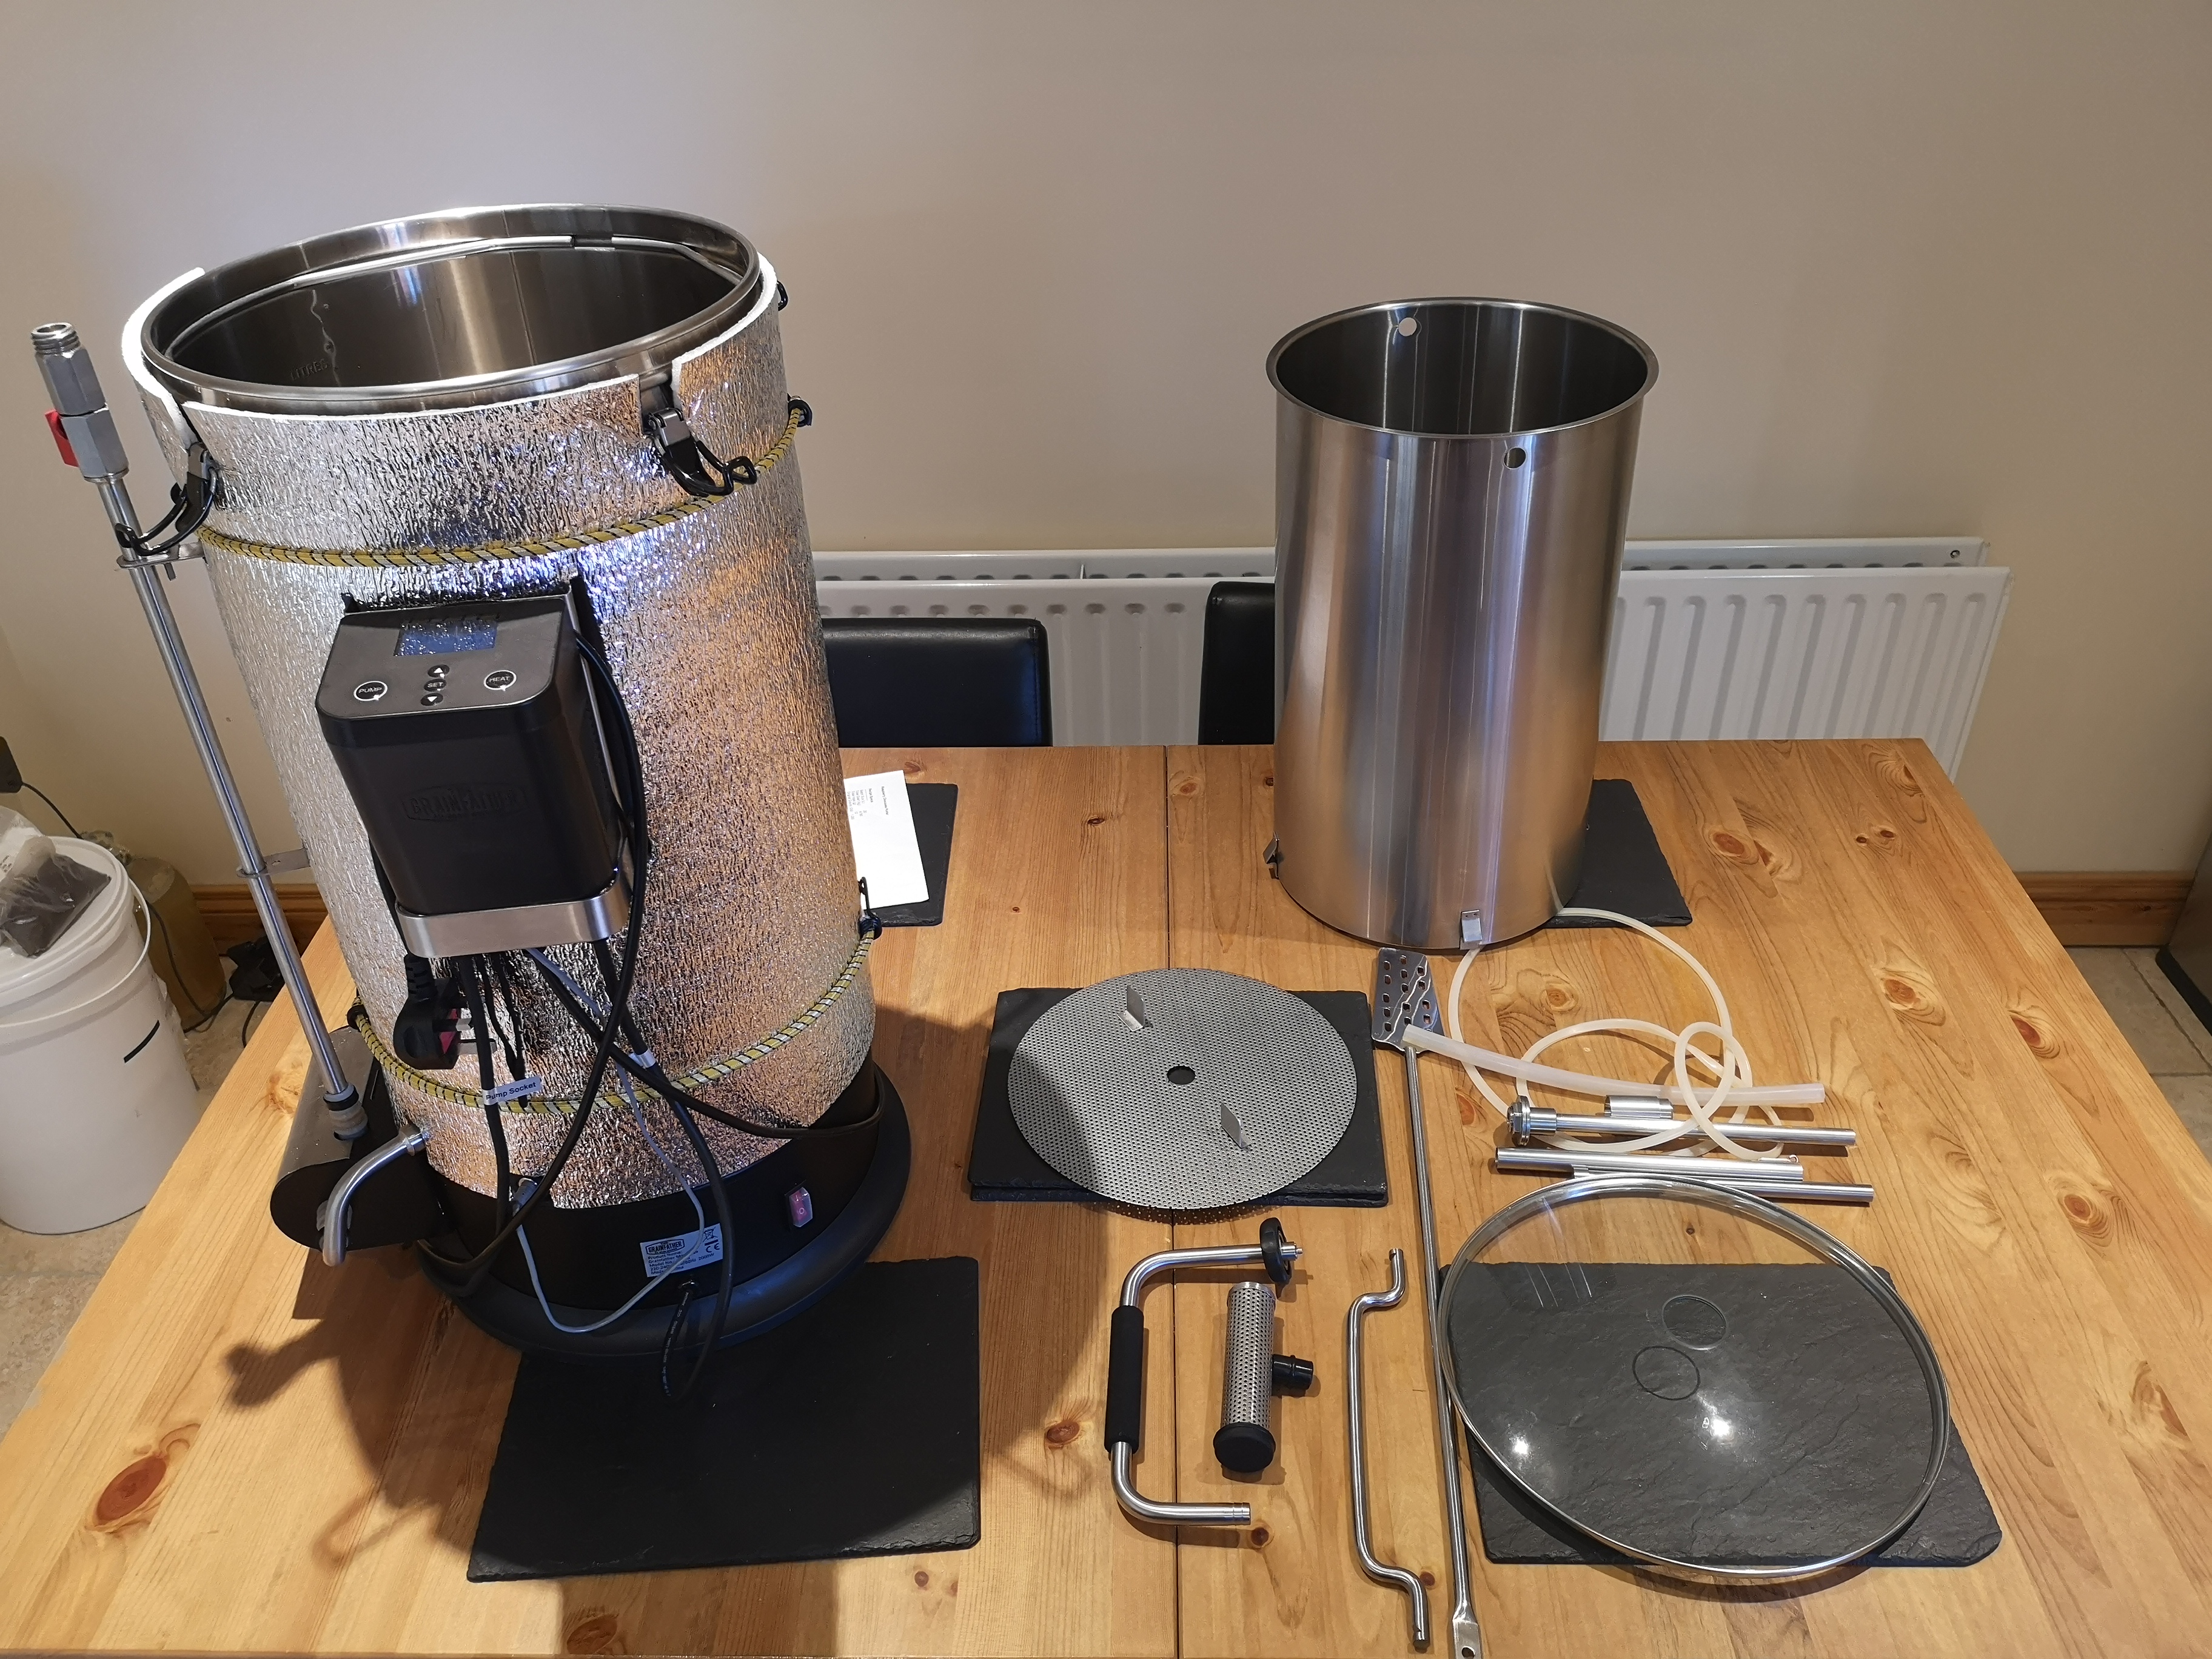
When you're ready to begin, remove the grain pipe, plates and recirculation arm from the GF and set them aside for now.
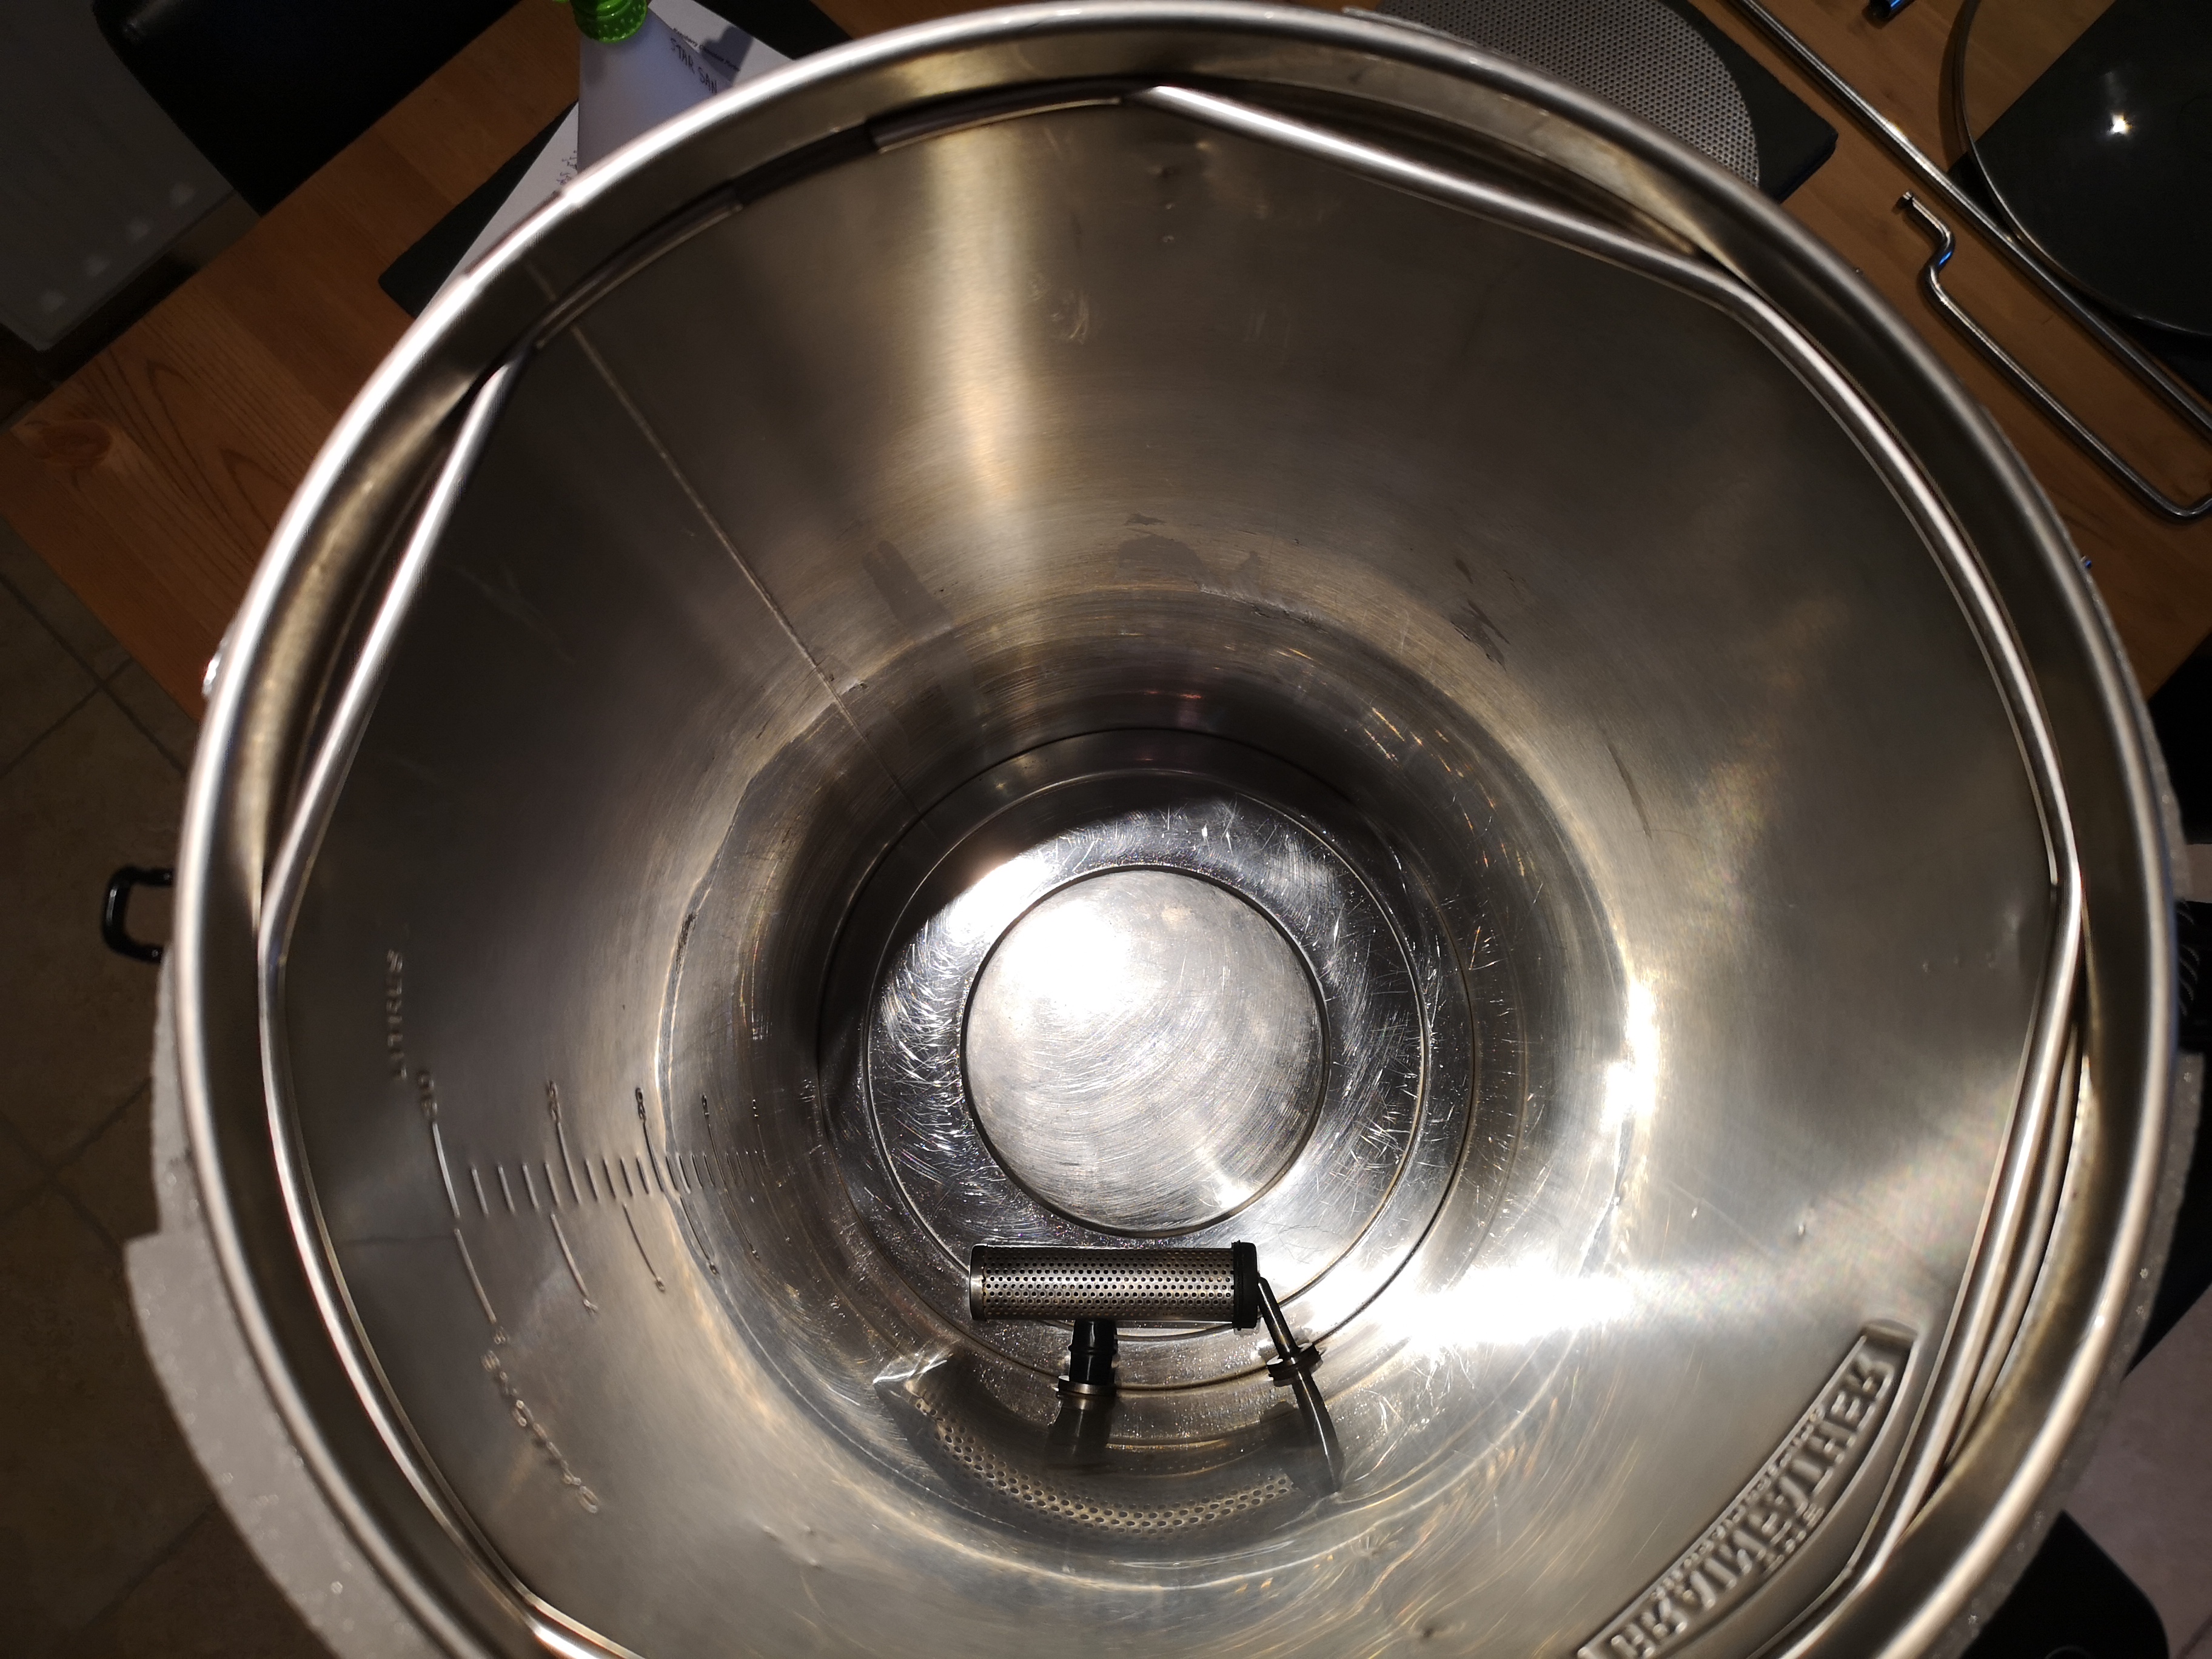
One little tip I was given, is to rotate the filter by 180° so that the rubber end cap is wedged against the temperature probe like the pic below. This makes it less likely to be knocked off during the boil.
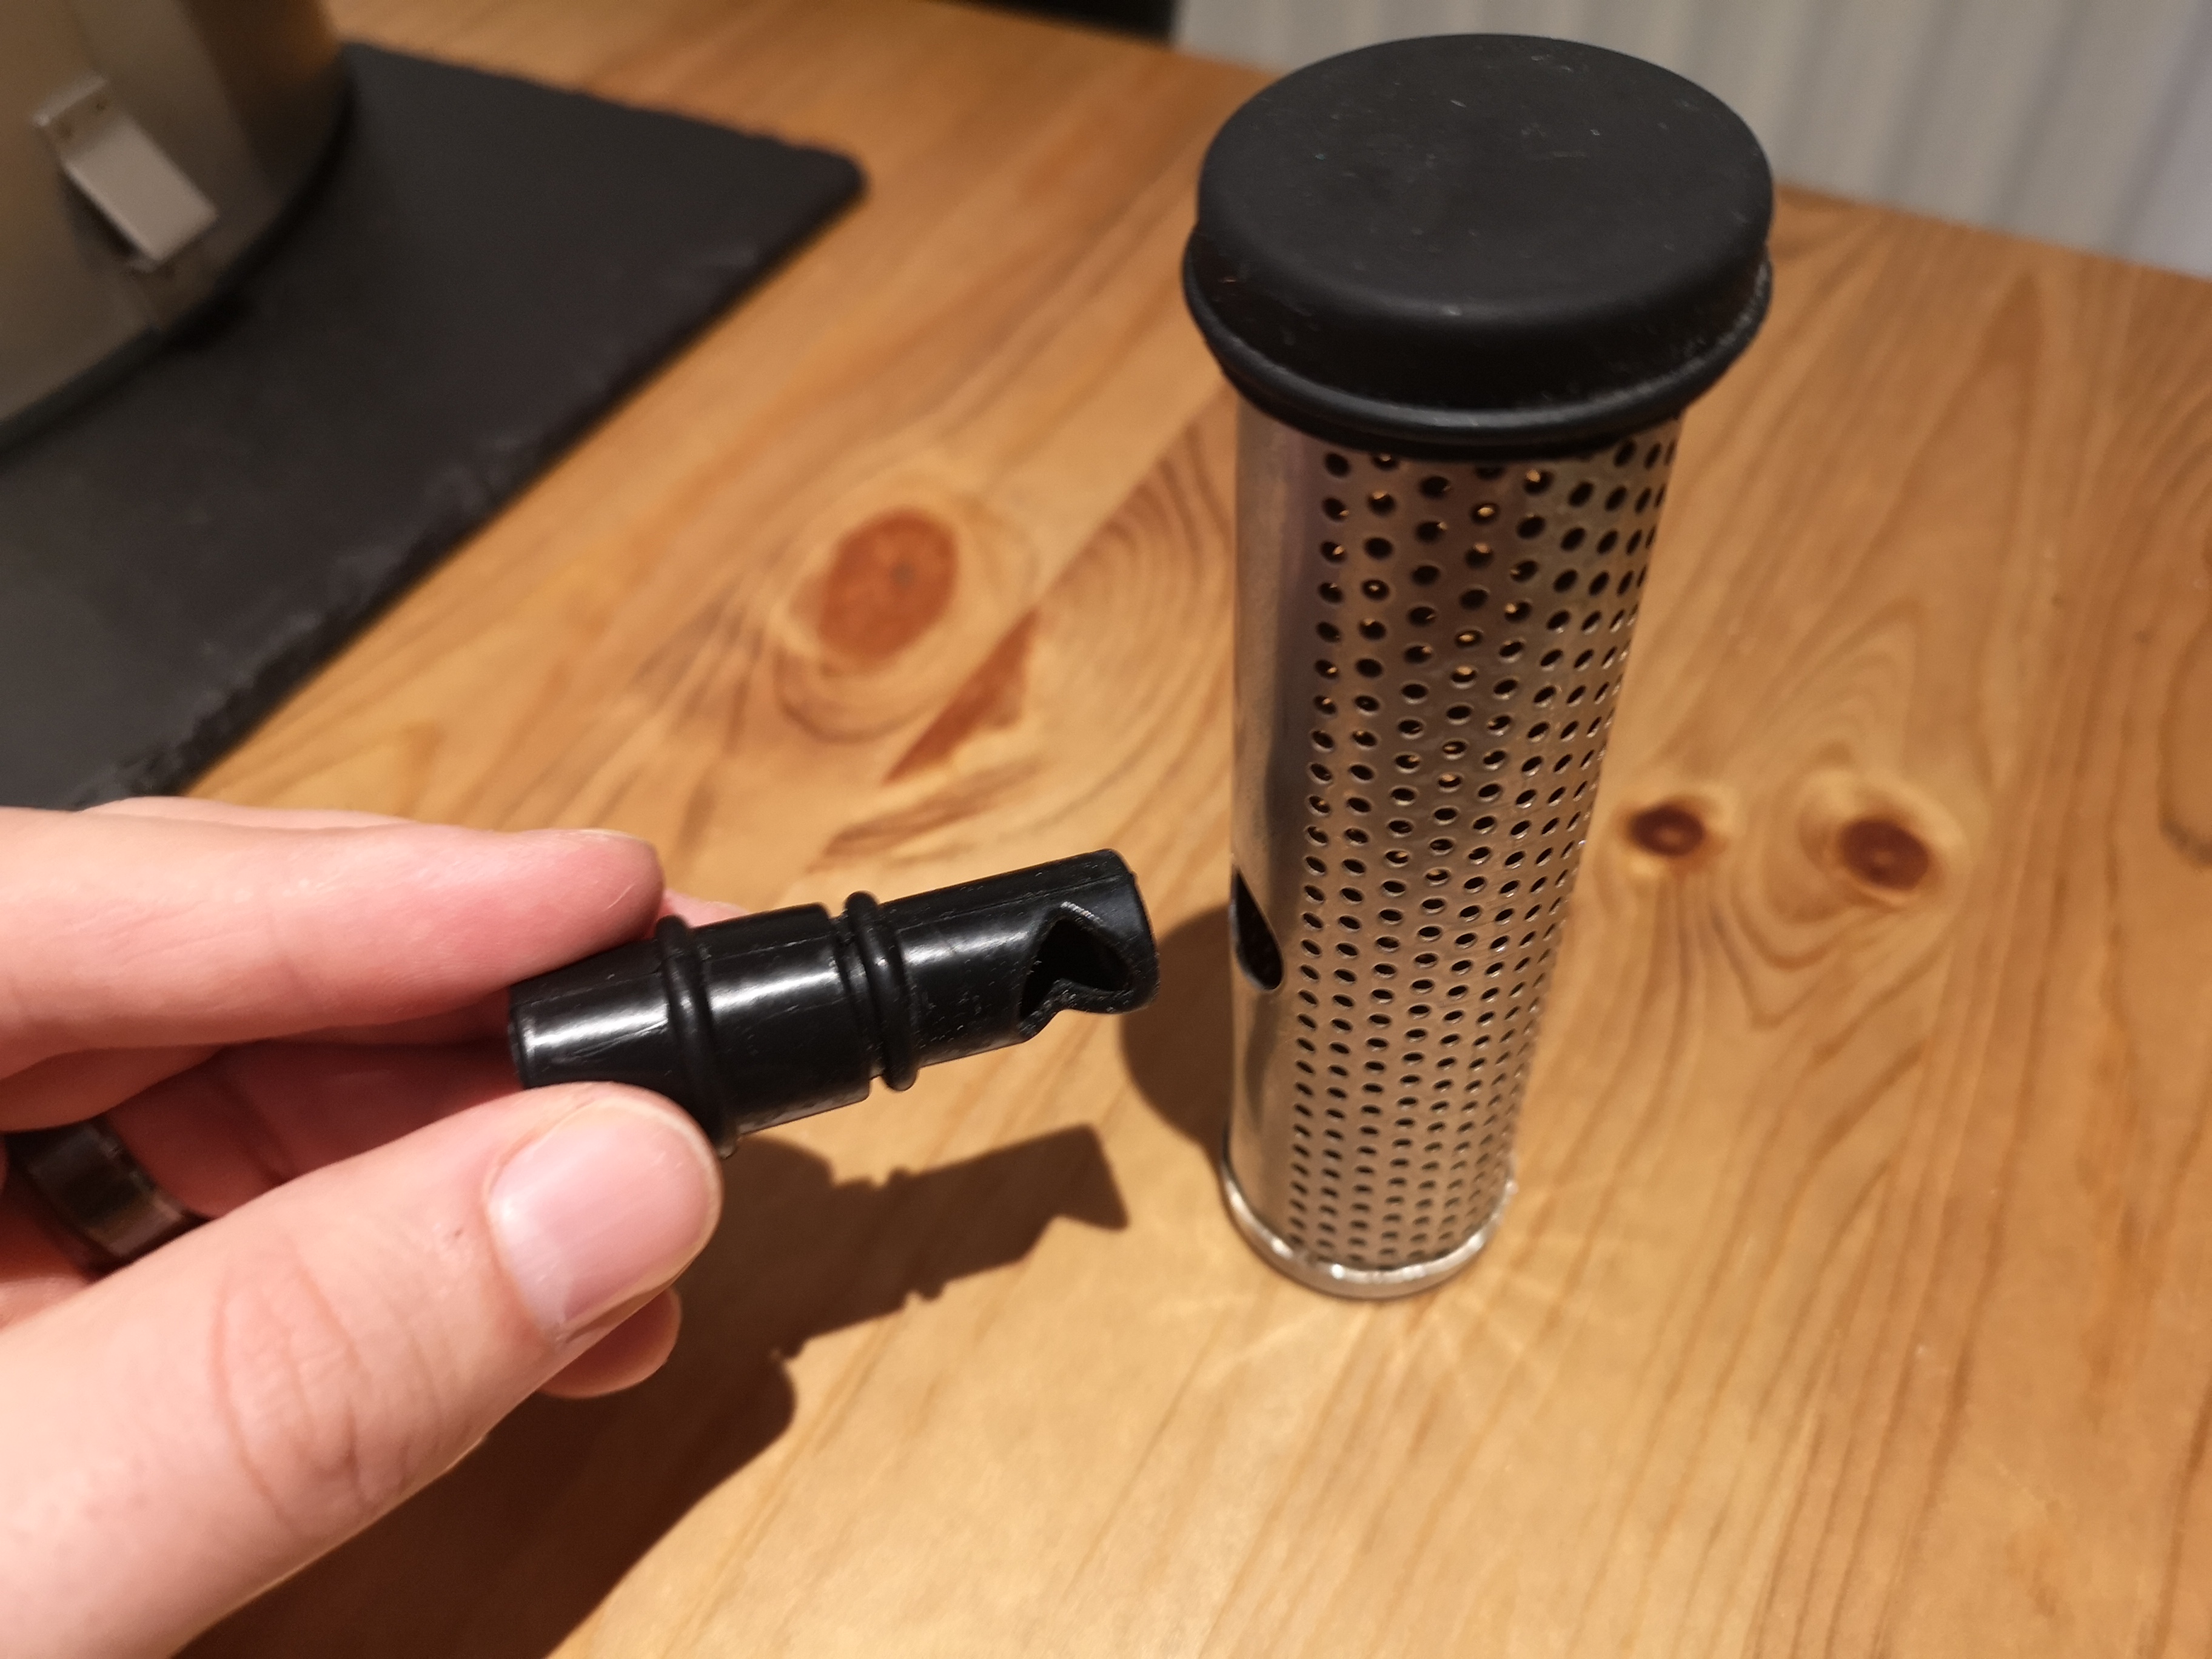
If you do this, the little rubber outlet tube should be rotated back to its original position so that the hole inside the filter is facing downwards like so.
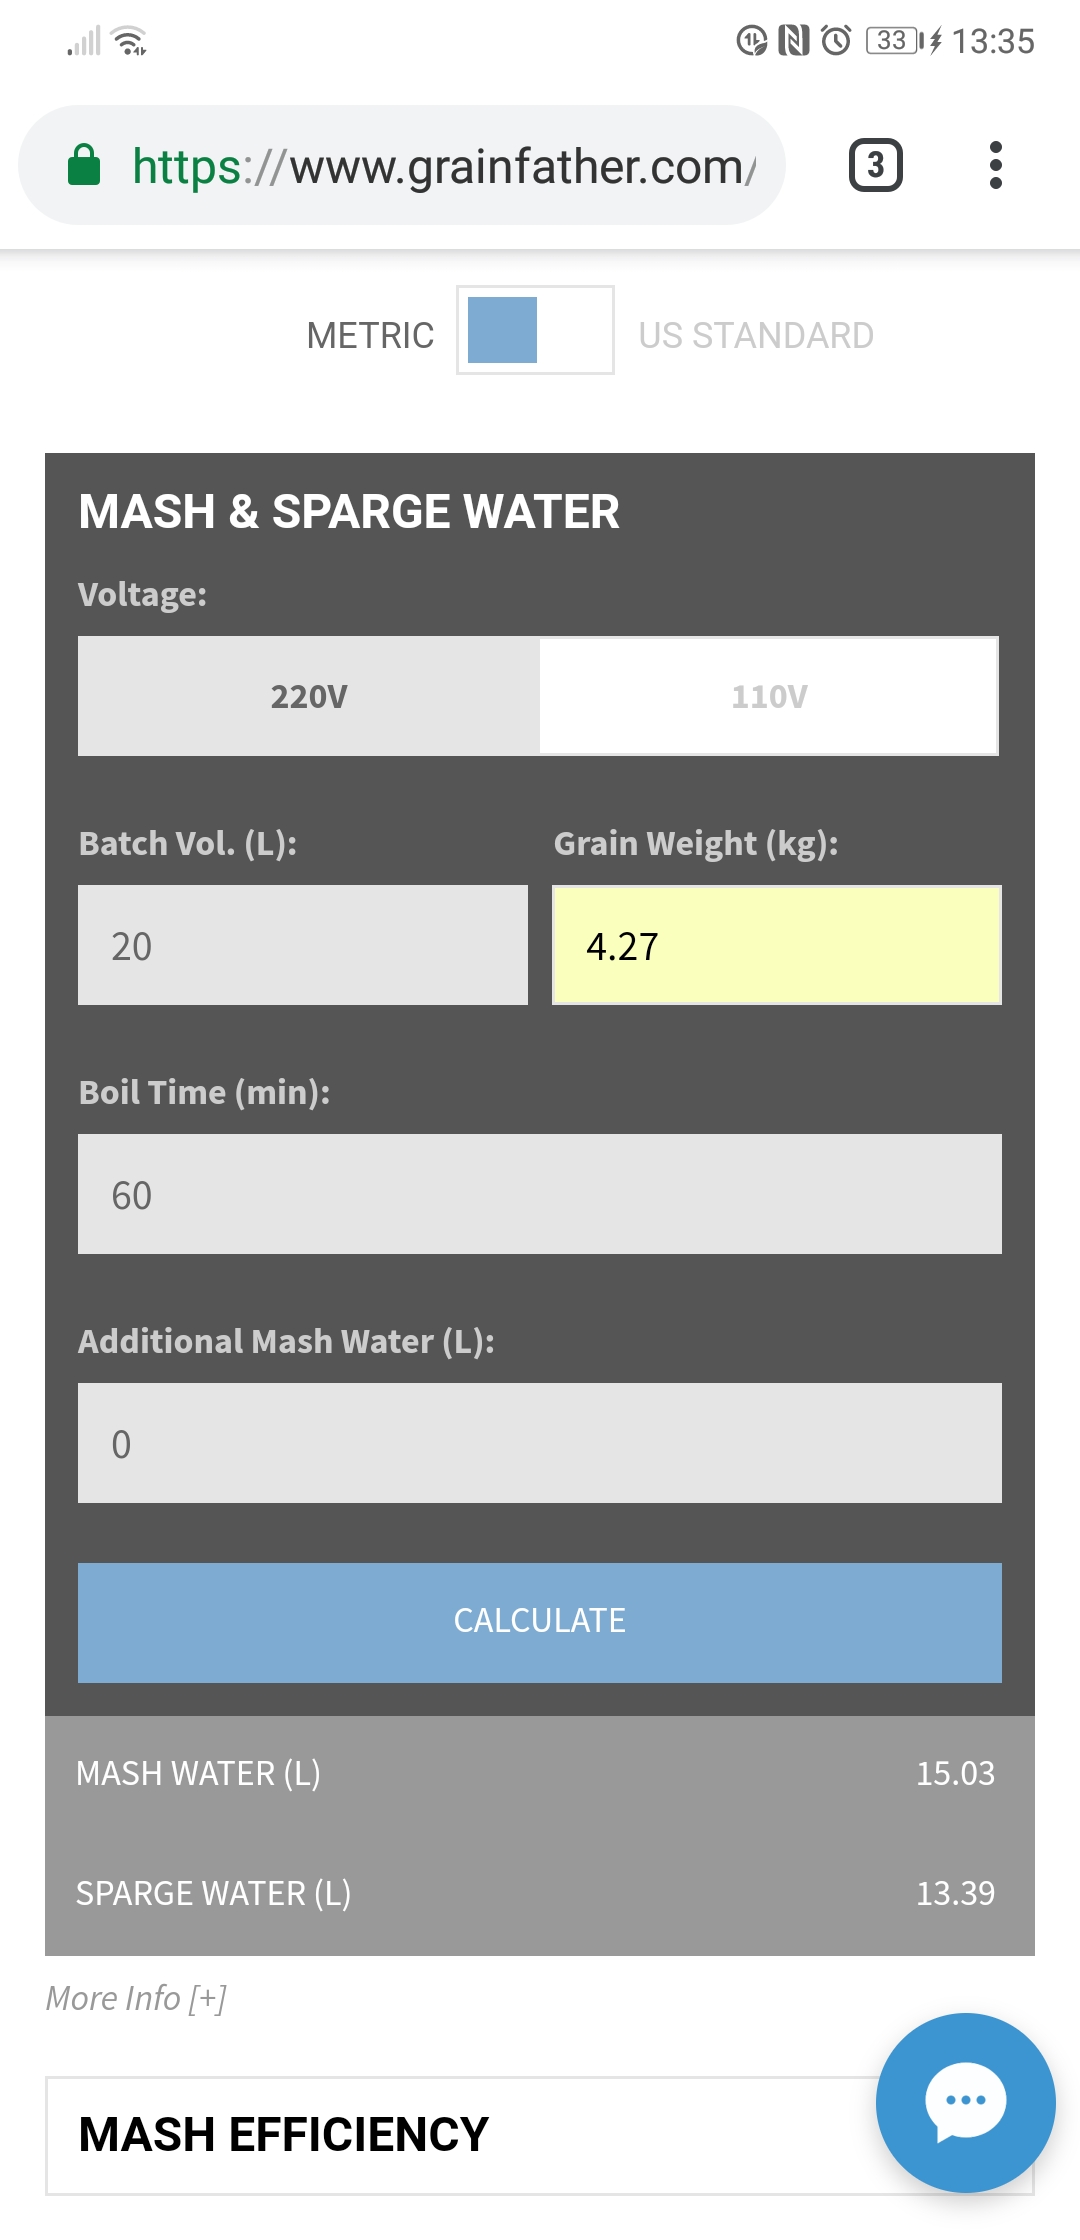
With the filter attached, you can now add the mash water. To work out how much water is required, you can use either the calculator in the GF Connect app, or the mash & sparge calculator on the GF website (under calculators).
Enter the batch size, grain weight and boil time and hit calculate. It'll tell you exactly how much water you'll need for the mash and sparge.
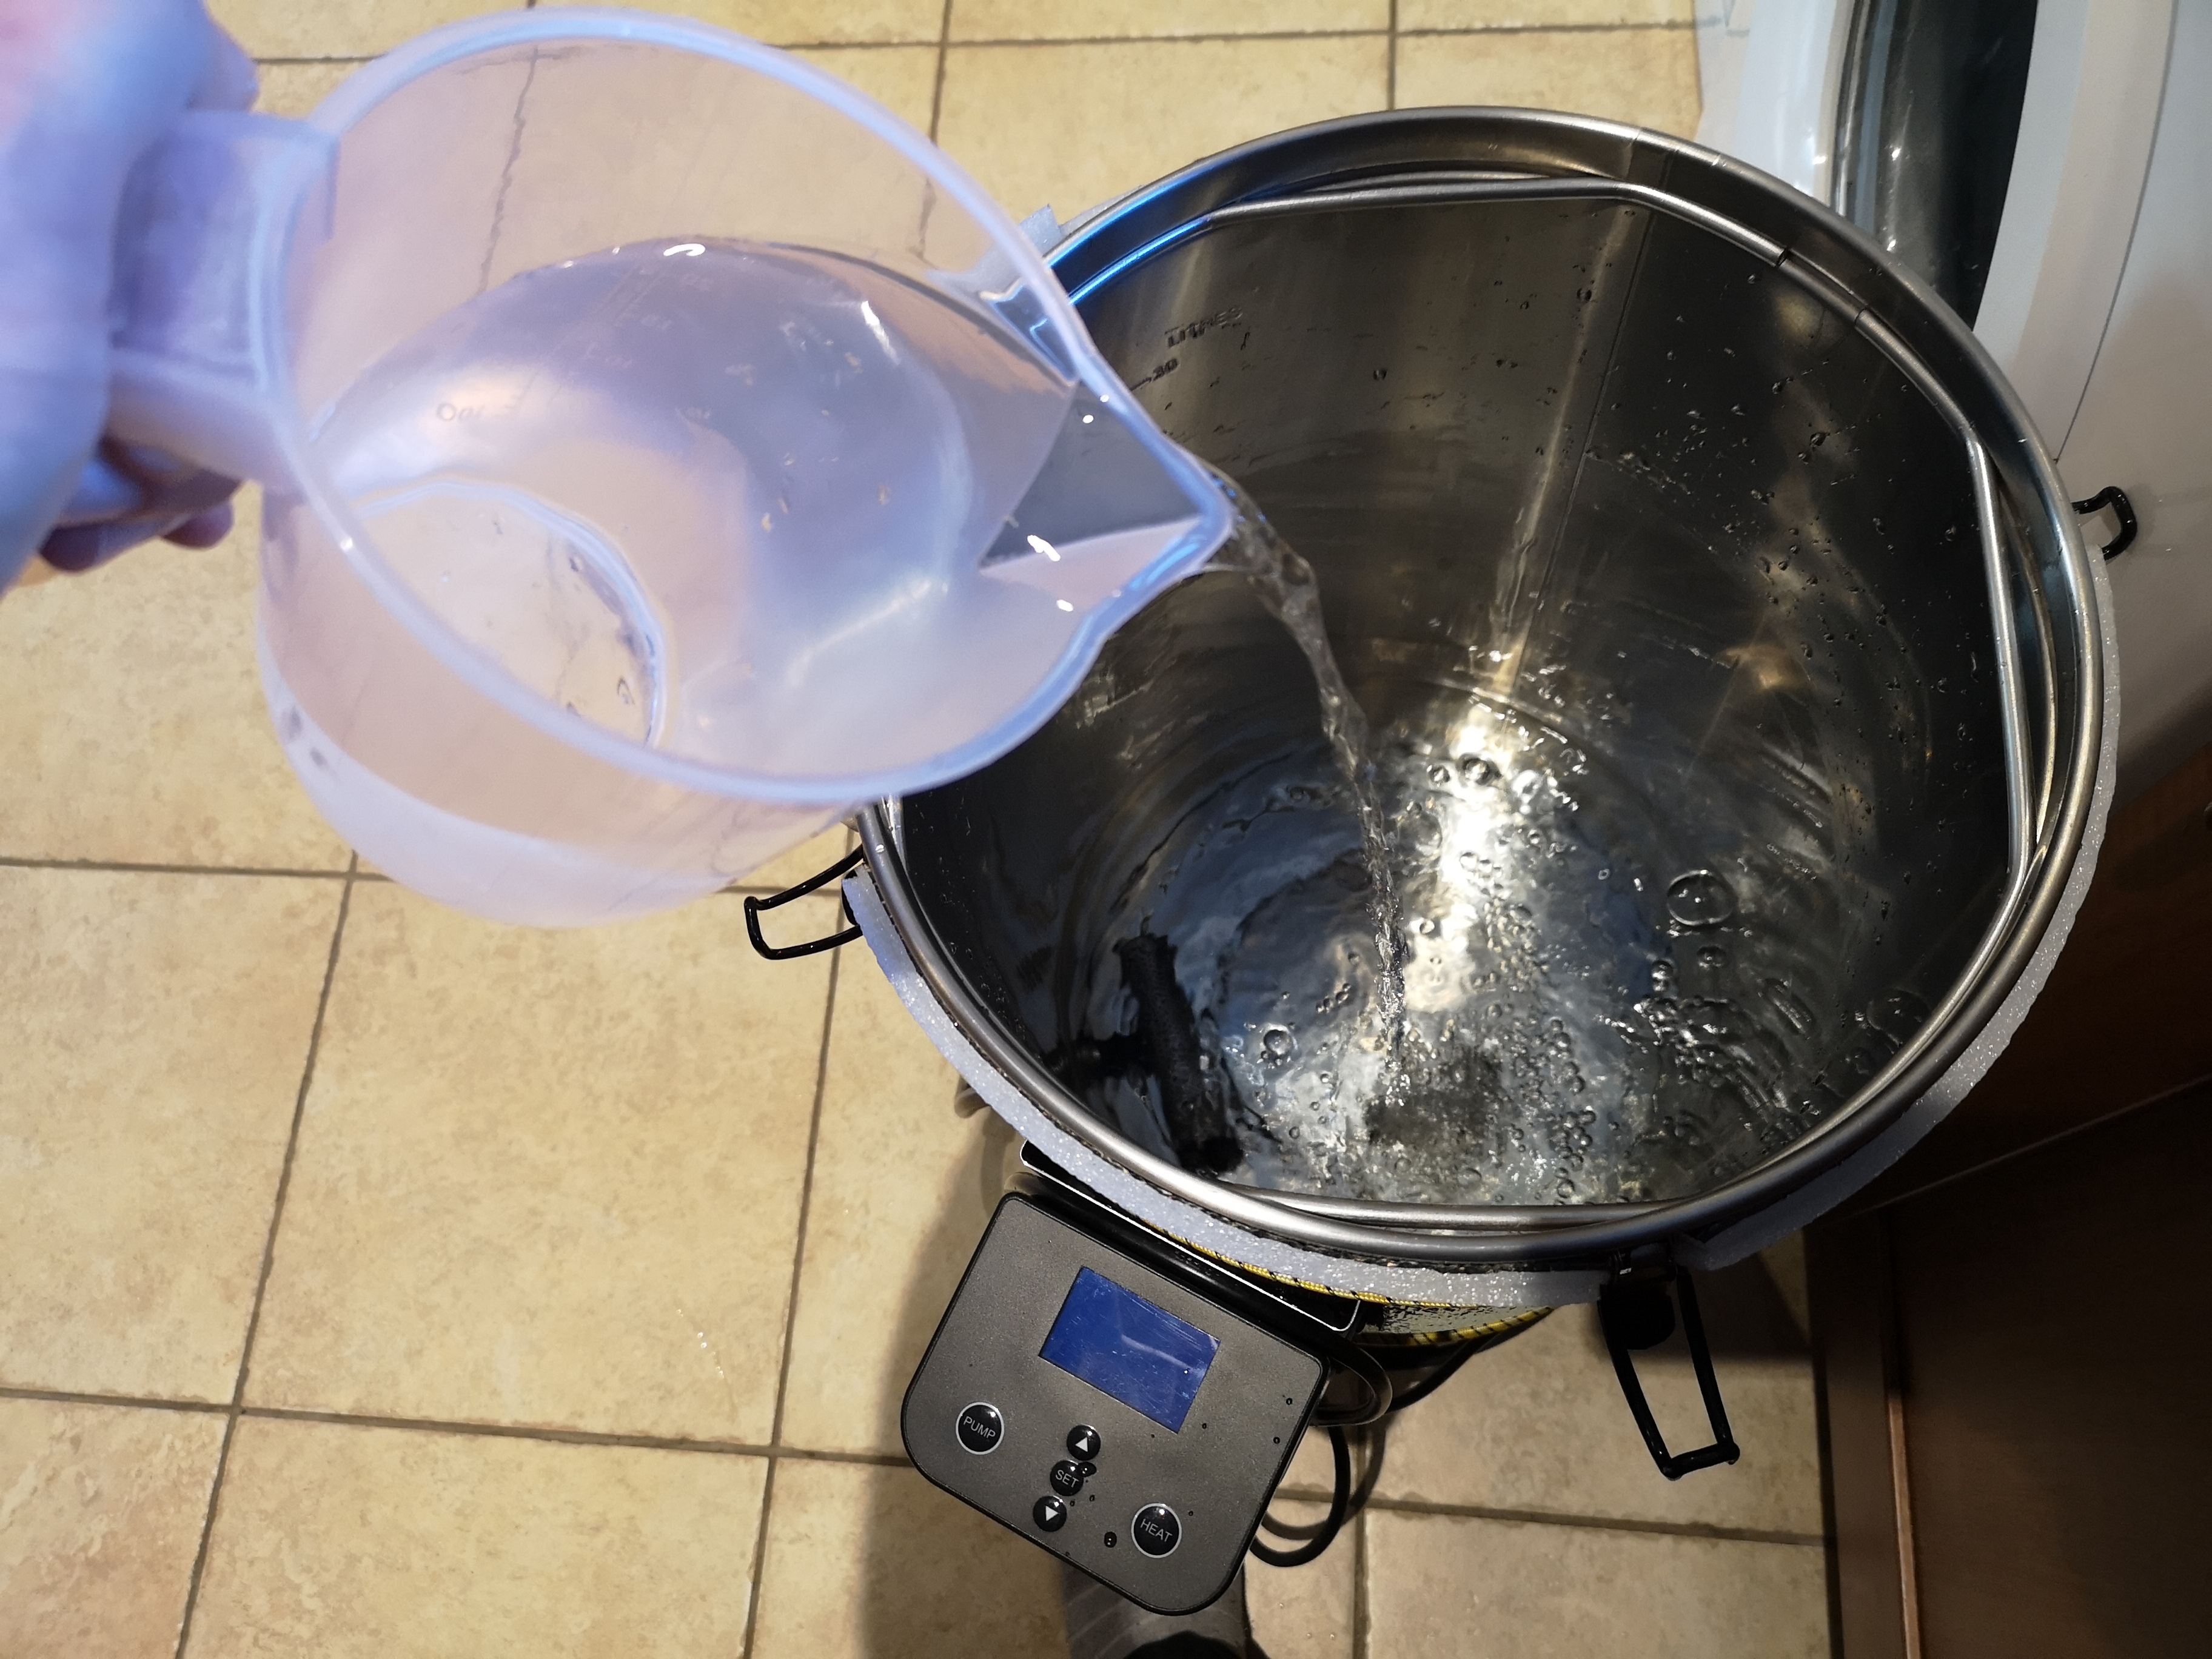
Don't worry about the sparge water for now, just add the mash water to the GF. Also don't be too concerned about being exact with the volume, I just round to the nearest half litre or so.
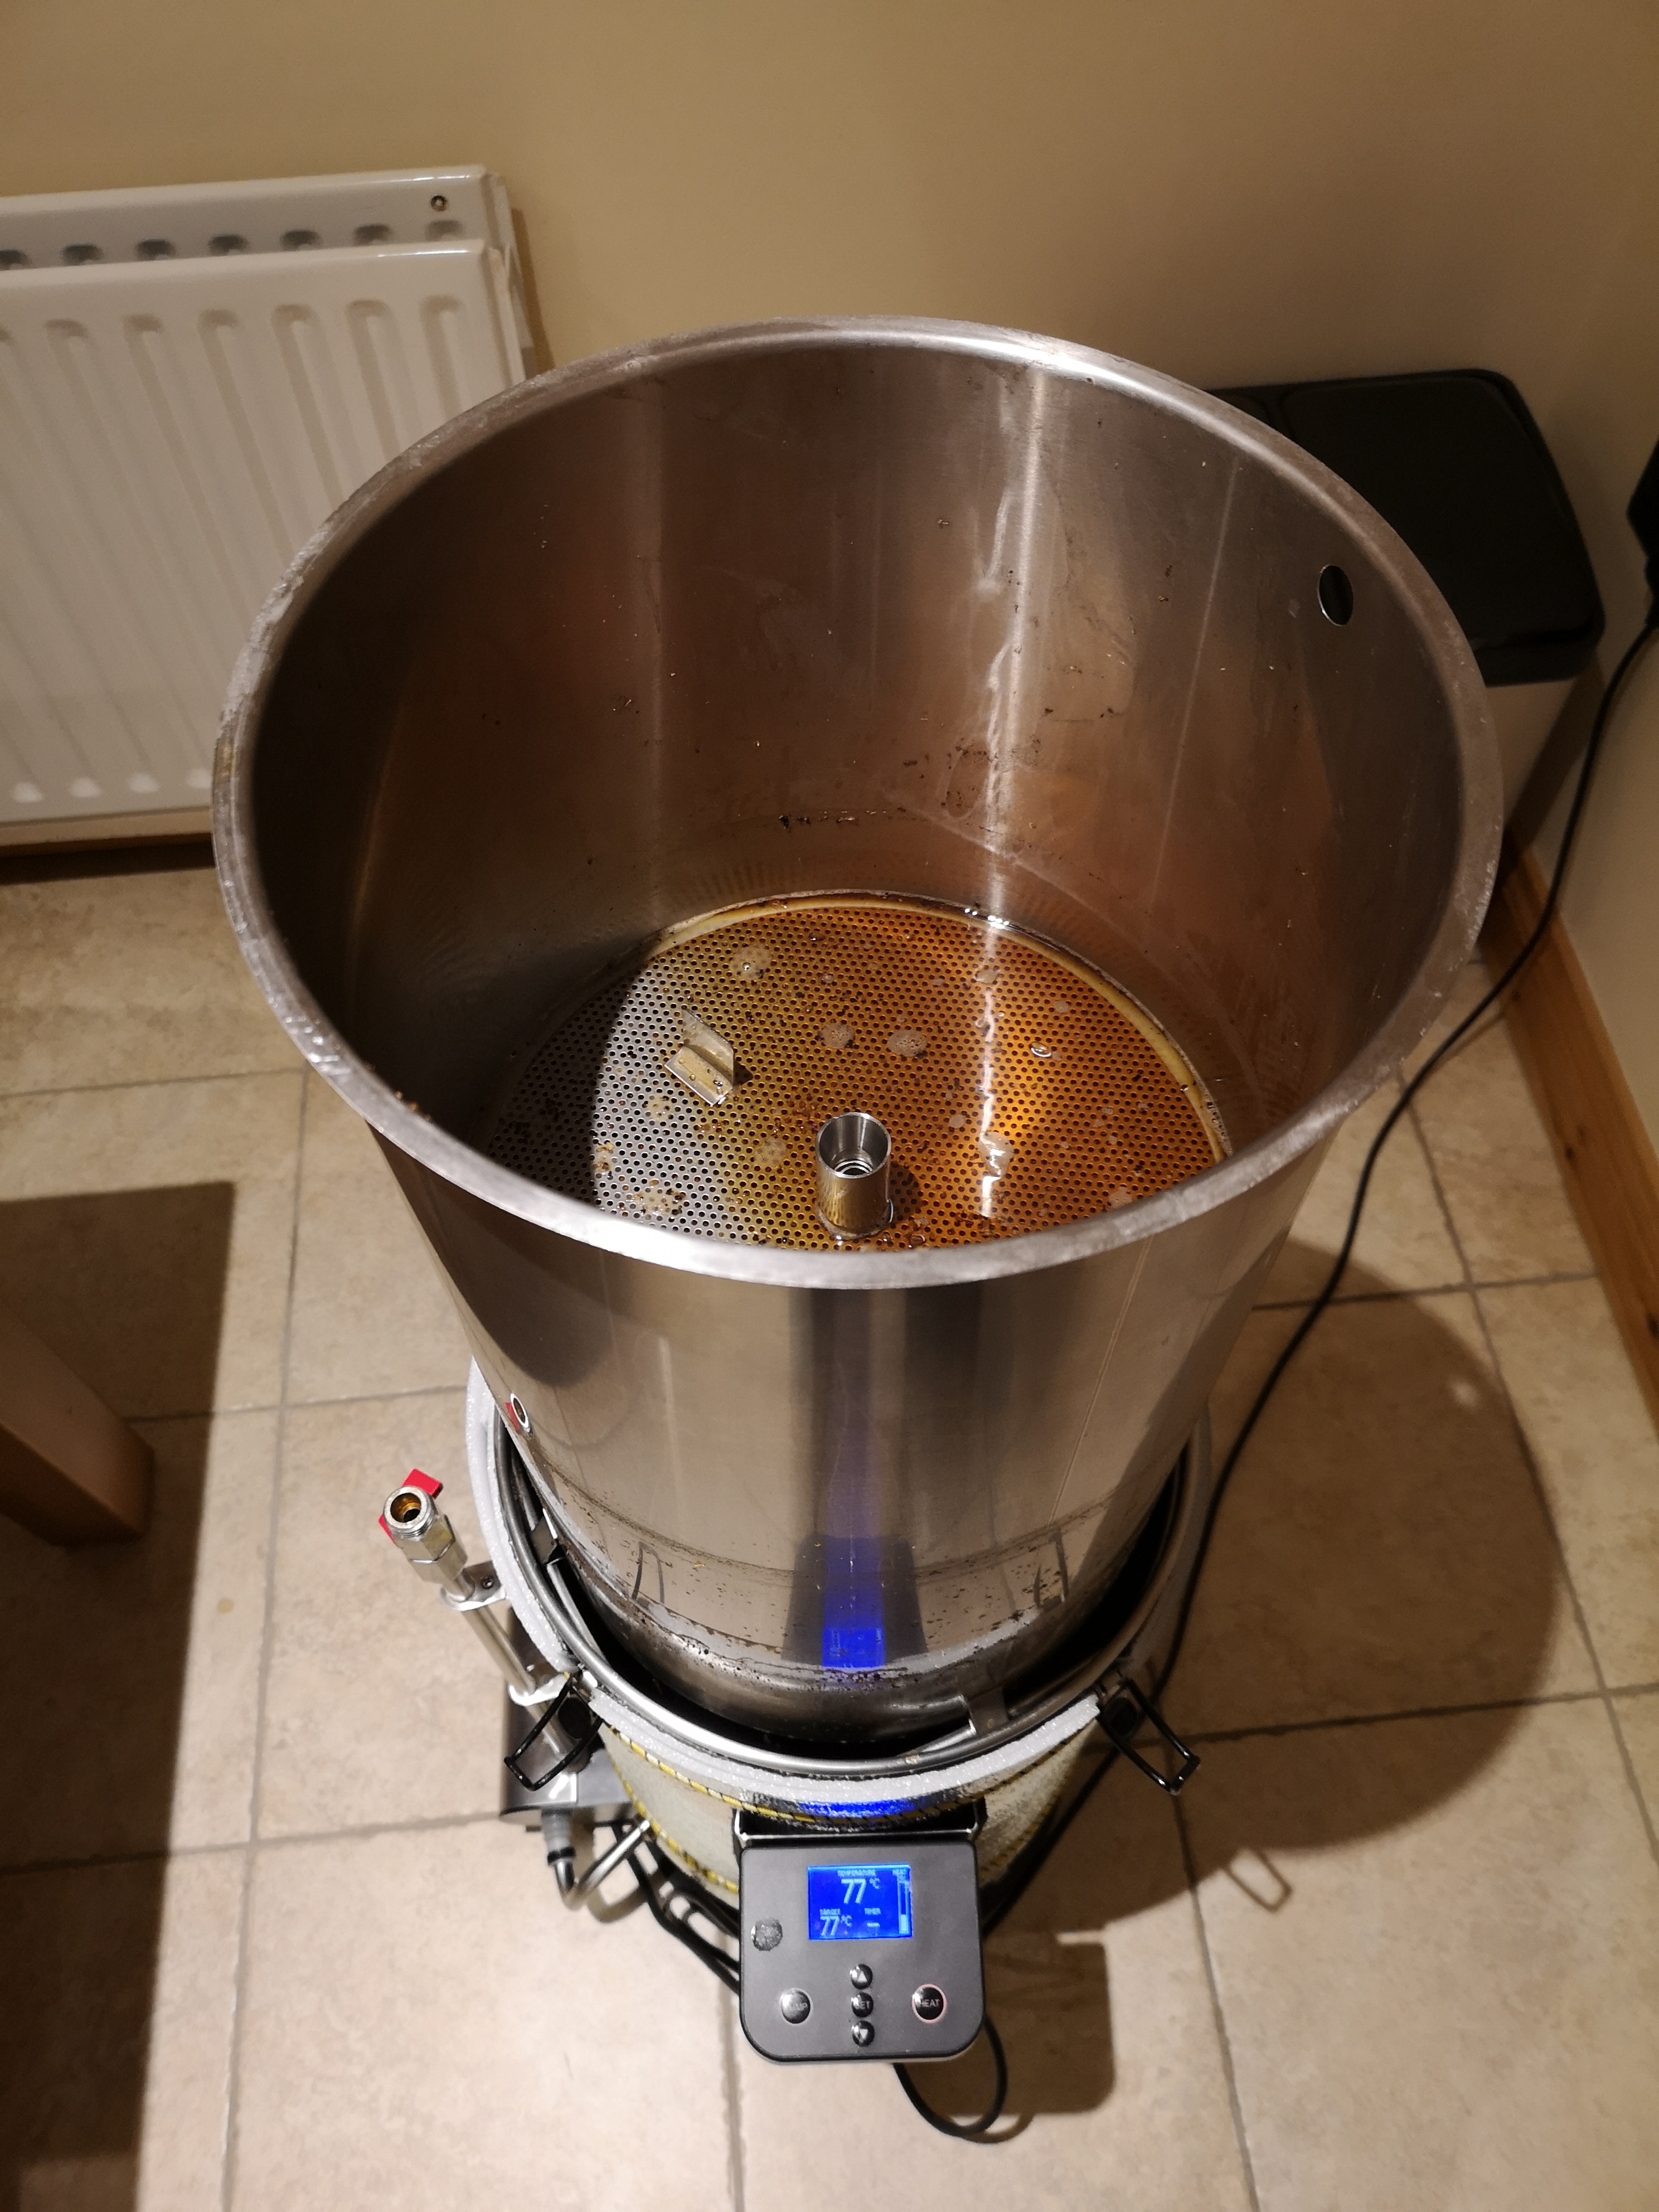
If you're planning any water treatment then now is the time to do so. If not then plug the GF in, set the mash temperature using the up/down arrows and hit “heat”.
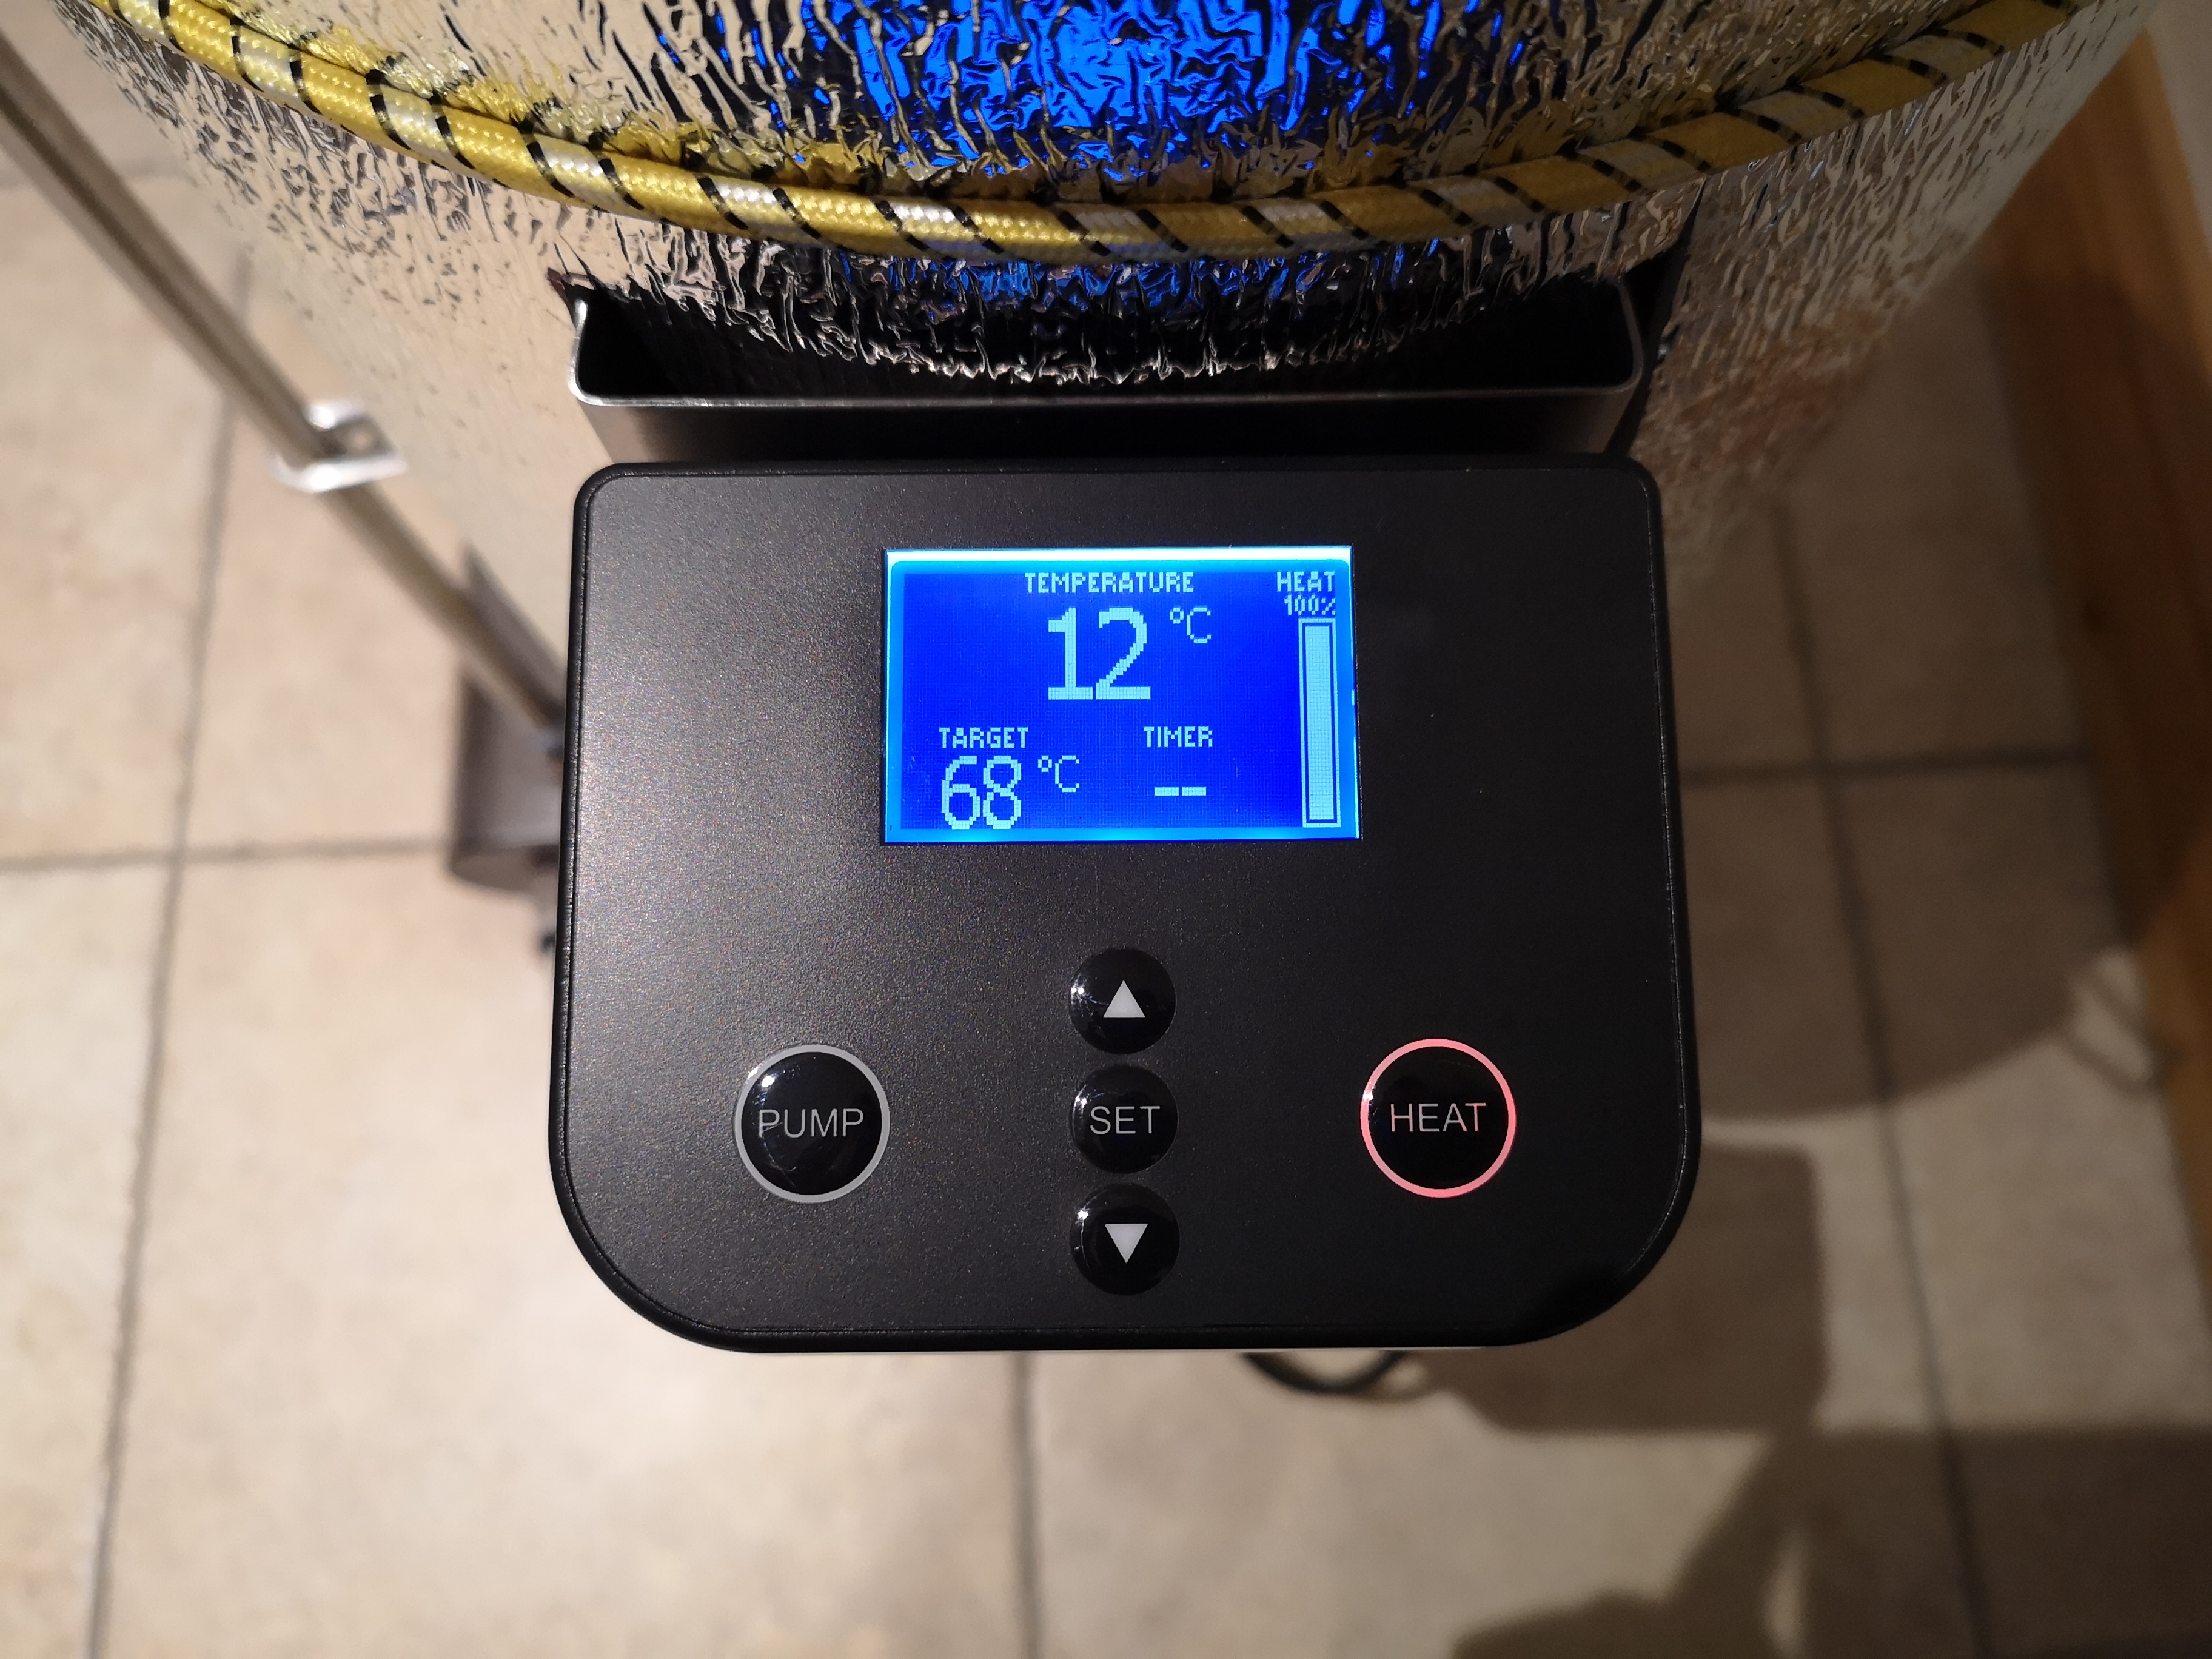
It'll take around 20-30 mins for the water to get up to temperature, so while you're waiting you can get your grain weighed out then assemble the malt pipe and plates. To do this, attach one of the rubber gaskets to the bottom perforated plate, that's the one which doesn't have the two little handles on it.
Then attach the lower pipe to the plate using the lock nut so you now have this…
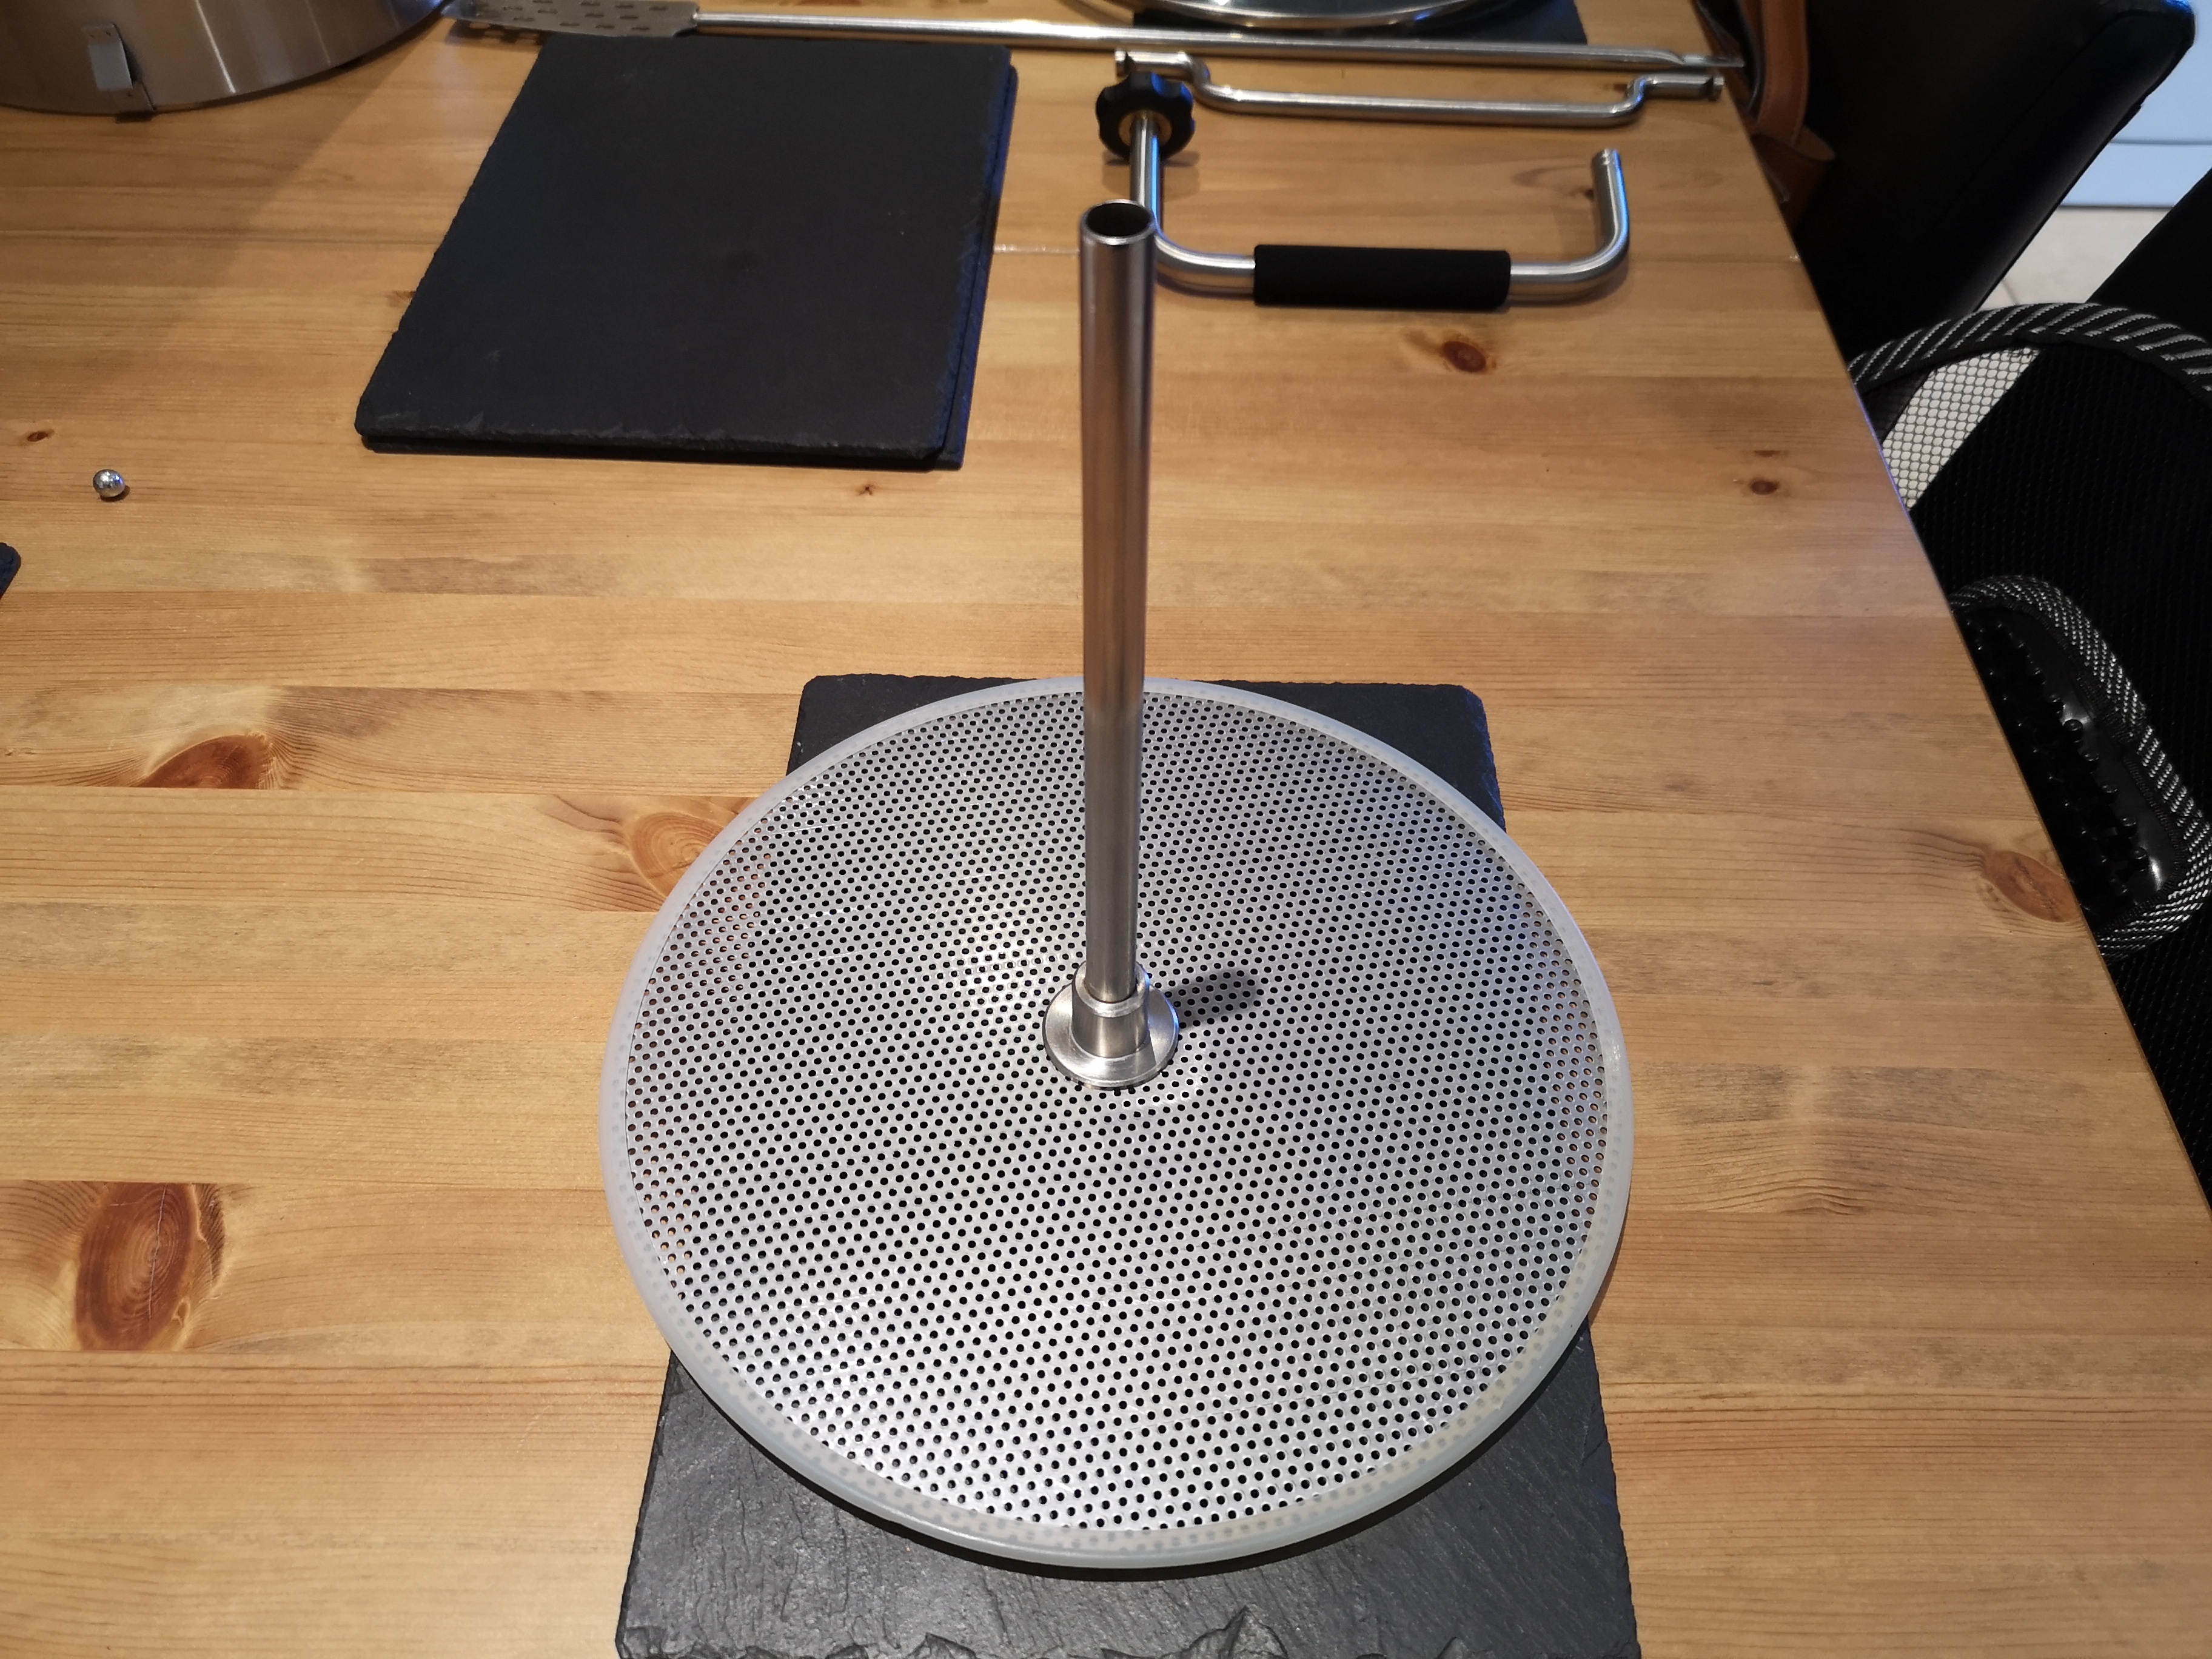
Now insert this into the grain basket. At first you might find this a bit tricky to do without pulling the gasket off, but if you wet the inside of the basket and/or the edges of the plate with water or a spray of starsan, and gently push the plate down at an angle, it should go in. Once it's in place, ensure the gasket is still seated properly.
Now attach the top pipe and grain stopper, pulling the pipe up to meet the cap on the stopper.
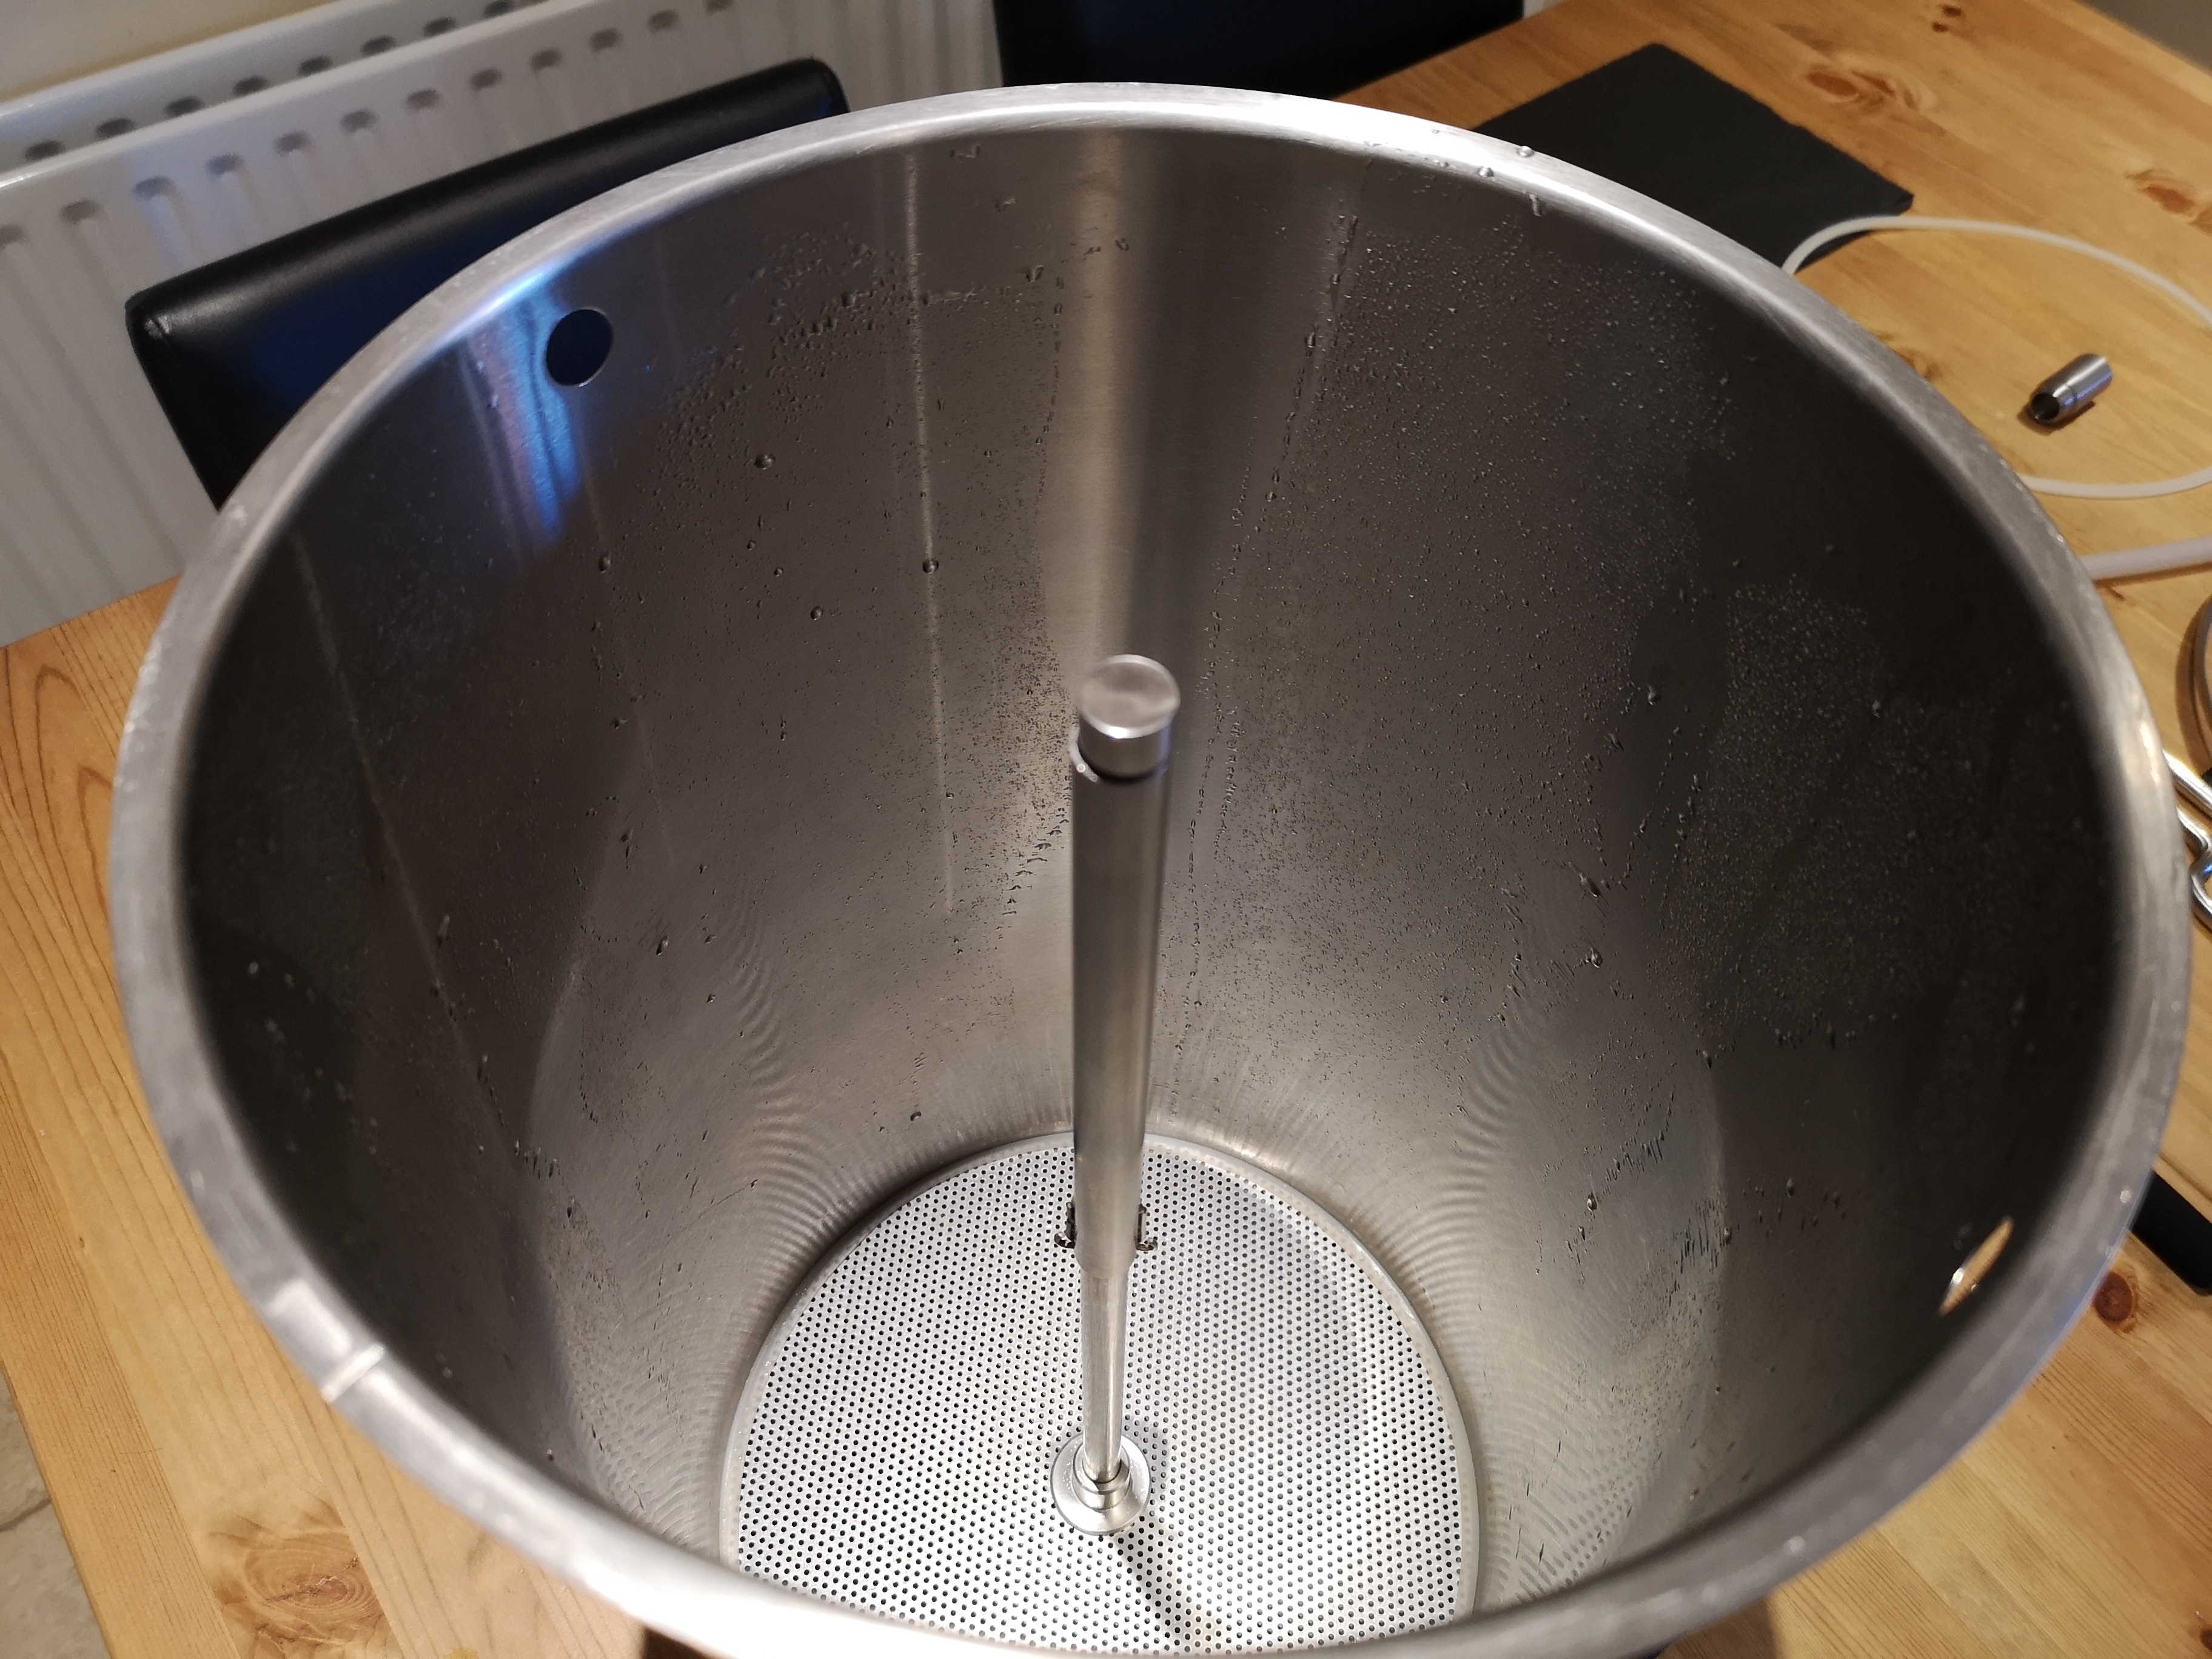
Next attach the second gasket to the top plate (the one with the handles) and set aside for now. You can now place the empty grain basket into the still heating GF, and await mash temperature being reached.
Once the water is up to temperature, it's time to add the grain. For the sake of efficiency, it's important to take this step slow and steady. Don't just dump the grain in, add it gently and gradually, stirring often. I use a 1L jug as a scoop and stir it well after every couple of jugfuls.
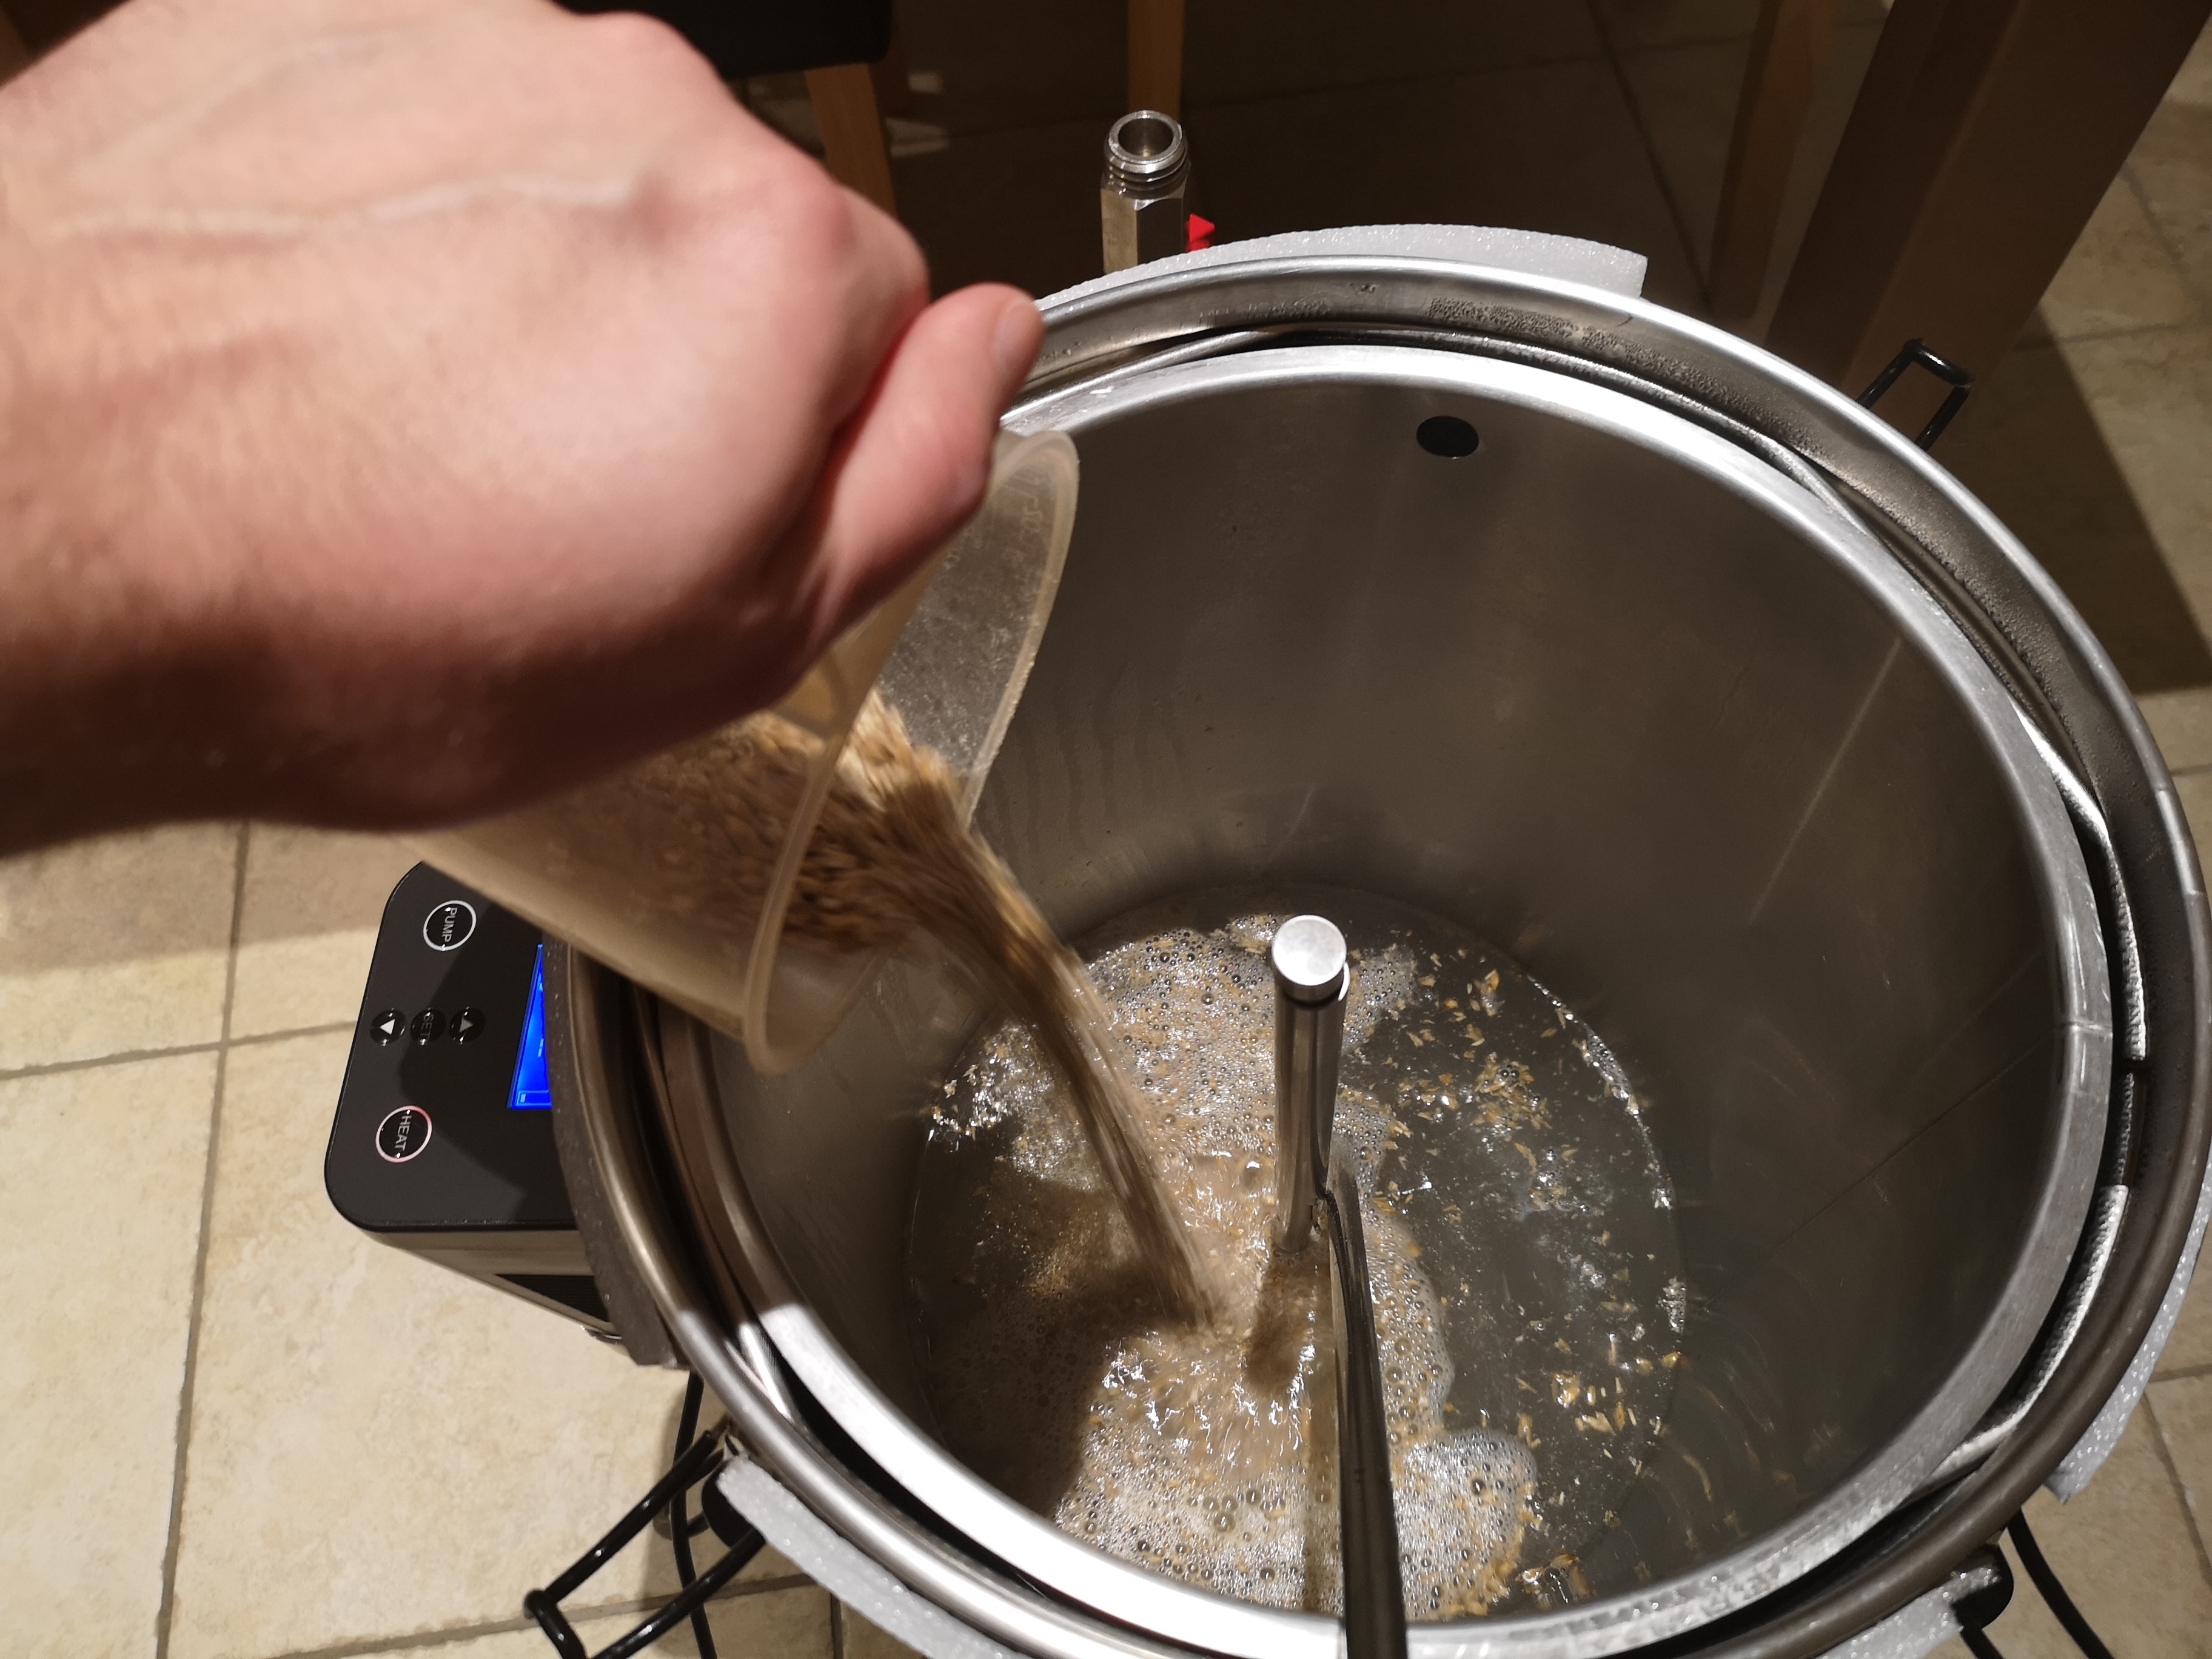
After all the grain has been added, stir for another few minutes to make sure the grain is well mixed and there are no dry spots or dough balls. Taking your time with doughing-in will really help your efficiency.
Next insert the top plate. This should go in a little easier than the bottom plate. The correct positioning of this is just below the water level, it doesn't need to be pushed right down onto the grain.
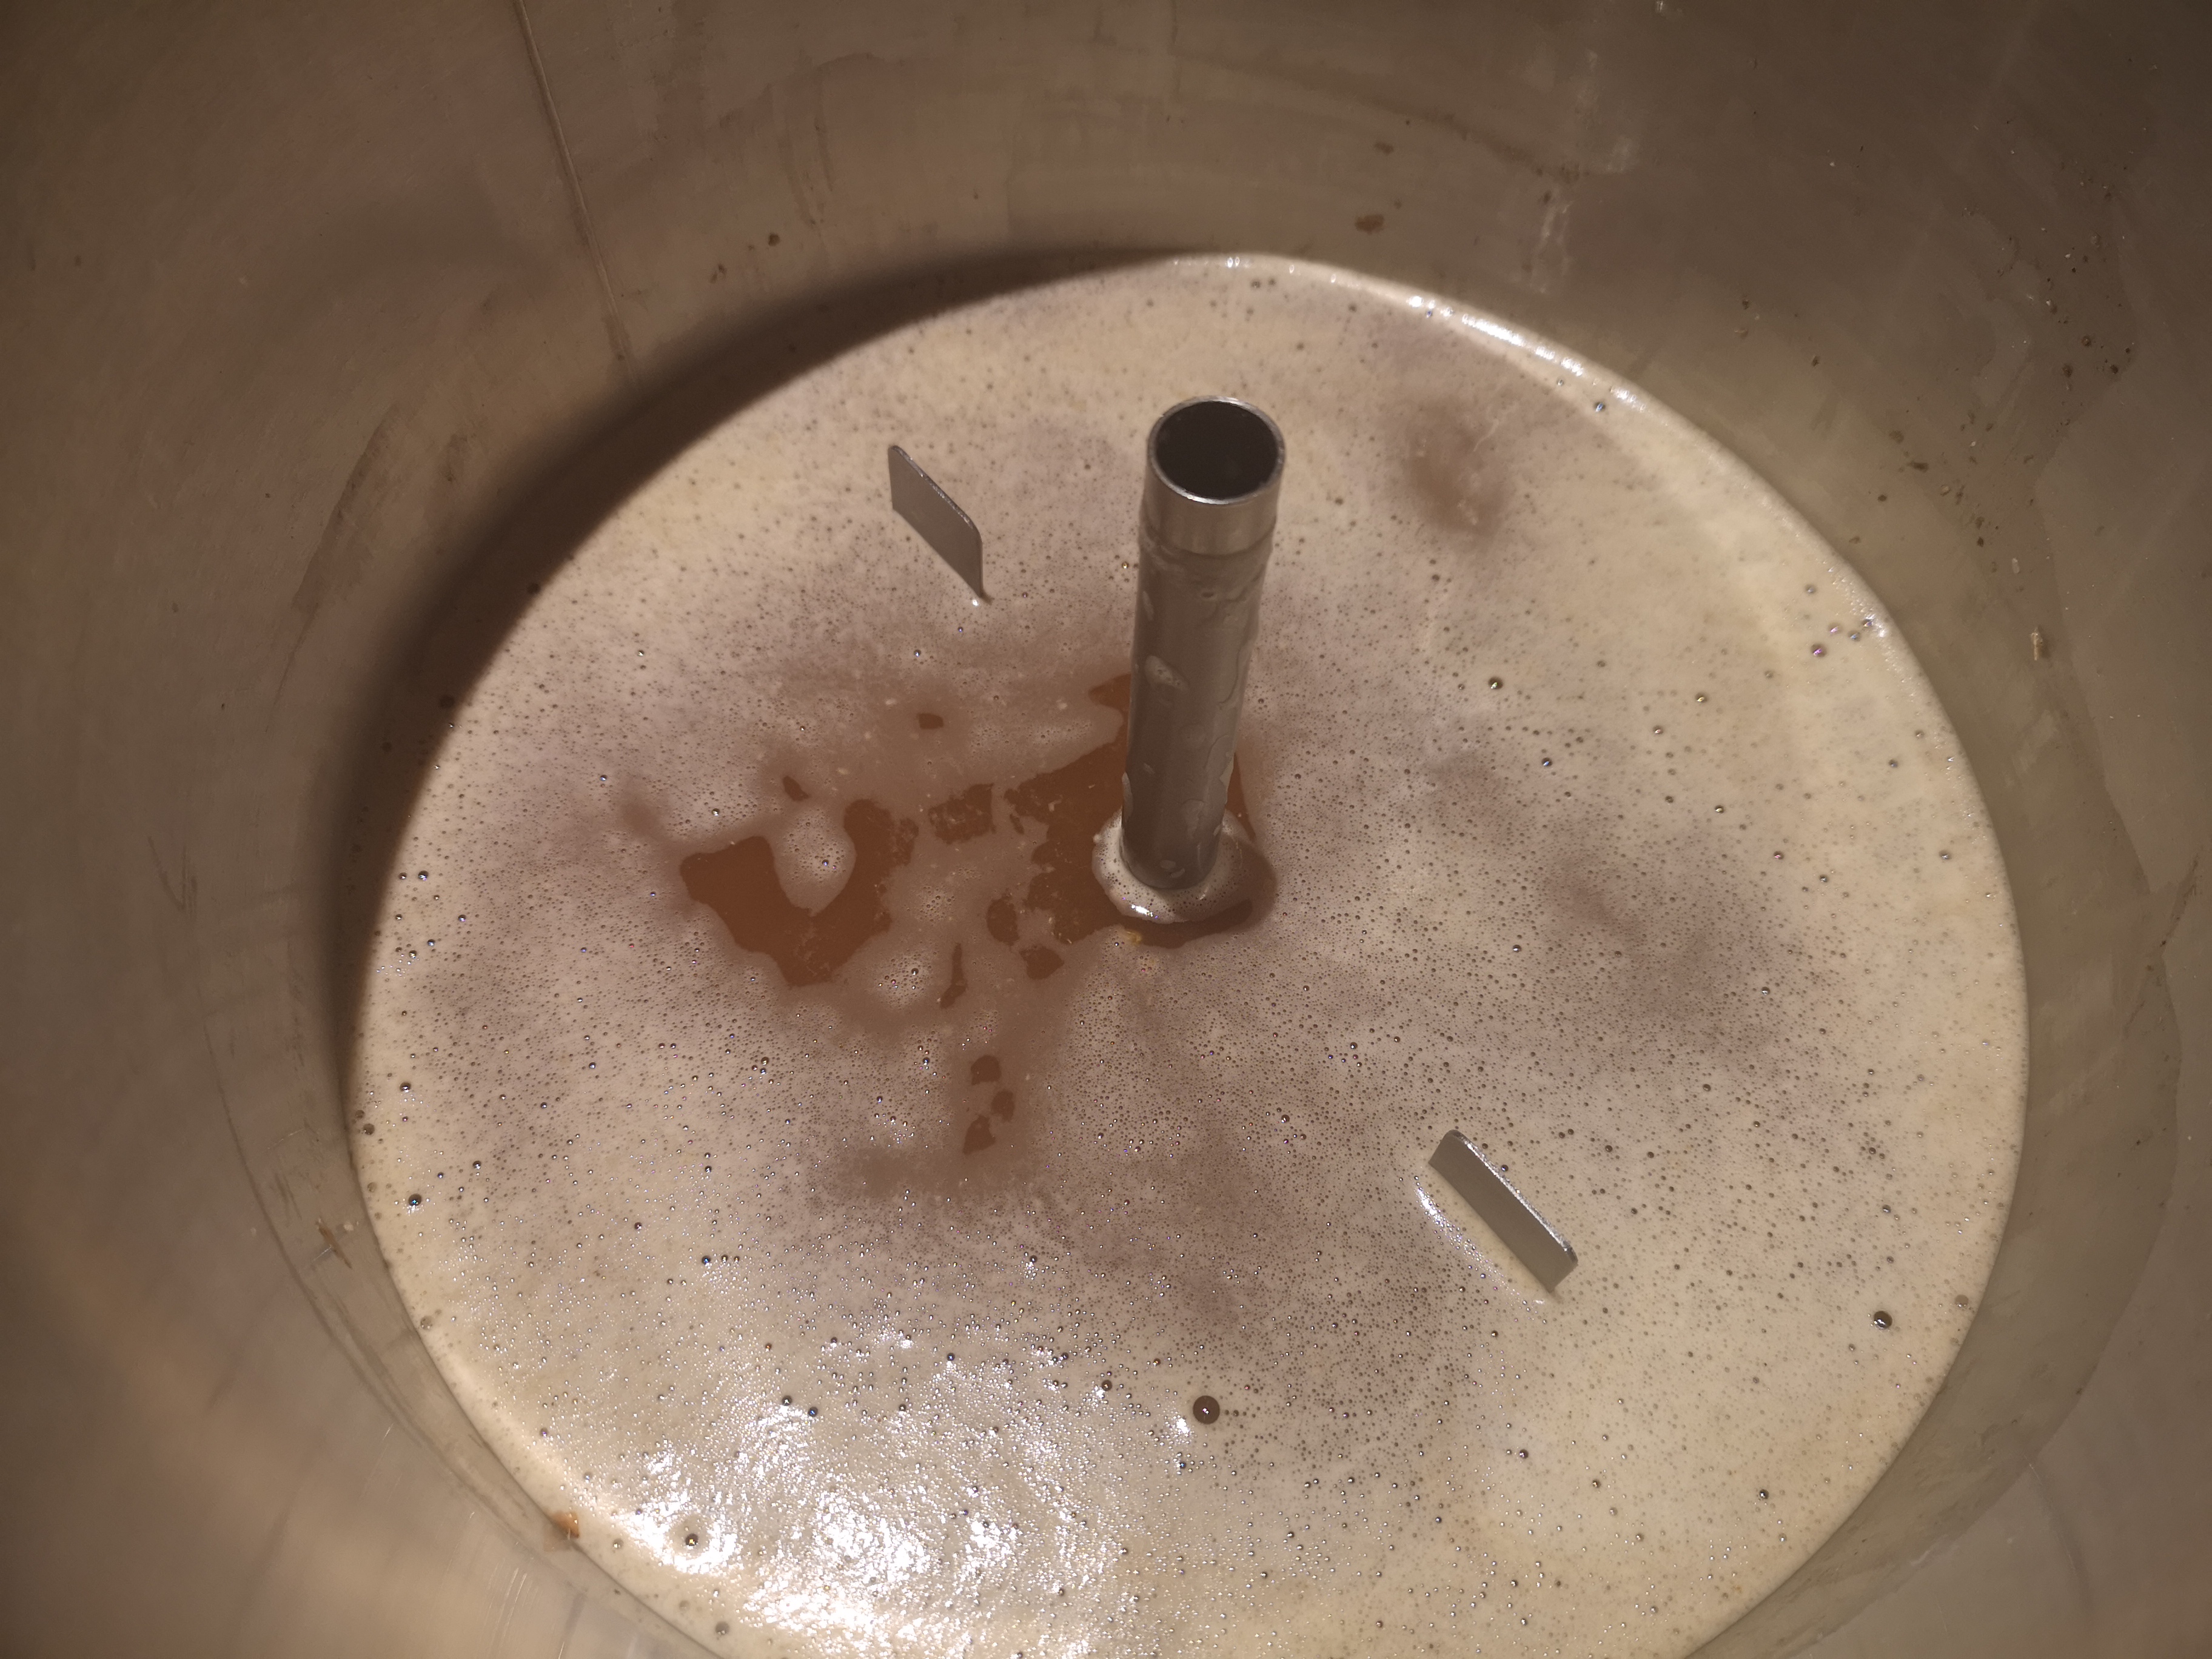
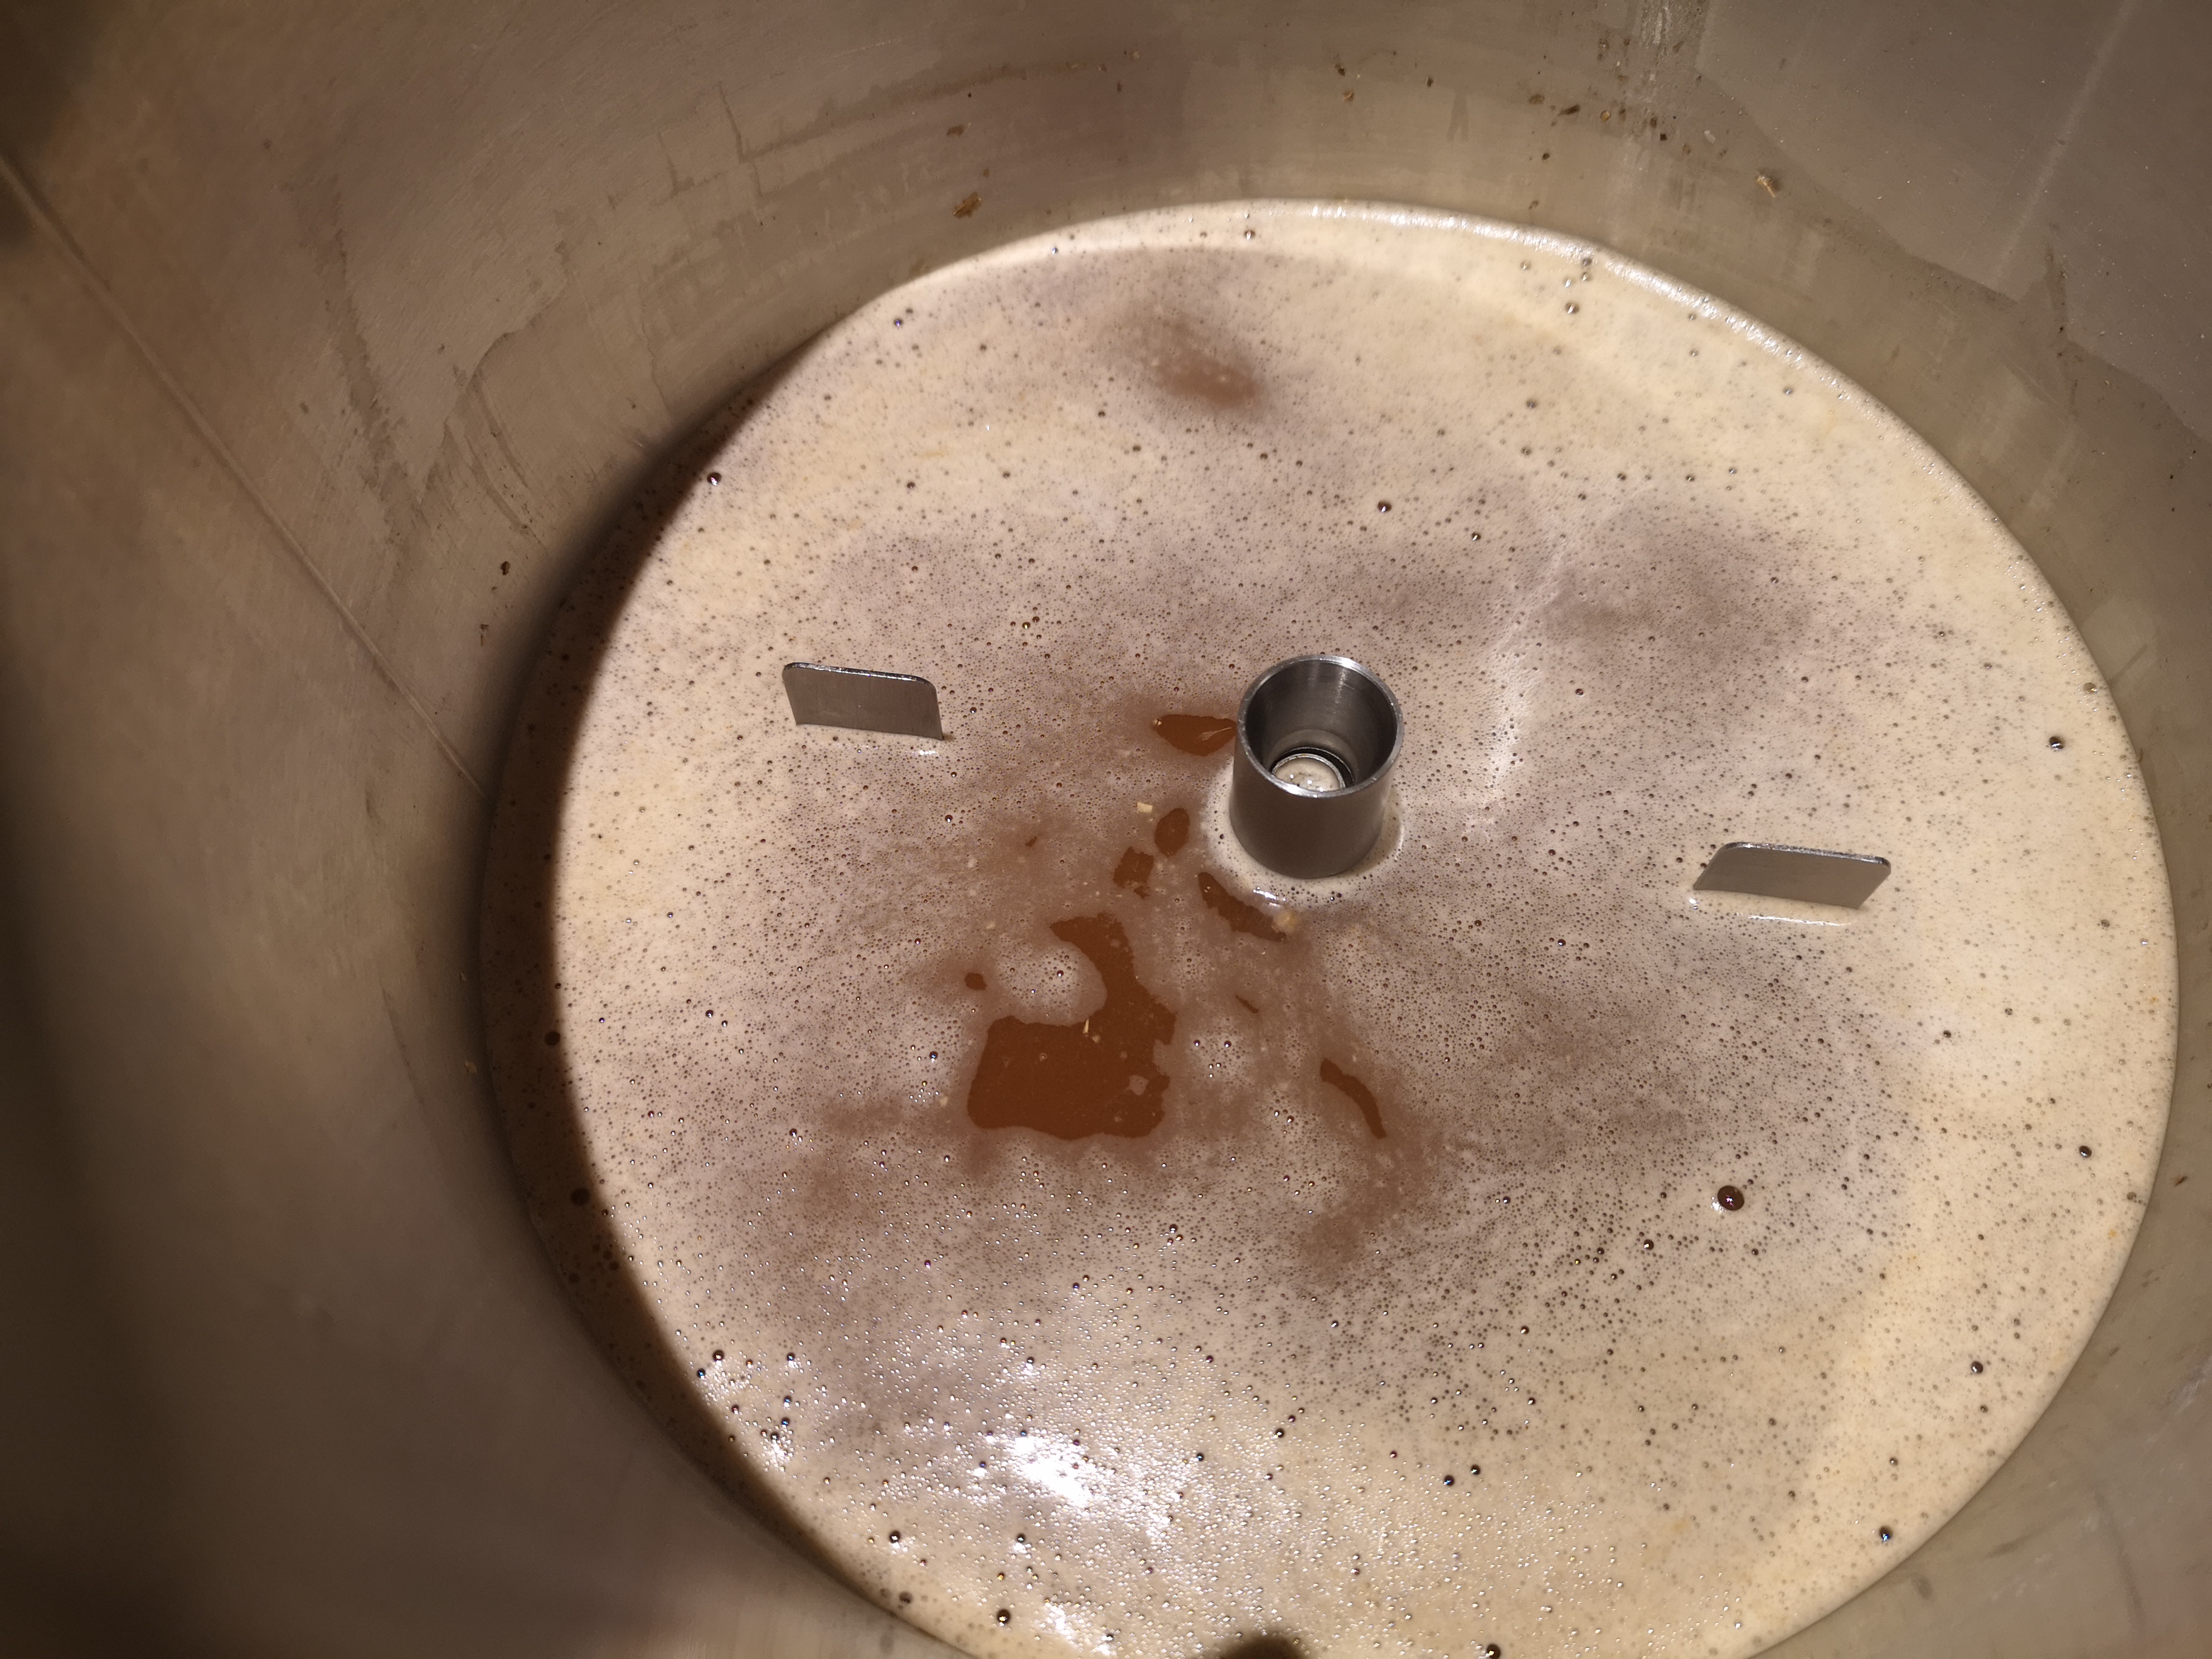
Next remove the grain stopper, place the overflow inlet onto the top pipe and push it down until the inlet slots into the hole in the top plate like so…
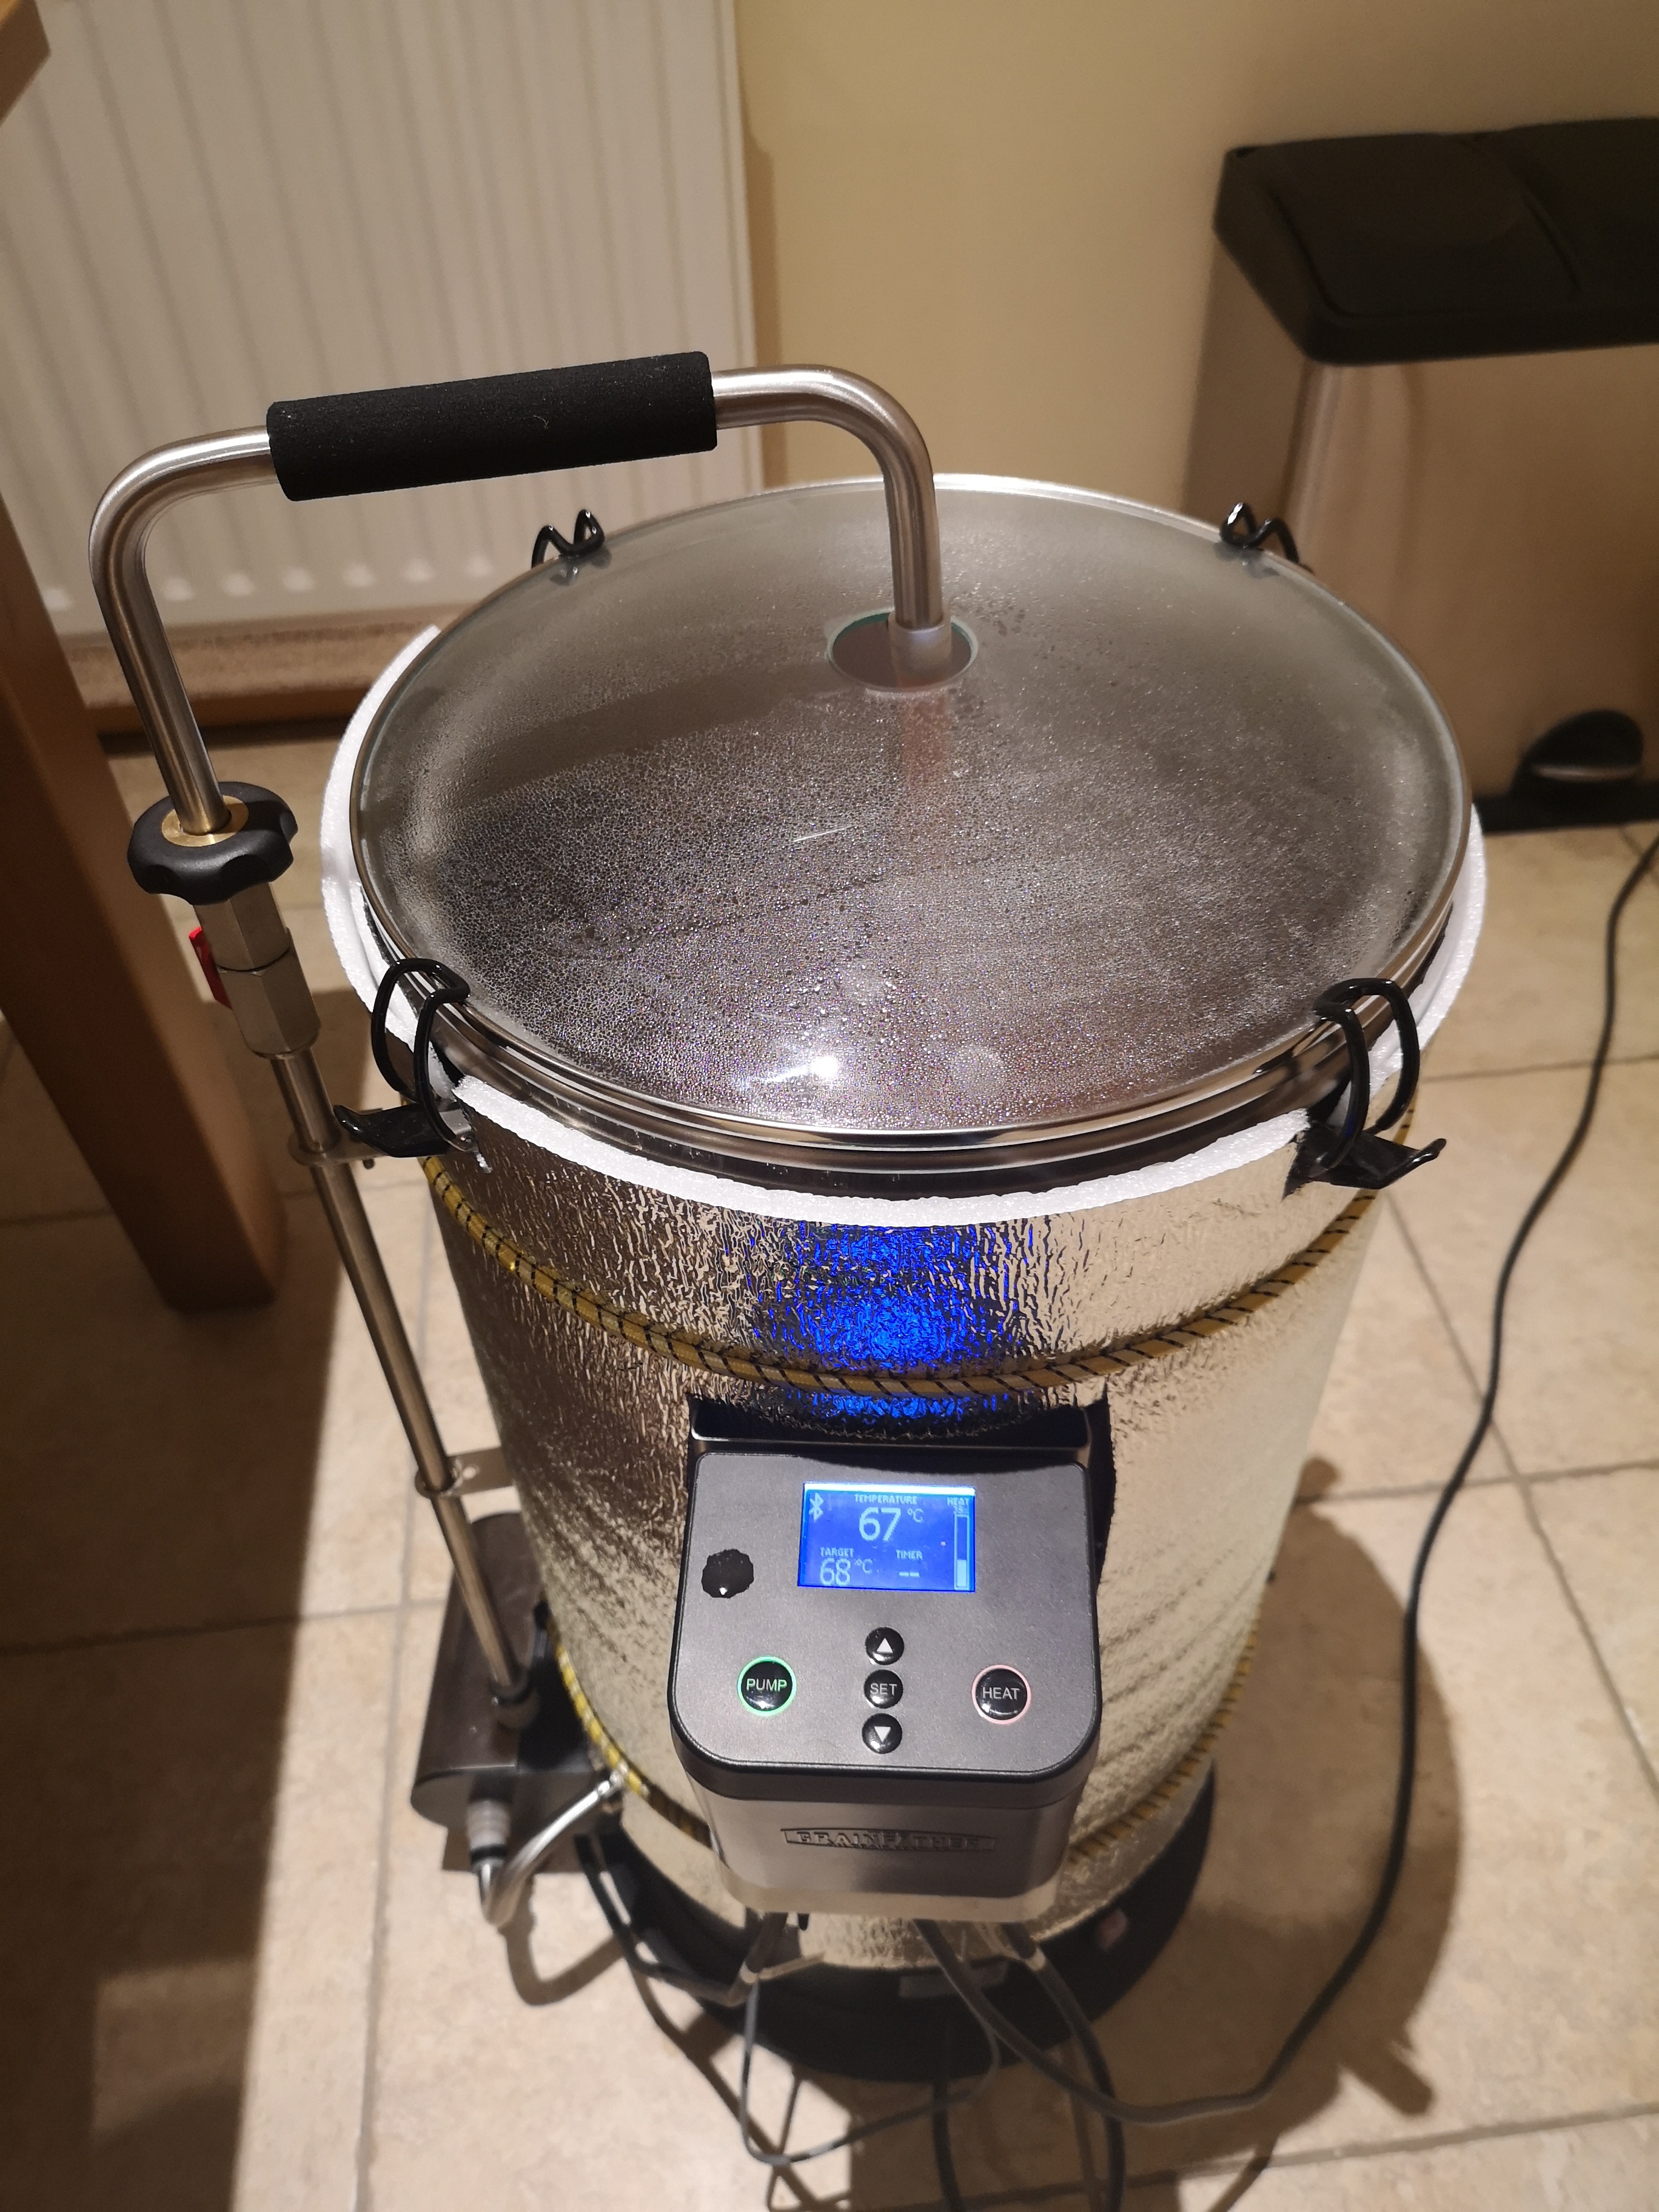
Next place the lid on the GF, attach the silicone hose to the recirculation arm, and with the hose through the hole in the lid, screw the arm onto the top of the ball valve. The hose should be sitting on the top plate but not kinked.
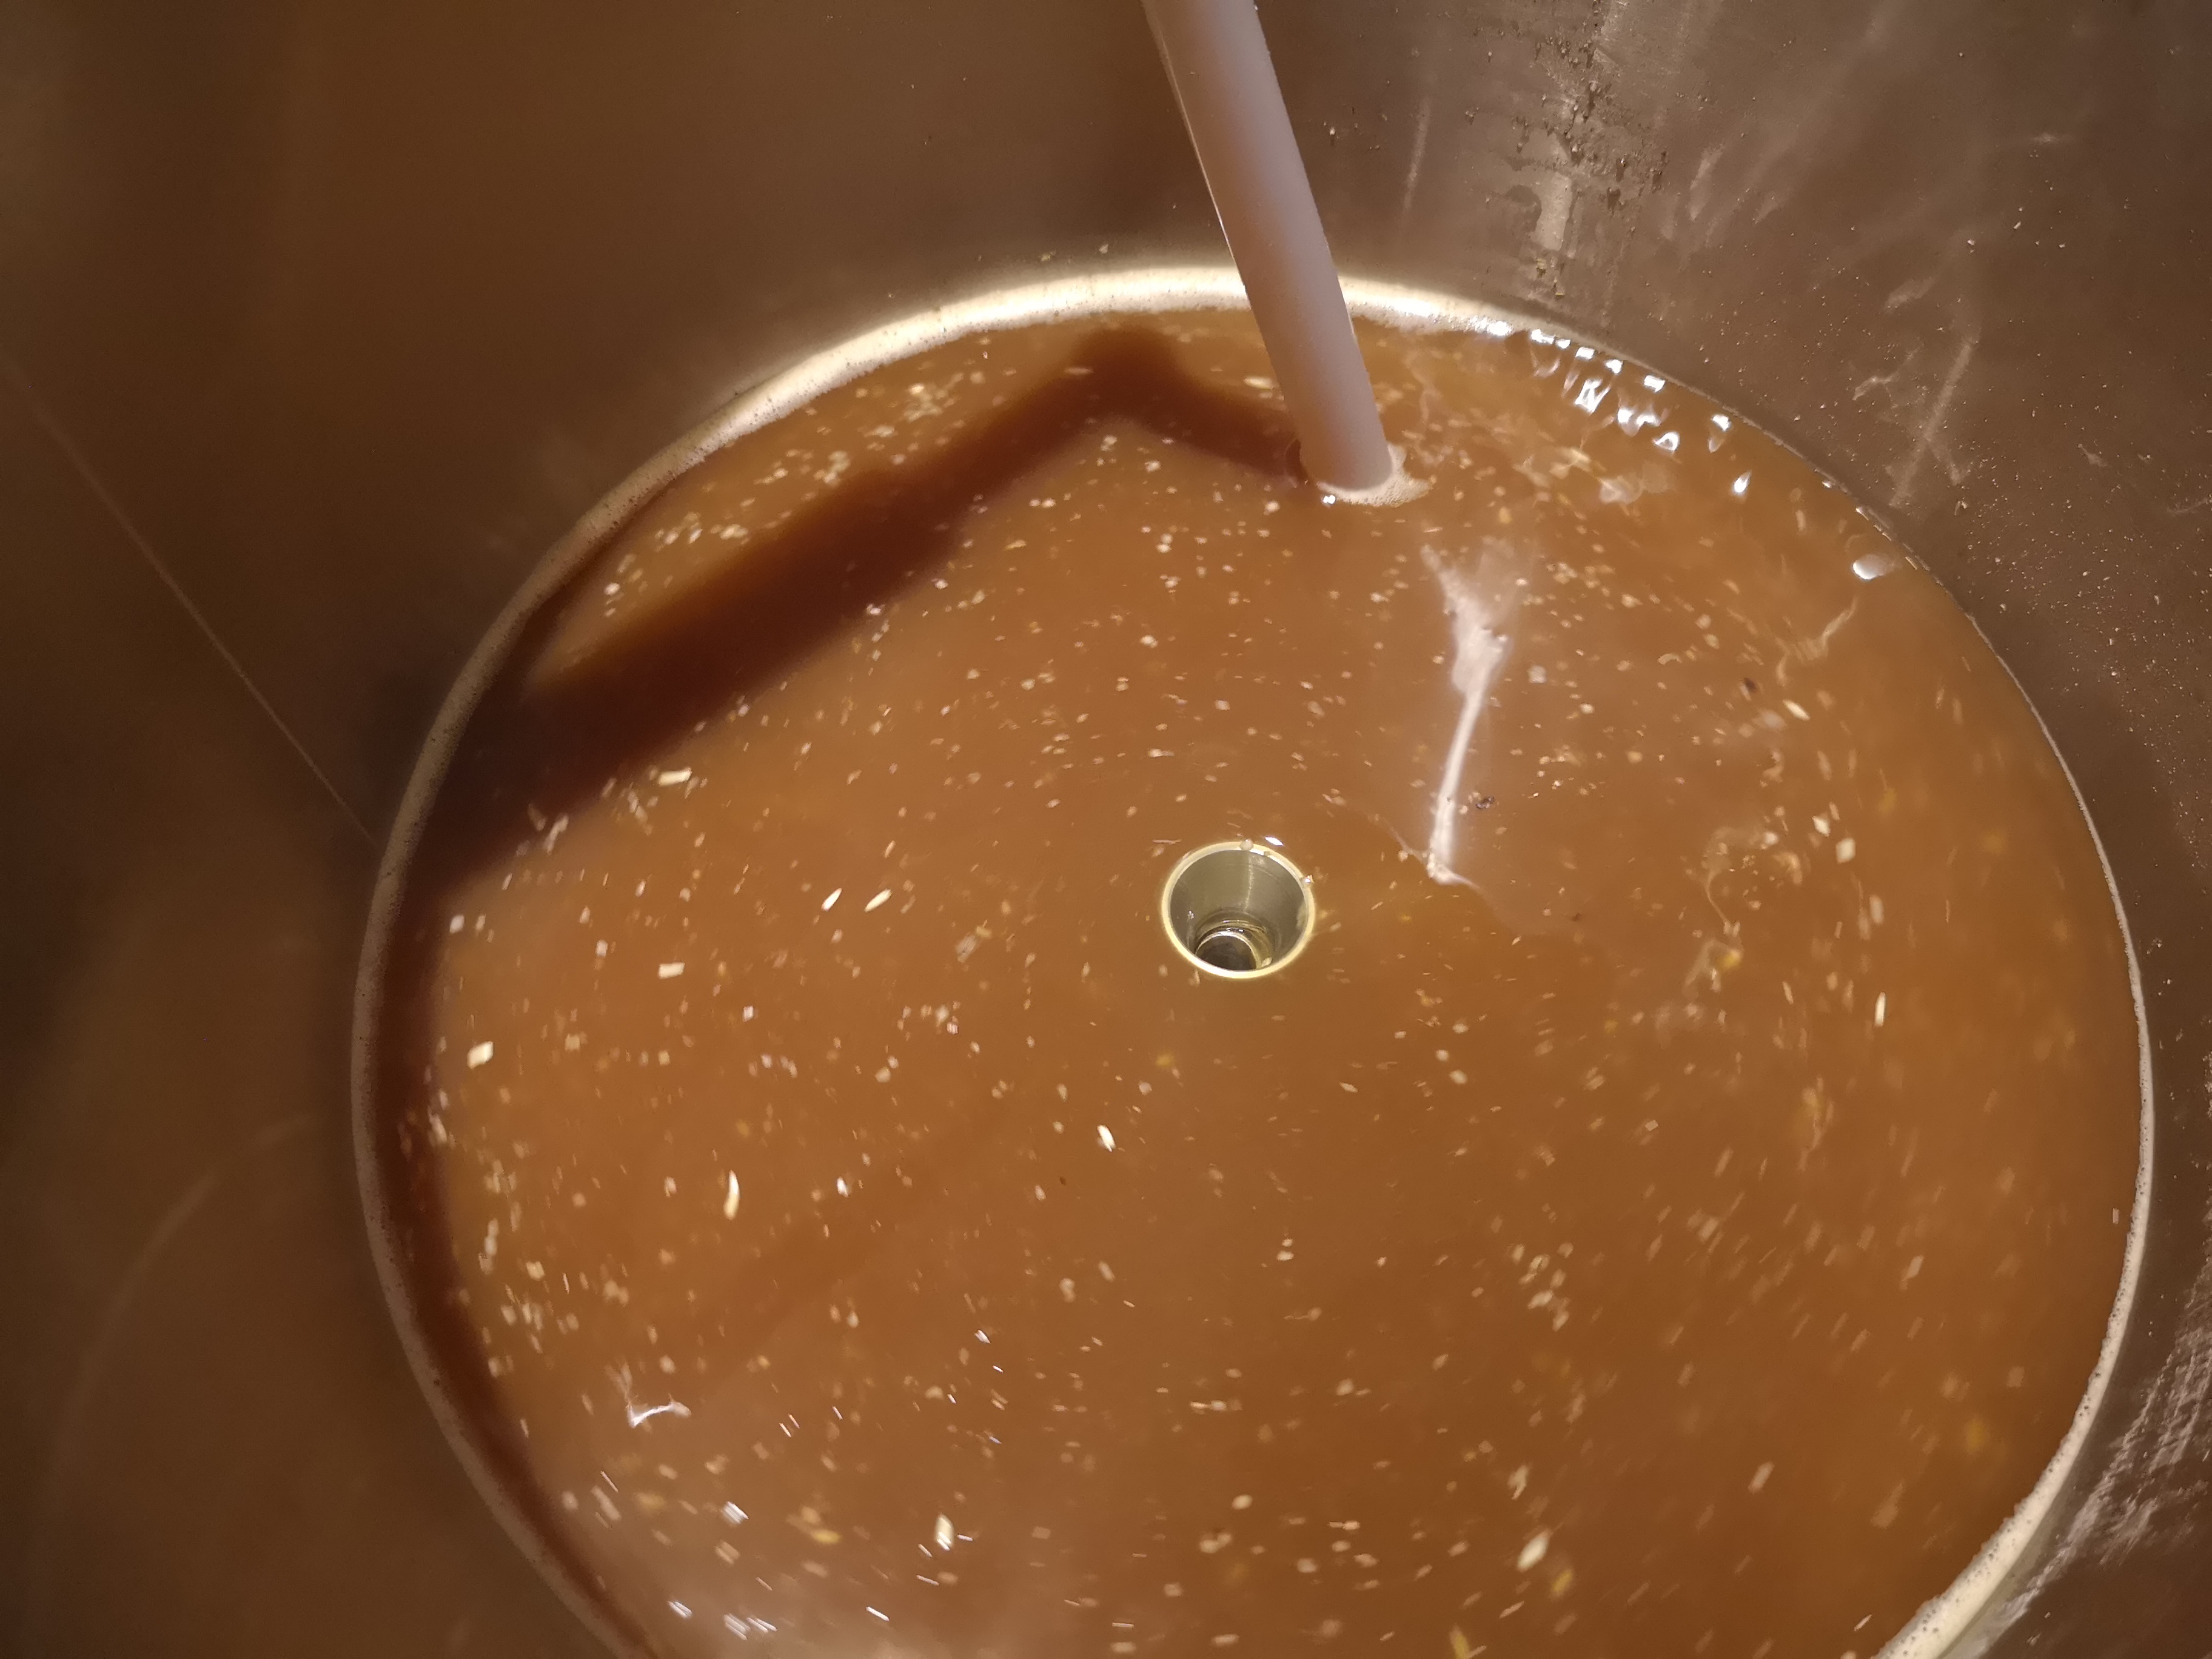
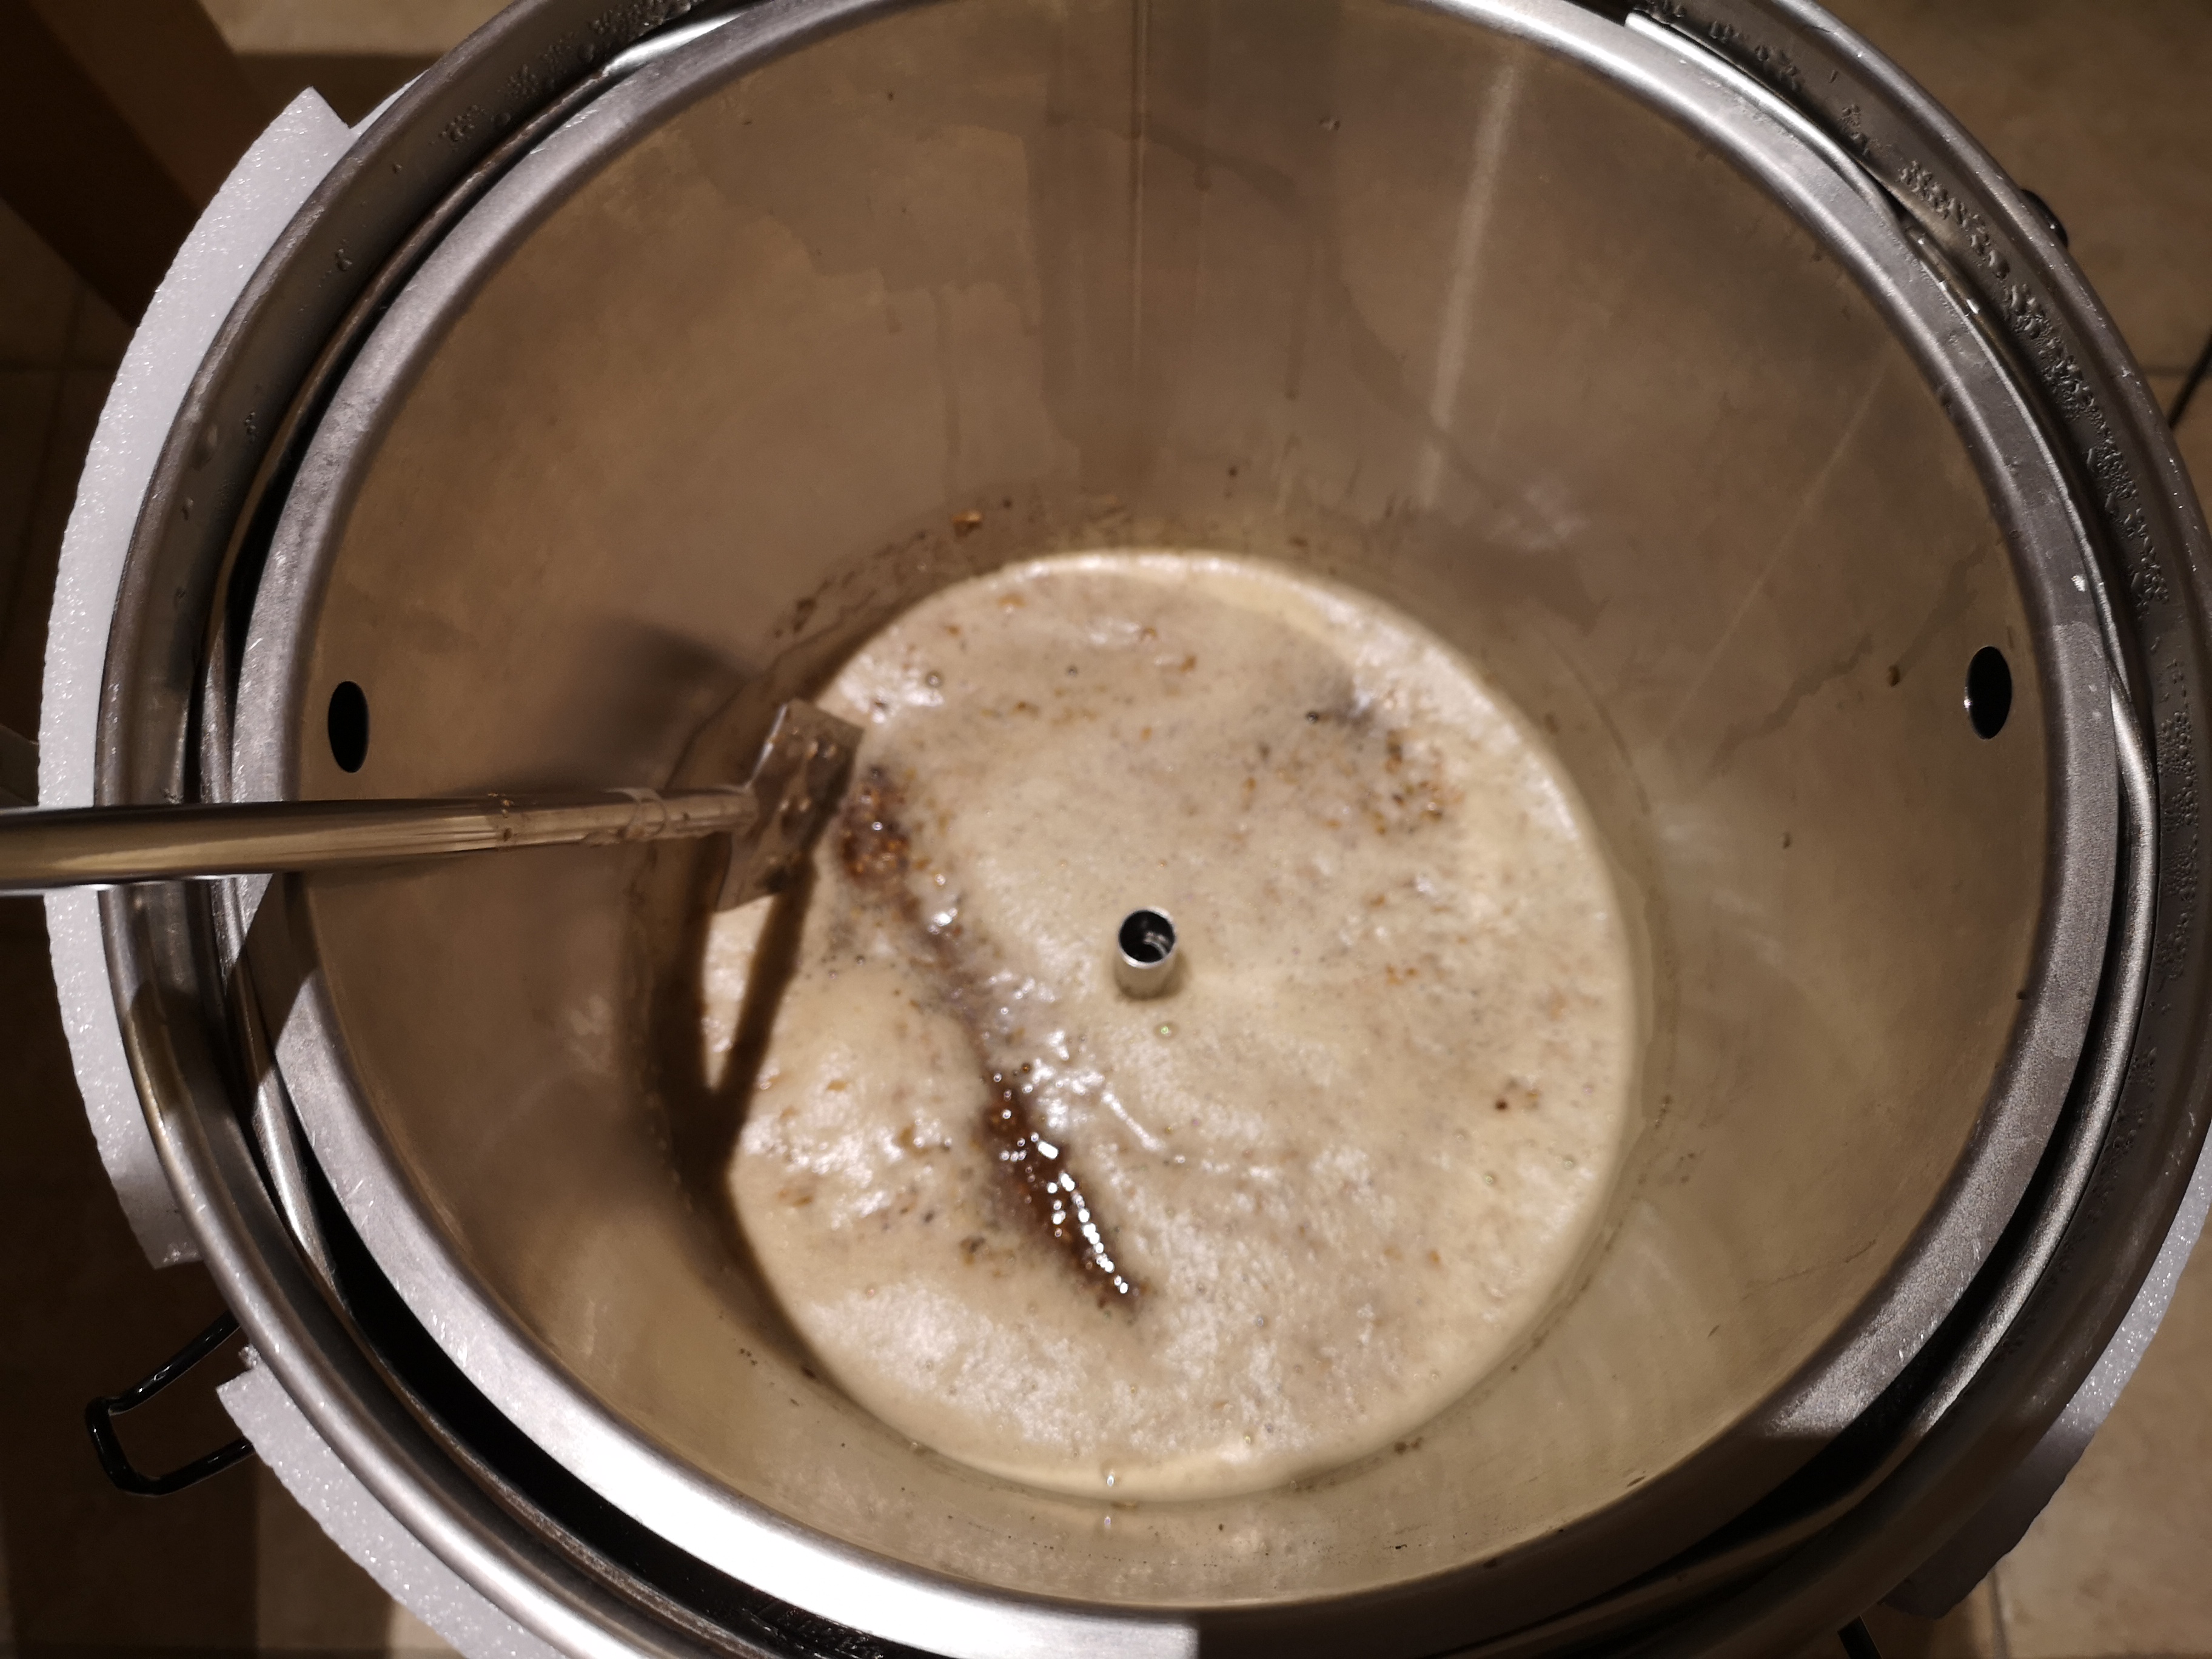
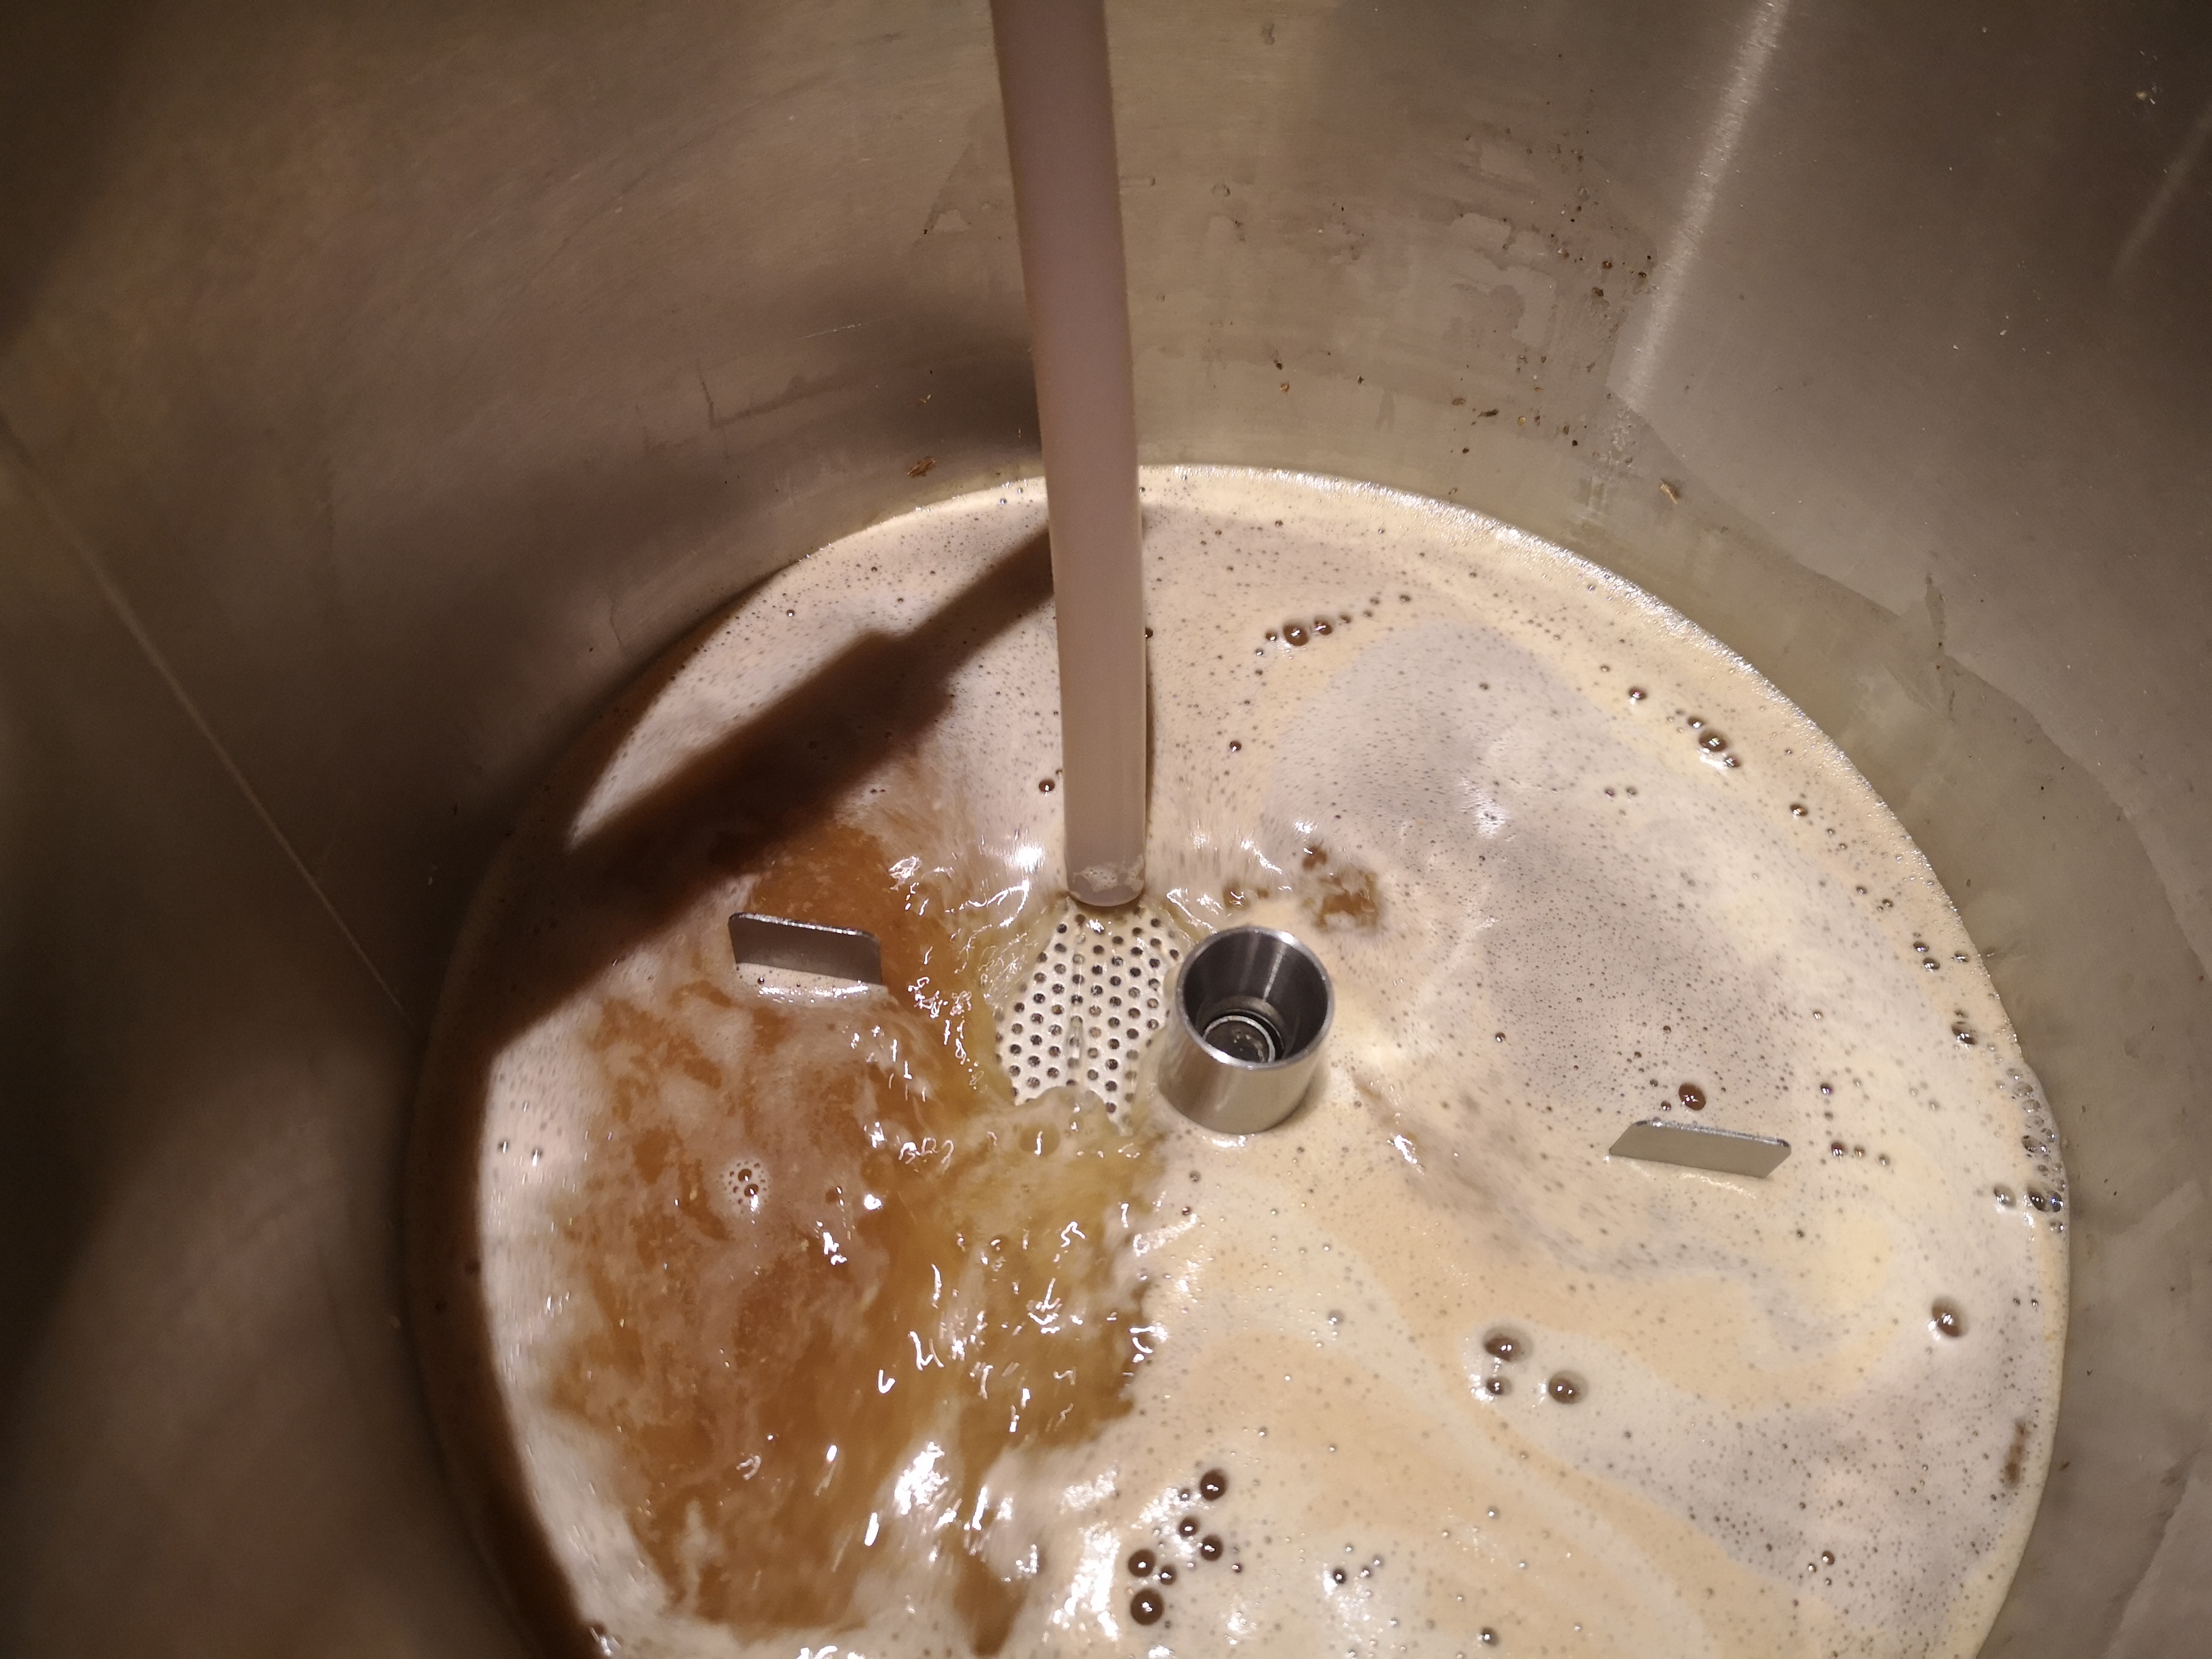
Now you're ready to start the mash recirculation, so with the ball valve in the open position, hit the “pump” button and start a timer with your mash time. The wort will start to flow onto the top plate…
Continues below...
This is a long one so apologies for that, but hopefully it's mostly foolproof and comprehensive.
With the GF Connect, you can upload your recipe with temperature steps and timings and so on direct to the controller, but for this walkthrough we'll just do it manually to get you used to the basics.
Before you start, make sure to give the GF a thorough clean to remove anything left behind from the manufacturing process. The easiest way to do this is to follow the instructions on the side of the GF cleaner which you should have gotten with it. If not, simply fill with water, heat to 60°, add a few scoops of oxy cleaner, circulate through the chiller for 15 mins then through the recirc pipe for 15 mins. If you're not sure how to do this read on…
After cleaning you'll obviously need a recipe and all the ingredients, a vessel in which to heat the sparge water, be it a GF sparge heater, an electric boiler or a stock pot, a thermometer, plus a large mash paddle or spoon, preferably stainless steel.
When you're ready to begin, remove the grain pipe, plates and recirculation arm from the GF and set them aside for now.

One little tip I was given, is to rotate the filter by 180° so that the rubber end cap is wedged against the temperature probe like the pic below. This makes it less likely to be knocked off during the boil.

If you do this, the little rubber outlet tube should be rotated back to its original position so that the hole inside the filter is facing downwards like so.

With the filter attached, you can now add the mash water. To work out how much water is required, you can use either the calculator in the GF Connect app, or the mash & sparge calculator on the GF website (under calculators).
Enter the batch size, grain weight and boil time and hit calculate. It'll tell you exactly how much water you'll need for the mash and sparge.

Don't worry about the sparge water for now, just add the mash water to the GF. Also don't be too concerned about being exact with the volume, I just round to the nearest half litre or so.

If you're planning any water treatment then now is the time to do so. If not then plug the GF in, set the mash temperature using the up/down arrows and hit “heat”.

It'll take around 20-30 mins for the water to get up to temperature, so while you're waiting you can get your grain weighed out then assemble the malt pipe and plates. To do this, attach one of the rubber gaskets to the bottom perforated plate, that's the one which doesn't have the two little handles on it.
Then attach the lower pipe to the plate using the lock nut so you now have this…

Now insert this into the grain basket. At first you might find this a bit tricky to do without pulling the gasket off, but if you wet the inside of the basket and/or the edges of the plate with water or a spray of starsan, and gently push the plate down at an angle, it should go in. Once it's in place, ensure the gasket is still seated properly.
Now attach the top pipe and grain stopper, pulling the pipe up to meet the cap on the stopper.

Next attach the second gasket to the top plate (the one with the handles) and set aside for now. You can now place the empty grain basket into the still heating GF, and await mash temperature being reached.
Once the water is up to temperature, it's time to add the grain. For the sake of efficiency, it's important to take this step slow and steady. Don't just dump the grain in, add it gently and gradually, stirring often. I use a 1L jug as a scoop and stir it well after every couple of jugfuls.

After all the grain has been added, stir for another few minutes to make sure the grain is well mixed and there are no dry spots or dough balls. Taking your time with doughing-in will really help your efficiency.
Next insert the top plate. This should go in a little easier than the bottom plate. The correct positioning of this is just below the water level, it doesn't need to be pushed right down onto the grain.

Next remove the grain stopper, place the overflow inlet onto the top pipe and push it down until the inlet slots into the hole in the top plate like so…

Next place the lid on the GF, attach the silicone hose to the recirculation arm, and with the hose through the hole in the lid, screw the arm onto the top of the ball valve. The hose should be sitting on the top plate but not kinked.

Now you're ready to start the mash recirculation, so with the ball valve in the open position, hit the “pump” button and start a timer with your mash time. The wort will start to flow onto the top plate…

Continues below...
Last edited:


