I've been looking for a fridge to use for fermenting in for a while now, but I've had no luck.... until yesterday when I was contacted by the owner of one I'd bid for on ebay. The winner had refused to pay for it, did I want it! Well Yeah! 
I collected it last night and cancelled todays brew to do some fridge bodging.
When I converted my kegerator I had the foresight to get 2 controllers and 3 tube heaters (should've been 2 but they cocked up) so no waiting for bits.
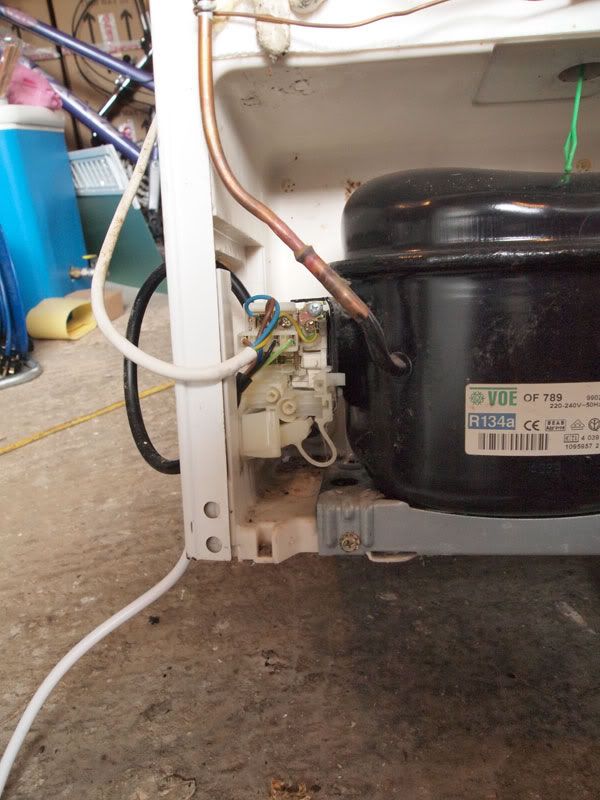
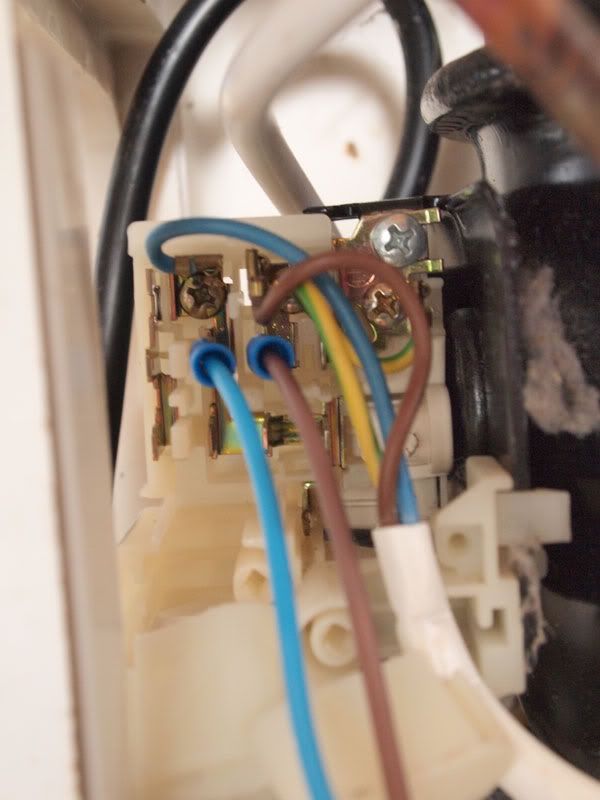
First thing was to take off the cable cover and have a good look.
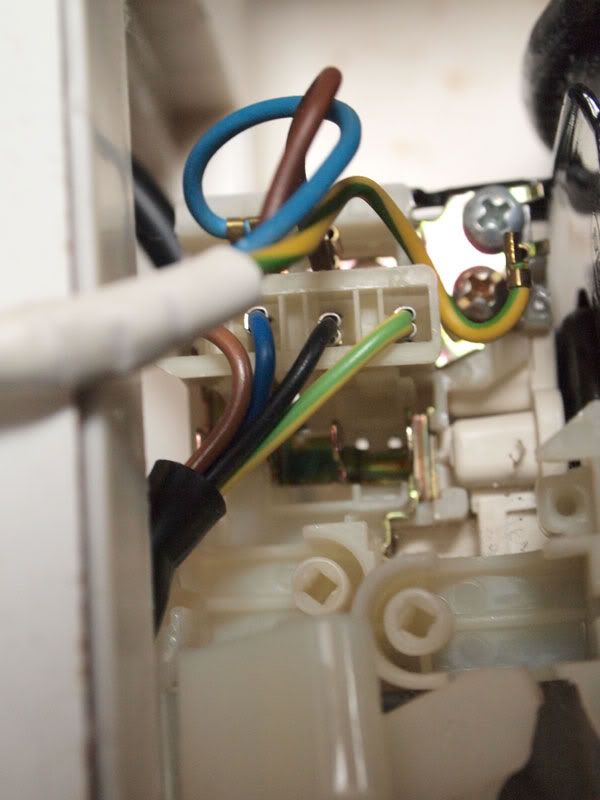
The top (white) cable is the mains feed, the bottom cable runs up to the thermostat and light in the fridge, I'm not bothered about having a light in it and also intend to bypass the thermostat, so off comes the connector.
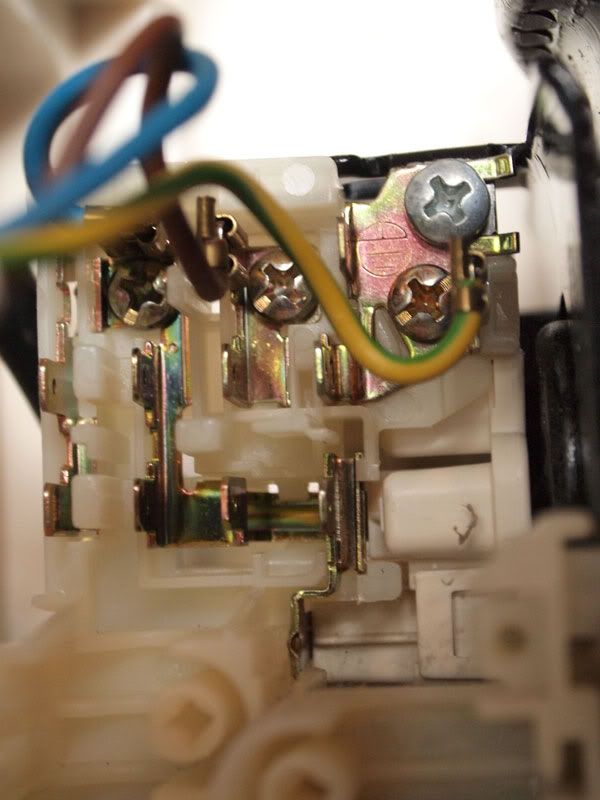
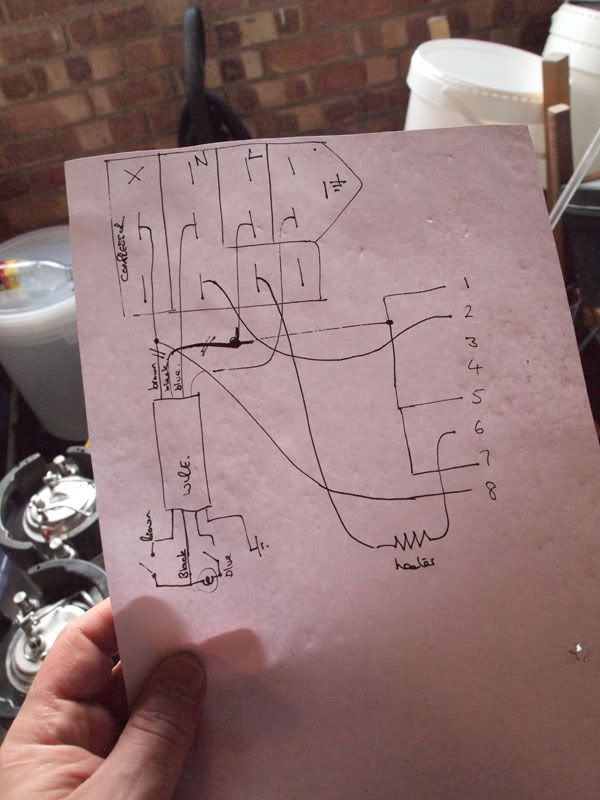
I put a meter across the brown and black wires on the disconnected connector and turn off the thermostat, the meter shows continuity then an open circuit, confirming these are connected to the thermostat. I draw myself a little picture.
The tabs the connector plugs on to are just the right size for spade connectors, there's also quite a few of them
So I can pick off the live and neutral for the controller.
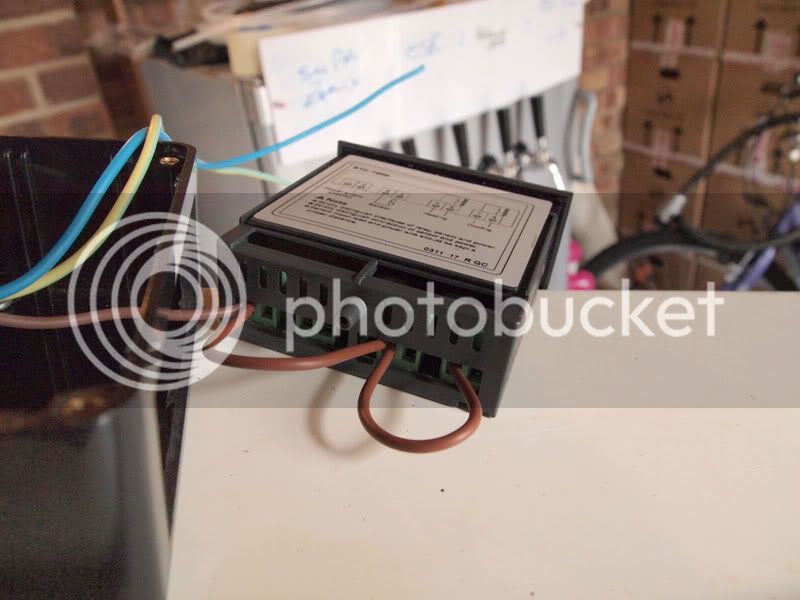
At the controller end the live is connected like this, the first input is the supply for the controller, it's then looped to the inputs for heating and cooling.
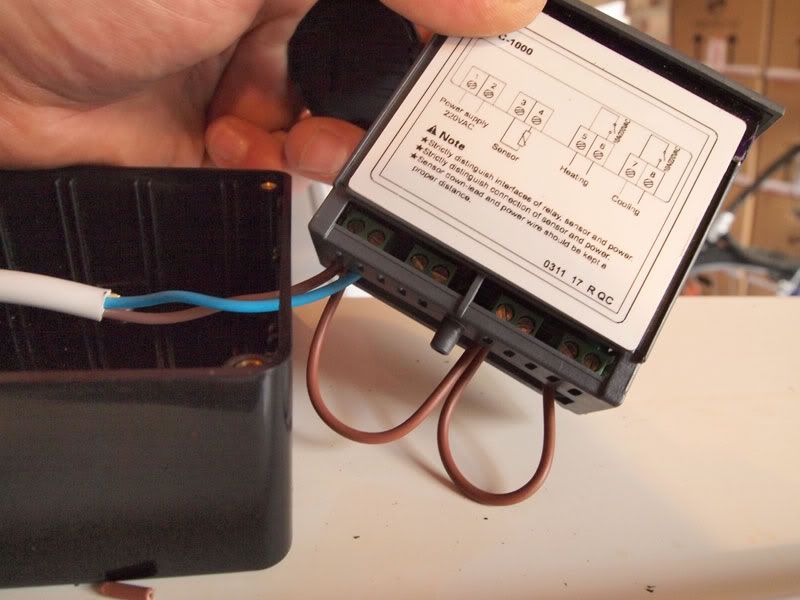
Then the neutral is connected, there is no earth on the controller.
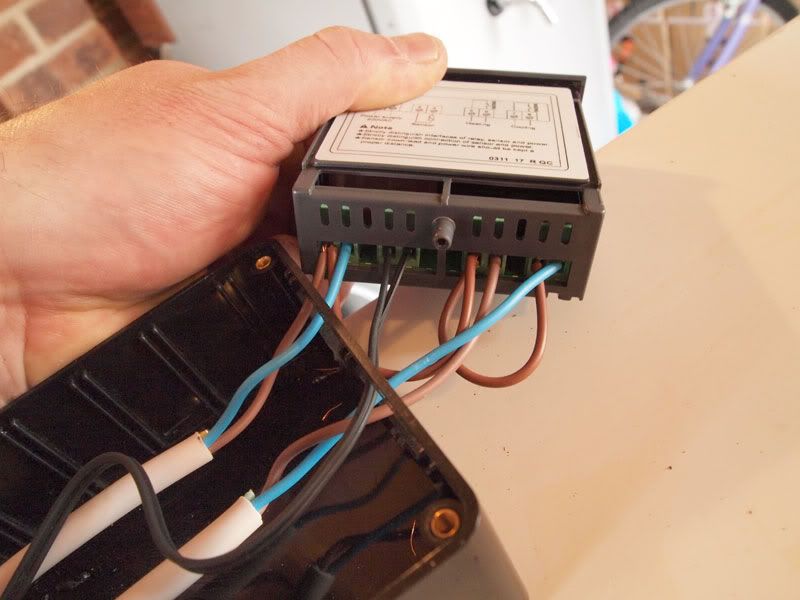
I use another bit of cable and connect the blue (cold) to the cooling output (just so I'm less likely to forget what's what). The brown is to the heater. The 2 black are for the sensor.
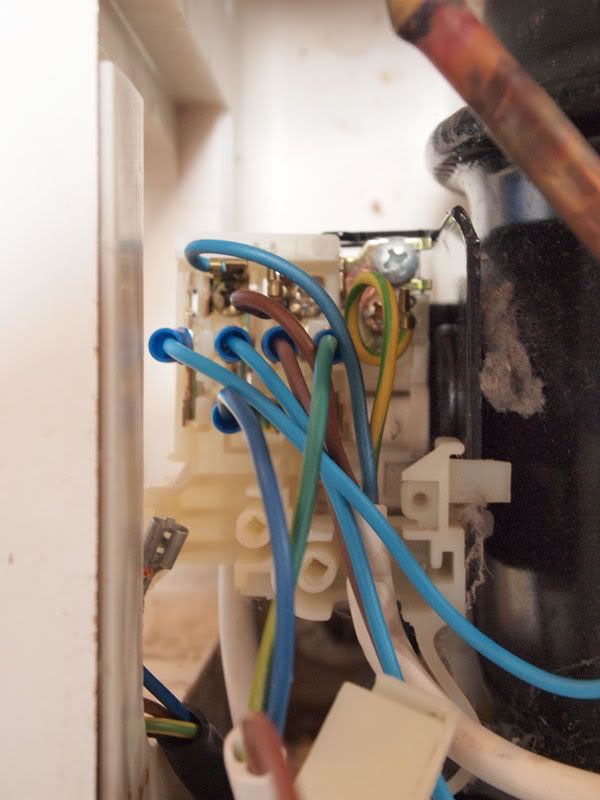
The blue then goes to the compressor (it's the blue cable next to the supply to the controller) the other 2 cables which have suddenly appeared are the neutral and earth for the heater. The live for the heater is connected together with a "chocolate block" terminal. It's then a case of tidying things up.
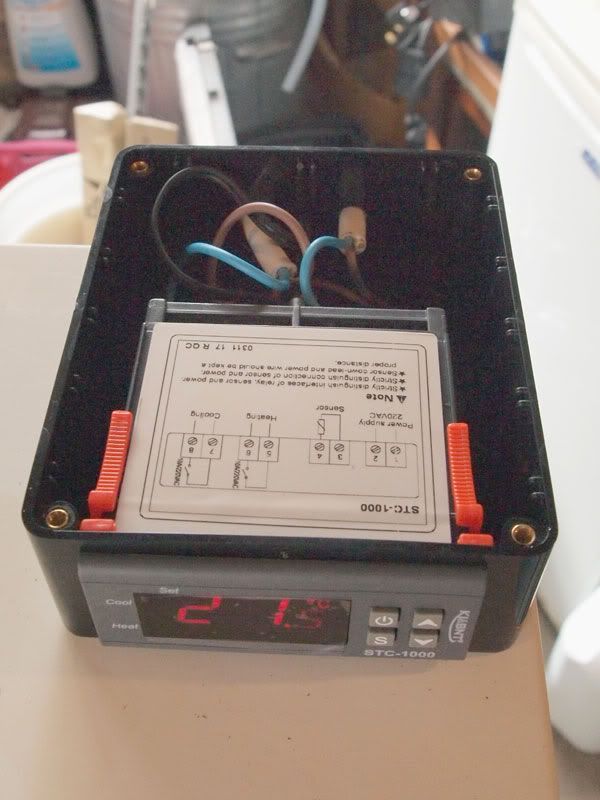
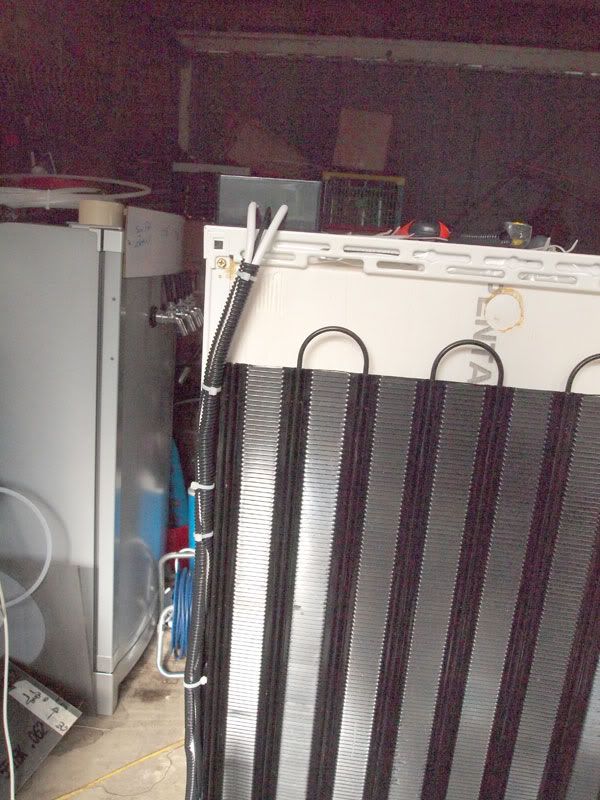
The heater, make sure you're not going to drill though anything when making the hole for the cable.
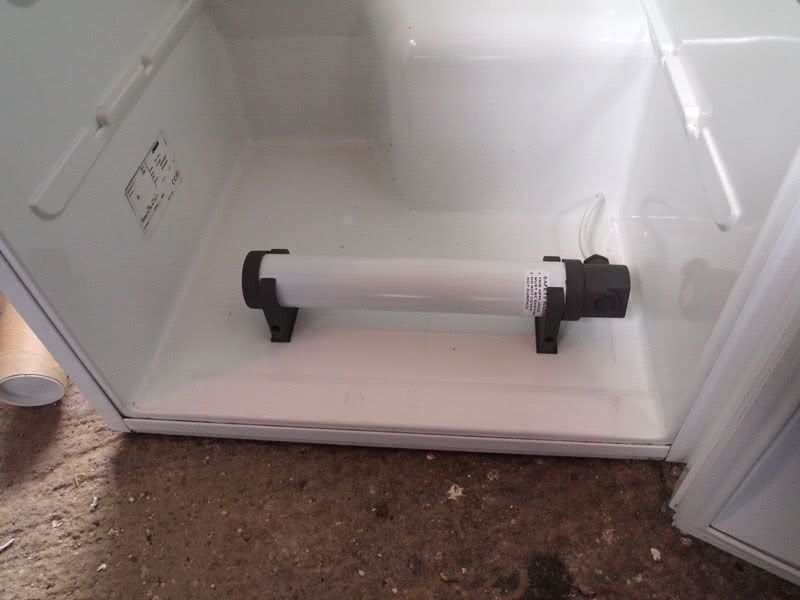
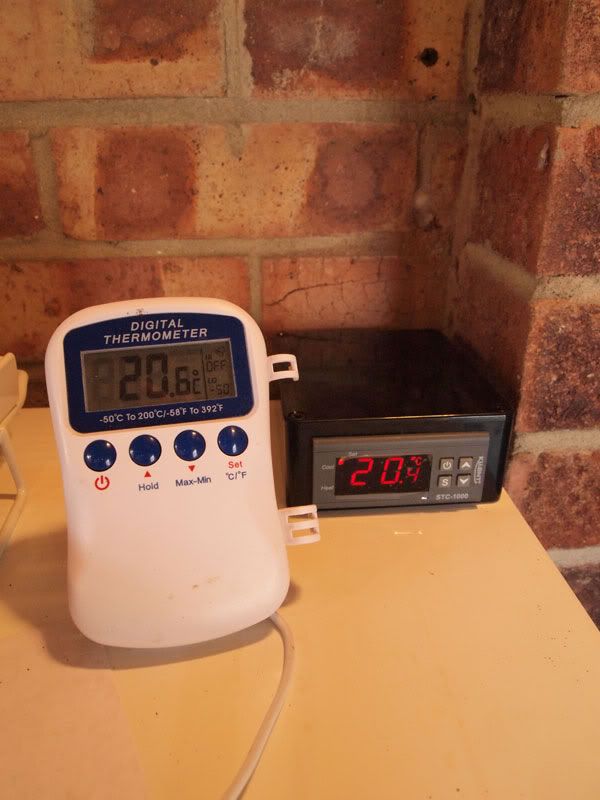
Then to test the heating, cooling and accuracy... phew, it all works! :
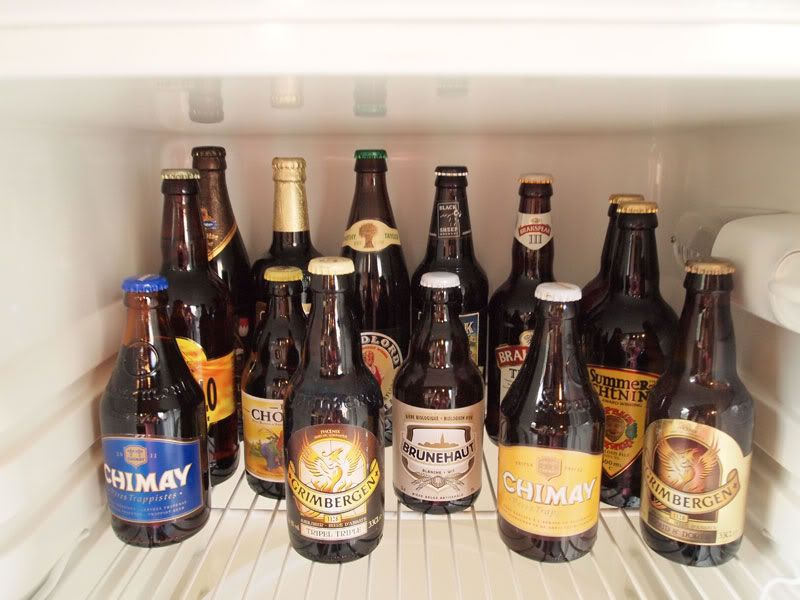
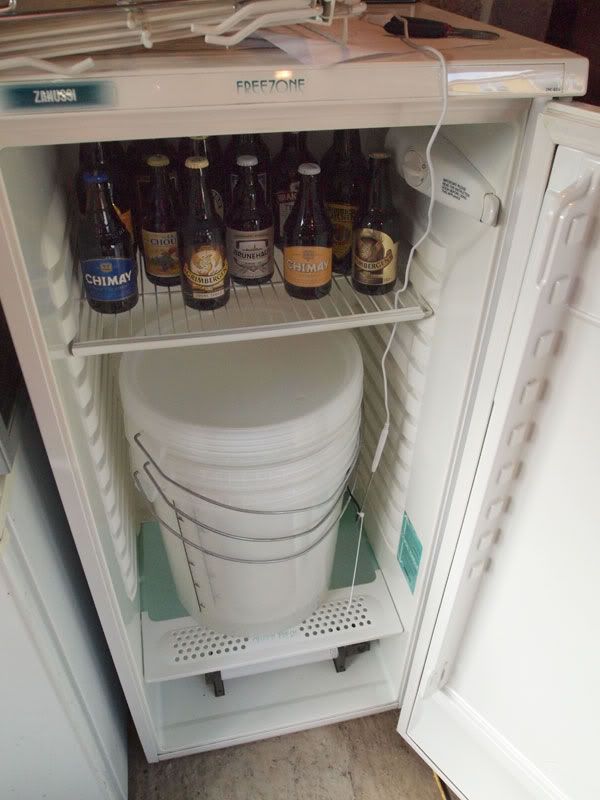
It'll hold 2 full fermenters.... or 4 stacked and some "research"
DISCLAIMER.
1) Your fridge might not be the same as mine.
2) If you're not sure what you're doing, DON'T.
3) If a a result of meddling you burn down your house, kill yourself or worse, ruin a brew. It's your fault not mine.
I need a beer now.
I collected it last night and cancelled todays brew to do some fridge bodging.
When I converted my kegerator I had the foresight to get 2 controllers and 3 tube heaters (should've been 2 but they cocked up) so no waiting for bits.

First thing was to take off the cable cover and have a good look.

The top (white) cable is the mains feed, the bottom cable runs up to the thermostat and light in the fridge, I'm not bothered about having a light in it and also intend to bypass the thermostat, so off comes the connector.

I put a meter across the brown and black wires on the disconnected connector and turn off the thermostat, the meter shows continuity then an open circuit, confirming these are connected to the thermostat. I draw myself a little picture.

The tabs the connector plugs on to are just the right size for spade connectors, there's also quite a few of them
So I can pick off the live and neutral for the controller.


At the controller end the live is connected like this, the first input is the supply for the controller, it's then looped to the inputs for heating and cooling.

Then the neutral is connected, there is no earth on the controller.

I use another bit of cable and connect the blue (cold) to the cooling output (just so I'm less likely to forget what's what). The brown is to the heater. The 2 black are for the sensor.

The blue then goes to the compressor (it's the blue cable next to the supply to the controller) the other 2 cables which have suddenly appeared are the neutral and earth for the heater. The live for the heater is connected together with a "chocolate block" terminal. It's then a case of tidying things up.


The heater, make sure you're not going to drill though anything when making the hole for the cable.

Then to test the heating, cooling and accuracy... phew, it all works! :


It'll hold 2 full fermenters.... or 4 stacked and some "research"


DISCLAIMER.
1) Your fridge might not be the same as mine.
2) If you're not sure what you're doing, DON'T.
3) If a a result of meddling you burn down your house, kill yourself or worse, ruin a brew. It's your fault not mine.
I need a beer now.




![BREWING THERMOMETER STICKERS ACCURATELY MONITOR FERMENTING BEER & WINE LIQUID TEMPERATURES 5PCS HOME BREW SPIRITS WINE LCD ADHESIVE [US]](https://m.media-amazon.com/images/I/311DDjo2X3L._SL500_.jpg)


