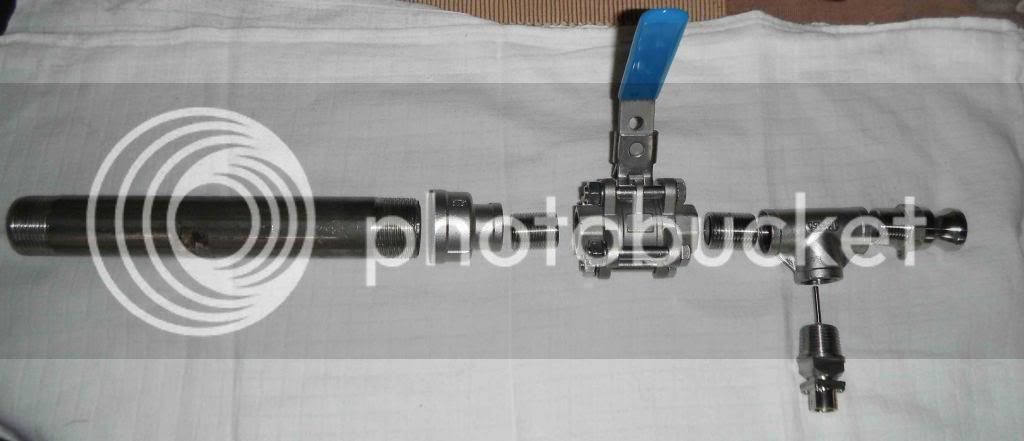
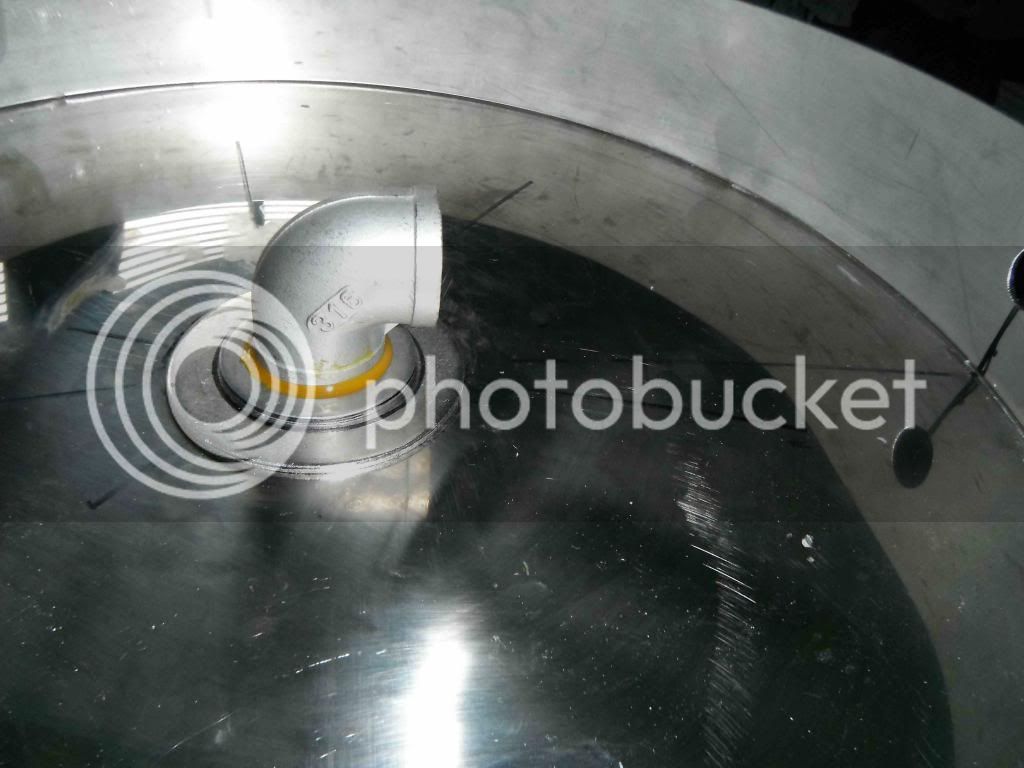
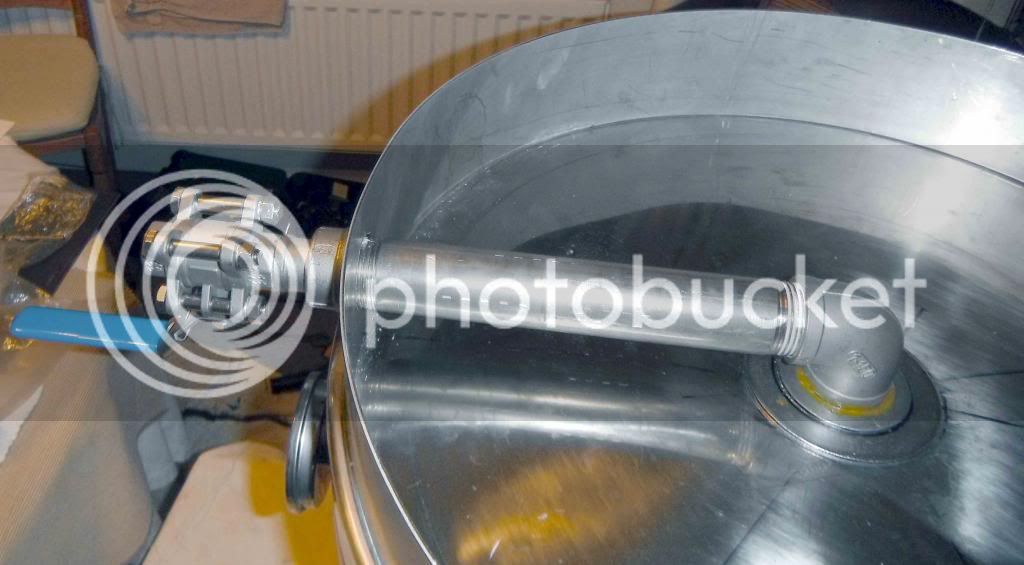
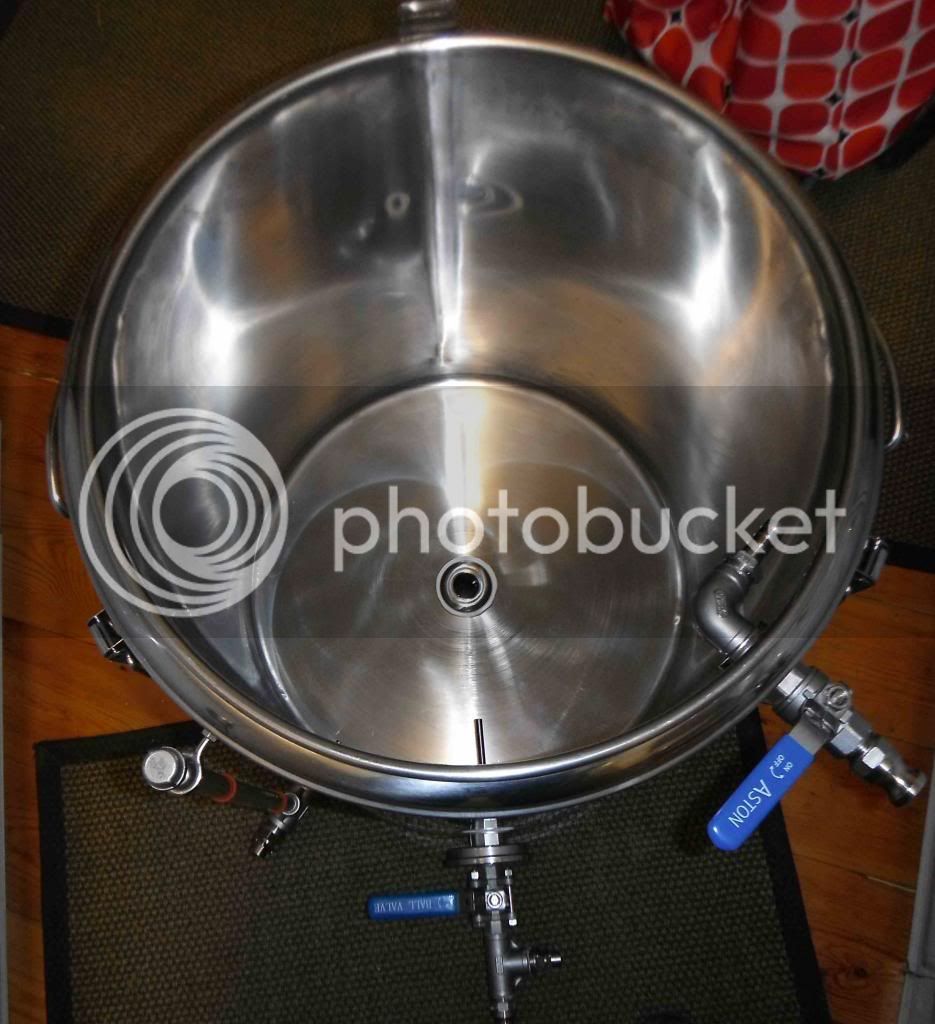
Time now to fit the outlet ball valve. Although I am using a ½â ball valve and ½â BSP fittings, the skin fitting used for the drain on this build is actually a 1â BSP fitting. This is only because I had the 1â fitting left over from another build project some time ago and it meant I didnât need to buy a new ½â drain fitting. I had to chop down the length of the stem by 5/8â with an angle grinder as it was slightly too long. I used a 34mm Starrett to drill the hole through the thermopot base. What marvellous cutters these are â went through so easily. I drilled a 4mm pilot hole through both bottom inner and outer skins first to make sure the hole was centred. The Starrett isnât long enough to go through both skins, so I had to drill inside and outside of the pot base separately; the pilot hole keeps everything centred. The 1â drain is fitted into a 1â elbow, and then a 9â long 1â BSP 304 barrel nipple screws into this (purchased from here: http://www.ebay.co.uk/itm/1-BSPT-BARREL ... 4ab5e5bc1f). A 1â x ½â reducing socket (http://www.bes.co.uk/products/165a.asp?EPBOE=#14327) screws onto the end of the nipple on the outside of the skirt. The ½â BSP ball valve screws into the reducing socket with the use of a 316 Stainless Steel 1/2" BSP Parallel Nipple 25mm long. The output side of the ball valve is fitted with a ½â BSP T that holds the temperature probe and a camlock connector. All threads, bar one, are sealed using Loctite 55 pipe cord â I find this offers a much better seal than PTFE tape. It was easier to use Rocol Rapidseal on the joint where the skin fitting joins the elbow. The threads were too close fitting to make succesfully with Loctite 55. Two washers were used under the elbow to get the right outlet height and allow very firm tightening against the base. Pictures below show base pipe work fittings before and after assembly:
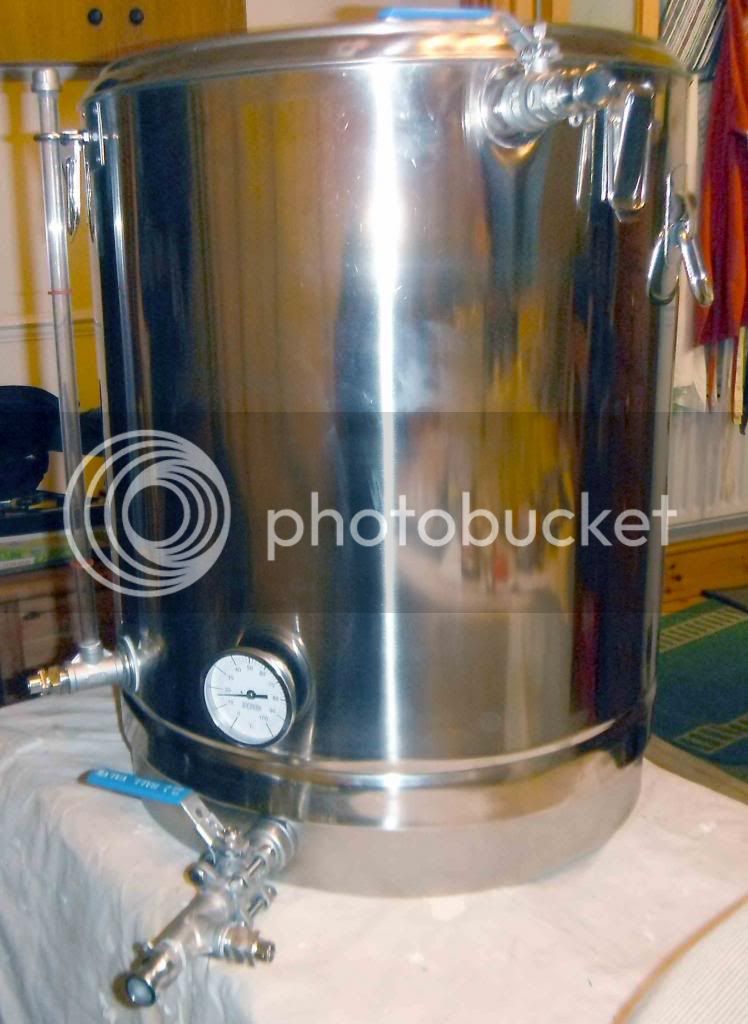
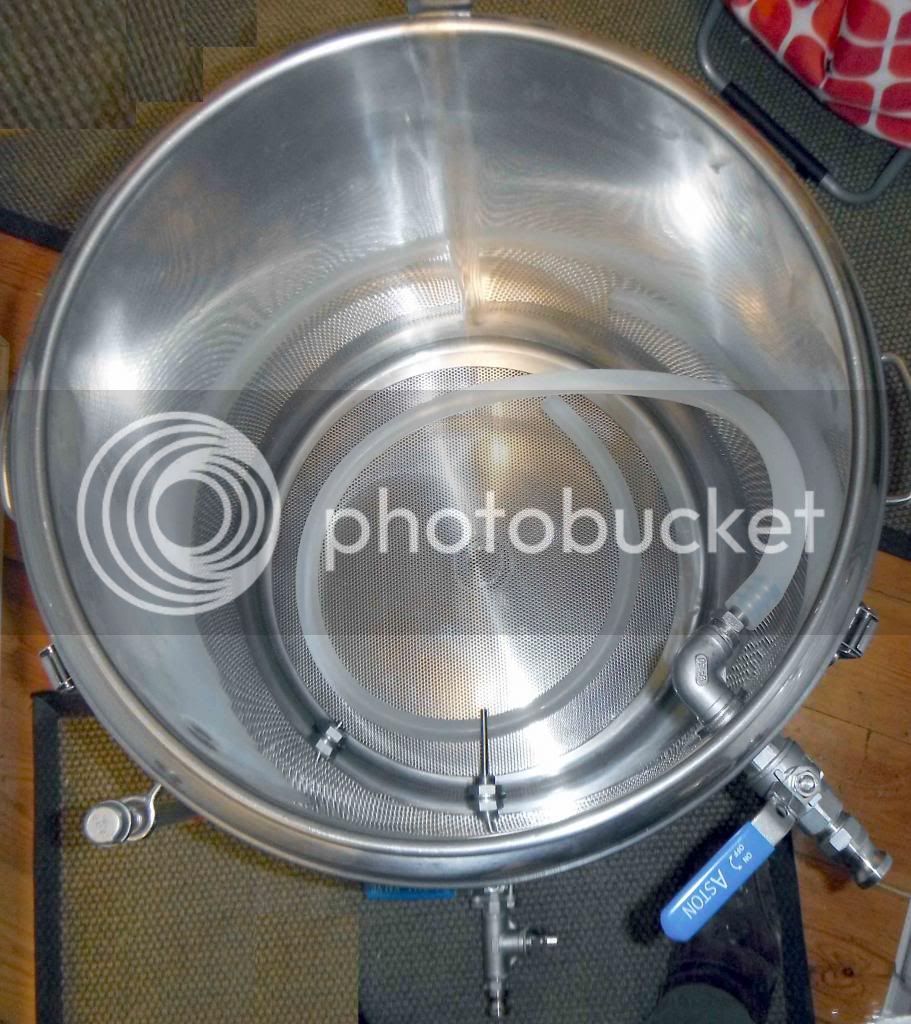
I tested the water tightness of the pot by leaving it filled for several hours. To my horror the bottom joint of the sight glass was rapidly dripping water. Upon dismantling the joint I found that the silicone âOâ ring had a split. I replaced the ring and tightened the joint up again and all was well. All Iâm going to do now is to fit a stainless steel cupboard-type handle to the pot lid to make it easier to lift on and off. I will post a picture of this when done as Iâm waiting for the handle to be delivered from a cheap source in China. Final pictures below show the finished mash tun, complete with false bottom and sparge hose. Next building stage is the boil kettle and I will post up details when construction starts.


I tested the water tightness of the pot by leaving it filled for several hours. To my horror the bottom joint of the sight glass was rapidly dripping water. Upon dismantling the joint I found that the silicone âOâ ring had a split. I replaced the ring and tightened the joint up again and all was well. All Iâm going to do now is to fit a stainless steel cupboard-type handle to the pot lid to make it easier to lift on and off. I will post a picture of this when done as Iâm waiting for the handle to be delivered from a cheap source in China. Final pictures below show the finished mash tun, complete with false bottom and sparge hose. Next building stage is the boil kettle and I will post up details when construction starts.


 :whistle: