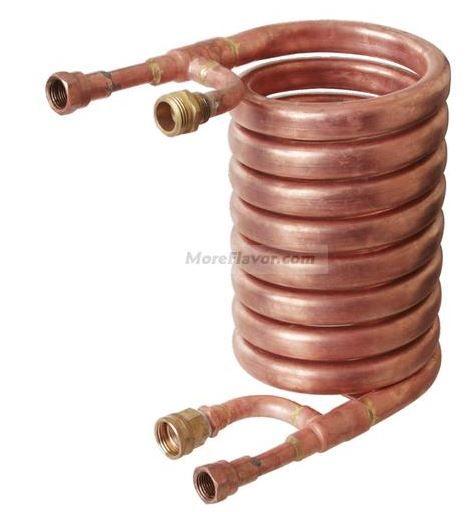
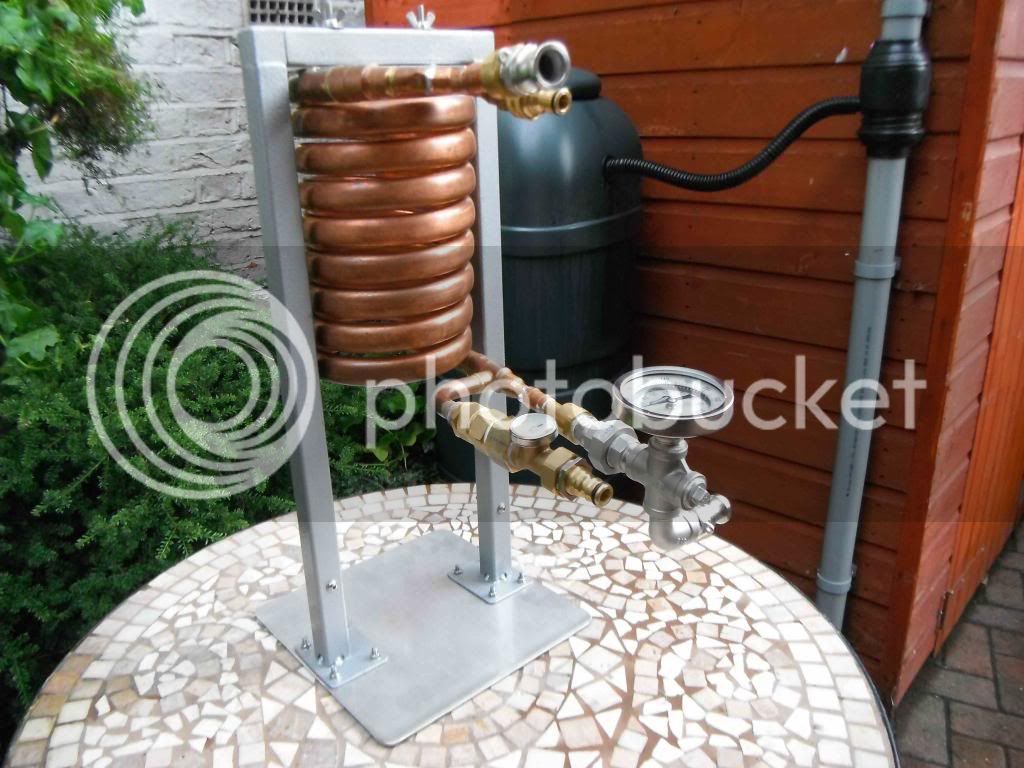
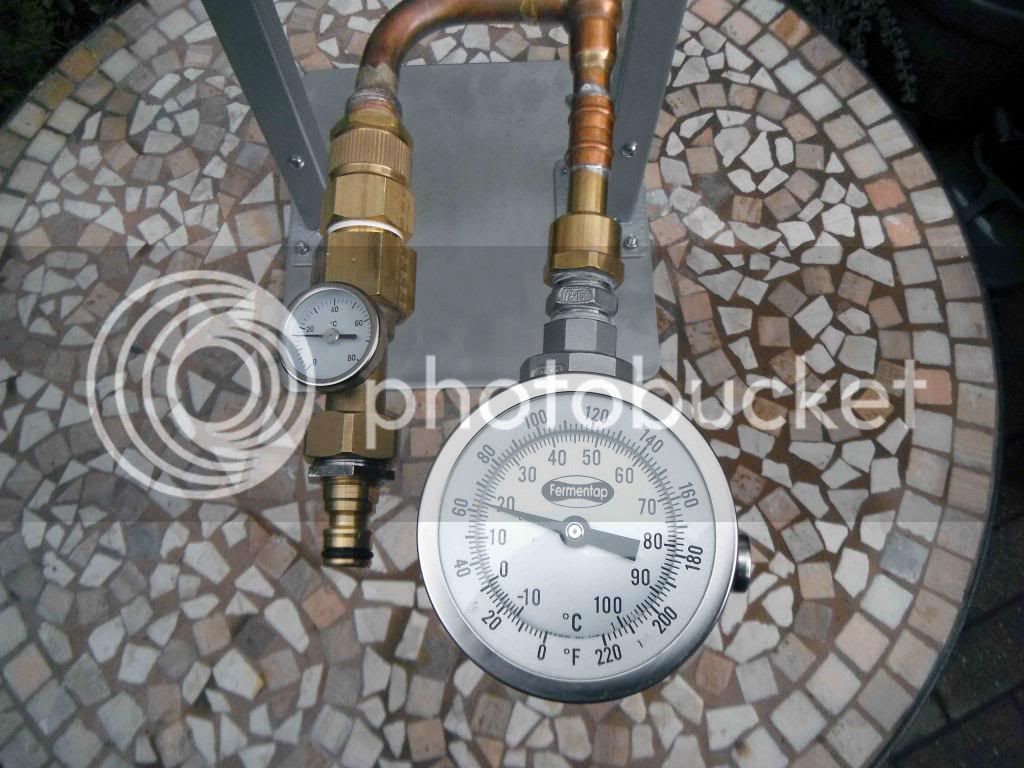
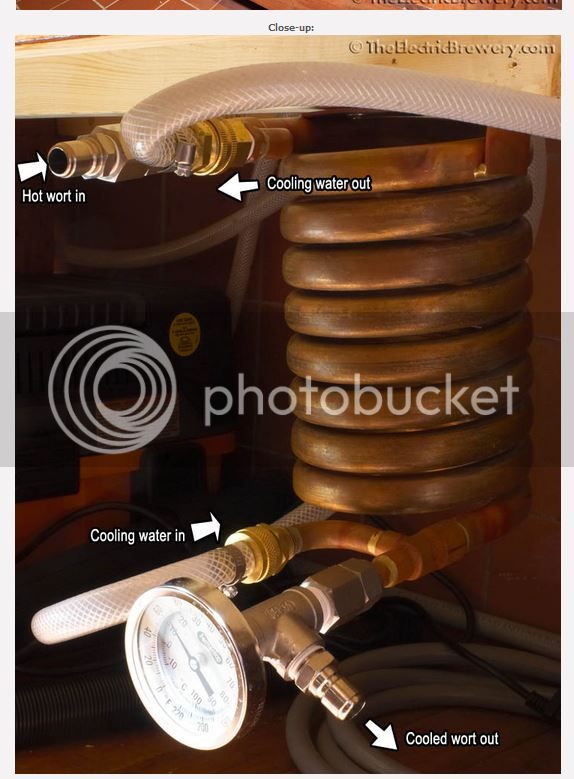
As part of my Electric Brewery build, I have followed the recommendations of âThe Electric Breweryâ website and purchased the âChillus Convolutusâ counter flow chiller from the US site Morebeer: http://morebeer.com/category/counterflo ... llers.html. This is a robust piece of equipment and very well made. However, the main drawback is that all the connections on it are American NPT and American garden hose threads. So the first thing I had to do was make it compatible with my UK set up. The female beer fittings as supplied are simply soldered on, so after desoldering and cleaning the joints on the chiller, I fitted a pair of John Guest brass ½â BSP â 15mm female stem adapters, part number MW501514N, which are made of DZR brass. To join the adapters to the existing pipes I used 15mm standard Yorkshire Solder Ring Straight Couplers WRAS approved. The existing copper pipe diameter was slightly too small for a snug fit of the coupling, so I used a copper pipe jointer just to flare open the diameter by a millimetre or so. Lead free solder was used throughout. As I wanted to adapt the American garden hose thread to take the standard UK clunk-click hozelock fitting. I bought these quick connecting connectors: http://cgi.ebay.co.uk/ws/eBayISAPI.dll? ... OU:GB:3160. Although the advert says NPT, they are actually ¾â US garden hose connections, which has a coarser thread. I did tell the seller they are wrongly advertised, but I note they are still referred to as NPT. I bought a Water Hose Coupling 3/4 GHT(M)x3/4 FNPT and a Coupling Swivel 3/4 GHT(F)x3/4 FNPT from http://www.tizaro.com to take the quick connects. I also found I needed a Double Female Water Hose Coupling Swivel, again from Tizaro. To make sure I knew the temperature gradients I purchased an inline MAGRA thermometer to record the cold water input temperature (http://www.ebay.de/itm/MAGRA-Thermomete ... OC:GB:3160) and a standard sort of dial thermometer to read the outgoing beer temperature, which was connected into a ½â stainless steel equal cross. I connected this face-up so that it was easier to read. To fit the inline thermometer to the hose fitting I had to buy an ADAPTOR M/F NPT/BSP 3/4" from here: http://www.airlines-pneumatics.co.uk. Of course the chiller needed to be mounted in some way, using its own pre-welded mounting plate on the top, so I decided to make a caddy from 25mm square tube with the appropriate steel core connectors and base fittings (http://www.tradesystems.co.uk/acatalog/ ... ystem.html). I didnât like the black finish on the tubing, so used a hammered silver spray paint to give it a better look. The base of the caddy needs to be sufficiently strong and well stabilised to take the weight of the chiller and caddy frame, so I mounted it on a piece of Stainless Steel Sheet Grade 304 Mill Finish 3mm thick 250mm x 250mm, using countersunk 5mm stainless steel bolts. The chiller is fixed to the caddy with 6mm wing nuts. The inline thermometer can be removed by unscrewing the swivel hose connector as it is only hand tight against a rubber gasket. The equal cross connector with the dial thermometer is plumbed to the beer output using a 1/2â BSP cone seat union, again making it very easy to remove. After both thermometers and any rubber gaskets have been removed, the chiller can be removed from the caddy and placed into an oven (after rinsing out the coil) for easy drying and sterilisation. I hope the pictures below explain how it all functions.


