More yeast harvesting...

The Homebrew Forum

Help Support The Homebrew Forum:

This site may earn a commission from merchant affiliate links, including eBay, Amazon, and others.

StevieDS

Regular.
Joined
Oct 7, 2012
Messages
454
Reaction score
0
Location
Northern Ireland
I know there are quite a few topics on reusing yeast from previous brews but it's something I've not really tried as yet.
Yesterday however, I bottled my Bavarian wheat beer and on a whim decided to pour about 400 ml or so of the yeast cake into a spare pet bottle. I left the lid ajar and stuck it in the fridge.
About 24 hours later and there is 2 distinct layers as the yeast/trub has separated from the beer.
Question is, how do I go about reusing this in another brew? Does it need washed? Can I just make a starter with the whole lot without washing?
Thanks, Stevie.
 
Hi Stevie,
There should be 3 layers, at the top is fluid or wart from the previous brew then the first solid layer which is useable yeast and at the bottom is the trub. Its not always easy to see the difference between these 2 layers but they are occasionally slightly different colours. You can easily rinse yeast by pouring off the old spent wart and pouring on boiled and cooled water and giving the mix a gentle shake to mix it up then put it in the fridge for a couple of hours, you can do this 2 or 3 times without any problem. you can then store it in the fridge for a couple of weeks.

The term washing usually refers to an acid wash which is a whole different process.
 
Thanks LeithR, so I can just discard the liquid layer of beer then?
This thread seems to suggest that the top layer is the one you want, no? :wha:
Unfortunately because I foolishly used a brown coopers bottle I can't see the 2 layers of yeast and trub even when held up to the light :doh:
Would it matter if the trub was pitched with the yeast?
 
The best way to do it in a home environment with minimal fuss is to.........

1: Pour boiled/cooled water into FV after transfer
2: Swirl this around to loosen yeast
3: Pour into sanitary conical flask (juice bottle will do)
4: Put in fridge
5: Wait until you have 3 distinct layers
6: Pour beer on top down drain
7: When yeast starts to come out with beer, start pouring into another sanitary vessel
8: Stop when trub (dirty/dark bottom layer) starts coming through
9: Add cooled/boiled water to new vessel and swirl
10: repeat from step 4 until you have a clean thick layer of yeast

K
 
Thanks kev, I'll def do that next time.
So is what I have collected this time useless, because I've only got about 400ml in total? Not enough viable yeast?
 
If it's 400ml of pure yeast then it's more than enough.

Let it settle out and then measure it. I'd be happy pitching about 250ml of yeast without any problems.

All depends on the liquid content of what you collected.

K
 
Nah it's about 300ml of the yeast/trub mixture with around 100ml of liquid on top. I'm sure I won't get anywhere close to 250ml of pure yeast from that.
Ah well, at least I know the process for next time :thumb:
 
You can use the yeast that you are able to recover from this process and add some new wart (250ml at around 1040) either from a kit can or from a new brew that you are working on and "grow" the yeast by letting it ferment on the added wart then discarding the liquid and adding more do this 3 or 4 times. This will grow the yeast to a sufficient size to enable you to pitch it into a new brew.
 
StevieDS said:
Thanks LeithR, so I can just discard the liquid layer of beer then?

The best place to store yeast in a home brewery is under beer. Beer has two attributes that boiled tap water does not have; namely, a low pH and ethanol, both of which form a force field around the yeast culture. Maintaining cropped yeast is about making compromises. It is easier to propagate a less viable culture than it is to clean up an infected culture. Boiled tap water is not sterile and it's pH is much closer to 7 than that of green beer, which will allow anything that survived 100C moist heat to use dead yeast cells as a nitrogen source. The time to discard the green beer is shortly before one plans to pitch cropped yeast into a new batch of wort. The green beer should be replaced with cool fresh wort. If the culture is more than a couple of weeks old, one should replace the green beer with fresh wort twelve to twenty-four hours before pitching, as doing so will help to revitalize the culture.

There is current research related to storing yeast under autoclaved distilled water, but the practice requires one to use a centrifuge to remove all traces of the media in which the yeast was grown. Swirling yeast around in autoclaved distilled water isn't going to cut it.

With the above said, the absolute best way to reuse yeast at home is to use a true top-cropping strain and crop from the top after the brown head has been skimmed. In addition to being trub free, yeast cells cropped this way are at the peak of there health. Breweries that top-crop often reuse yeast for decades. Havey's has been repitching the same top-cropped yeast culture for over fifty years.
 
StevieDS said:
Nah it's about 300ml of the yeast/trub mixture with around 100ml of liquid on top. I'm sure I won't get anywhere close to 250ml of pure yeast from that.
Ah well, at least I know the process for next time :thumb:

One does not need 250mls of clean yeast to ferment a batch of beer. Two hundred and fifty milliliters of mixed slurry contains more than enough yeast to fully attenuate a 23L batch of beer. A 1L starter made from a smack pack or White Labs preform doesn't contain anywhere near 250mls of yeast. Two hundred and fifty milliliters of pure viable yeast will result in active fermentation within a few hours.
 
When I said 250ml of clean yeast I meant 250mls of yeast slurry minus the beer on top.

K
 
Hi saccharomyces,

This is interesting as I've done no end of reading on this subject recently.

So, IYHO, are you saying that its probably best to store the slurry from the bottom of the fermenter under some of the beer it produced without rinsing or other cleaning proceedures ?

I must say this does then make for a simple process for the homebrewer.

Thanks for the input.

A
 
AndyBWood said:
So, IYHO, are you saying that its probably best to store the slurry from the bottom of the fermenter under some of the beer it produced without rinsing or other cleaning proceedures?

Yes, that's exactly what I am a saying. It's how most breweries store their yeast when not immediately repitching a crop.

While I maintain my own yeast bank on agar slants, I also repitch cropped yeast when I have no maintenance to perform. The goal when using cropped yeast is to keep it as clean as possible. As I mentioned earlier, it is easier to bring a culture back to life than it is to clean it up; therefore, one should minimize the contact that the cropped culture has with the outside world between cropping and pitching. Rinsing yeast with boiled tap water serves no real purpose other than to invite wild microflora to the party (if one replaces the stale or green beer with fresh wort a couple of hours before pitching, the viable yeast cells will be in suspension by the time that one has chilled one's batch of wort). With yeast, one should follow the DMWI (Don't Mess With It) principle (pronounced dim-we). Yeast isn't malt, hops, or water. Yeast cells are living organisms that do the heavy lifting in the beer making process.
 
AndyBWood said:
So, IYHO, are you saying that its probably best to store the slurry from the bottom of the fermenter under some of the beer it produced without rinsing or other cleaning proceedures ?

I have just done this with WY1187 Ringwood, I scraped 400ml of slurry from the bottom of the bucket, into a mason jar along with the dregs of the beer and bunged it in the fridge (kept the lid loose). One week later turkey basted approx 150-200ml of slurry (Mr Malty calculation) into a small conical, added cooled wort from the brewday, added some yeast-vit and pitched 30 mins later. The current batch has almost finished fermenting after 3 days, just like it's donor batch did.

Very easy process :thumb: :party:

:cheers:
 
Evening All,

Ok - going to have a go at the 'dirty' yeast technique. To be honest, this Whitelabs English Ale No2 is so clumpy its really hard to see any discernable seperation anyway after rinsing.

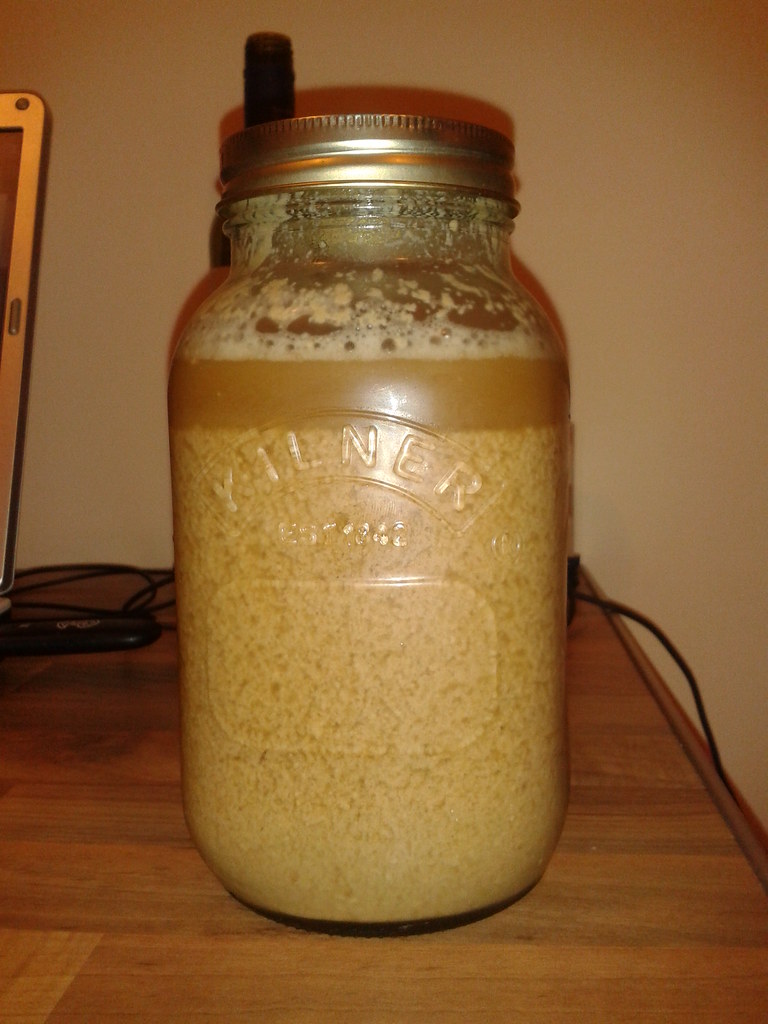
Slurry harvested tonight :

10984528495_e94df9573d_b.jpg


Hopefully brewing on Sunday.

A
 
Indeed!

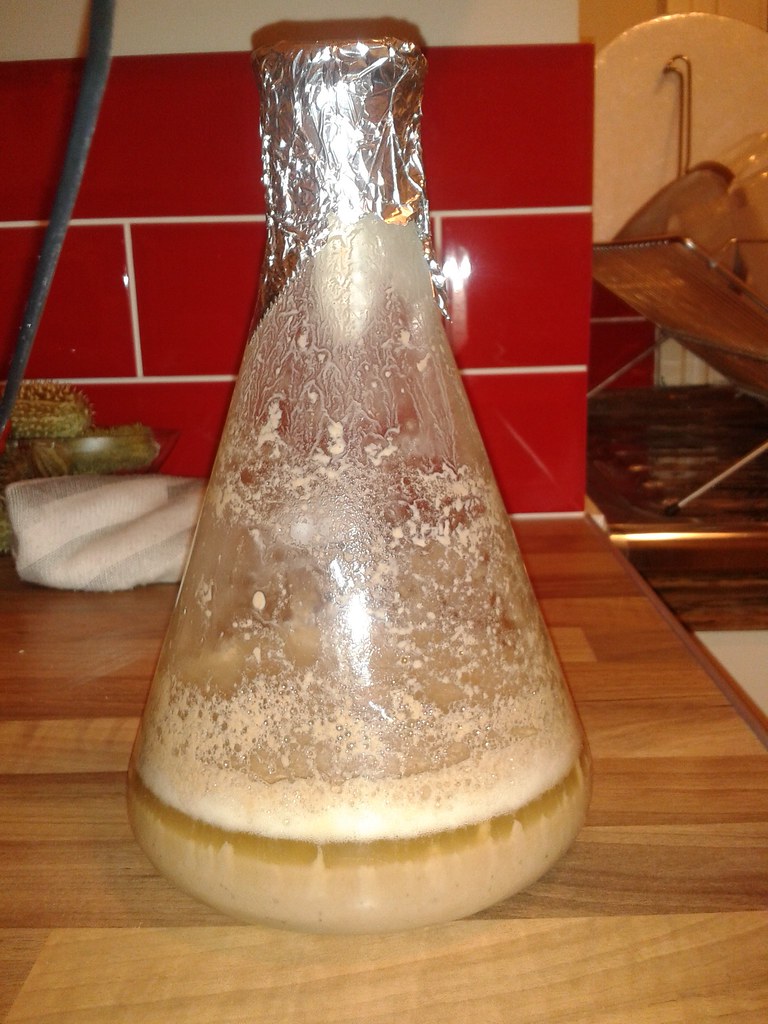
Well, I took some inspiration from this thread and top-cropped my APA this morning; just now in fact. Just sanitised a pyrex jug and a stainless steel ladle and got stuck in. A few skims over the top and I've ended up with this, decanted into a conical flask:


200ml or so of thin slurry, which means it'll be protected by a layer of beer (albeit not quite fully attenuated) when it settles out. It's in the fridge now, ready for my next brew.

That was far easier than mucking about with trub from the bottom of the fermenter! :thumb:
 
Evening All,

Slurry harvested on Wednesday (as per pic above); not rinsed - kept nice n dirty.

This morning ( Sunday ) I took about 6 big heaped tablespoons of the packed down yeast from under the beer and dropped them into a flask.

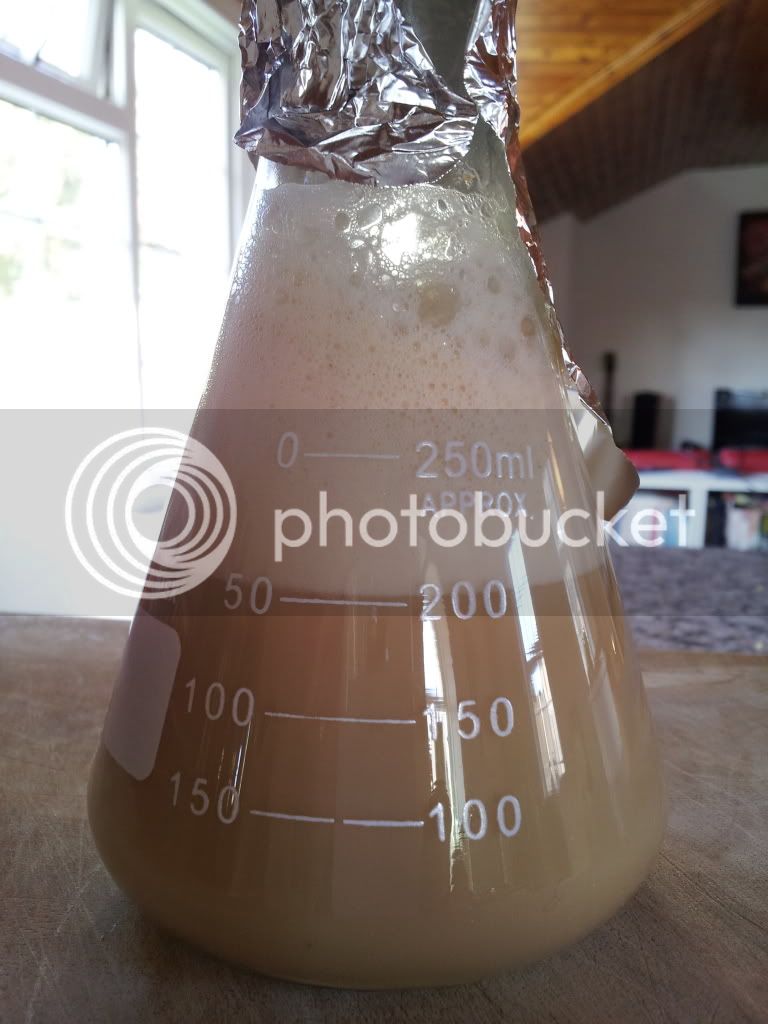
Left the little fellows a couple of hours to reach room temp them added 200ml of cooled wort.

3 hours later I had Vesuvius on a slightly smaller scale.

11037914536_14b6b9c759_b.jpg


Pitched into my Galaxy Smash this evening; think it will go into orbit........

A
 

Latest posts

Back
Top