Bigjas
Landlord.
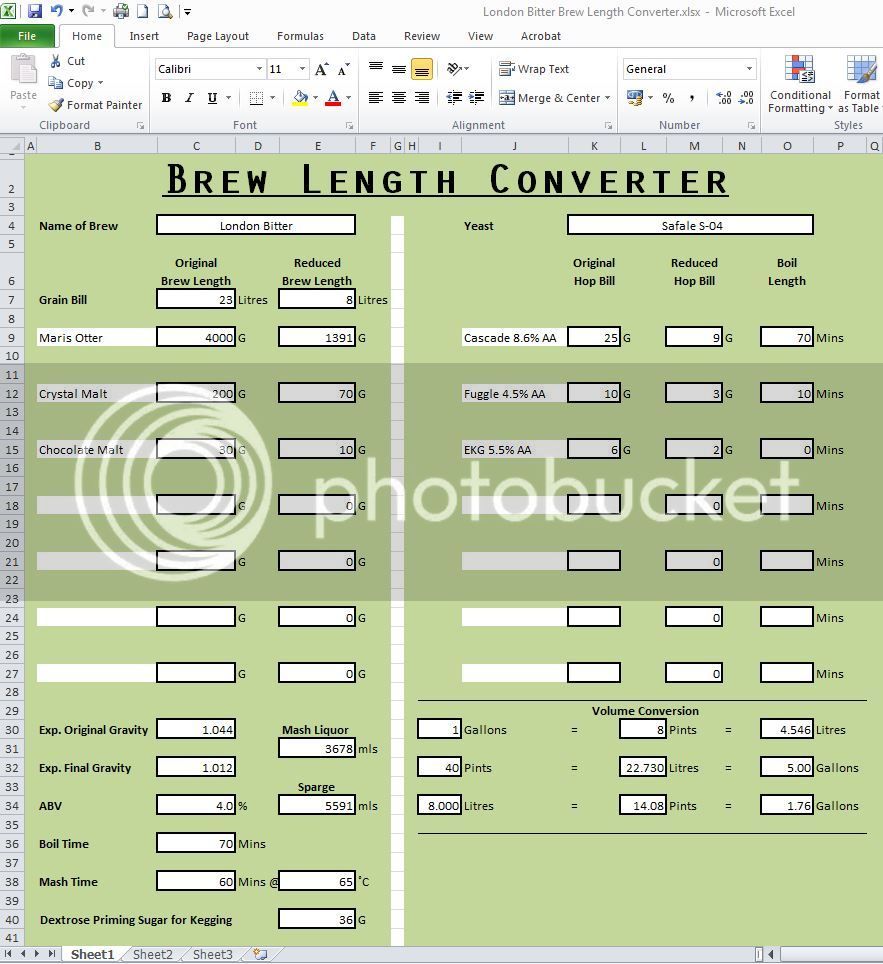
Yesterday was my first go at AG brewing after successfully making 2 kits over the last few months. I have been wanting to do this for a while now and have been reading and gathering bits and bobs over the last month. I got given an old tea urn/boiler from a mate, but it is only 8 litres in size. So I thought I could do some smaller batches and get the hang of AG brewing before spending out on a larger boiler (been looking at the ACE Boilers). I have got the Greg Hughes book so thought it would be best to use one of his recipies and plumped for the London Bitter. I had to scale down all the quantities so made up a spreadsheet that calculates the reduced grain bill and hops etc.
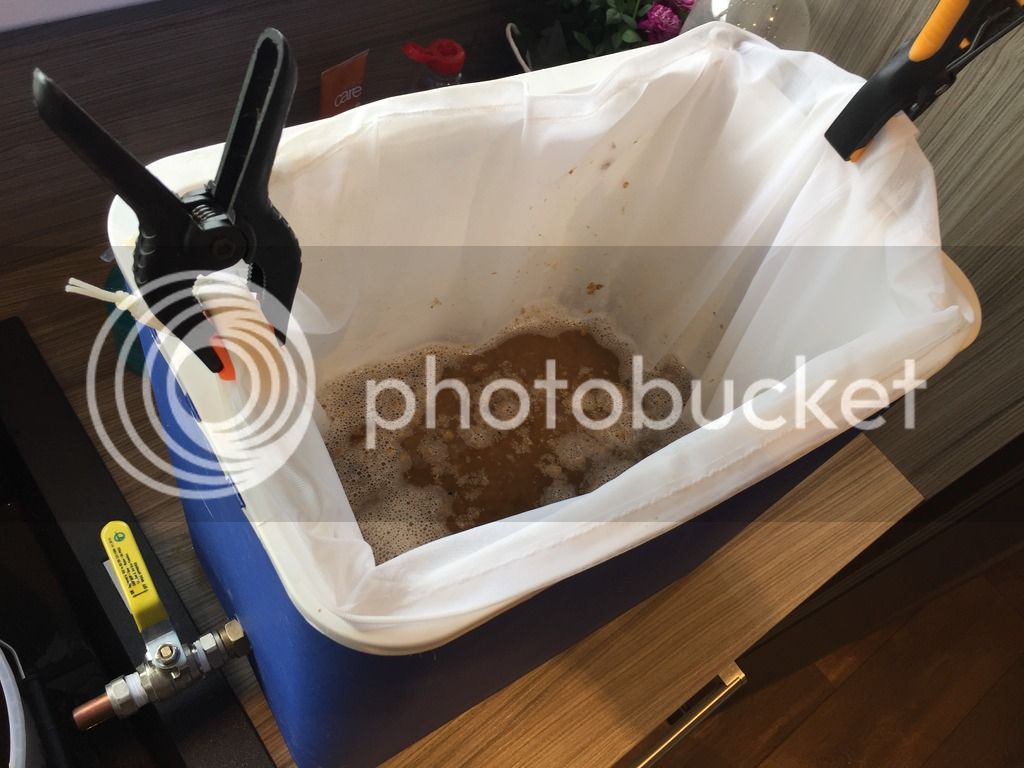
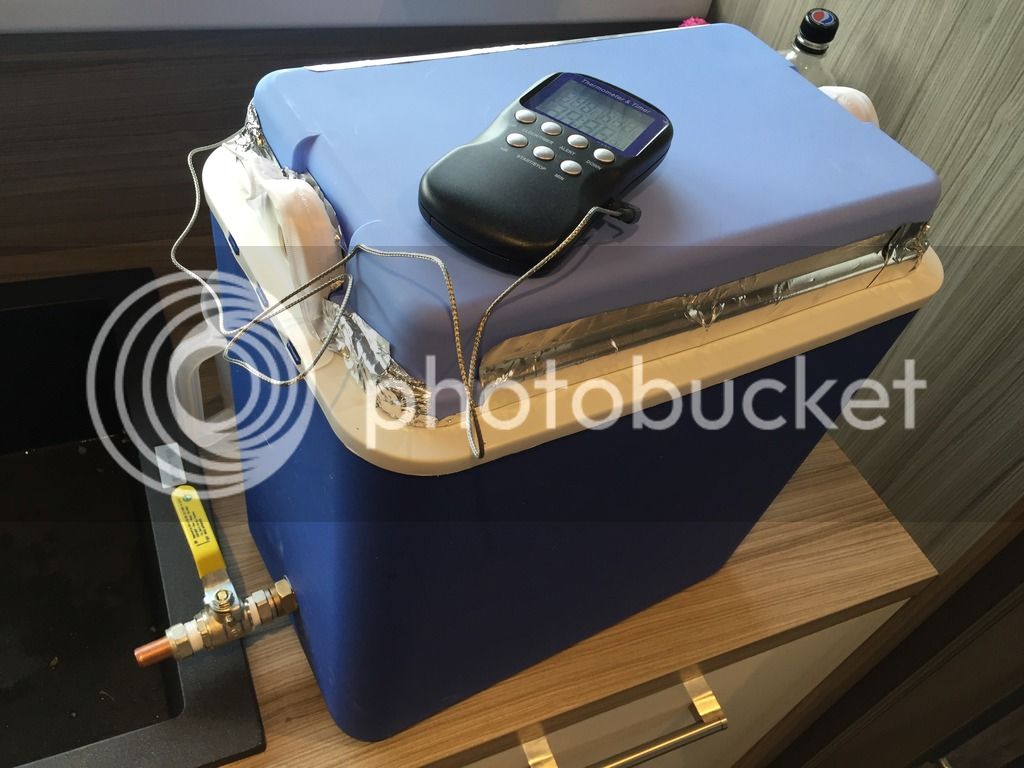
I made a mash tun from a cheap and cheerful ice box cooler and added a tap. I was going to add a strainer/filter but then thought about using a bag to make clearing up easier. I put the strike water in to the mash tun and started to add the grains, but there didn't seem enough water and the grain was clumping up. I added about another litre of water and then set it aside to mash for an hour at 65c. I have added more insulation to the ice box and was pleased that it only lost 3 degrees over the hour.
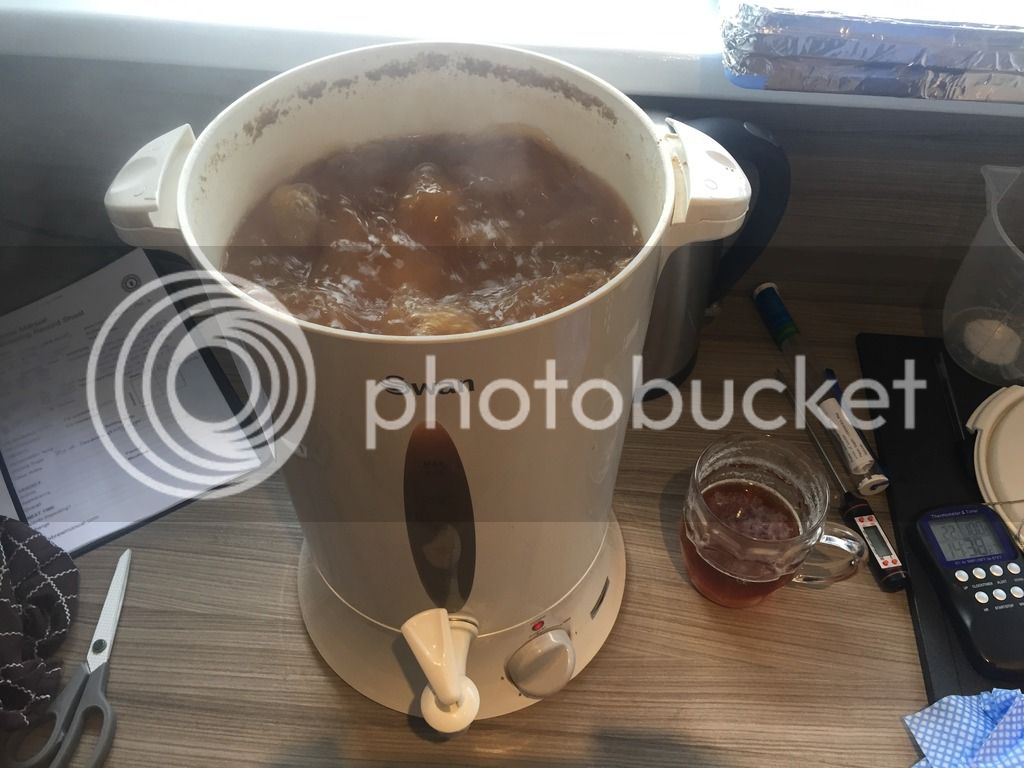
I then dunk sparged with 5 litres of water at 75c and transferred to the boiler. I had 9 litres in the boiler and it was quite near the top, but managed quite a vigorous boil for 70 mins adding the hops in hop bags at the required times.
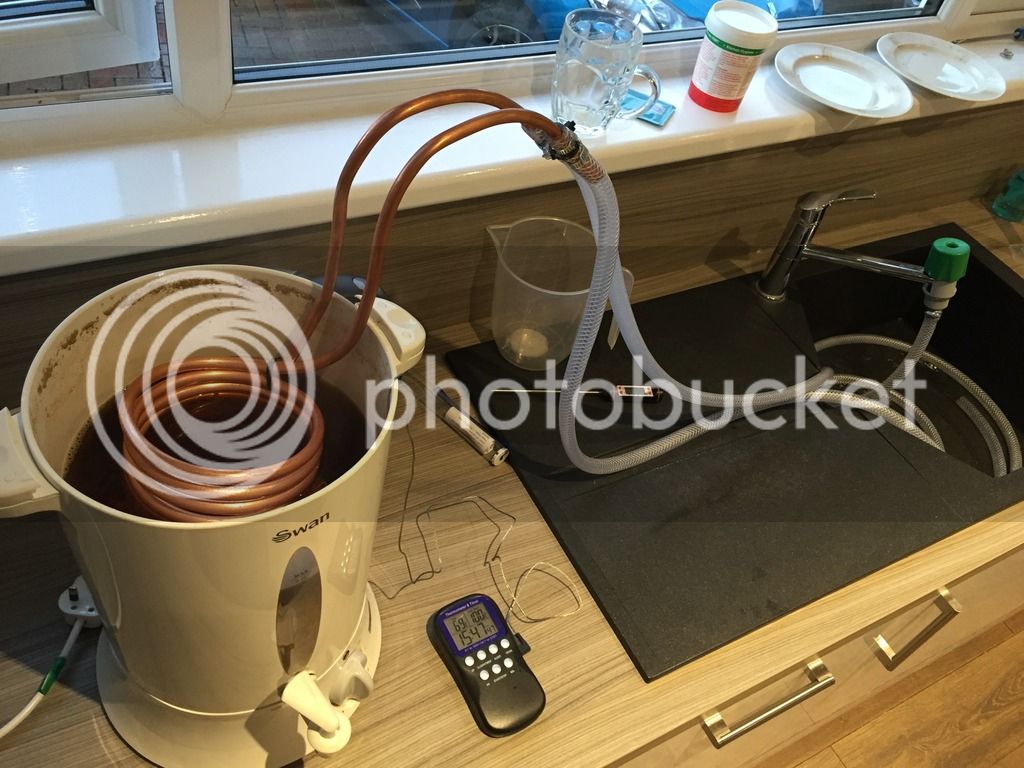
I have made myself a wort chiller which worked very well. I bought some 10mm coiled copper pipe from ebay for ��ã22 and wrapped it round a paint pot to coil it up so it fits the boiler. It cooled the wort very quickly.
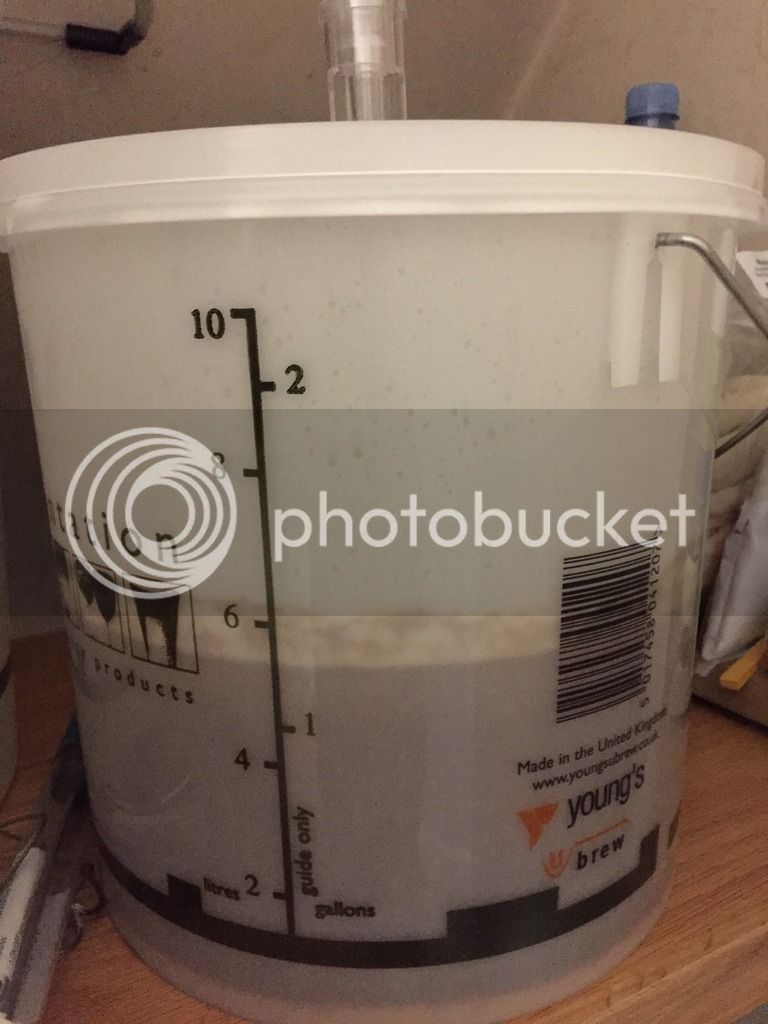
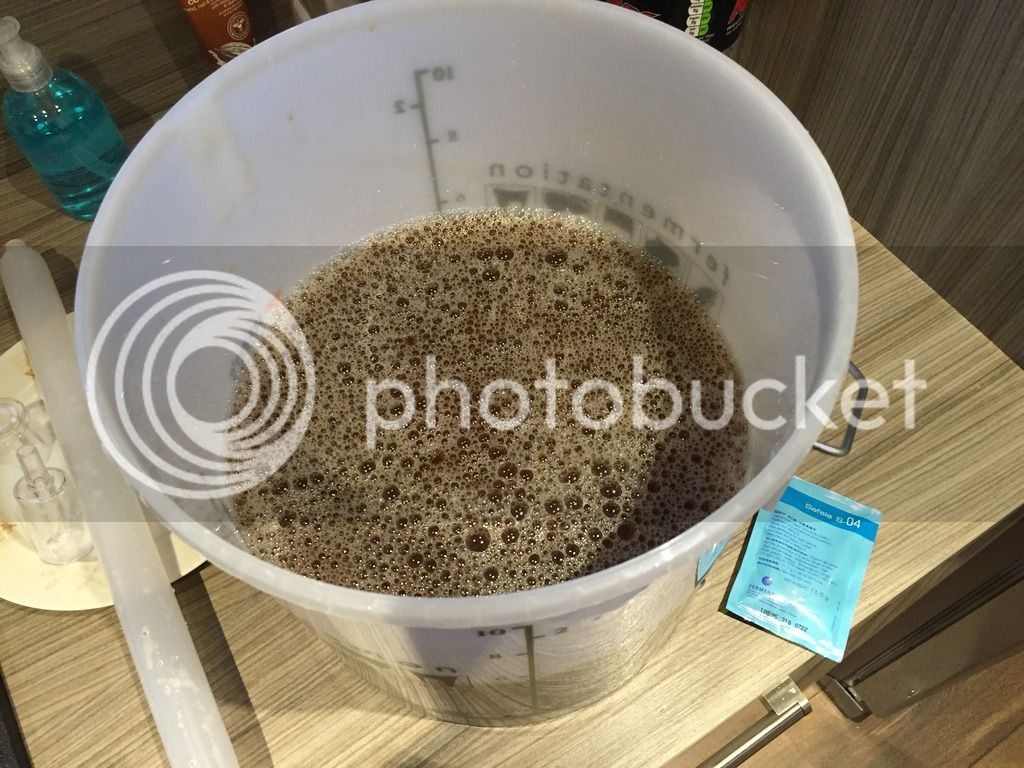
I put the cooled wort in to my 2 gallon FV and was a bit disappointed that I only ended up with about 5.5 litres. Not sure how I managed to lose 3.5 litres during the boil?
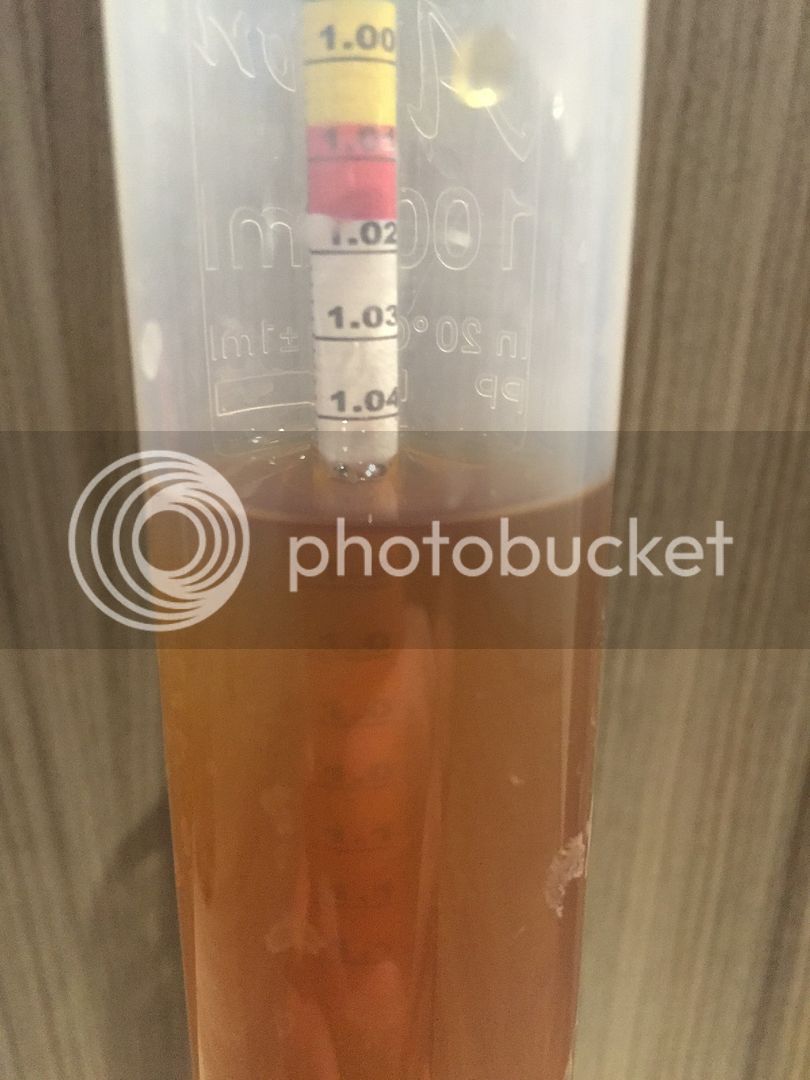
I took a gravity reading of 1.046 which was 2 points above the expected 1.044, so I was pleased with that. In hindsight I could of topped up the FV and bought the OG down a bit?
All in all I was pleased with the way my first AG brew went and can't wait to do another. That's the advantage of small batches I suppose? I have learnt a lot after doing my first one, which took approx. four and half hours from start to finish. Got up this morning 8 hours after pitching the yeast (S-04) and there is no airlock activity but I think I can see the Krausen forming. Fingers crossed it turns out ok, I have been very impressed with the quality of the kits I've done so far, so expecting this to be even better.......
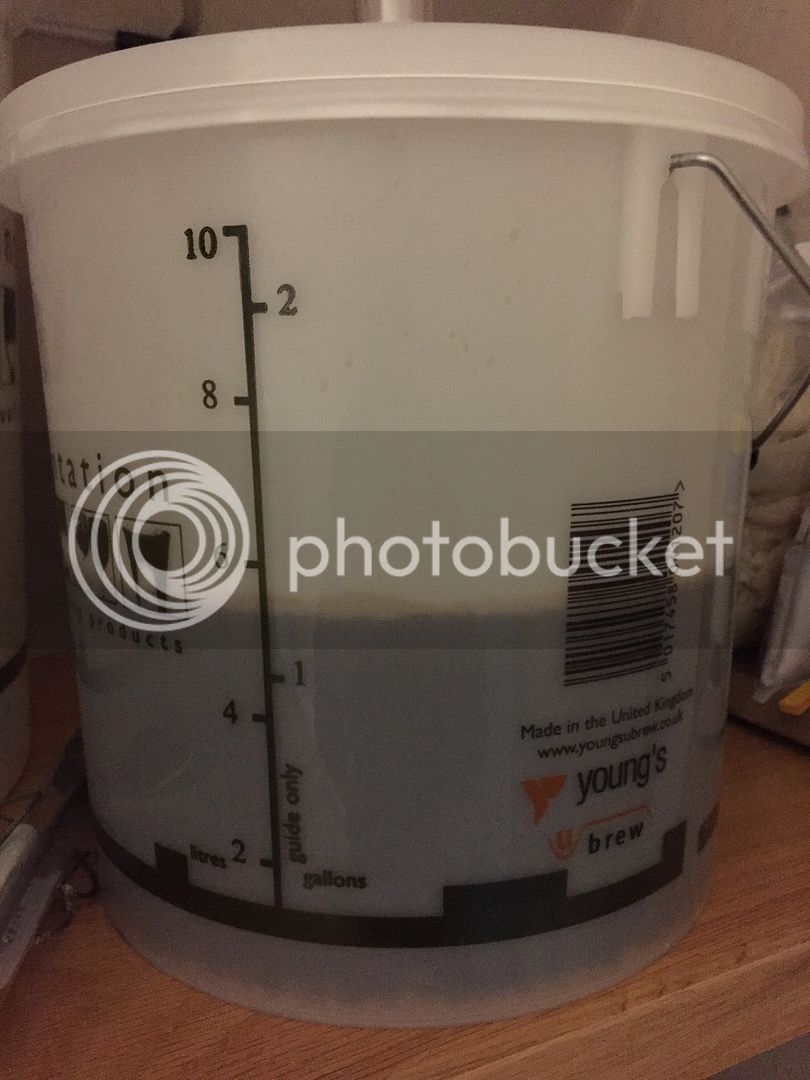
For anyone reading this that is thinking of trying AG brewing, give it a go. I am hopeless in the kitchen (ask Mrs Bigjas) but with a bit of planning and being organized, it went smoother than expected. I have got the All Grain Brewing bug and will be looking to plan the next one soon :thumb:
Any constructive feedback on my process is very welcome as I am keen to learn and develop my home brewing skills.
Thanks
Jas

I made a mash tun from a cheap and cheerful ice box cooler and added a tap. I was going to add a strainer/filter but then thought about using a bag to make clearing up easier. I put the strike water in to the mash tun and started to add the grains, but there didn't seem enough water and the grain was clumping up. I added about another litre of water and then set it aside to mash for an hour at 65c. I have added more insulation to the ice box and was pleased that it only lost 3 degrees over the hour.


I then dunk sparged with 5 litres of water at 75c and transferred to the boiler. I had 9 litres in the boiler and it was quite near the top, but managed quite a vigorous boil for 70 mins adding the hops in hop bags at the required times.

I have made myself a wort chiller which worked very well. I bought some 10mm coiled copper pipe from ebay for ��ã22 and wrapped it round a paint pot to coil it up so it fits the boiler. It cooled the wort very quickly.

I put the cooled wort in to my 2 gallon FV and was a bit disappointed that I only ended up with about 5.5 litres. Not sure how I managed to lose 3.5 litres during the boil?

I took a gravity reading of 1.046 which was 2 points above the expected 1.044, so I was pleased with that. In hindsight I could of topped up the FV and bought the OG down a bit?

All in all I was pleased with the way my first AG brew went and can't wait to do another. That's the advantage of small batches I suppose? I have learnt a lot after doing my first one, which took approx. four and half hours from start to finish. Got up this morning 8 hours after pitching the yeast (S-04) and there is no airlock activity but I think I can see the Krausen forming. Fingers crossed it turns out ok, I have been very impressed with the quality of the kits I've done so far, so expecting this to be even better.......

For anyone reading this that is thinking of trying AG brewing, give it a go. I am hopeless in the kitchen (ask Mrs Bigjas) but with a bit of planning and being organized, it went smoother than expected. I have got the All Grain Brewing bug and will be looking to plan the next one soon :thumb:
Any constructive feedback on my process is very welcome as I am keen to learn and develop my home brewing skills.
Thanks
Jas


![BREWING THERMOMETER STICKERS ACCURATELY MONITOR FERMENTING BEER & WINE LIQUID TEMPERATURES 5PCS HOME BREW SPIRITS WINE LCD ADHESIVE [US]](https://m.media-amazon.com/images/I/311DDjo2X3L._SL500_.jpg)


