Abiruth
Well-Known Member
I've been making wine for a few months now and really fancied doing some beer/lager. Only problem was I really didn't have the equipment or appetite to make the 40 pints that most kits provide. So I turned to all grain. I struggled to find anything helpful at first, just lots of people saying what's the point putting all the effort in just to make a gallon. Finally I came across http://brooklynbrewshop.com/ which gave me some hope that a gallon batch wasn't too mad.
I downloaded Brewmate which made everything so much easier. Then decided I wanted to make a lager as I've got a wine cooler with space for a demijohn or two. I ordered some lager malt and some saflager s-23, but I didn't want it too plain so I bought some crystal malt too. As for hops I went for saaz.
My recipe for 4.5 litres was as follows:
Grain
909g Lager malt
101g Crystal malt (60)
Hops
Saaz 10g 60mins
Saaz 15g 30mins
Saaz 10g 15mins
So on to the pictures:
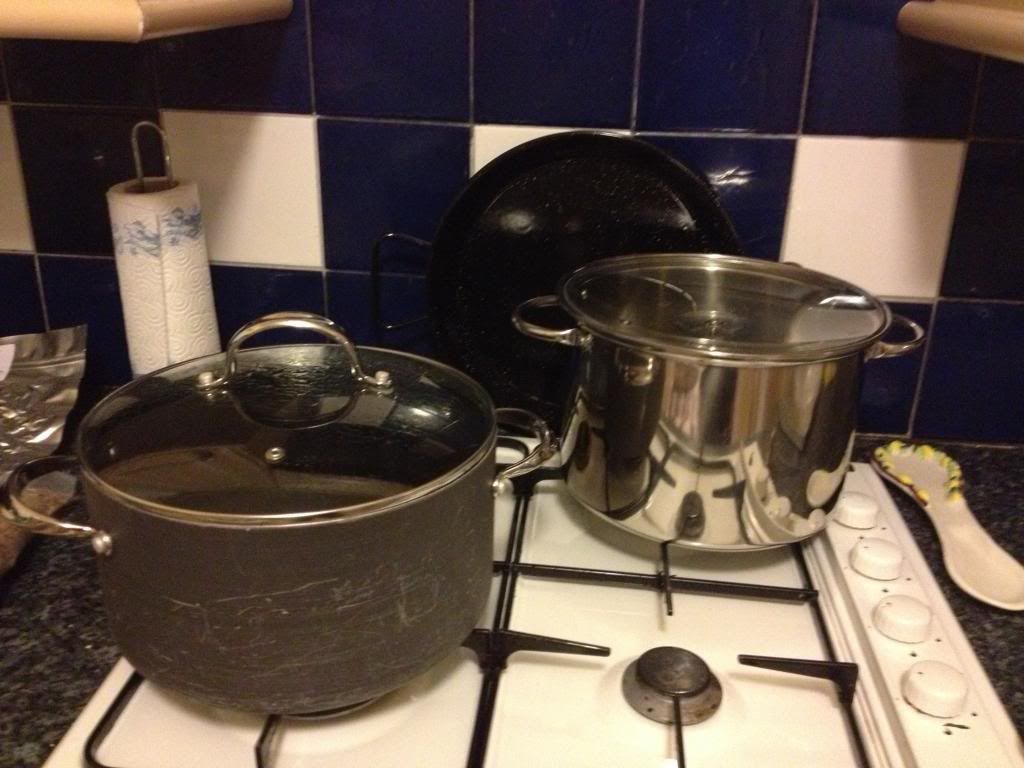
These are my tiny shinies. A 4 ish litre stockpot i've had for ages and a cheap 5 litre stockpot for the boil. I'd like to get a larger one in the future.
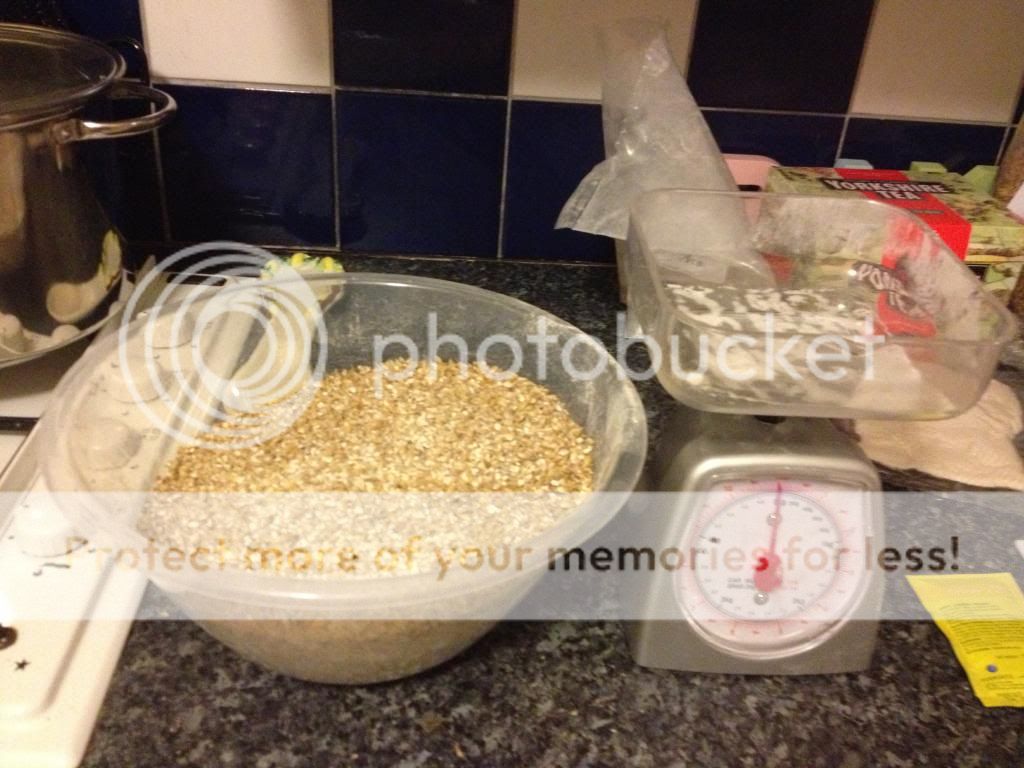
Here is the grain..tell me if I'm boring you!!! I bought a pair of digital scales but they decided not to work before I started brewing...so out came the oldies!
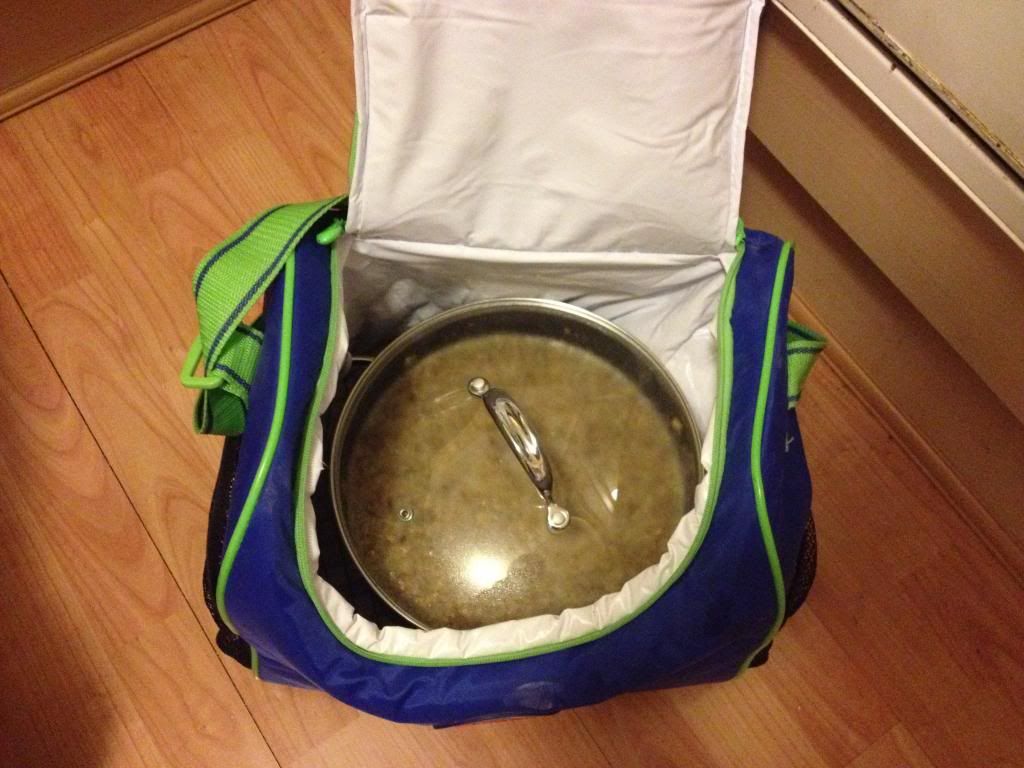
I used the smaller pot as a mash tun. After mixing the grain with 3 litres of water i popped it in a freezer bag and stuffed a load of towels and sheets in. I've not got the specifics but it did keep a lot of heat in for the 1 hour mash.
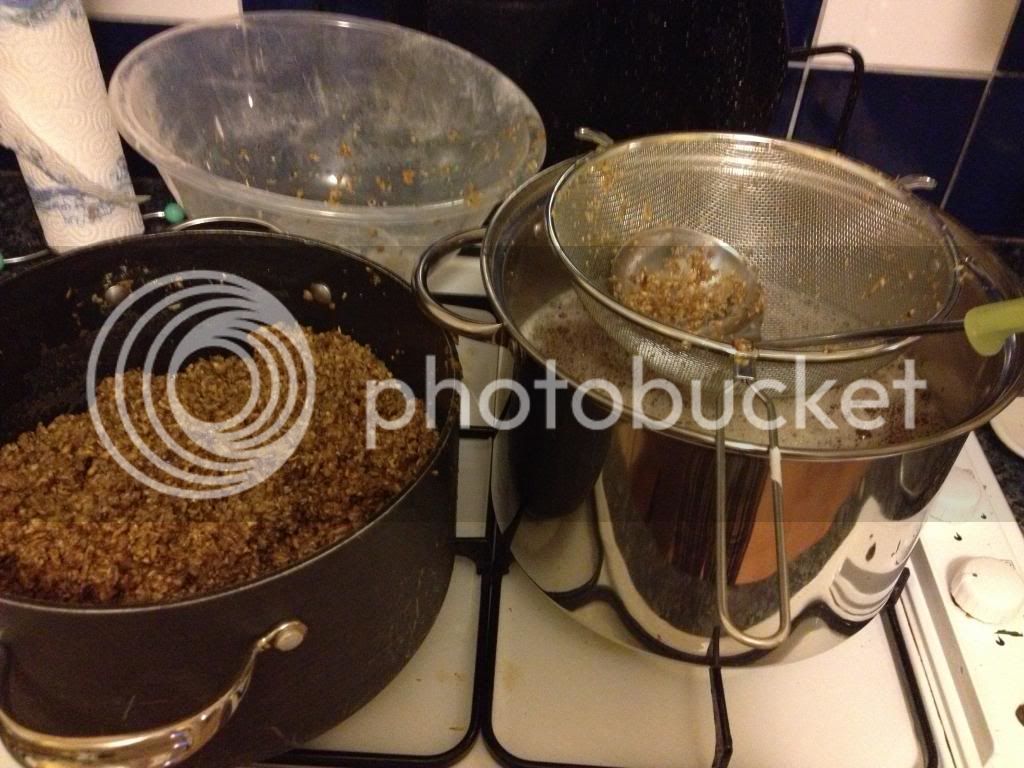
Next I "sparged". Ok so what I did to sparging is what Lambrini is to Moet. I used a sieve more hot water and lots of prodding around. I was trying to repeated soak the grains. I'd like to get a better and bigger sieve but not sure my sparging will ever be anything to be proud of.
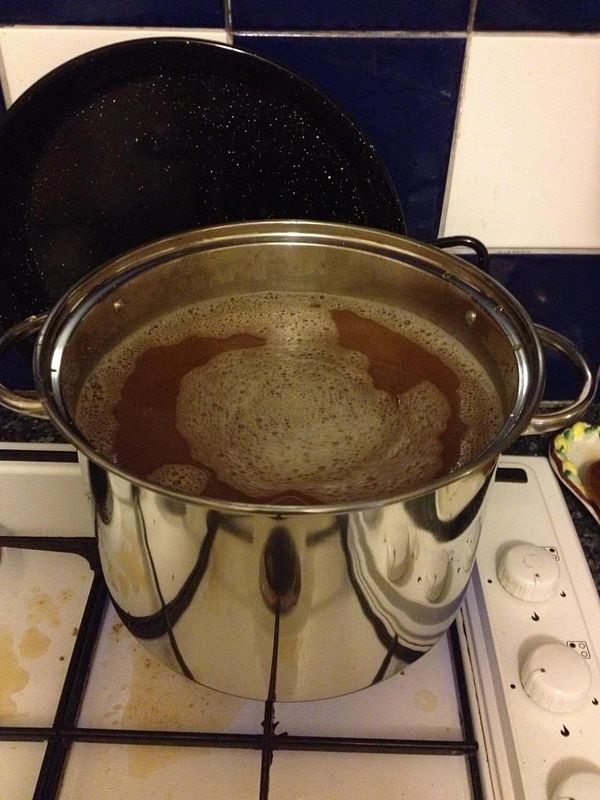
Then there was the boil. This went fine. I did freak out with the hopping process as I made the mistake of tasting it and then whisked the bittering hops out 15 mins before the end as I thought I'd over bittered. I didn't realise then that the fermentation process breaks down quite a lot of the bittering oils. To make up for this I needed to do a hop tea to add prior to bottling.
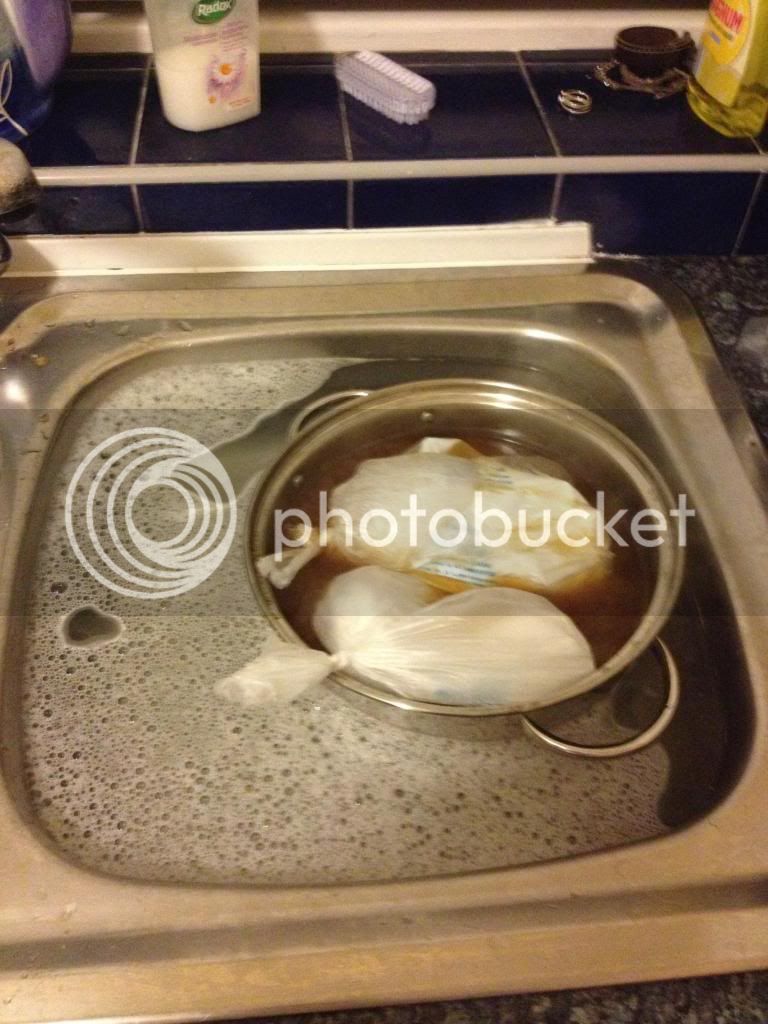
To cool the wort I put it in the sink filled with cold water and stuck some freezer blocks in it (wrapped in sterilised sandwich bags).
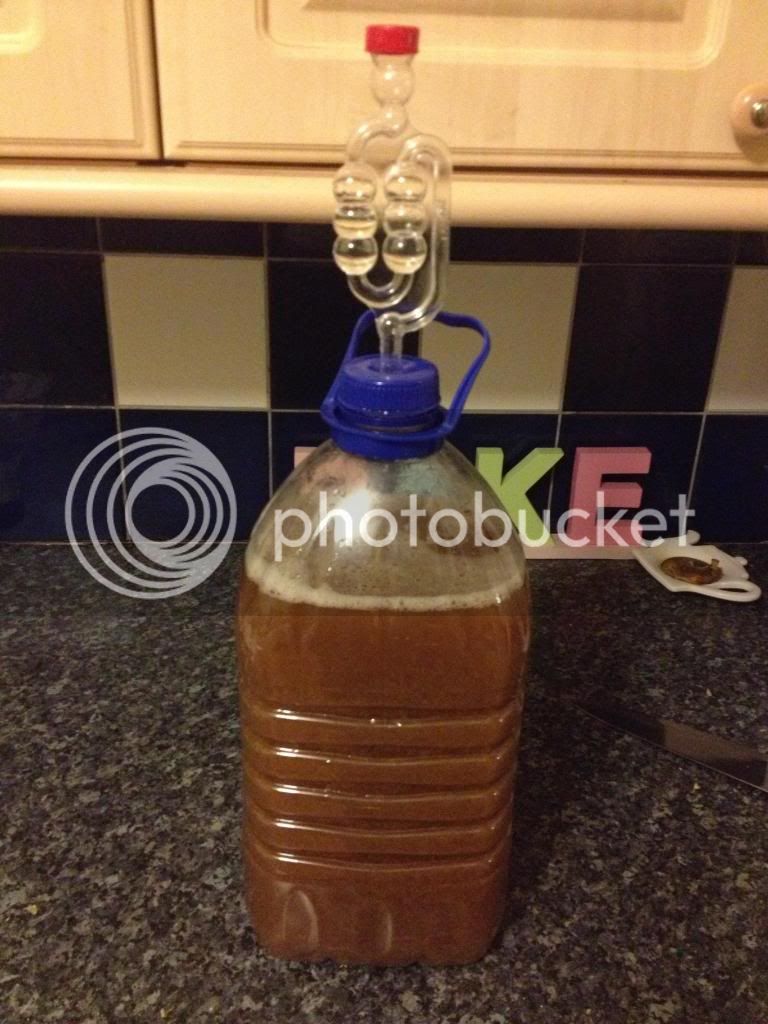
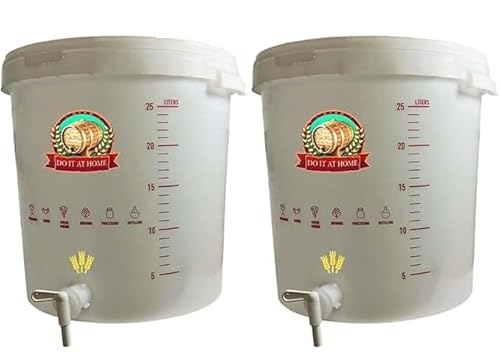
After the chill the wort went in a PTE demijohn and in went the yeast.
The fermentation took a couple of days to get going and lasted about 10 days. I had planned to lager the lager (ok I know I can't call it a lager if it hasn't been!!) but I was desperate to drink some. So I bottled on about day 14 after batch priming with 30g of sugar. I got 13 bottles. I racked the beer at the end of fermentation so lost a bit there.
After lots of premature samples I now have a fab beer with a head.
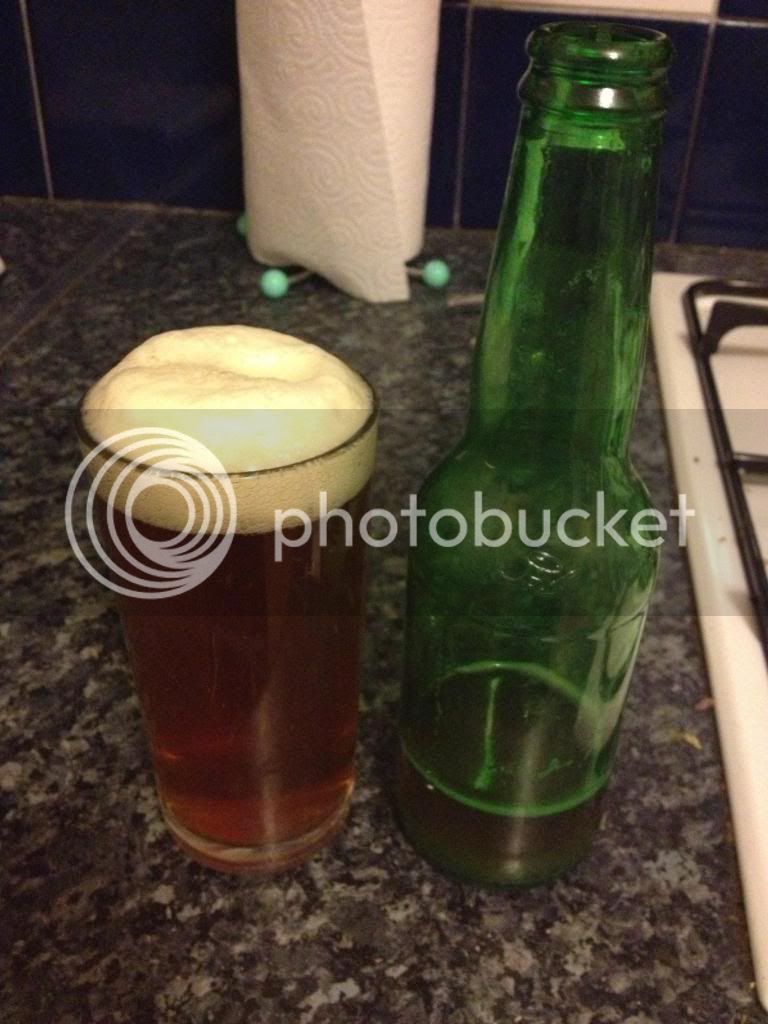
I had no idea how potent the crystal malt would be, so it's darker than I initially expected. The taste is great is a clean clear beer but with a nice toffee taste. The saaz balances this off well and leaves you with a really nice hoppy flavour.
This site has been really helpful at every step of the way, I hope I can get some more folks doing mini all grains.
I downloaded Brewmate which made everything so much easier. Then decided I wanted to make a lager as I've got a wine cooler with space for a demijohn or two. I ordered some lager malt and some saflager s-23, but I didn't want it too plain so I bought some crystal malt too. As for hops I went for saaz.
My recipe for 4.5 litres was as follows:
Grain
909g Lager malt
101g Crystal malt (60)
Hops
Saaz 10g 60mins
Saaz 15g 30mins
Saaz 10g 15mins
So on to the pictures:
These are my tiny shinies. A 4 ish litre stockpot i've had for ages and a cheap 5 litre stockpot for the boil. I'd like to get a larger one in the future.
Here is the grain..tell me if I'm boring you!!! I bought a pair of digital scales but they decided not to work before I started brewing...so out came the oldies!
I used the smaller pot as a mash tun. After mixing the grain with 3 litres of water i popped it in a freezer bag and stuffed a load of towels and sheets in. I've not got the specifics but it did keep a lot of heat in for the 1 hour mash.
Next I "sparged". Ok so what I did to sparging is what Lambrini is to Moet. I used a sieve more hot water and lots of prodding around. I was trying to repeated soak the grains. I'd like to get a better and bigger sieve but not sure my sparging will ever be anything to be proud of.
Then there was the boil. This went fine. I did freak out with the hopping process as I made the mistake of tasting it and then whisked the bittering hops out 15 mins before the end as I thought I'd over bittered. I didn't realise then that the fermentation process breaks down quite a lot of the bittering oils. To make up for this I needed to do a hop tea to add prior to bottling.
To cool the wort I put it in the sink filled with cold water and stuck some freezer blocks in it (wrapped in sterilised sandwich bags).
After the chill the wort went in a PTE demijohn and in went the yeast.
The fermentation took a couple of days to get going and lasted about 10 days. I had planned to lager the lager (ok I know I can't call it a lager if it hasn't been!!) but I was desperate to drink some. So I bottled on about day 14 after batch priming with 30g of sugar. I got 13 bottles. I racked the beer at the end of fermentation so lost a bit there.
After lots of premature samples I now have a fab beer with a head.
I had no idea how potent the crystal malt would be, so it's darker than I initially expected. The taste is great is a clean clear beer but with a nice toffee taste. The saaz balances this off well and leaves you with a really nice hoppy flavour.
This site has been really helpful at every step of the way, I hope I can get some more folks doing mini all grains.


![BREWING THERMOMETER STICKERS ACCURATELY MONITOR FERMENTING BEER & WINE LIQUID TEMPERATURES 5PCS HOME BREW SPIRITS WINE LCD ADHESIVE [US]](https://m.media-amazon.com/images/I/311DDjo2X3L._SL500_.jpg)